Hello there
lovely readers!
So after a few wee glitches, Summer
seems to have finally graced us with its glorious presence & with
it all its delights; picnics, beach trips, ice cream in abundance!
Though I've probably gone & jinxed it right there O_o I love
finding inspiration for nail art wherever I can, especially when it
involves my other great love in life...FOOD.
Joyfully digging into a tub of Carte
Dor Crema Di Mascarpone the other day, I managed to take a moment to
pause mid shovel & admire the beautiful berry tones swirling
through the delightful dessert & think "Oooh...marble
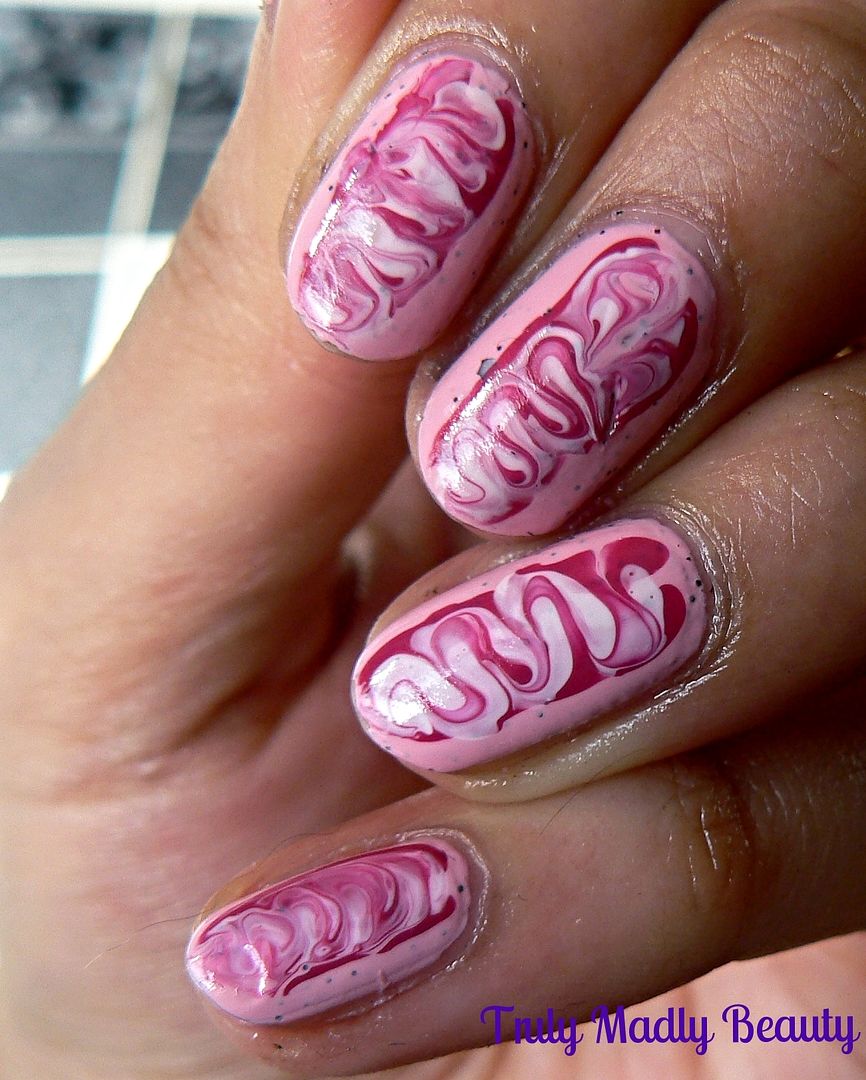
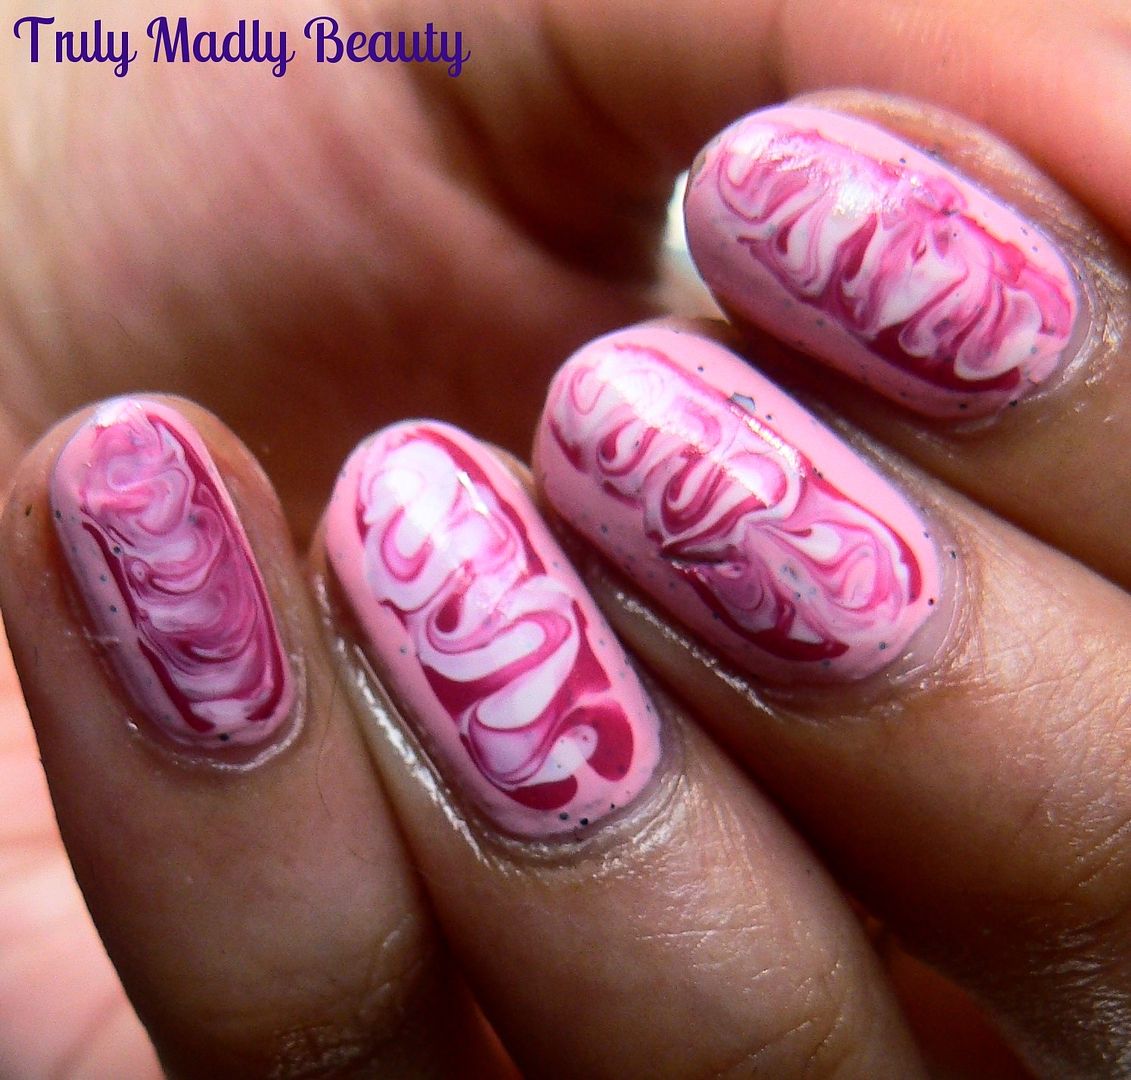
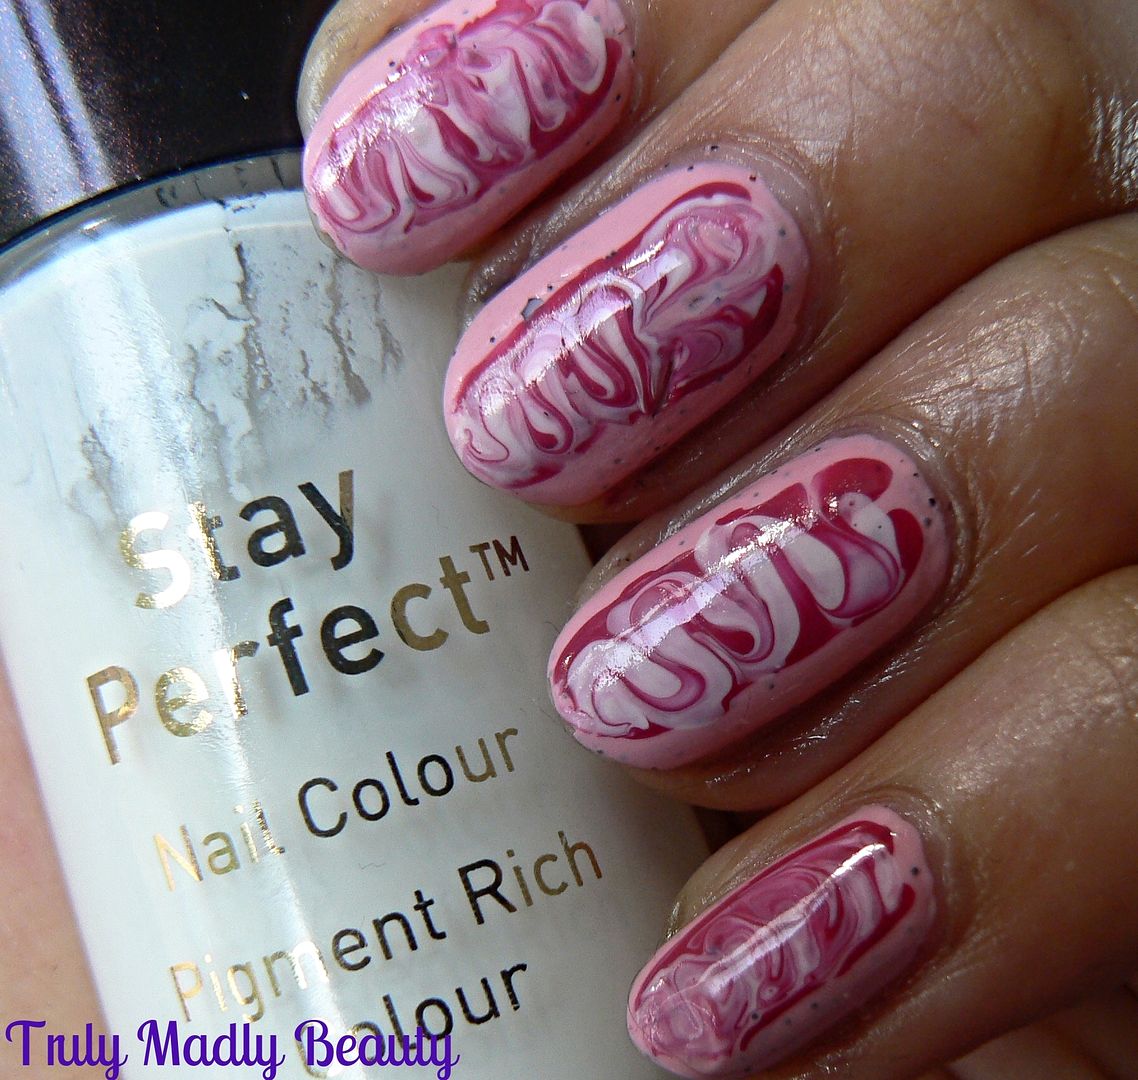
effect!" So I decided to attempt a dry marble look using pink
tones reminiscent to that of raspberry ripple...
I'm relatively new to the whole dry
marbling thing. however it is definitely the more appealing nail art
option for me compared to the daunting task of water marbling! Much
easier, all you need is polishes, a quick hand & a toothpick!
Apologies for the quality of some of
the pics lovelies, I did this mani in the evening & tried to
capture a few of the steps of the dry marbling to show you as a kind
of step by step tutorial! Hopefully it'll make sense ;)
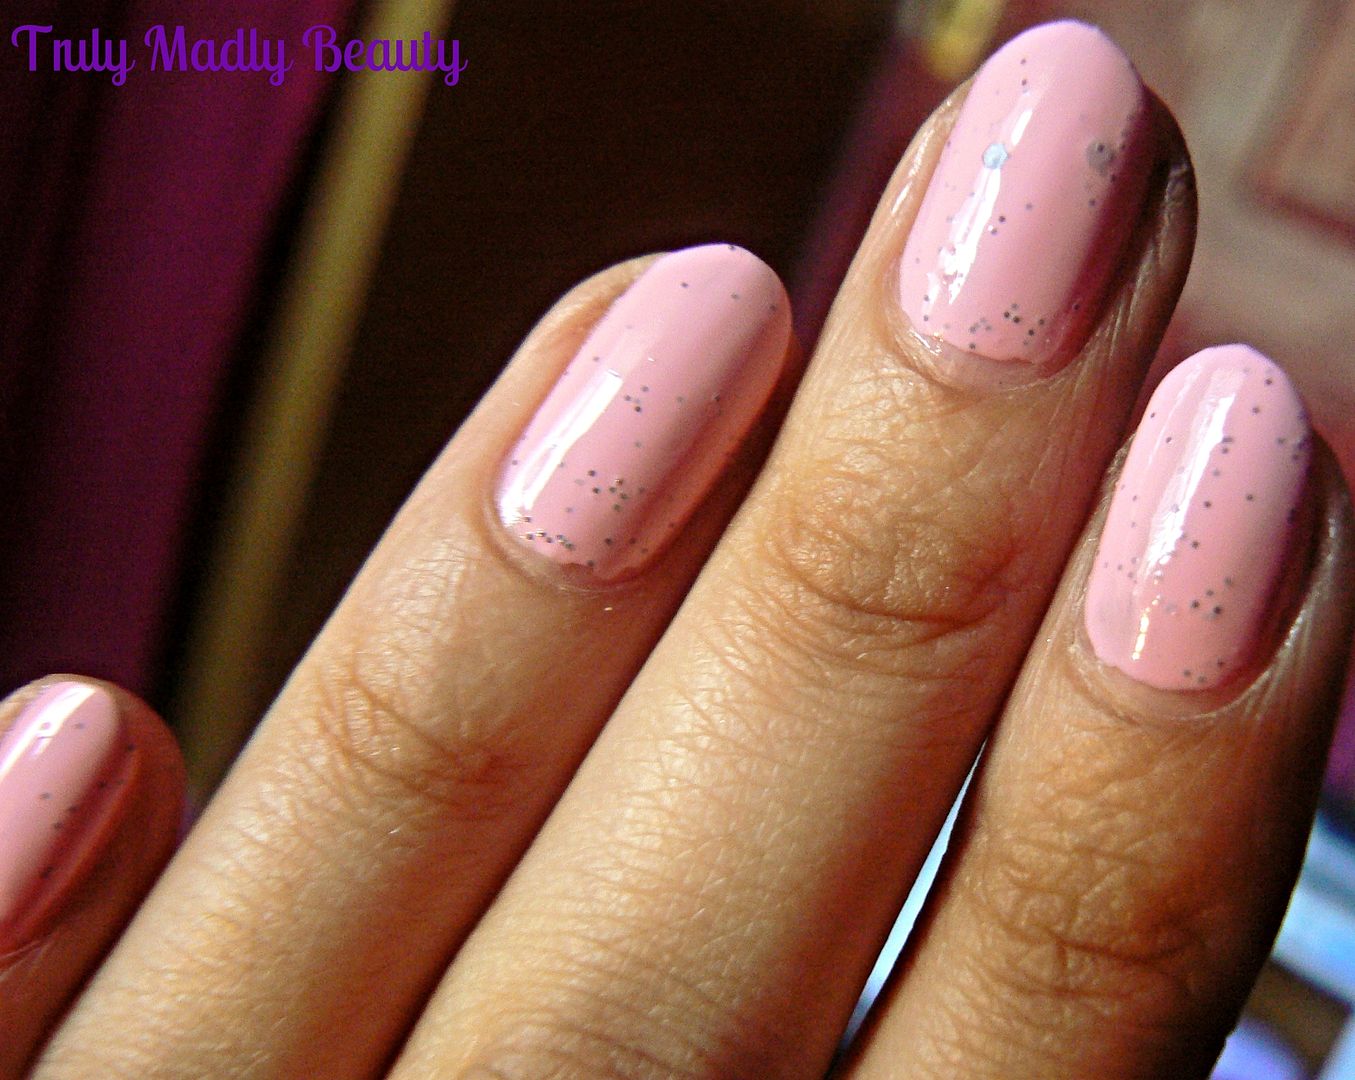
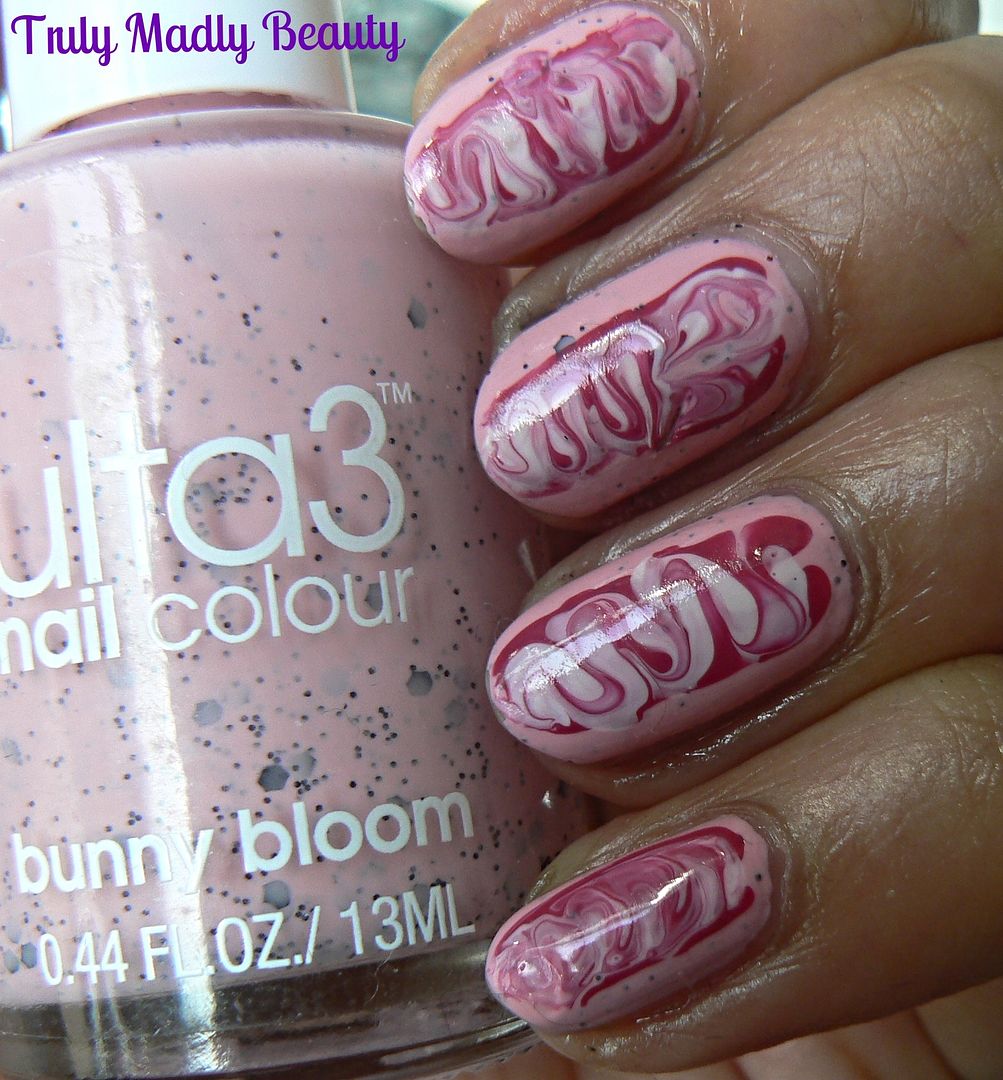
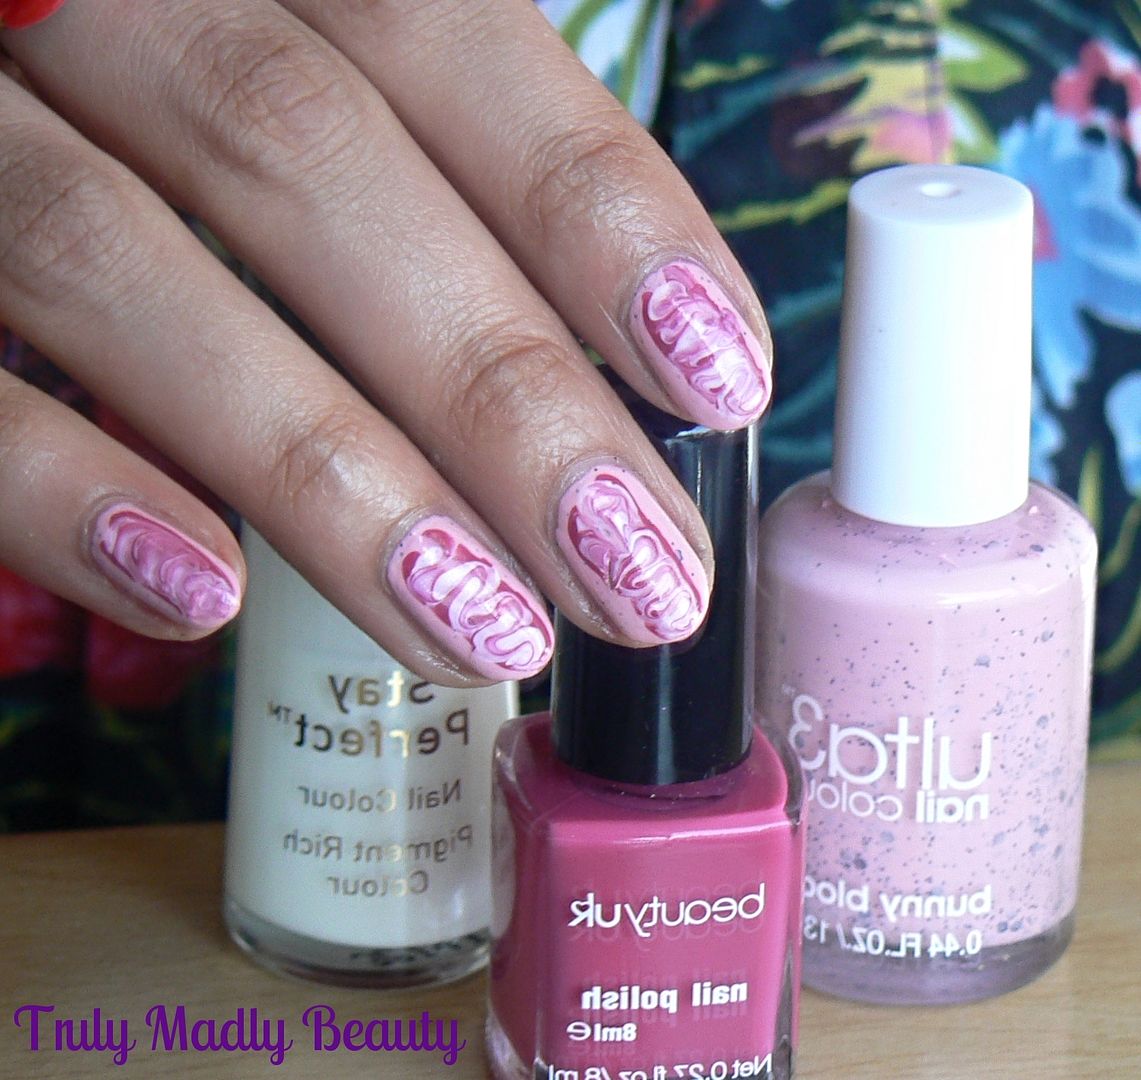
To begin with I needed my base colour,
I decided to use this adorable pink speckled polish from Ulta 3, a
fab Ozzy brand that my dear pal Chelle sent over to me, which was
part of their Easter collection & clearly saw them jumping on the
speckled polish bandwagon! This is Bunny Bloom, an adorable pastel
pink creme with both small & large black glitters.
I applied one coat of Bunny Bloom to
each nail. Next is the stage where you have to start working a bit
quick, so its best to do one nail at a time. After applying a second
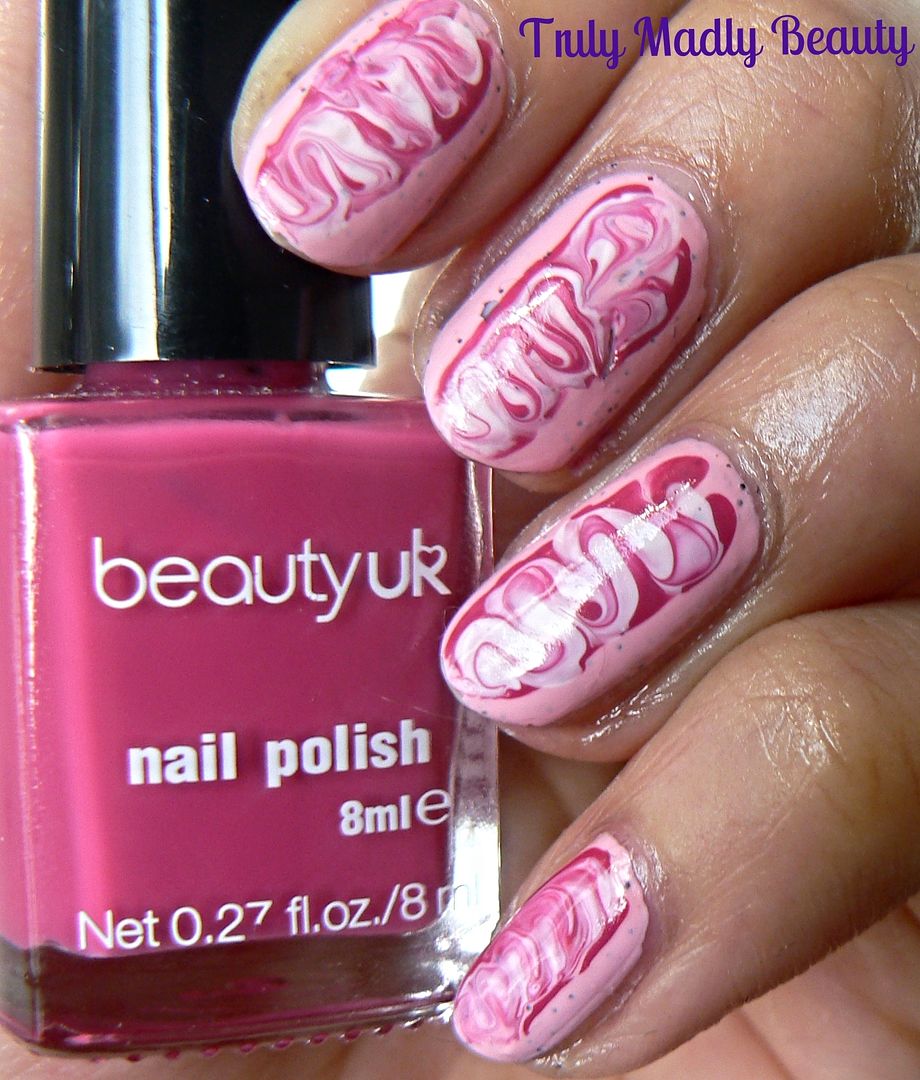
coat of Bunny Bloom, I then grabbed a random Beauty
UK polish in a bright raspberry pink shade & applied two thin
lines on top of the wet polish.
I then used No7 Snowflake, a (very
thin!) white polish which isn't the best formula but I'm trying to be
good & use it up in my nail art! I applied a line of white in
between the two raspberry stripes.
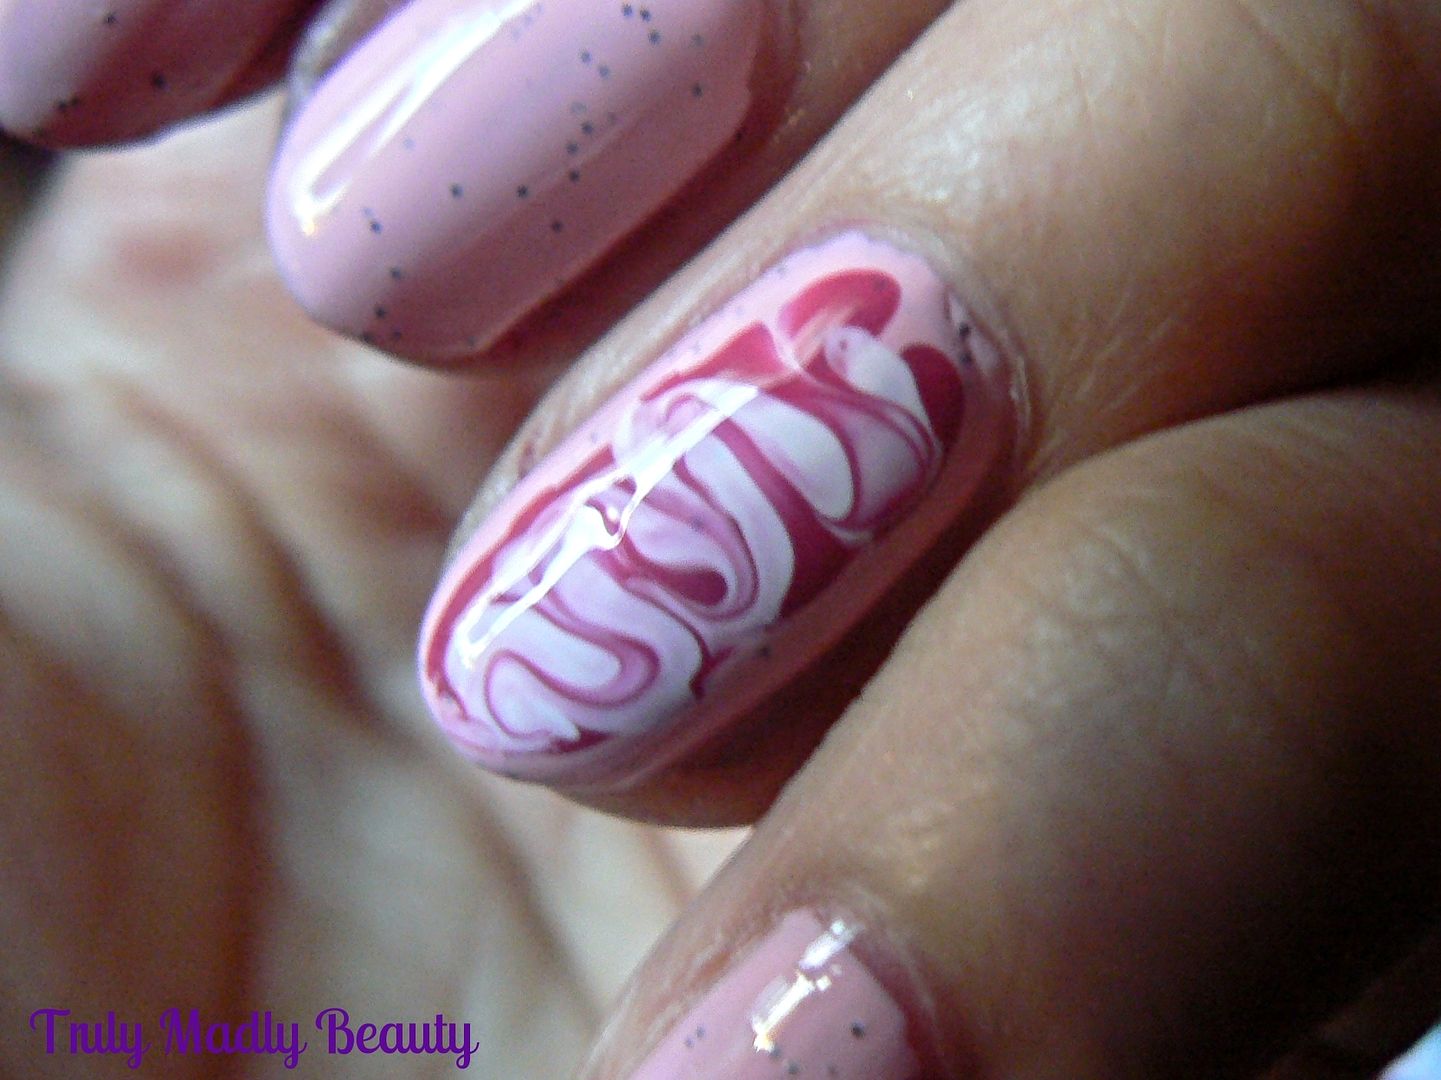
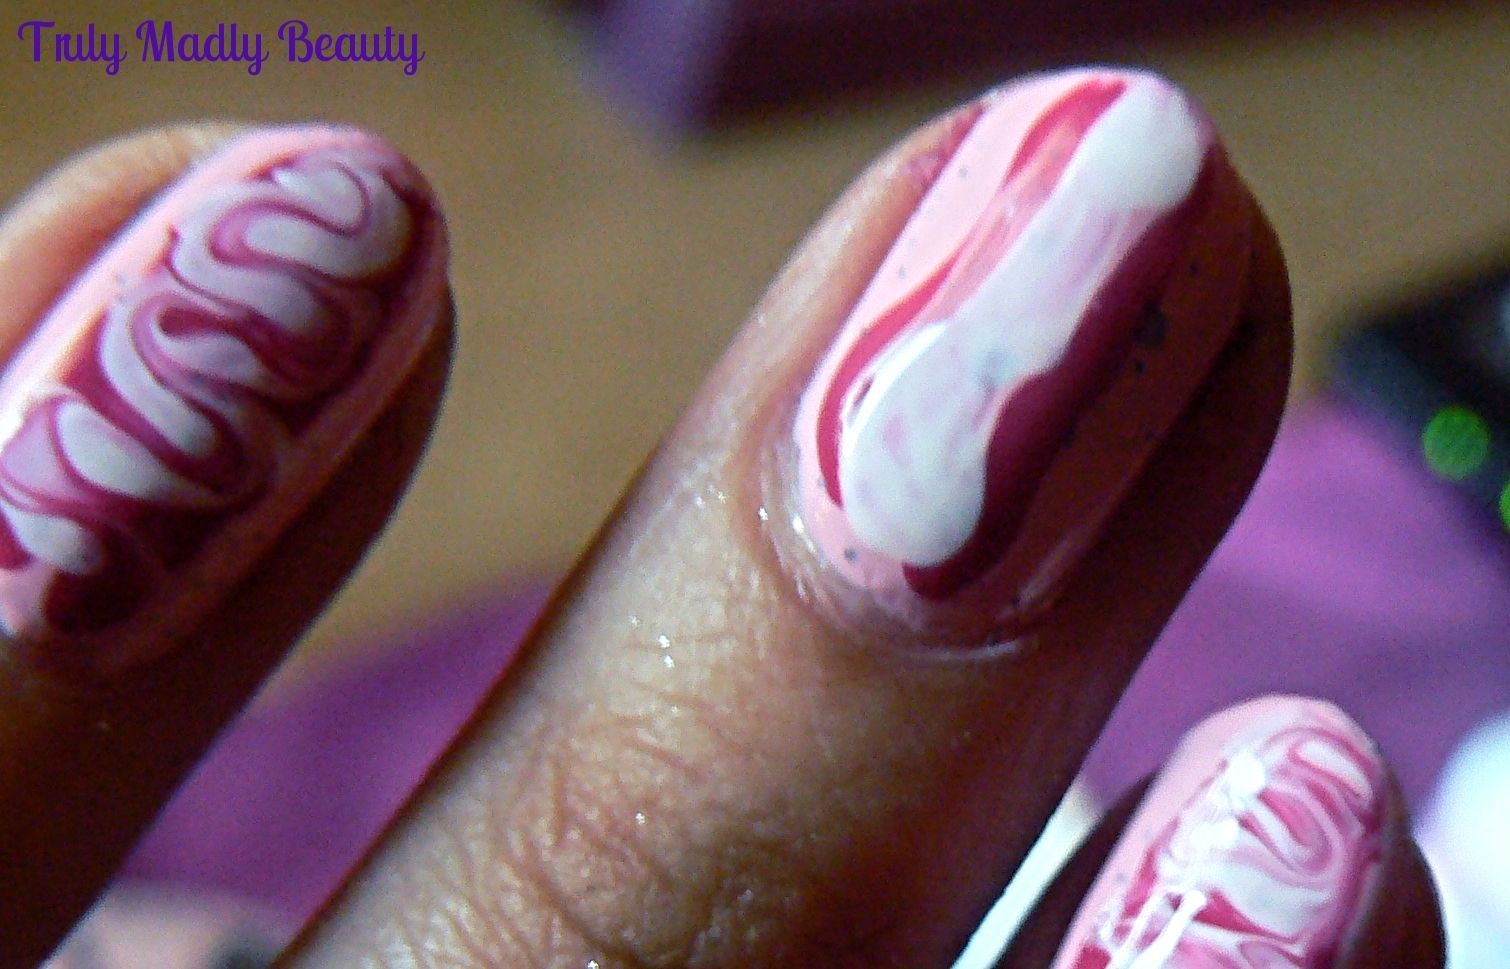
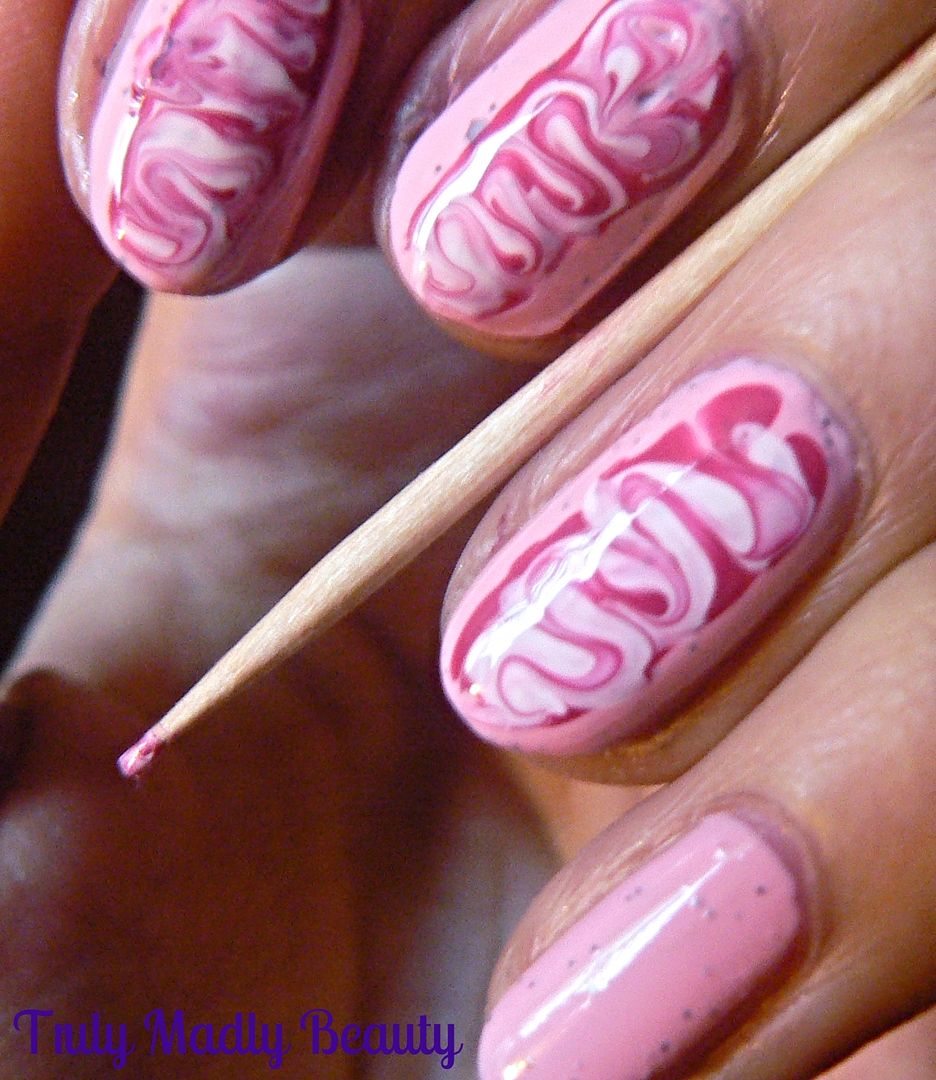
Grabbing my toothpick, I quickly
swirled the two colours together to create the ripple effect. The
most crucial part of this step is to do the marbling with a VERY
light hand, otherwise you'll risk going right through the polish to
the nail bed.
Continuing until all nails are done,
finish with a slick of topcoat to seal & you're done!
I decided to focus the design on the
center of the nail but you can also marble the whole nail if you
wish! In fact I may try that next using a different colour combo :)
I hope you liked the mani dolls, I'll
try & capture (better!) the different stages as I do my nail art
in the future so that I can feature some more mini step by step
tutorials for you!
Thanks as always for reading!
Lotsa love to ya!


No comments:
Post a Comment
I'd love to hear your comments & thoughts lovely people! They make me happy! :) Do check back as I will always do my best to reply back to you :) xoxo