
Hello
there lovely readers!
So
I have recently rediscovered the love for dry marbling nail art.
Still feeling somewhat daunted at even the thought of attempting
water marbling, I WILL man up & try it one day I'm sure, but
until that day arises dry marbling on the other hand is one nail art
technique I am totally on board with.
Not
only is it super easy to do but the results can be so pretty as well.
I love having a play around with different colours & tones to see
which ones mesh well together. You can see some of my previous dry
marbling manicures HERE.
To
do a dry a marble all you need is two polishes, or more if you wish
to have a mixture of more colours & a tool to create the marble.
This can be either a toothpick, dotting tool or brush. You can have a
peek at some of my previous marble nail art posts, in particular my
favourite one HERE, where I've done some more in depth step by step
pictorials on how to create this effect.

I
personally prefer to use a brush as it allows you a lighter hand when
marbling your colours together on the nail. Whenever I've used a
dotting tool or toothpick I've always found myself pressing too hard
& going straight through the polish to the nail bed.
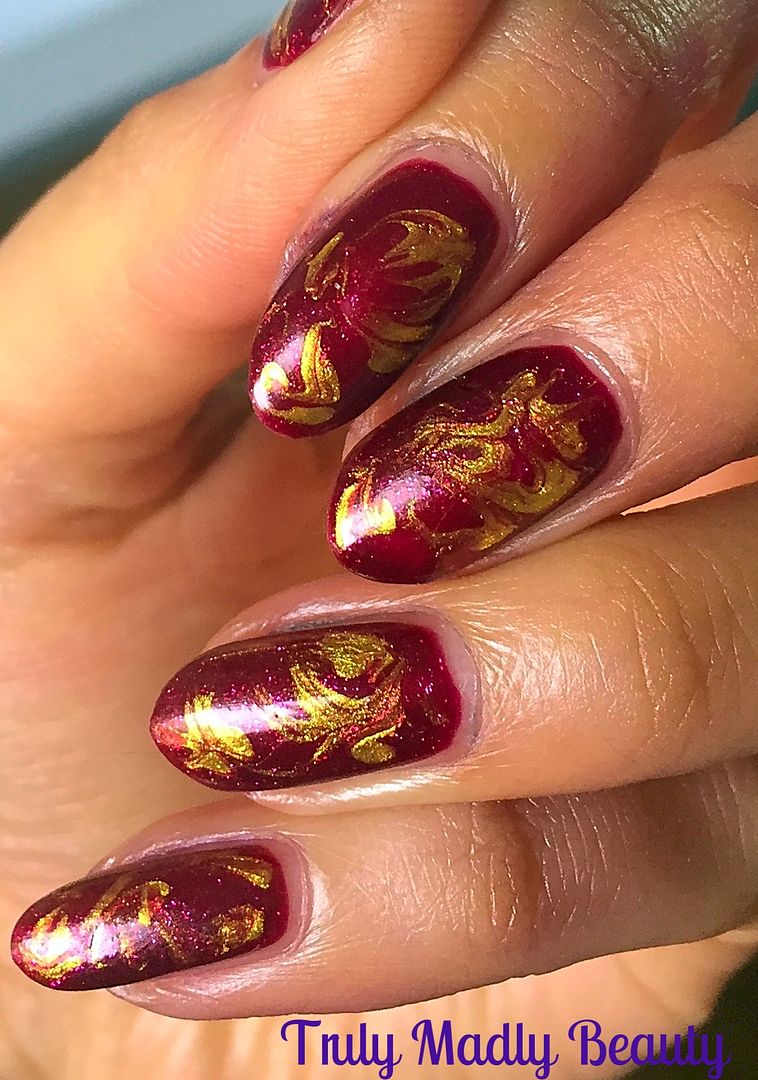
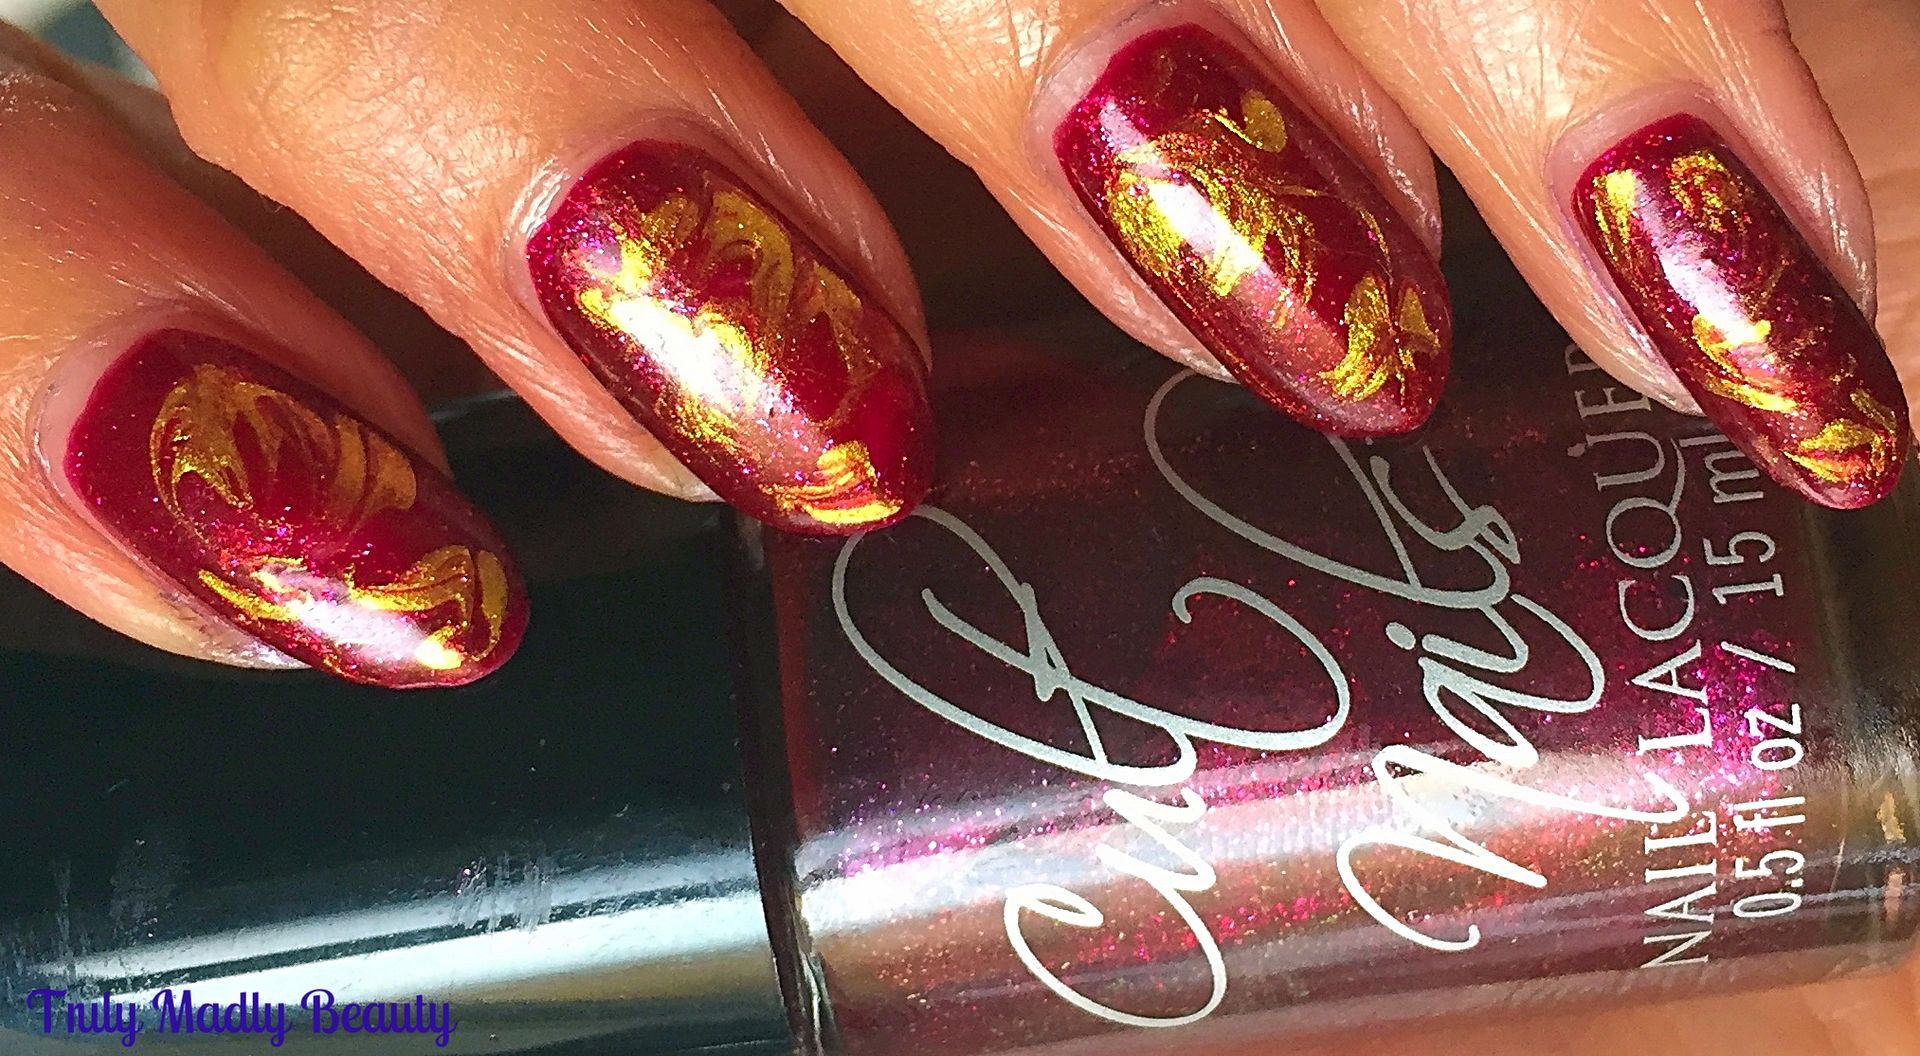
The
color combo I've used in this manicure is red & gold, I
absolutely love mixing these two jewel tones together as the colours
really contrast & stand out so beautifully creating a fab flame
like effect.
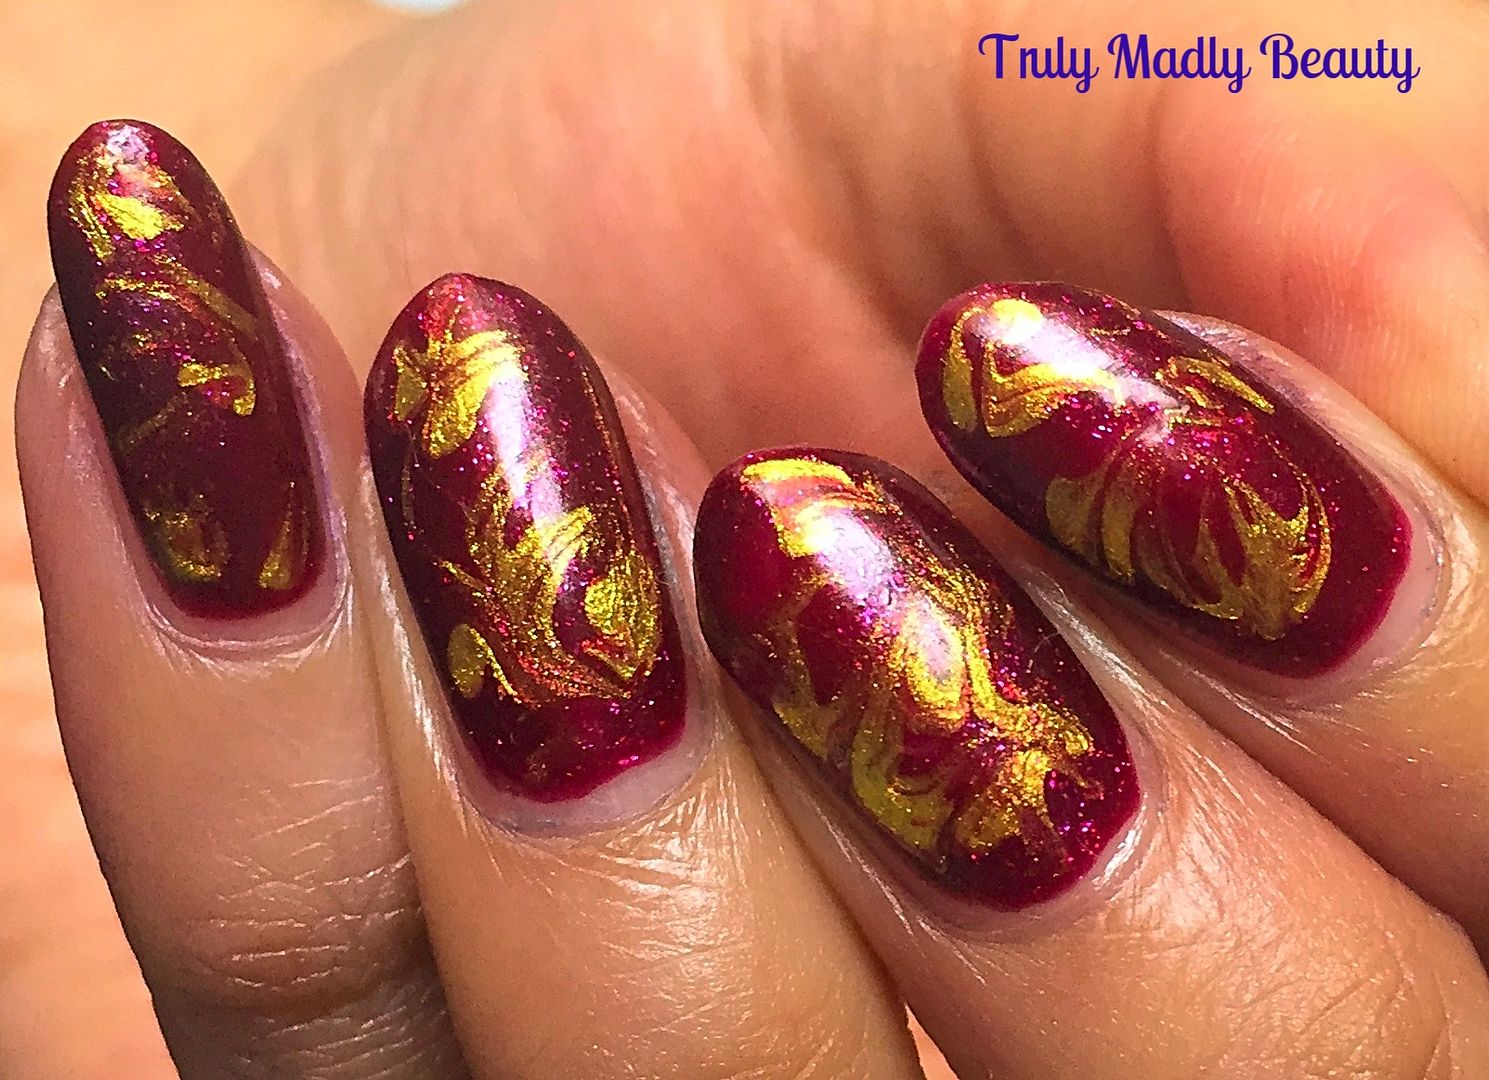
My
red polish of choice is Bitten from old indie brand Cult Nails, &
was part of the Behind The Closed Doors collection, a stunning
raspberry red glossy shimmer. This polish is just so gorgeous, I'm an
absolute sucker for these kinds of gothic-y reds & I can't wait
to use it again. Apply one coat of red & then apply your second
coat ready to marble!
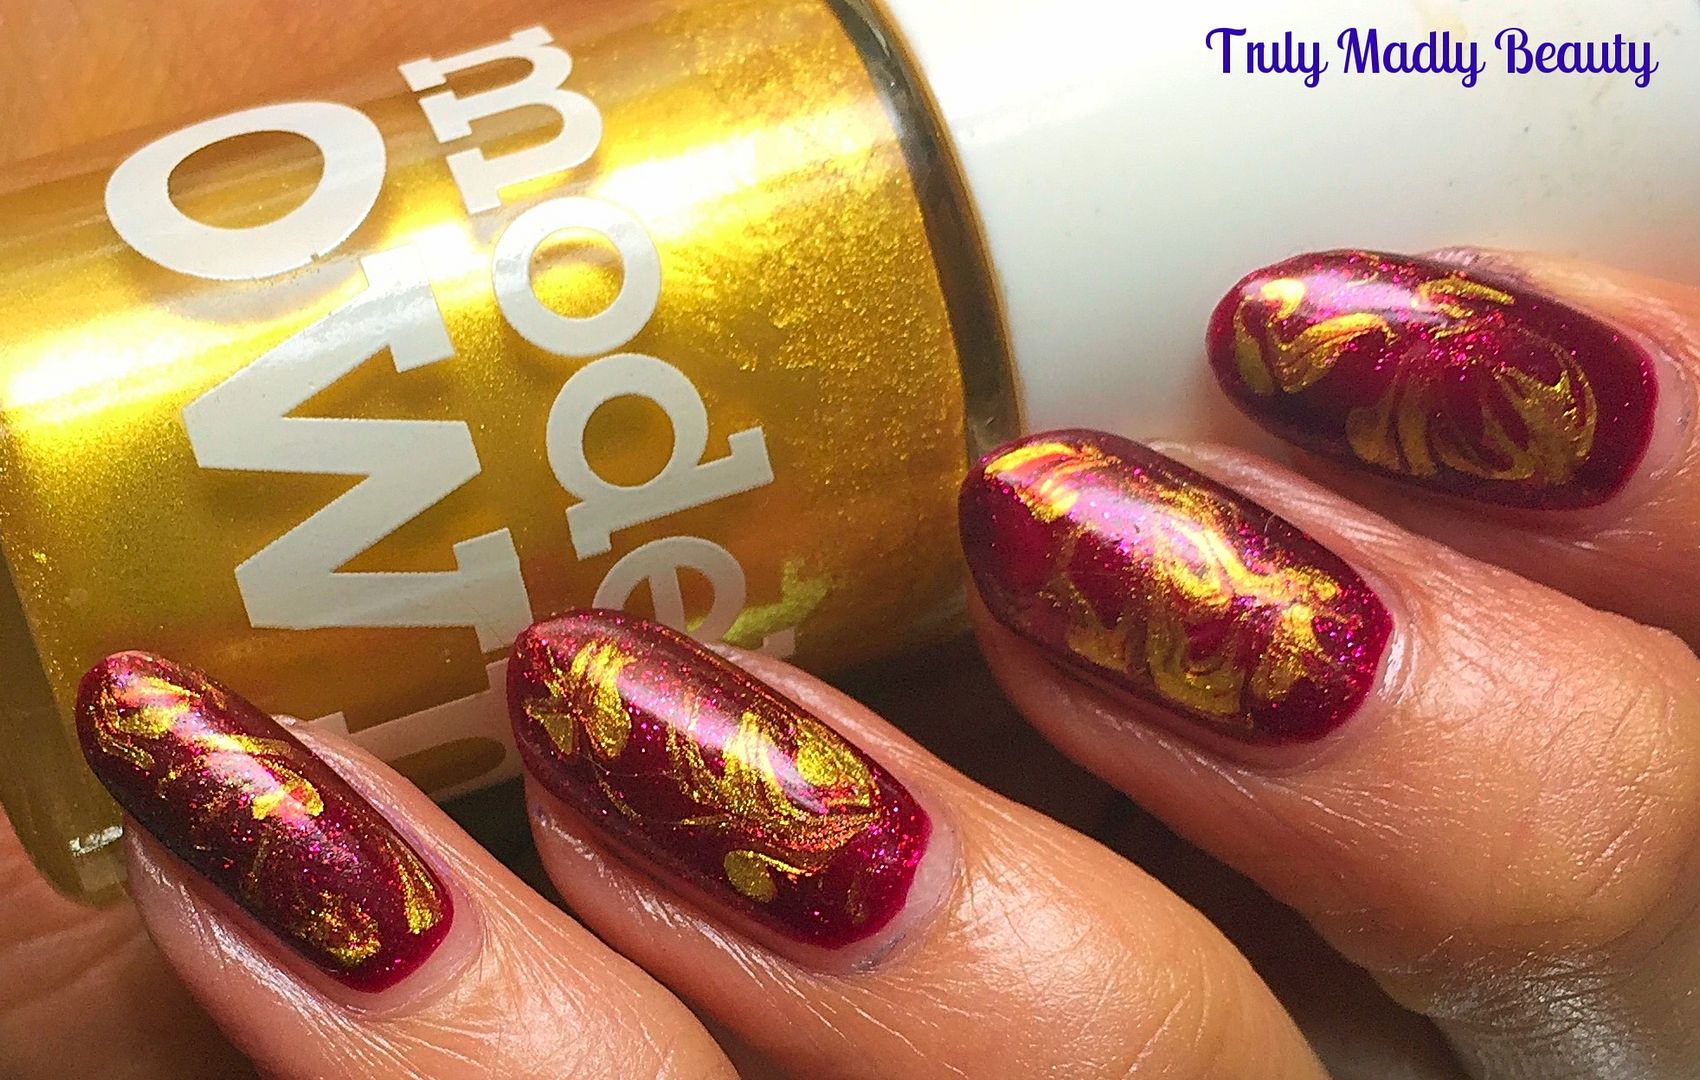
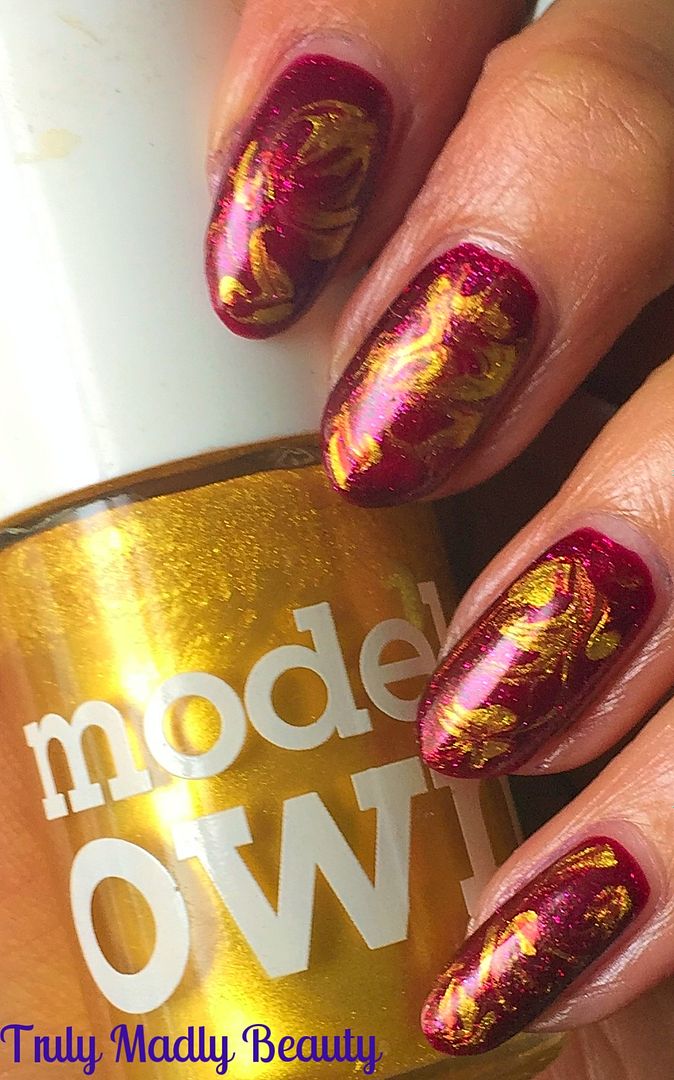
Whilst
your second coat of polish is still wet, add about two drops of gold,
here I've used Models Own 25 Carat Gold, & then using your brush
or whichever tool you prefer, swirl the gold in to the red using
light strokes, not blending too much that you lose the gold.
If
you think you've applied too much gold you can always add a couple of
drops of red & blend some more, careful not to overload the nail
with polish though otherwise you'll end up with puddles of polish in
your cuticles.
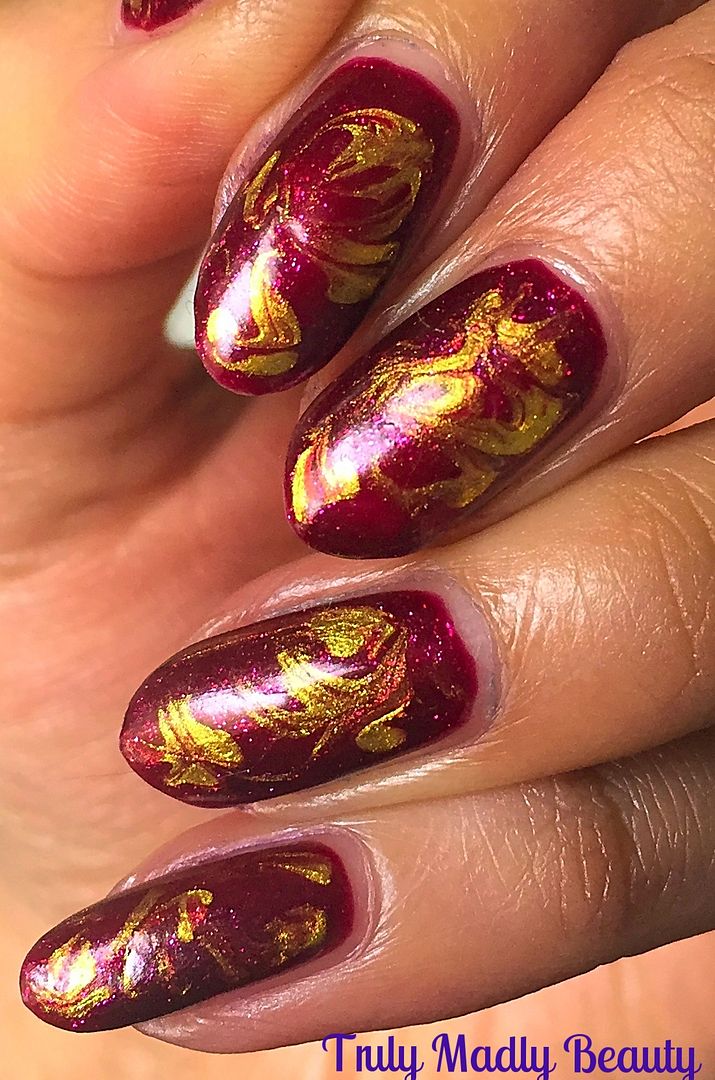
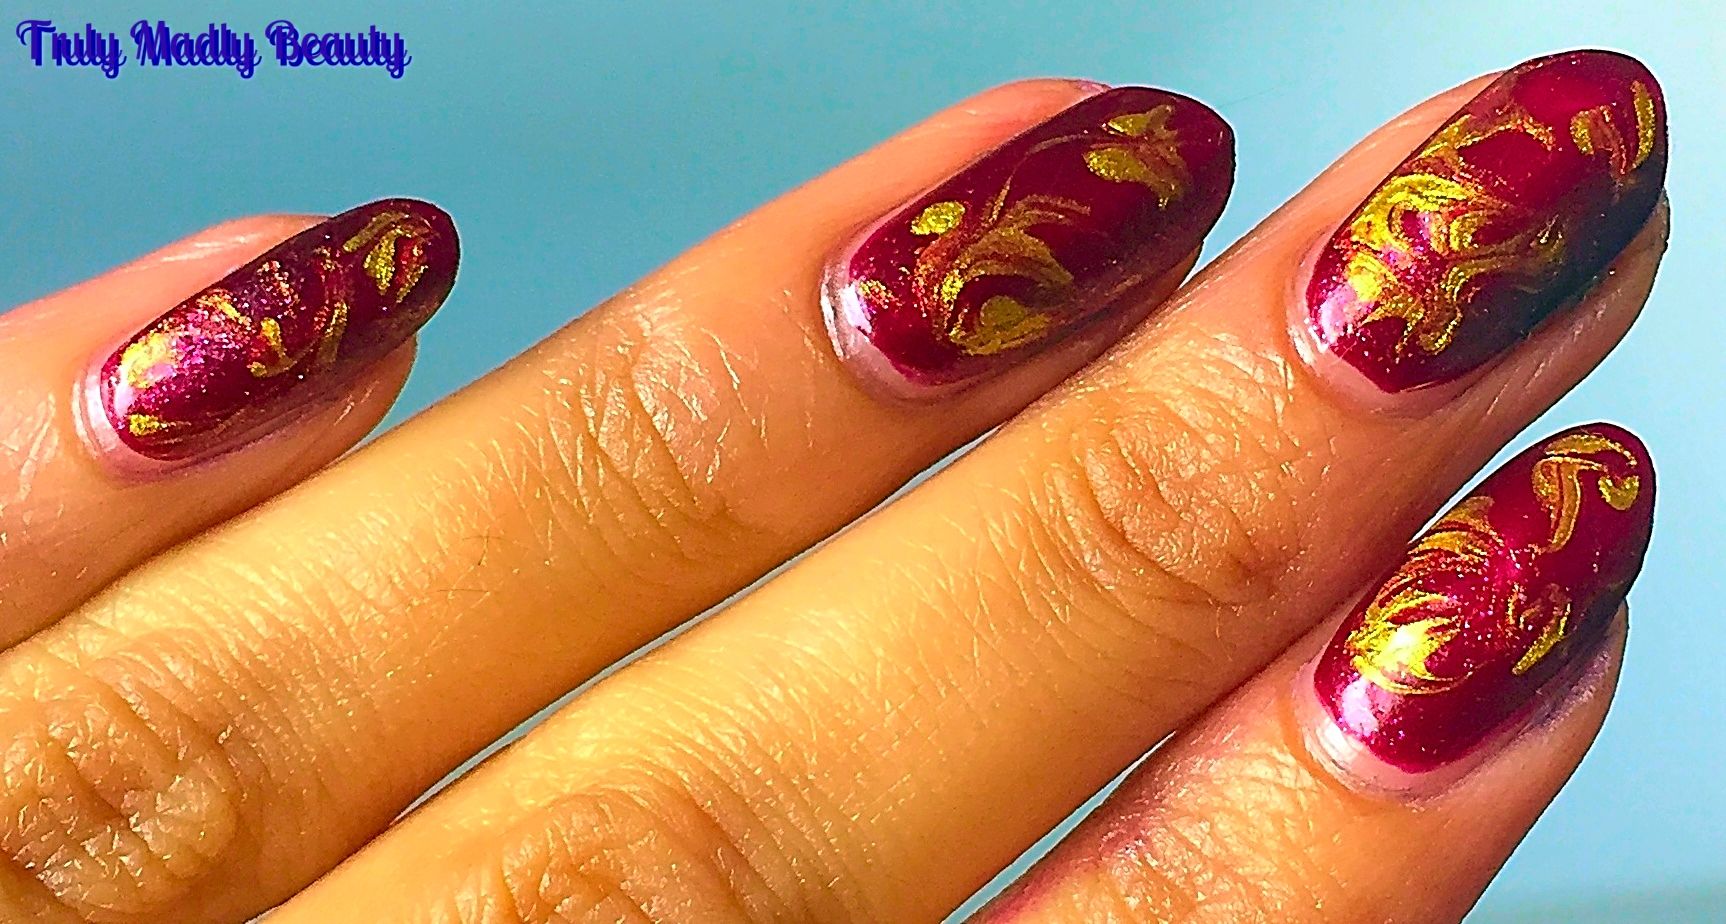
Once
you are happy with the design seal with topcoat. Done! I have lots of
ideas floating around for some more marble designs so keep posted.
Let me know if you give it a try!
Thanks
as always for reading!
Lotsa
love to ya!

Such a stunning effect and I love the polishes you chose ❤
ReplyDeleteThank you so much Jo! Love how a technique so easy can create such an eye catching effect :) xoxo
DeleteSuch a gorgeous design & I love the finished effect of marbling. I am also super scared of water marbling & I hate that so much polish is wasted. I've never tried dry marbling but I am def doing to, it may be the answer to my poroblems!
ReplyDeleteVicky xx
@thepolishlist
Thank you so much Vicky! Haha I know I'm totally the same & it just seems so long winded with lots of room for error. This is a much easier away to create the cool effect :) xoxo
Delete