
Hello
there my lovely readers!
As
much as I adore nail art there are times when life gets in the way
meaning that quick solutions are required when wanting to pretty up
those nails but finding oneself lacking in time!
One
nail hack that I love is the use of water nail decals. These are
designs/images which you can transfer on to your nail, either
polished or bare, after soaking in water, a concept rather like those
quirky tattoos you used to get in sweet/bubblegum wrappers as a kid,
remember those?
I
usually get my nail decals from my favourite place for nail art
supplies, Born Pretty Store, not only are they super cheap, but they
have a huge range to choose from! FYI you can also get 10% off your
order using my code TRUW10
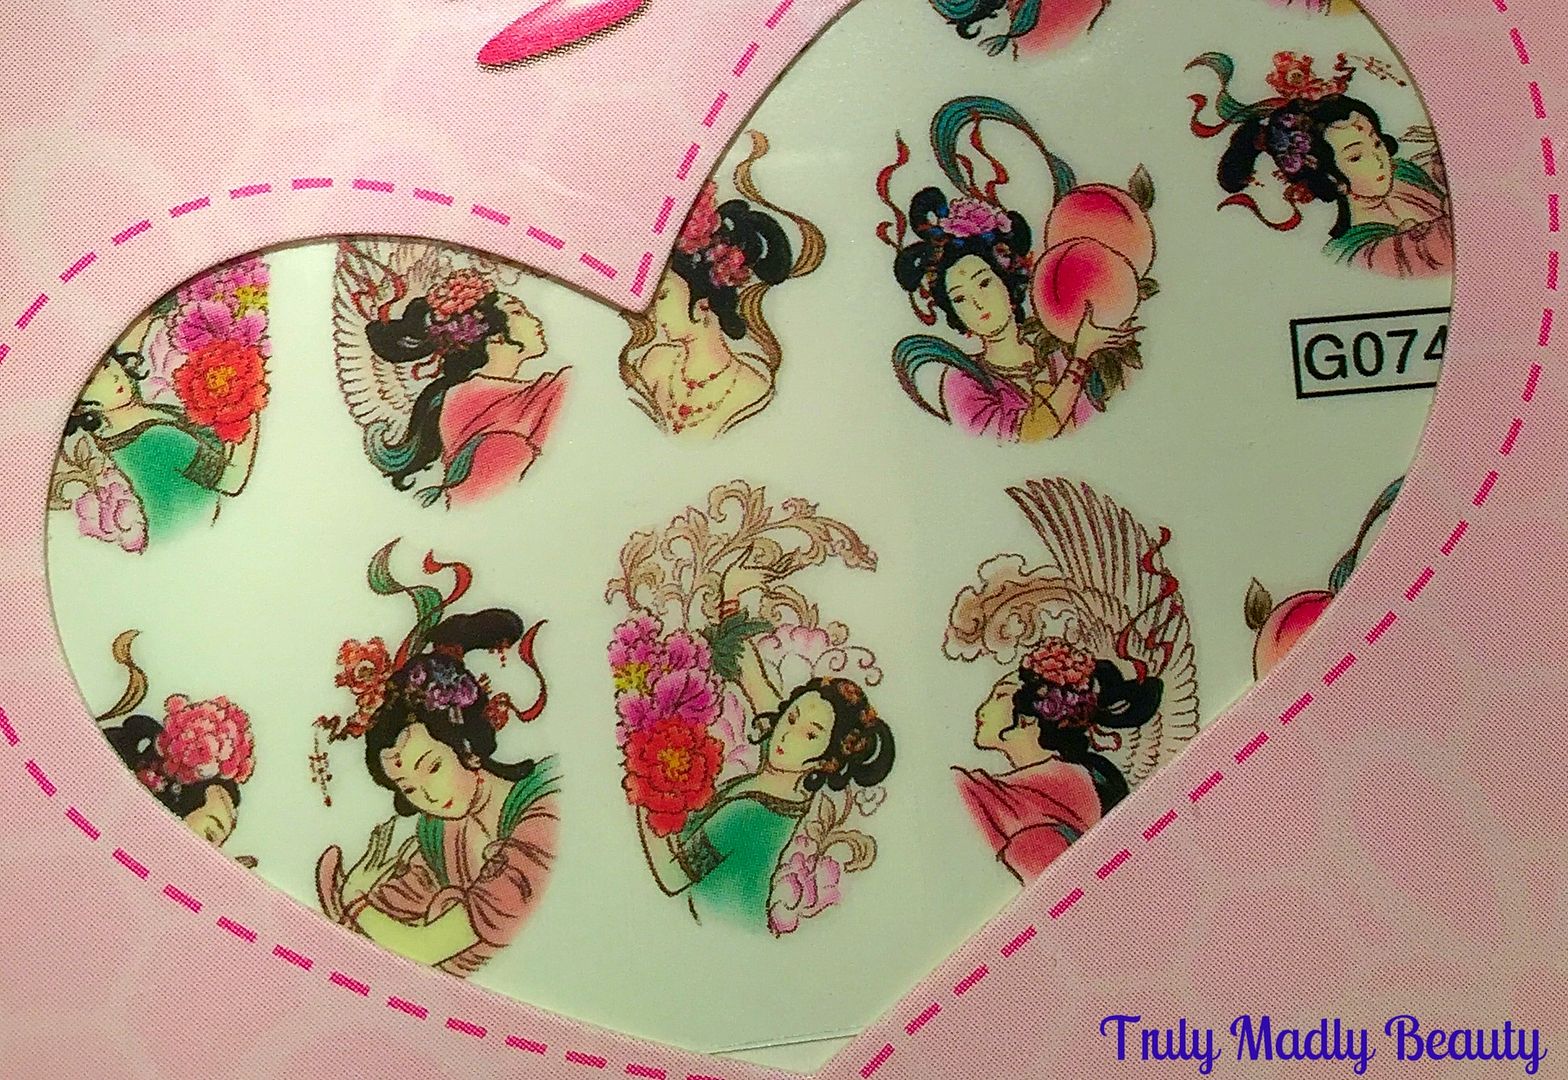
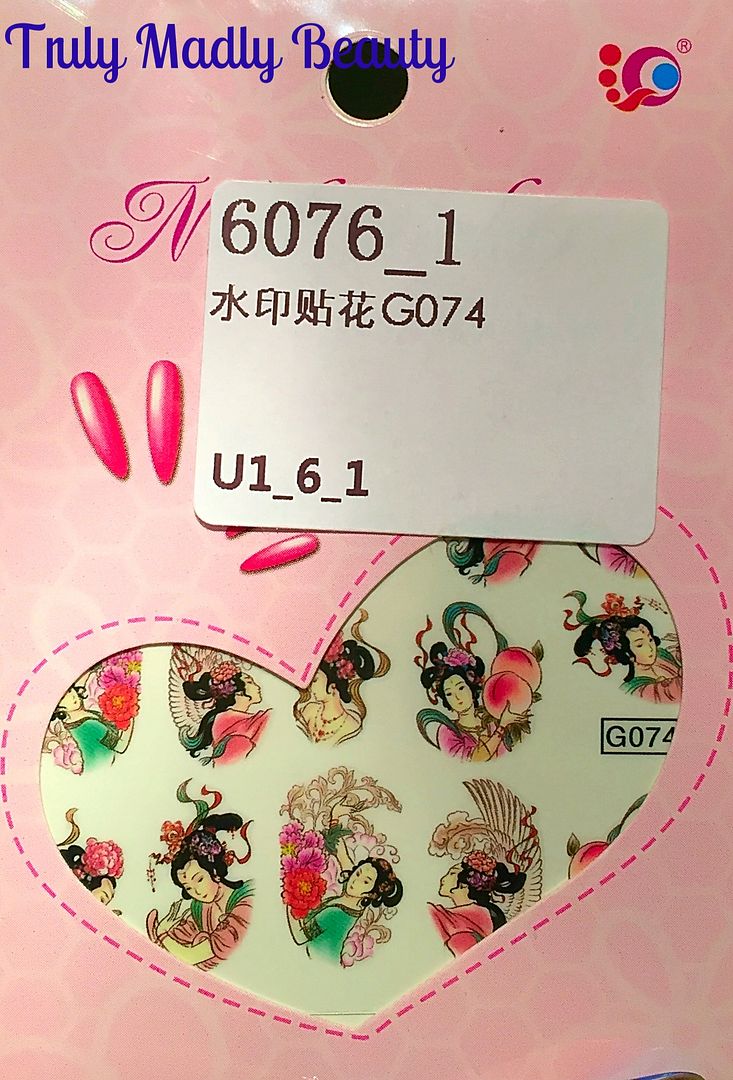
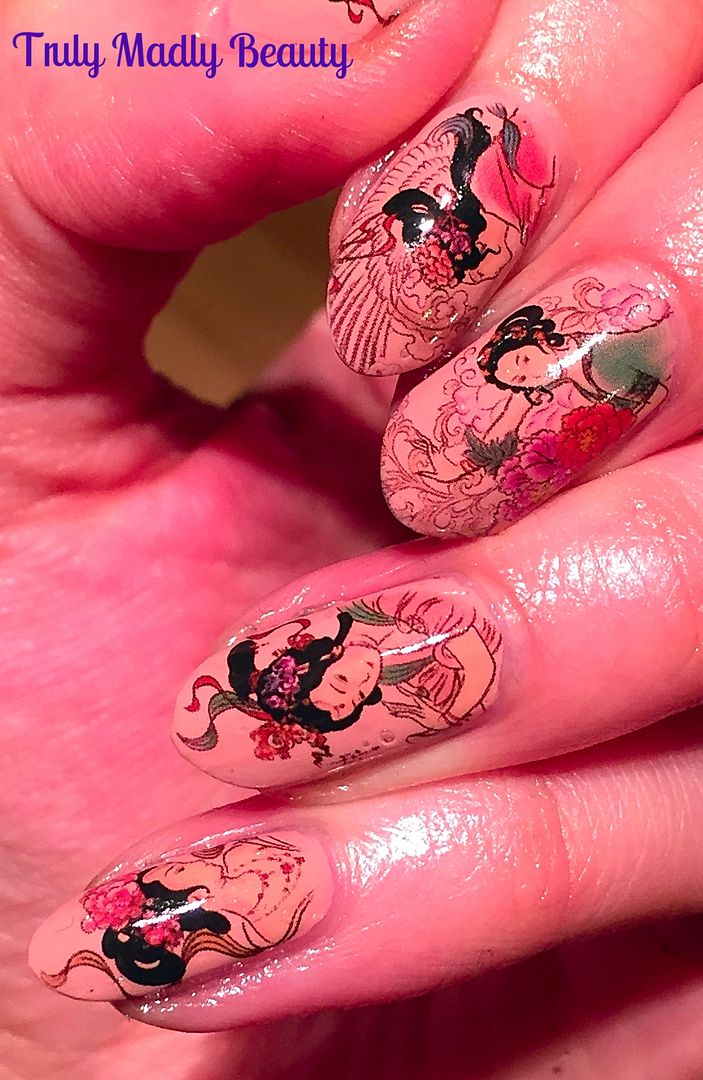
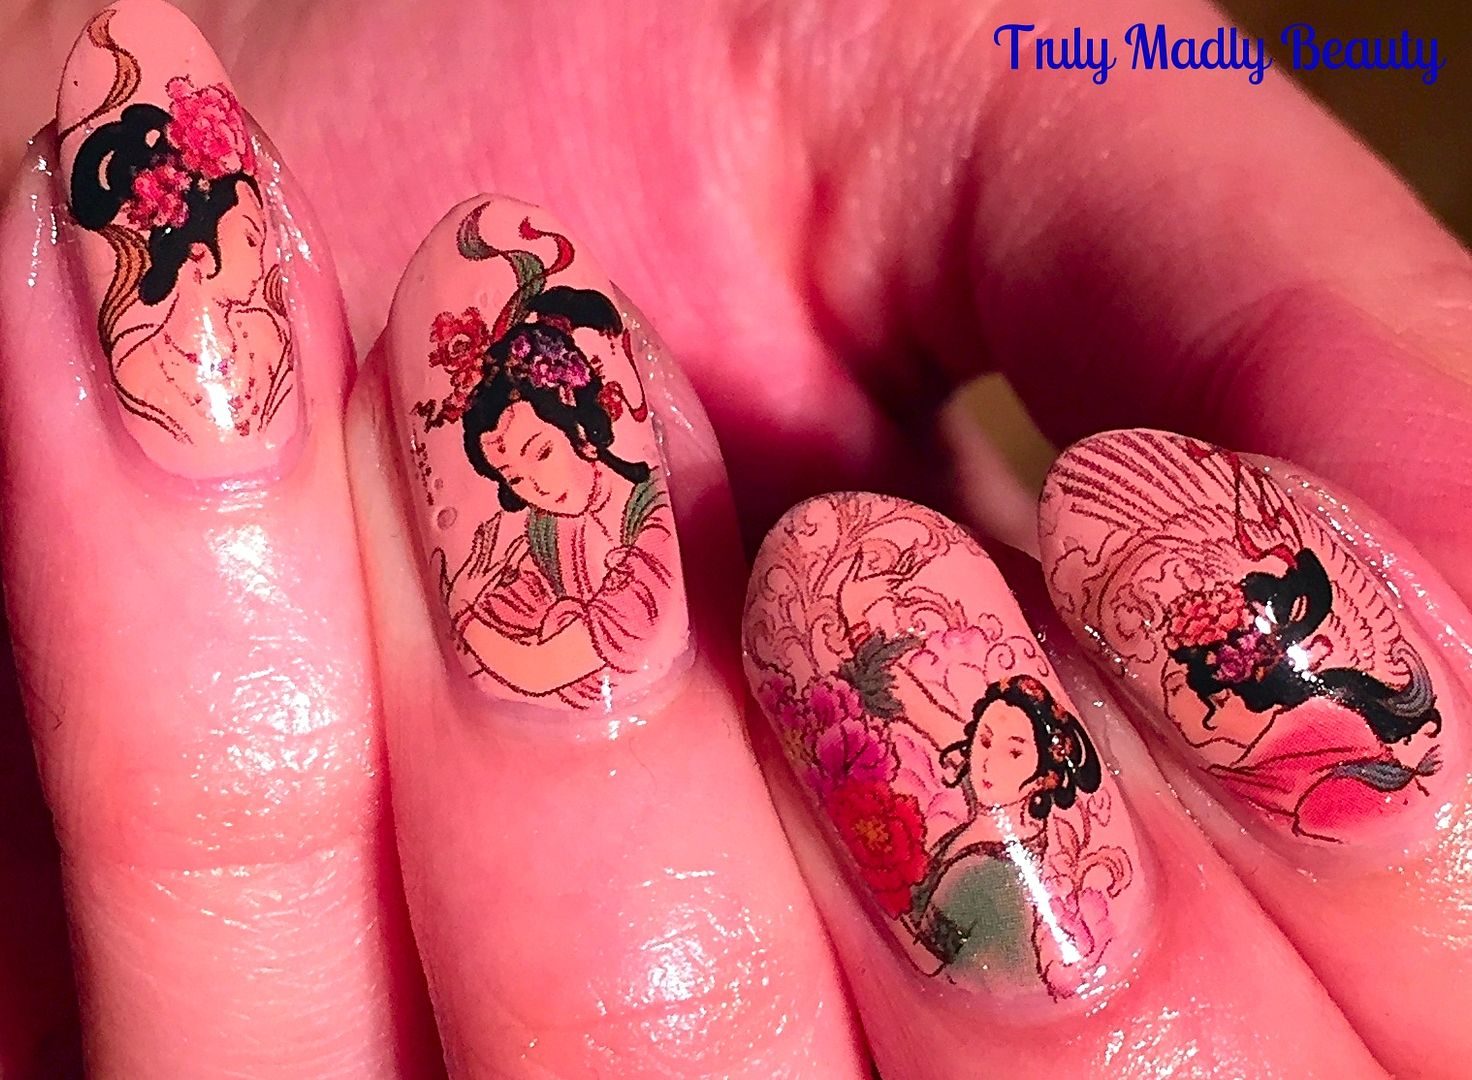
On
a recent little haul I picked up some of the Geisha nail decals that
I'd had my eye on for ages, I mean how could I not, how beautiful are
they?
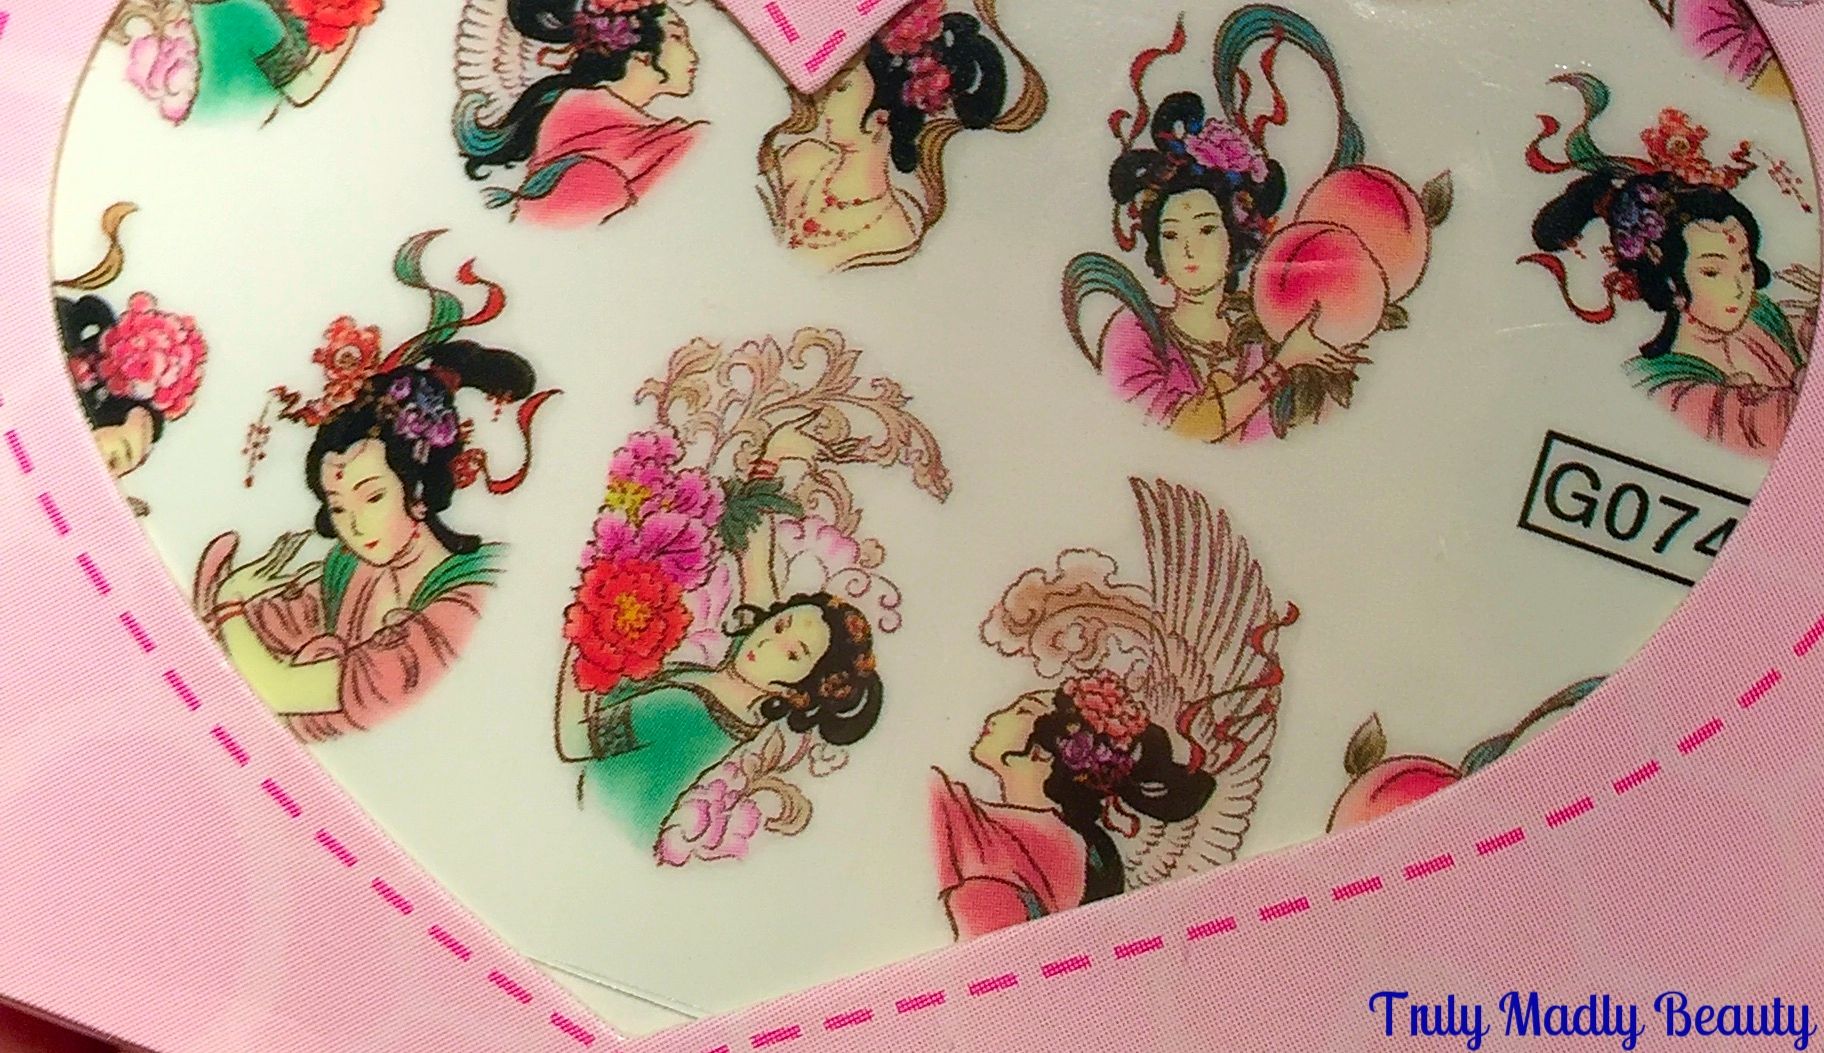
Depicting
pretty painted images of the stunning Geisha ladies, the design is so
intricate & beautiful, I couldn't stop staring at them & was
eager to get them on!
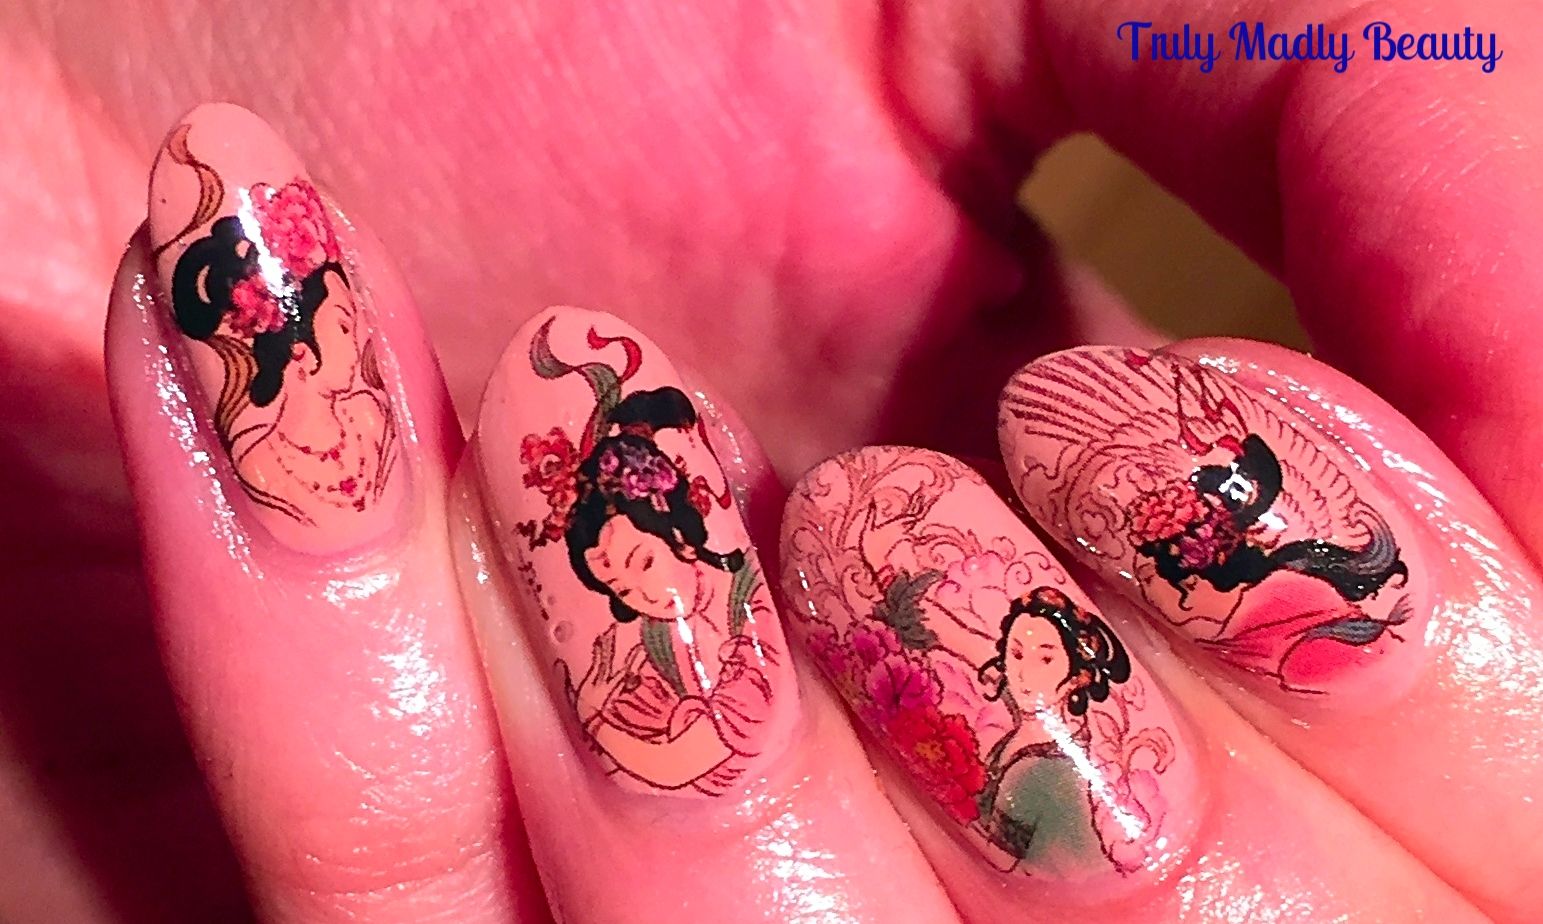
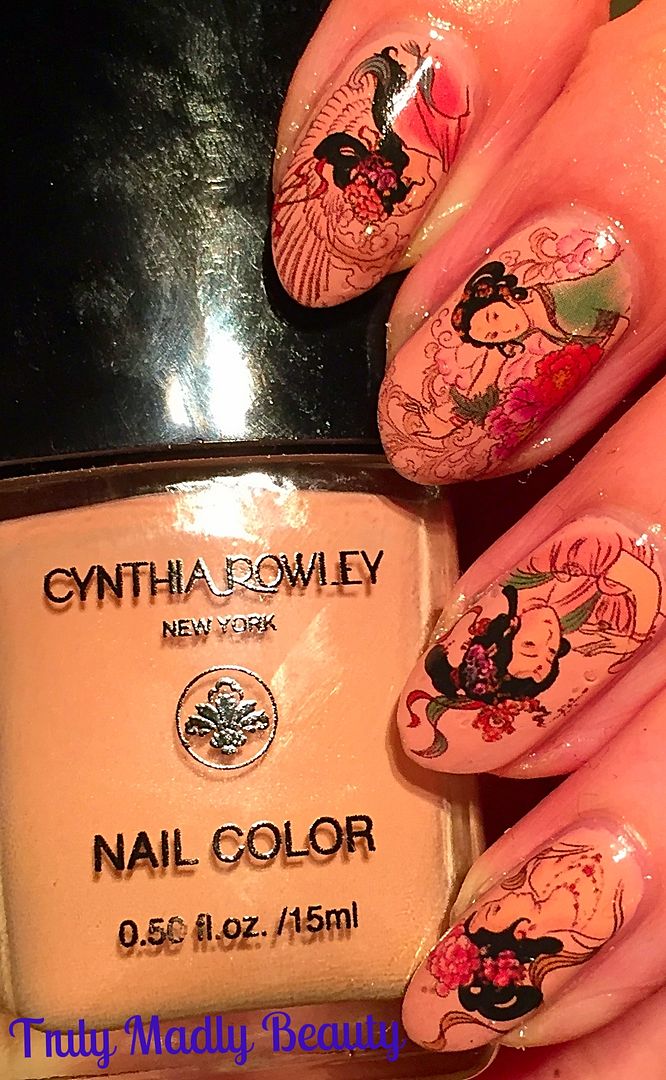
I
wanted to place these on a nude base to really show them off so
applied a couple of coats this Cynthia Rowley nameless biscuit toned
nude creme.
Your
polish needs to be completely dry before applying the decals so you
can always apply them the next day or just use a speed dry topcoat
like I did with my one true topcoat love CND Air Dry as I have no
patience!
Now
the fun part of adding the decals, its best to have everything in
front of you so have your sheet of decals, scissors, tweezers,
kitchen towel & a cup of water at the ready & do one nail at
a time. I wanted to do a step by step pictorial for you but it was
evening & the lighting was bad (blogger problems) so I'll just
explain each step!
Pick
which image you want, cut out & using the tweezers, dip the decal
into the water for about 10 seconds. Lift out the decal & pat on
to the kitchen towel to get rid of excess water.
Then
using your finger, push at the image & your decal should slide
right off the backing card, if not then just place back into the
water for a few more seconds.
Again
using the tweezers place the image on to the nail, sliding back &
forth until your happy with the placement, then using the towel,
press firmly to flatten any creases. If the decal is a bit big, trim
with scissors & if you find some of the image going over the nail
onto the skin then you can also remove this with acetone & a
brush to clean around the edges.
Do
the same on each nail & once all ten are done, seal everything
with a nice thick slick of topcoat to not only protect the design but
for a lovely glossy finish.
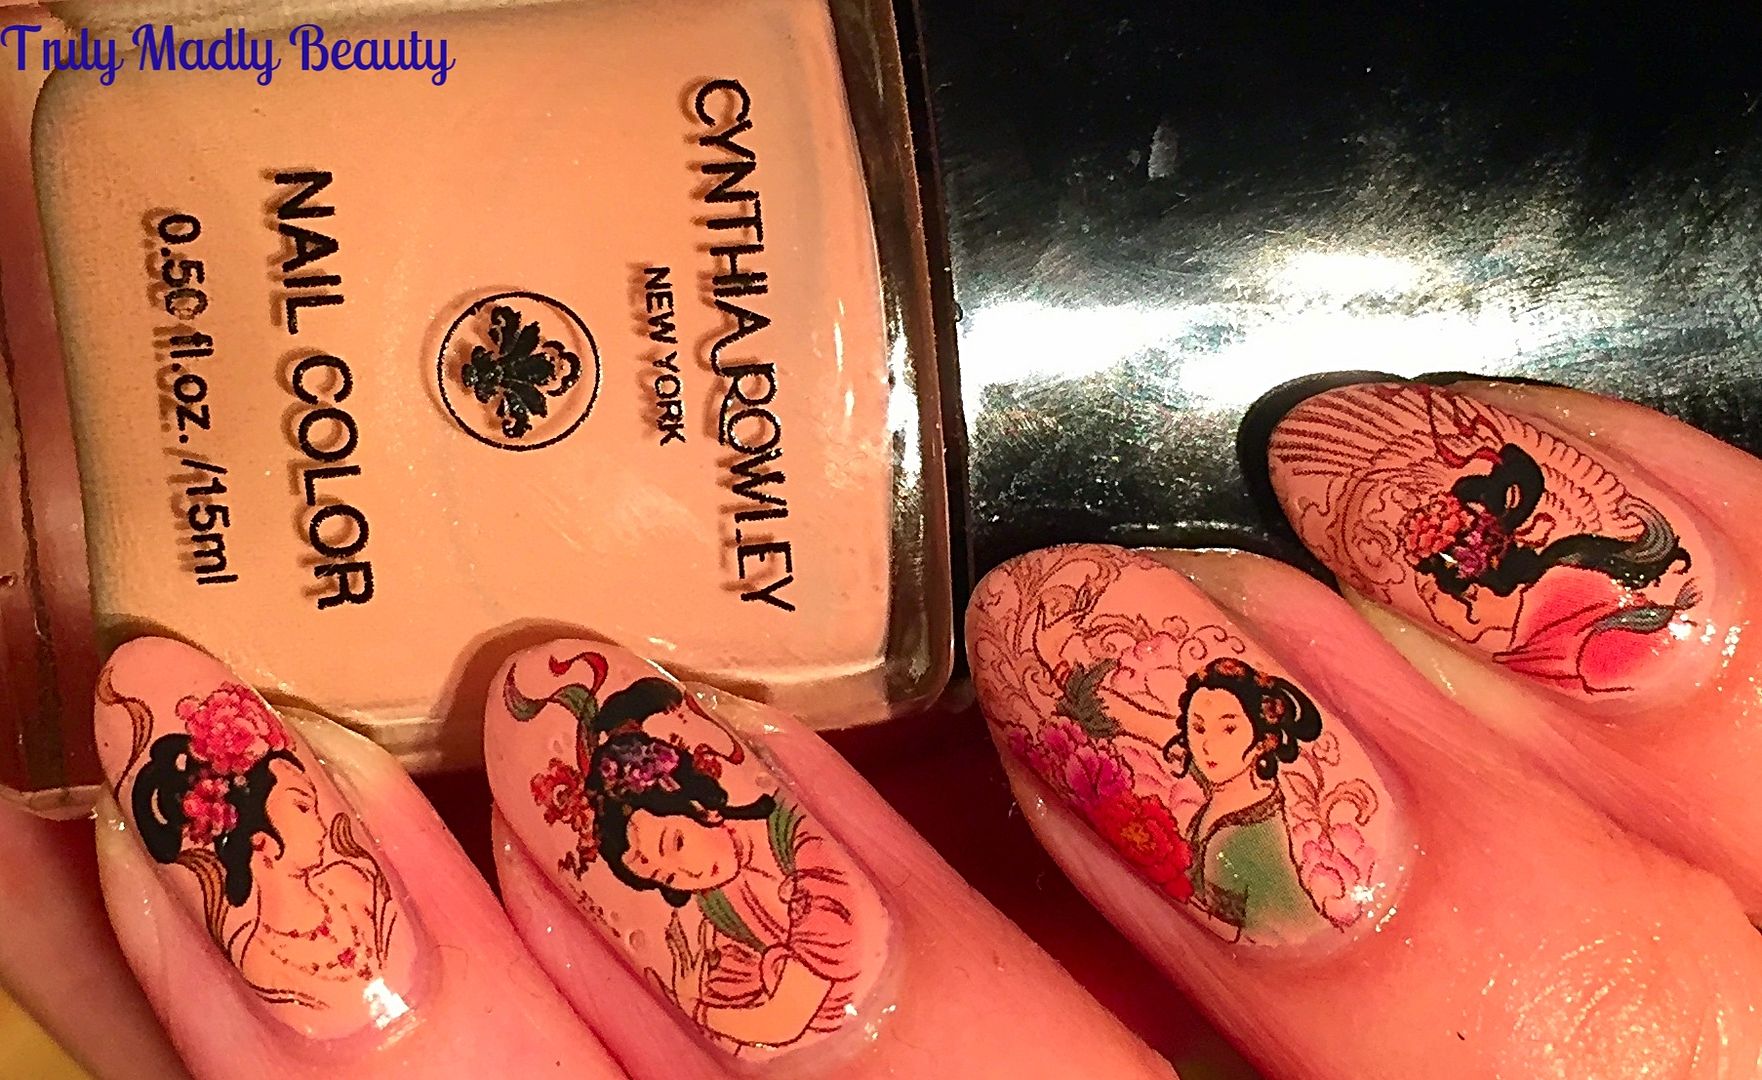
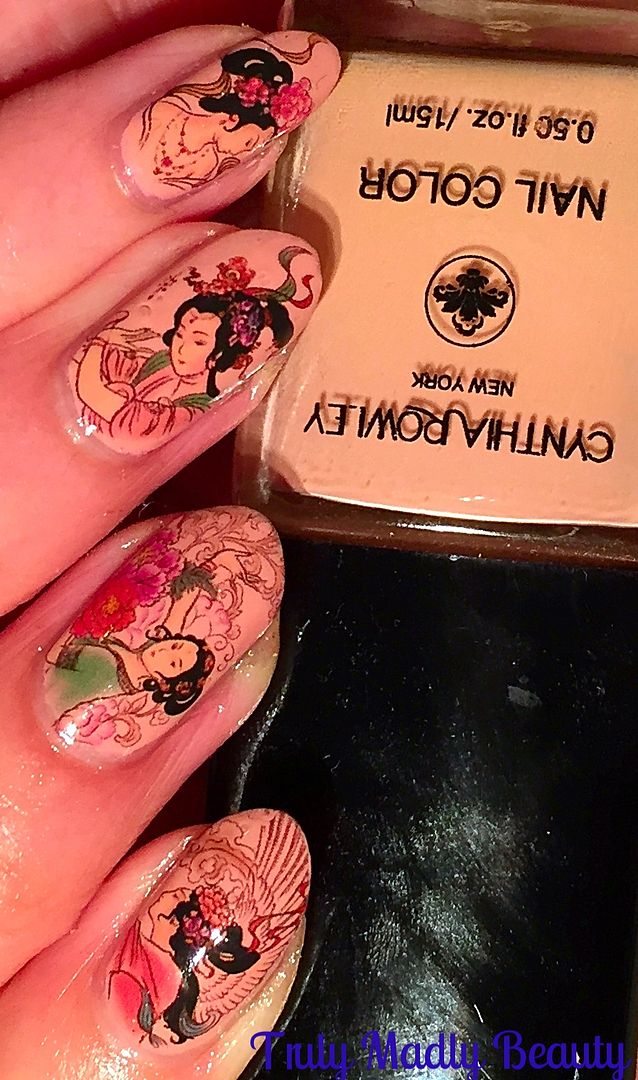
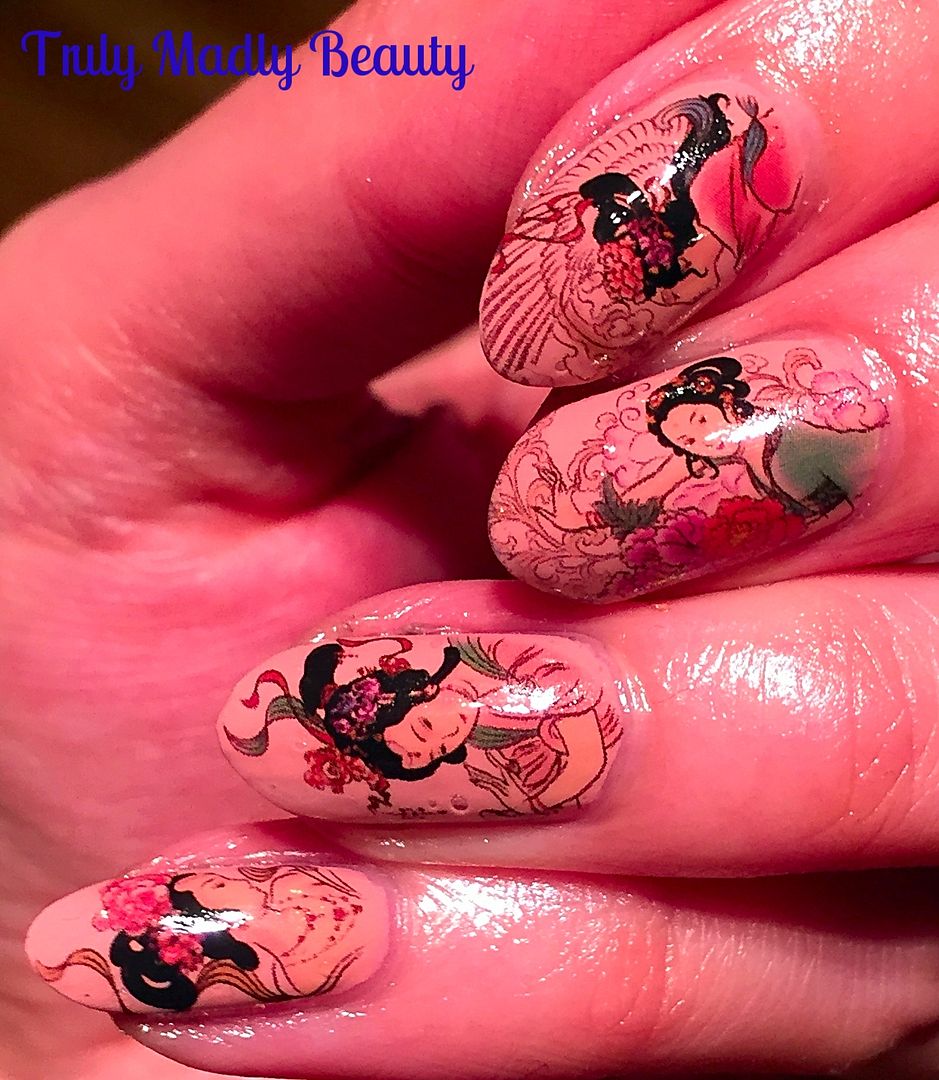
And
the finished look you are left with is a stunning, gorgeous
intricate manicure design that looks like it took hours but twas done
in literally minutes! I will definitely be getting more of these
beauties & you can to...just head on over to Born Pretty Store
now beauts.
Thanks
as always for reading!
Lotsa love to ya!

I love using water decals, they're so quick and easy & the effect is always beautiful!
ReplyDeleteVicky xx
@thepolishlist
Thank you for your comment lovely! And yes absolutely agree! Perfect for a quick yet pretty mani fix :) xox
Delete