6.28.2016

Armour Your Nails with All That Jazz Nail Filigree!

Hello there lovely readers!

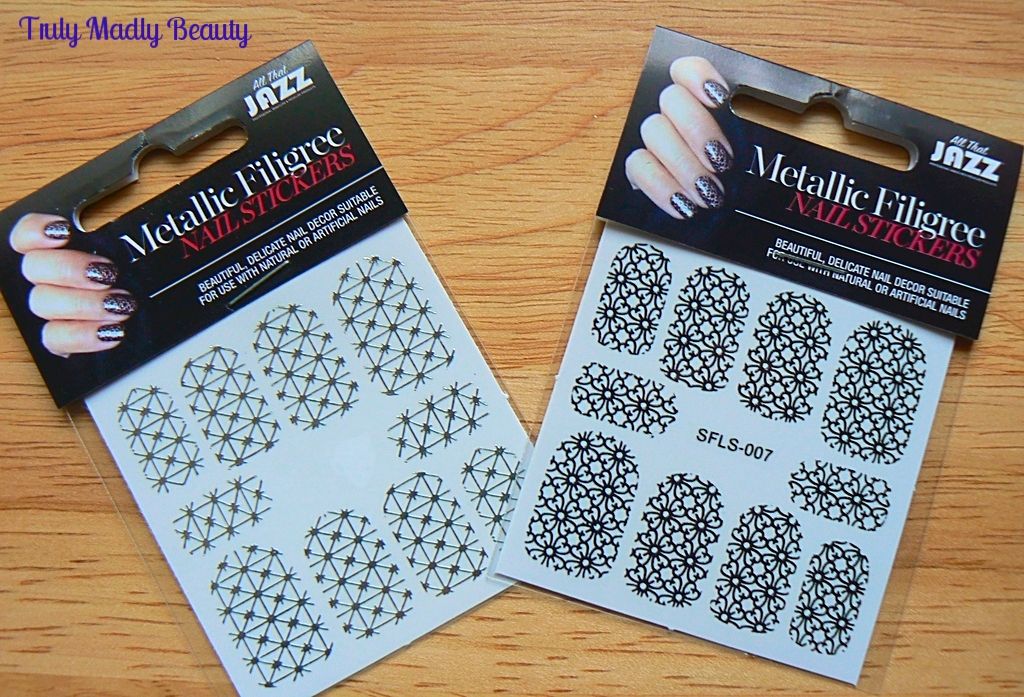
I'm always on the lookout for intriguing & innovative new ways to jazz up my nails & today I have such a nifty nail art product to share with you that will help do just that in the most blingy beautiful way courtesy of All That Jazz Nail Filigrees*!


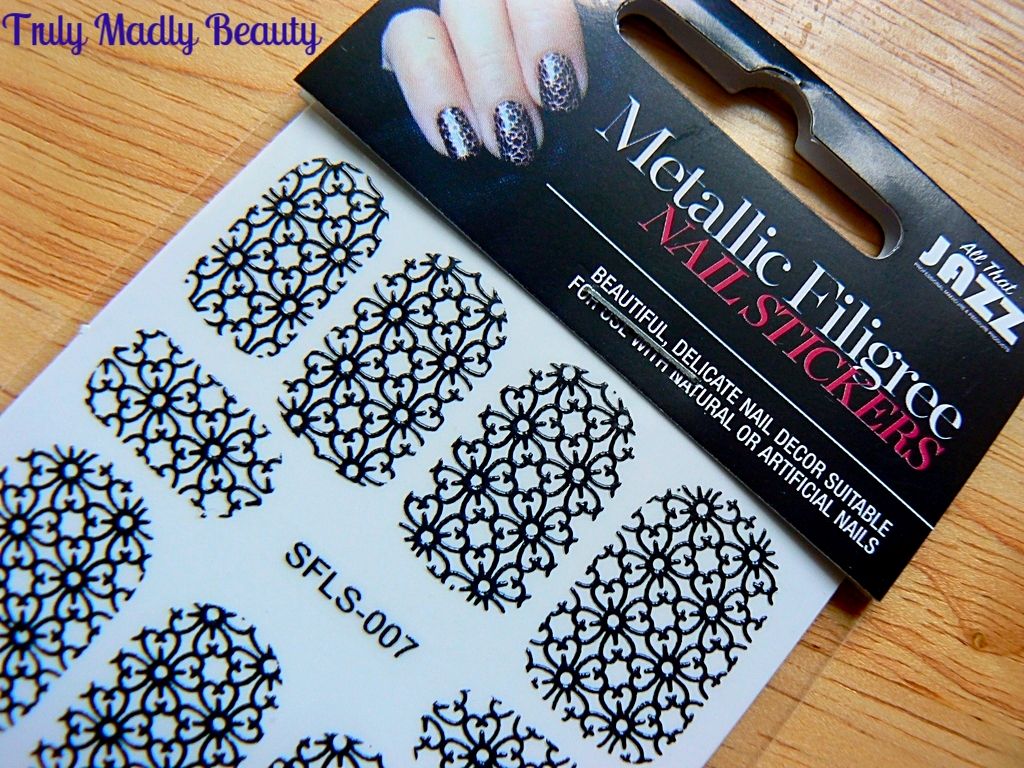
Nail filigrees are a fantastic option if nail art or nail wraps feel too complicated & time consuming. What I adore about these is not only how easy they are to use, but also the range of pretty designs that are available in a selection of gorgeous metallic finishes including white, silver, black, gold & rose gold.


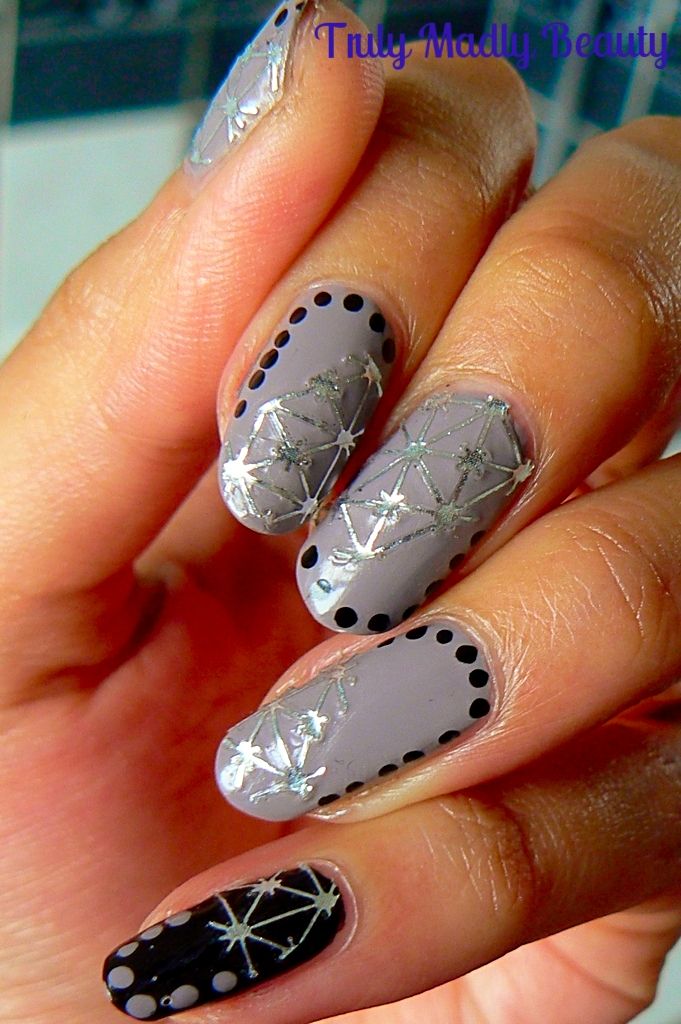
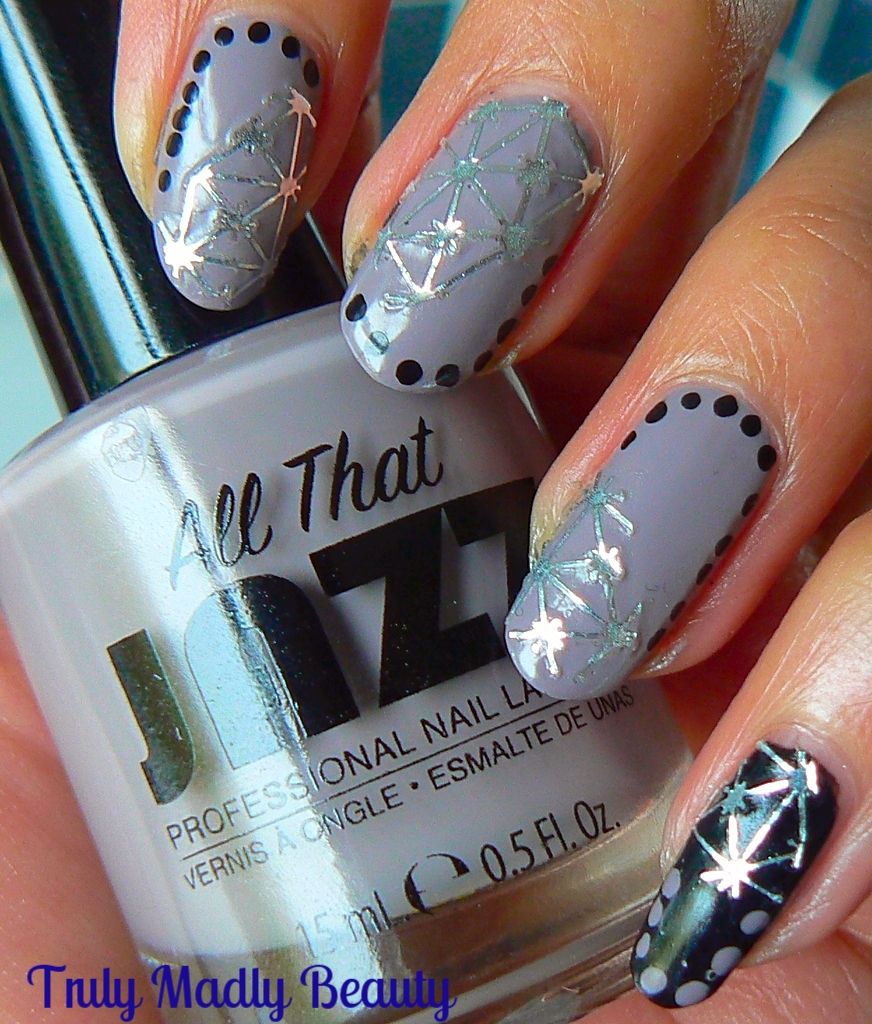
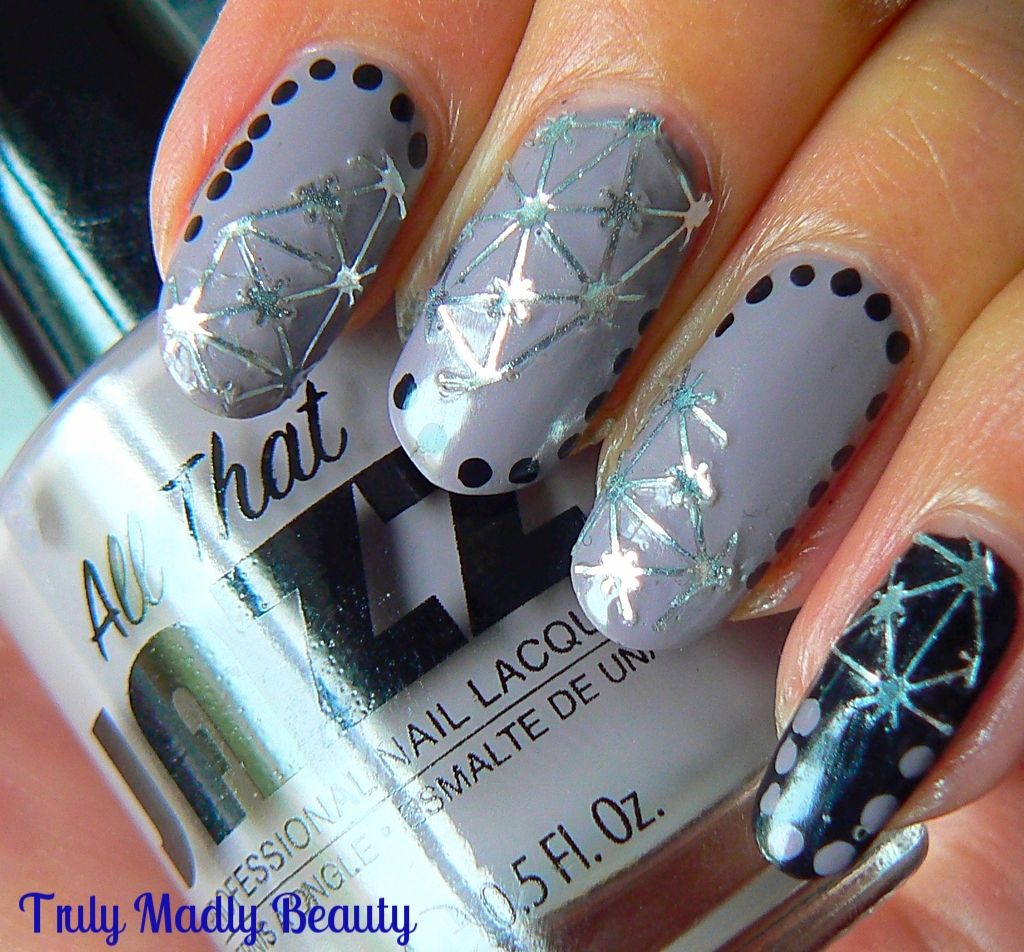
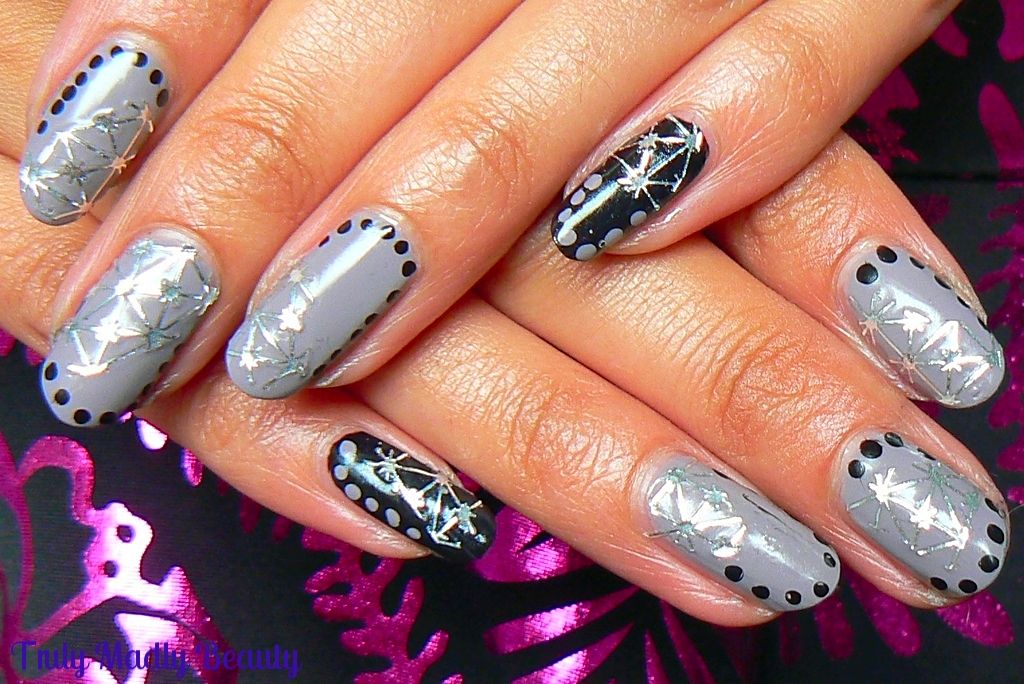
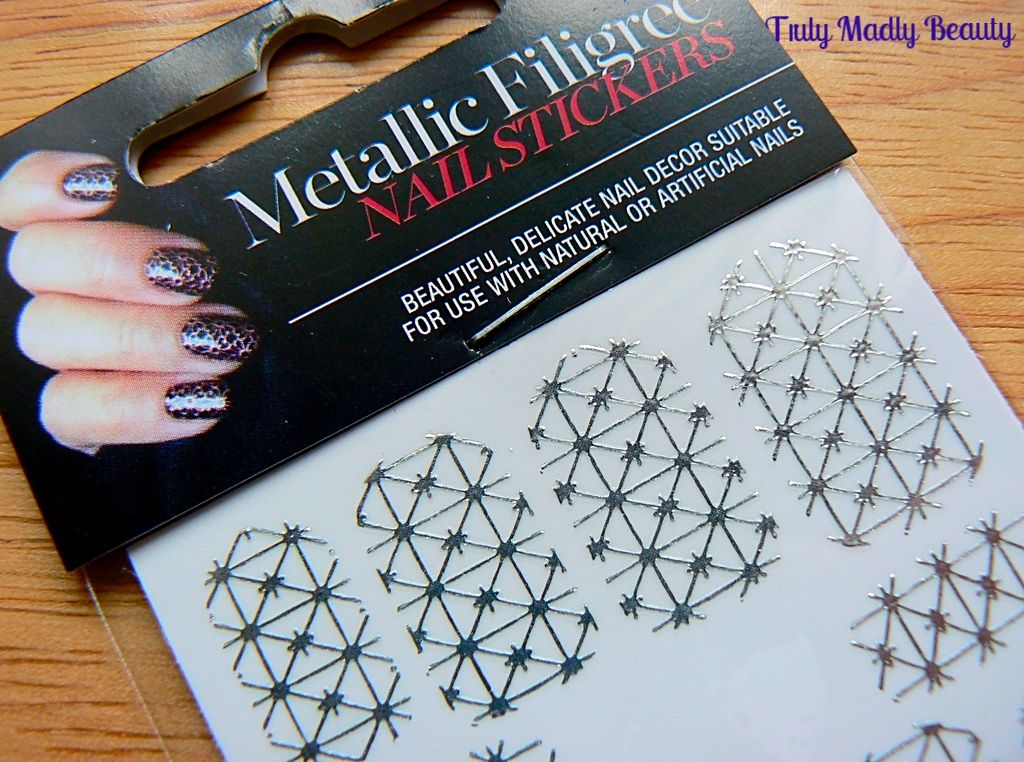
I couldn't wait to try & decided to give the silver a whirl first, the design here is the cross pattern which reminds me of star constellations! The filigrees are quite fine so require a bit of delicate care when handling.


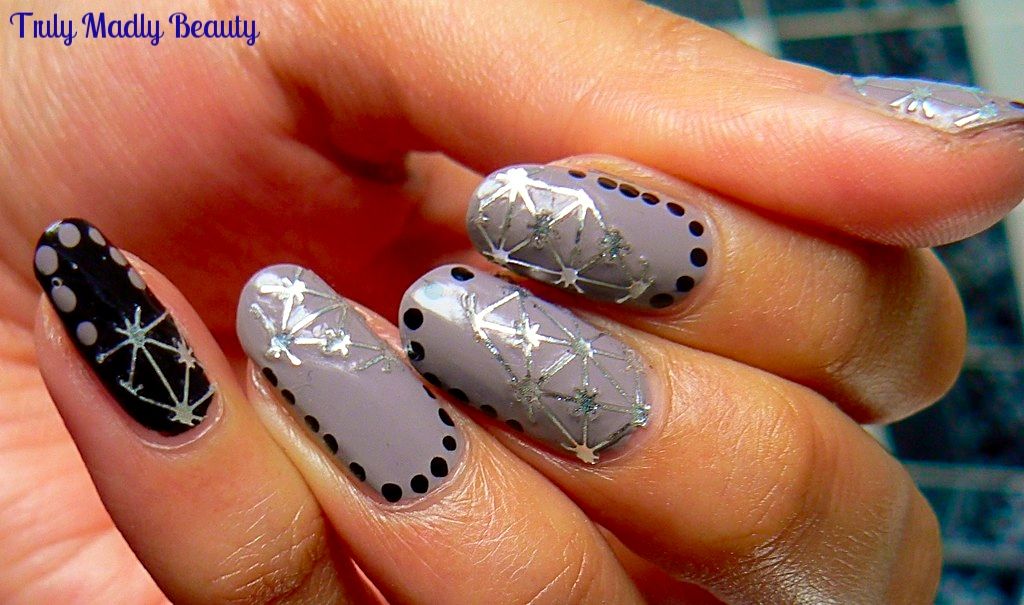
In each pack you get a sheet of 10 filigrees, one for each nail, however my favourite way to use these is by cutting each filigree & just covering part of the nail as I've done for this mani. Not only do I love the finished effect but it'll make the nail filigrees last longer too. WIN!


For my base shade I applied two coats of All That Jazz nail lacquer in Total Eclipse*, a lovely creamy grey. This is my first time trying All That Jazz polishes & I am mightily impressed, I can understand why they have such a large fan base. Quality formula, smooth & opaque in two coats, simply sublime! I decided to paint the pinkie in black to really bring out the silver filigree.


As mentioned, instead of using the entire filigree, what I've done is cut the filigree in half at an angle. It doesn't have to be neat, in fact the more random the cut the better it looks in my opinion!


You then have 2 pieces of filigree which can be then positioned on to each nail wherever you like, using tweezers to help place them. Important note – make sure that your polish base is completely dry! A good idea can be to simply apply the filigree the next day if you don't have a speed dry topcoat.


After applying my filigree pieces, as fab & blingtastic as they look I couldn't resist adding a bit of extra detail with some black dots around the edge of the nail which was done with a dotting tool & alternated with the grey on the pinkie.


Finish with topcoat to seal & you have your gorgeous filigree armored look nails ready to rock! I'm utterly digging these so much & cannot wait to incorporate more into my mani's, you can be sure I'll be stocking up on some rose gold ones!

You can find the All That Jazz Nail Filigree (RRP £1.79) & NailLacquers (RRP £9.98) online.

Thanks as always for reading!


Lotsa love to ya!

Disclaimer - * products featured were sent to me for my consideration. I am not affiliated with the brand nor paid for this post, this review has been as always my 100% honest opinion! :)

6.25.2016

Klenspop Ellen Panda Blue Circle Lens Review

Hello there lovely readers!

As I'm sure you are familiar with by now if you're a regular here, I do like to play around with contact lenses on occasion to enhance the eyes & mix it up every now & then.

One of my favourite brands is the Korean company Klenspop, whose circle lenses I've tried, tested, loved & reviewed before including the Ruby Queen Grey & Ellen Panda Brown. Today I have another circle lens to show you, these ones are the *Ellen Panda Blue!


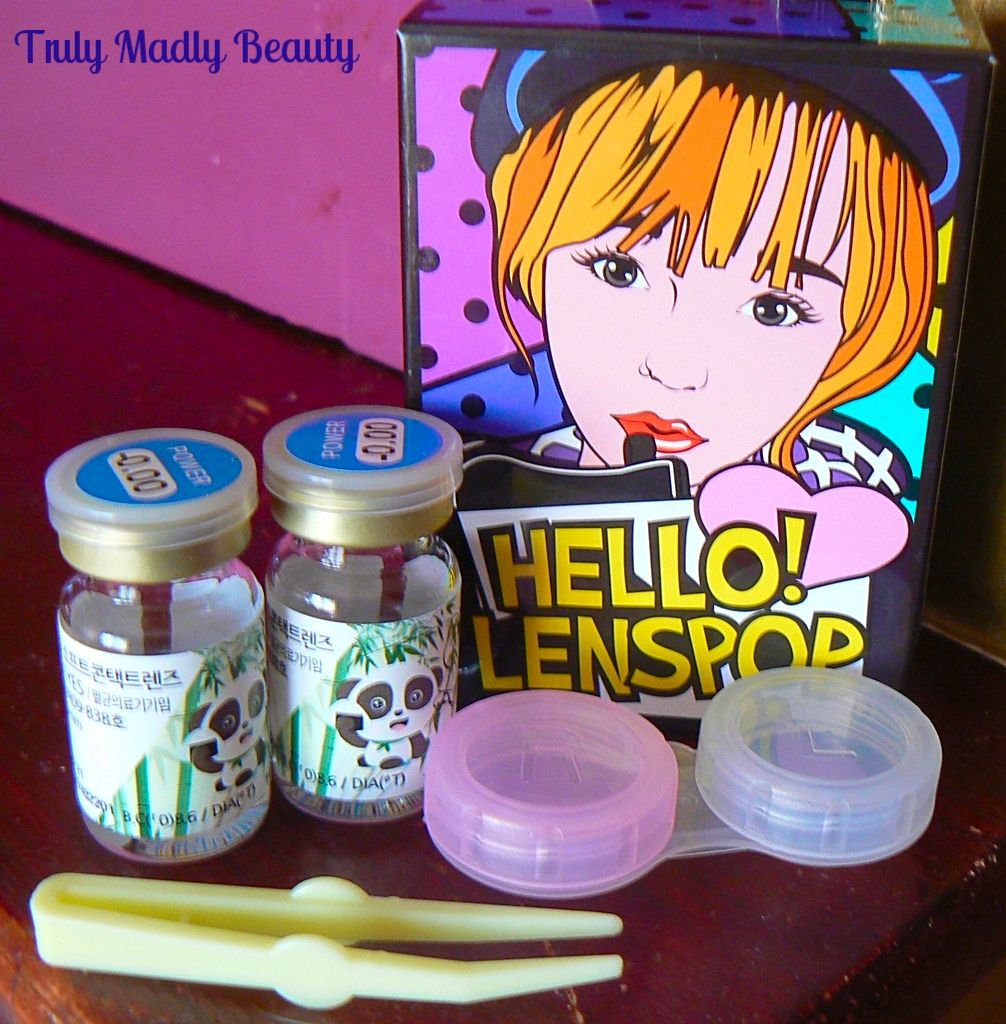
As always the lenses come securely packaged in lots of bubble wrap in which you'll discover the beyond cute packaging. Shipping time with these is impressively fast as well. Within the box you'll get your lenses stored securely in their protective glass bottles, a lens case to store them in & a pair of small plastic tweezers to help remove the lens from the bottle safely.


Take care when peeling the lids off of the glass bottles as the edges can be a wee bit sharp! But pull from the tab along the edge & its pretty straightforward. You can then dispense the lenses into your storage case. Here is a wee breakdown of information on the Ellen Panda Blues...

Diameter: 14.8mm
Graphic Diameter: 14.5mm
Basic Curve: 8.6mm
Using Period: 6 months
Water Content: 38%
Manufacturer: Lenspop

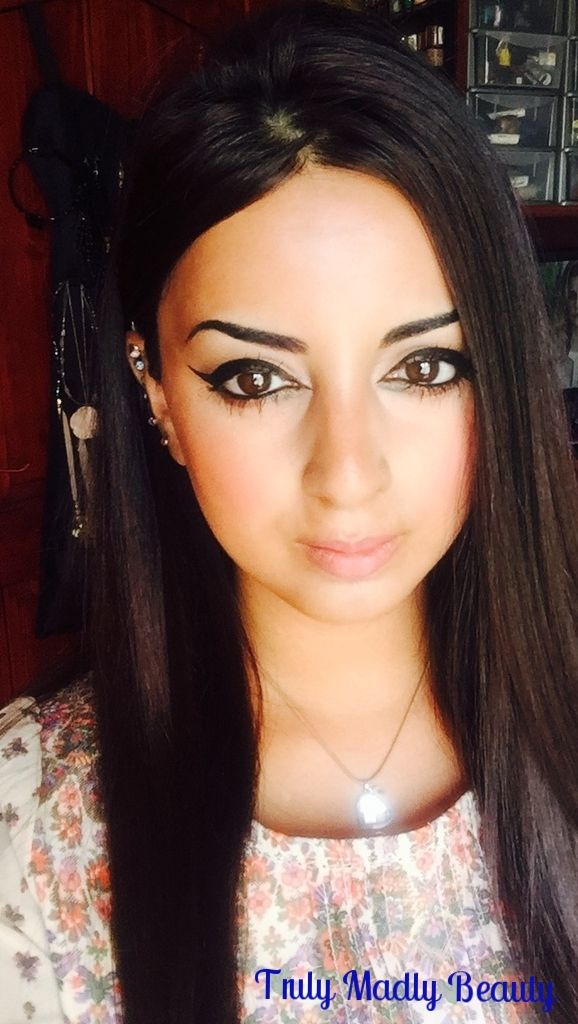
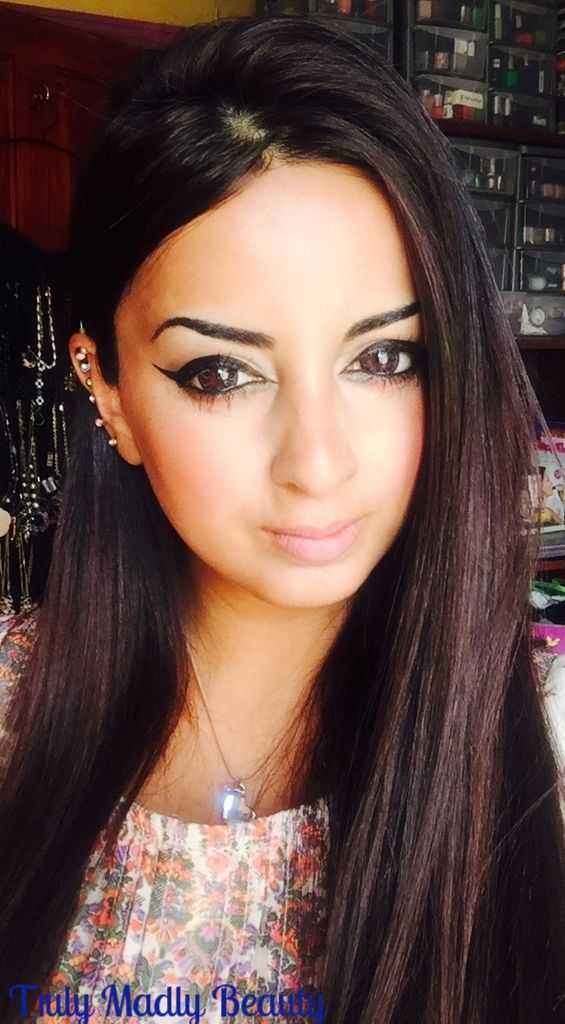
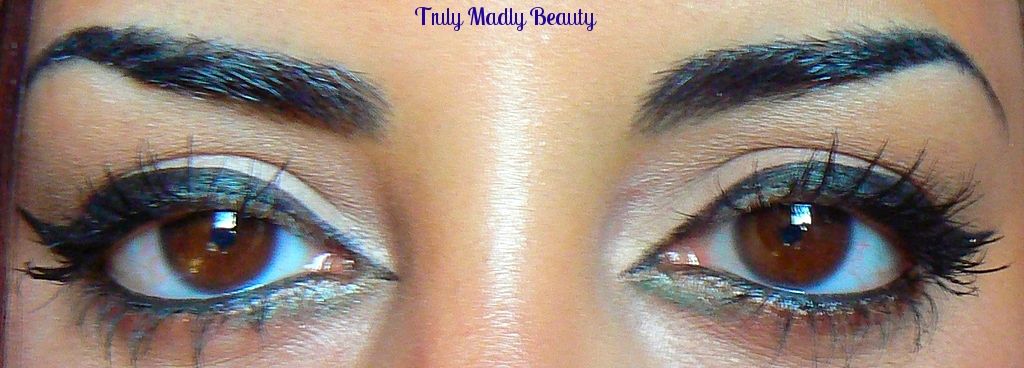
To show you the full effect the lenses have, here is a before pic of moi with my natural brown eye colour...


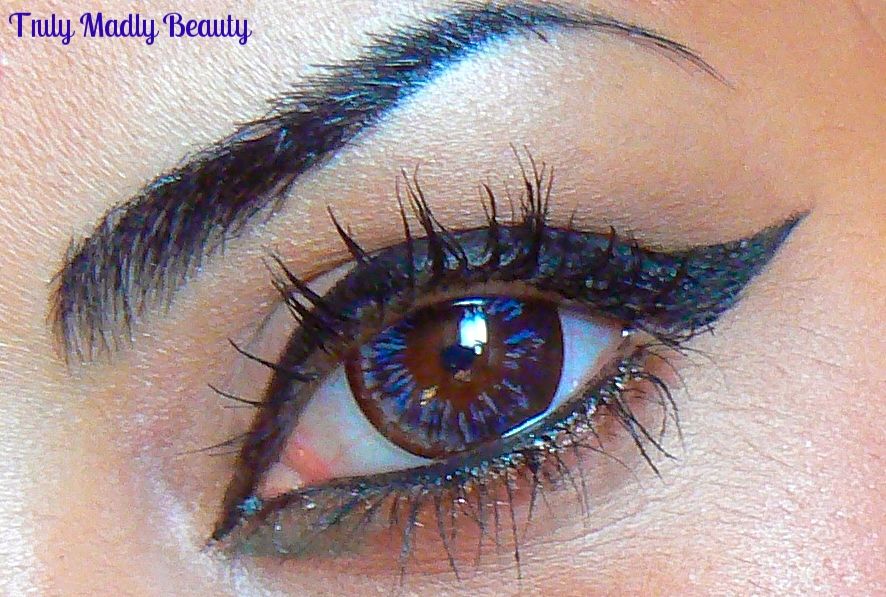
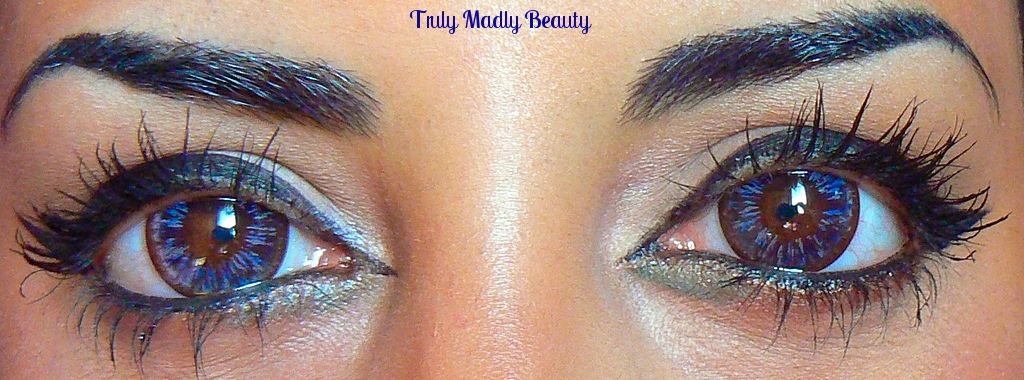
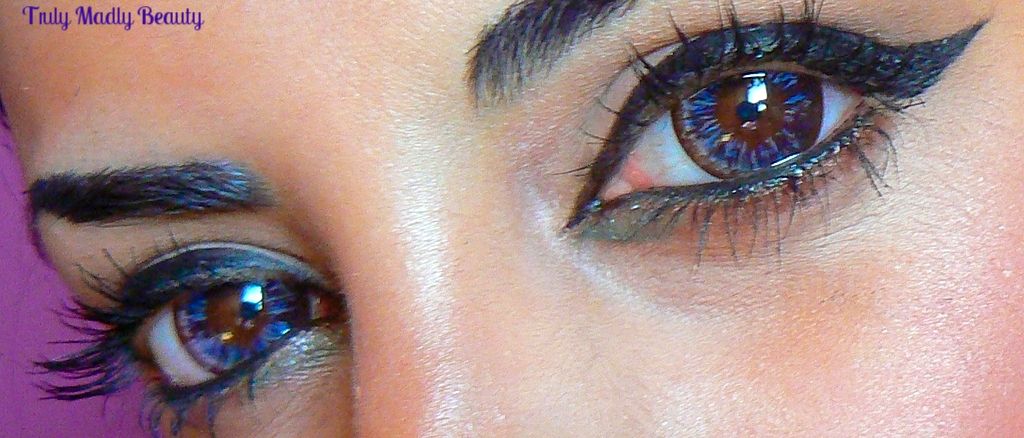
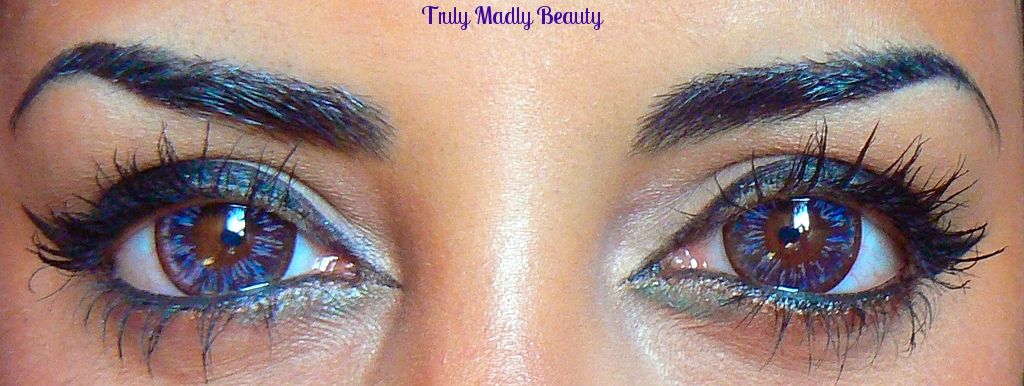
And now we have with the Ellen Panda Blue circle lens in...


As you can see these circle lenses largen the irises quite significantly, really drawing attention & making the eyes stand out by giving a cute dolly effect.


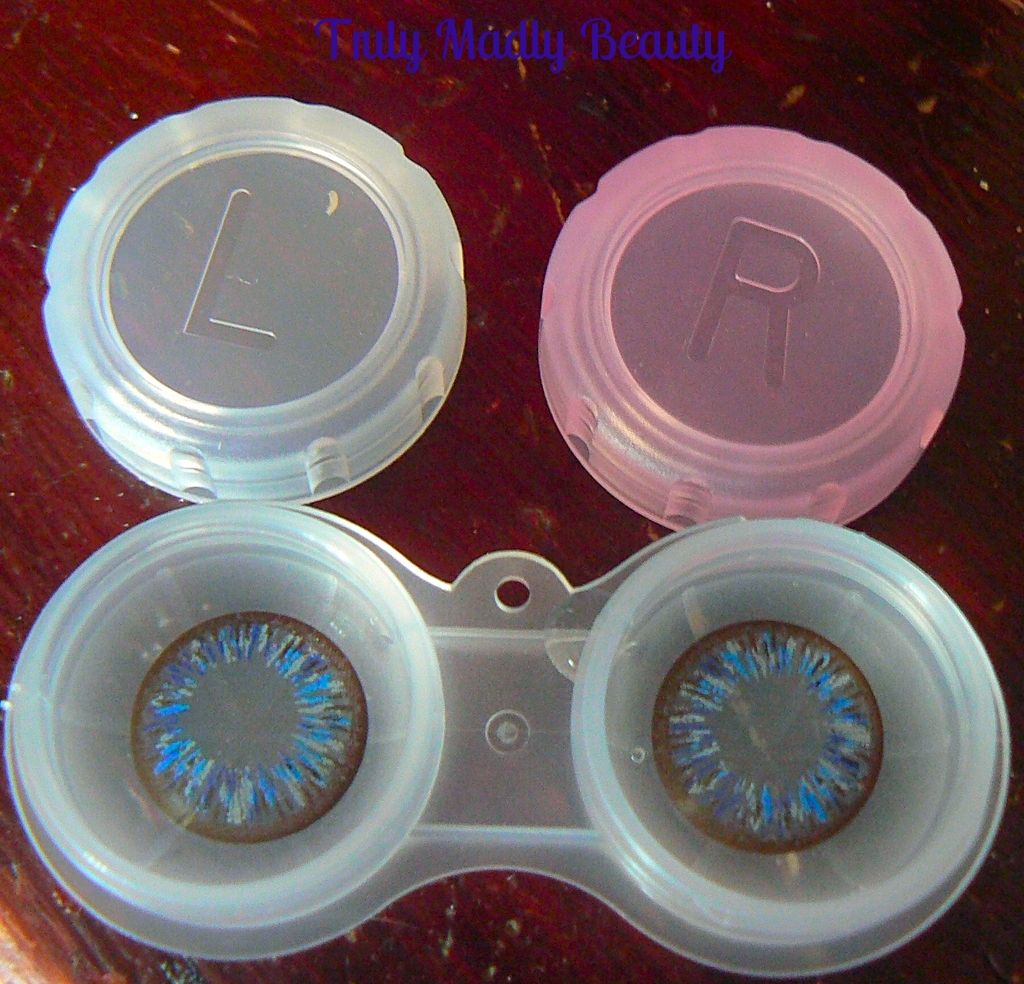
Onto the actual colour, the Ellen Panda Blue's are actually a 4 colour scheme with not only streaks of different blue tones, but also touches of brown & grey giving a really unique fun finish.


I wore these to work one day & it was clear that the lenses differ in appearance under different lighting as each of my colleagues saw different shades, sometimes blue, sometimes brown & other times grey haha!


Despite that though I love the finish these lenses give & as I've mentioned in each of my reviews, the Klenspop lenses are the best lenses I've tried as not only are they super cute but incredibly comfortable too.


Factor in the affordable price, 6 month life span, quality service & shipping, Klenspop are definitely my go to brand for contacts & one I can highly recommend. You can find these lenses & many more shades/styles online, all varying in price starting from $7 upwards.

Thanks as always for reading!

Lotsa love to ya!


Disclaimer - * products featured were sent to me for my consideration. I am not affiliated with the brand nor paid for this post, this review has been as always my 100% honest opinion! :)

6.22.2016

NOTD - Pink Lemonade by True Brit London

Hello there lovely readers!

Happy hump day! Its Wednesday so I'd say that calls for a pink fix eh? Even though the current weather situation leaves a lot to be desired, the fact that I had to switch on my car heater this week is simply tragic, that doesn't mean we can't embrace the fact that it IS still summer, on our nails! Despite mother natures efforts...

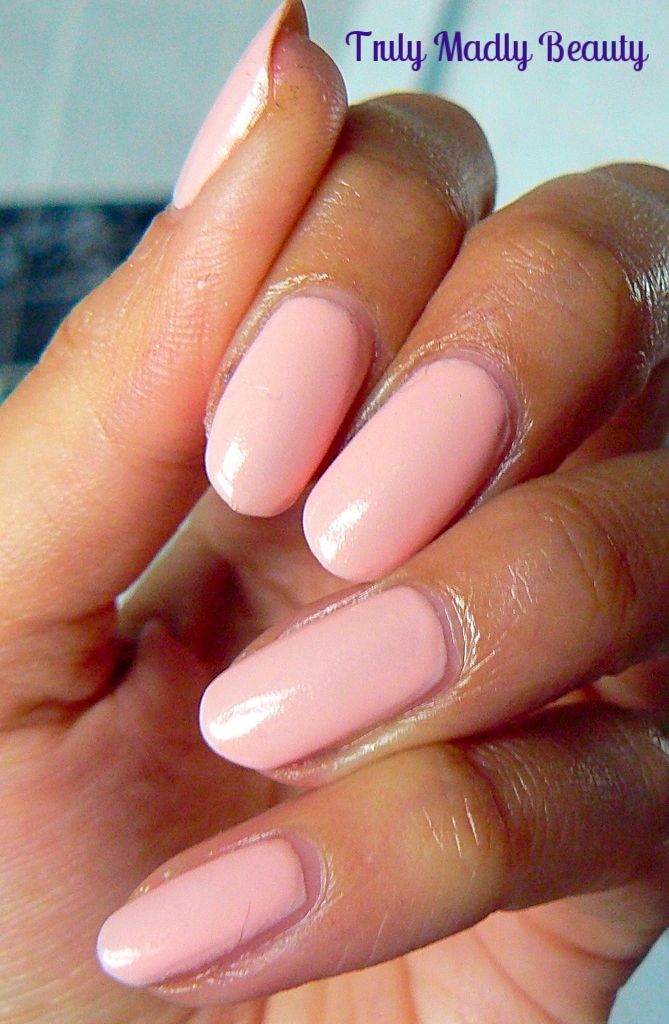
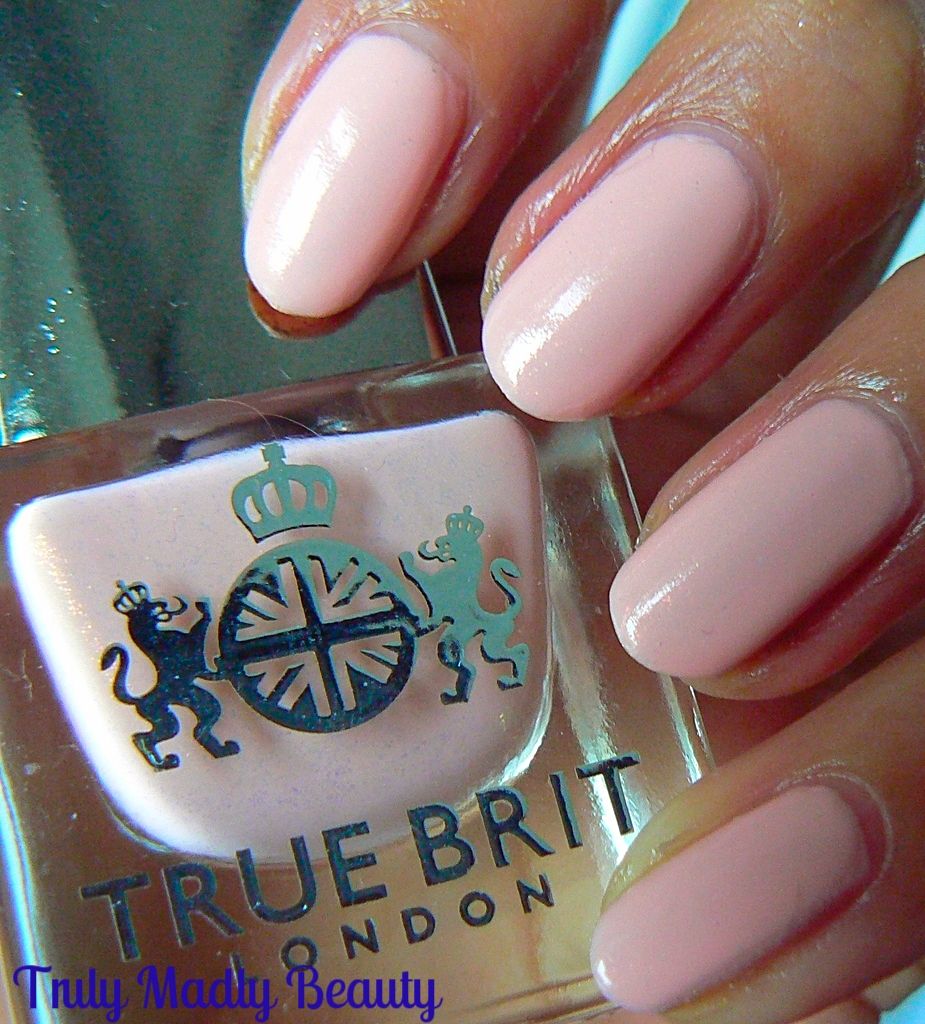
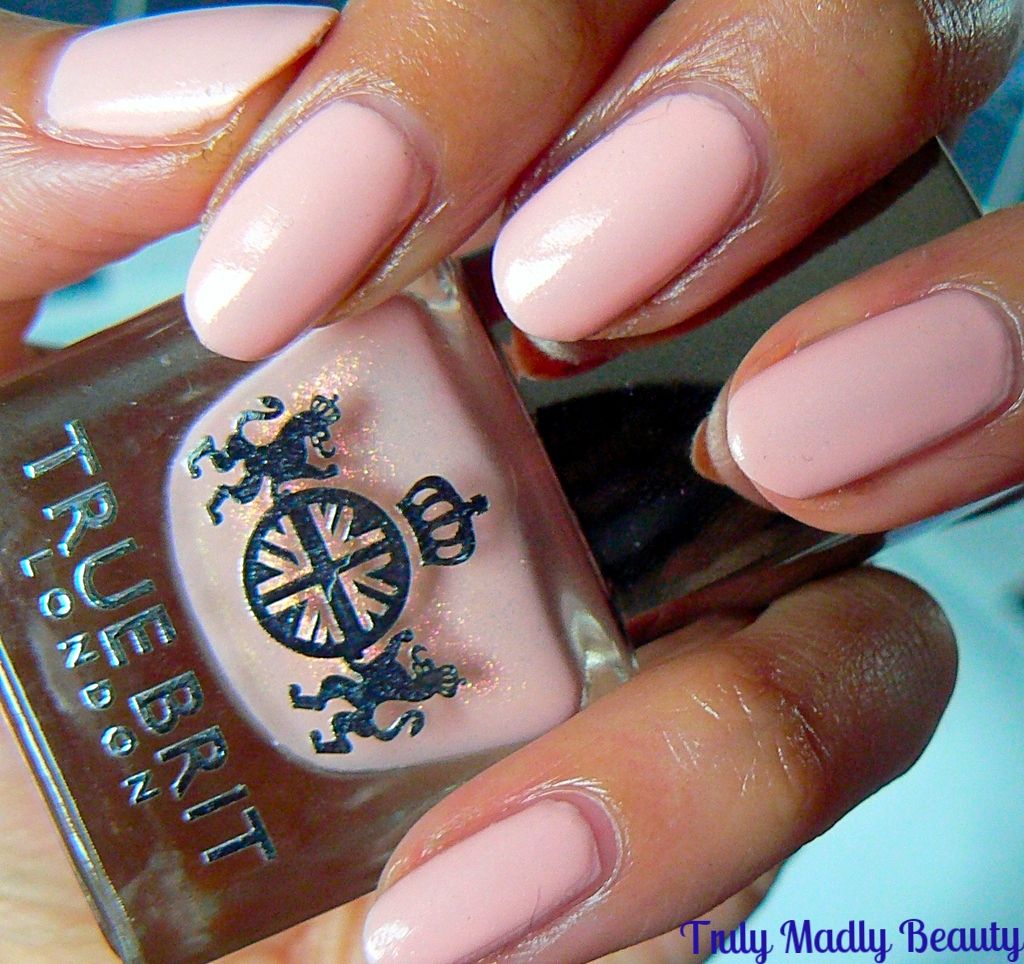
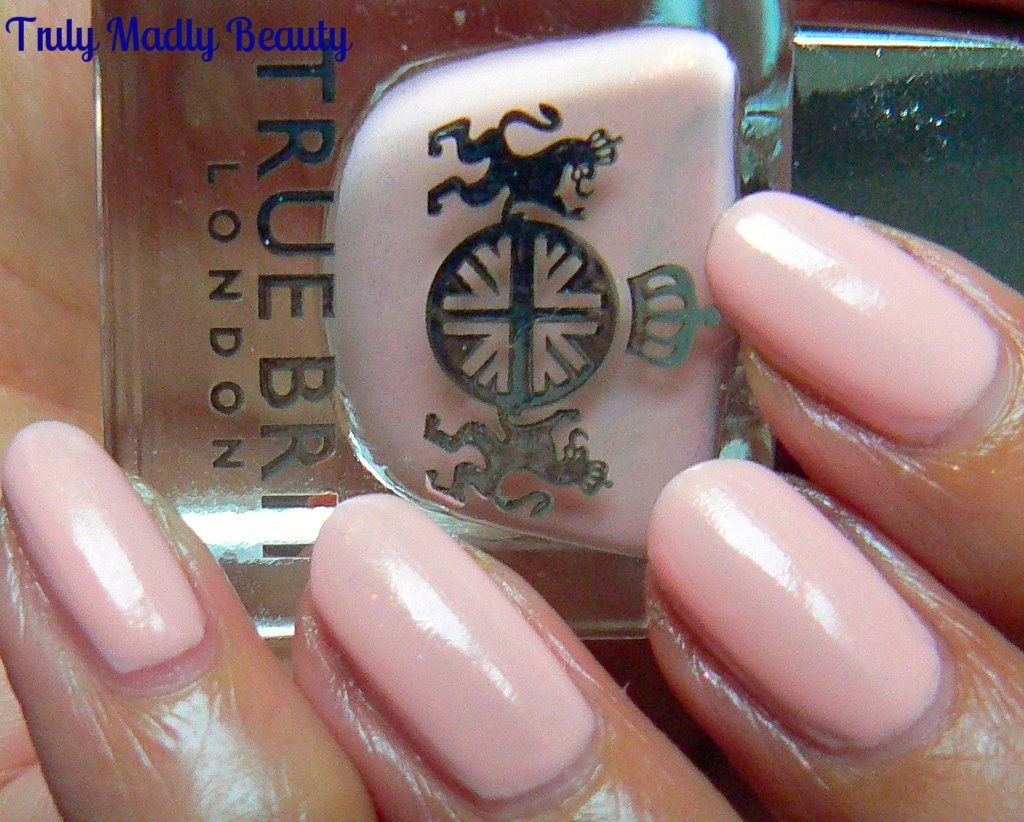
TrueBrit London have truly captured & embodied the summertime vibes beautifully with their recent Garden Party collection. I've shown you a couple of the the lovely shades already, Dolly Mixture & Tally Ho. Today we have the delightful *Pink Lemonade.


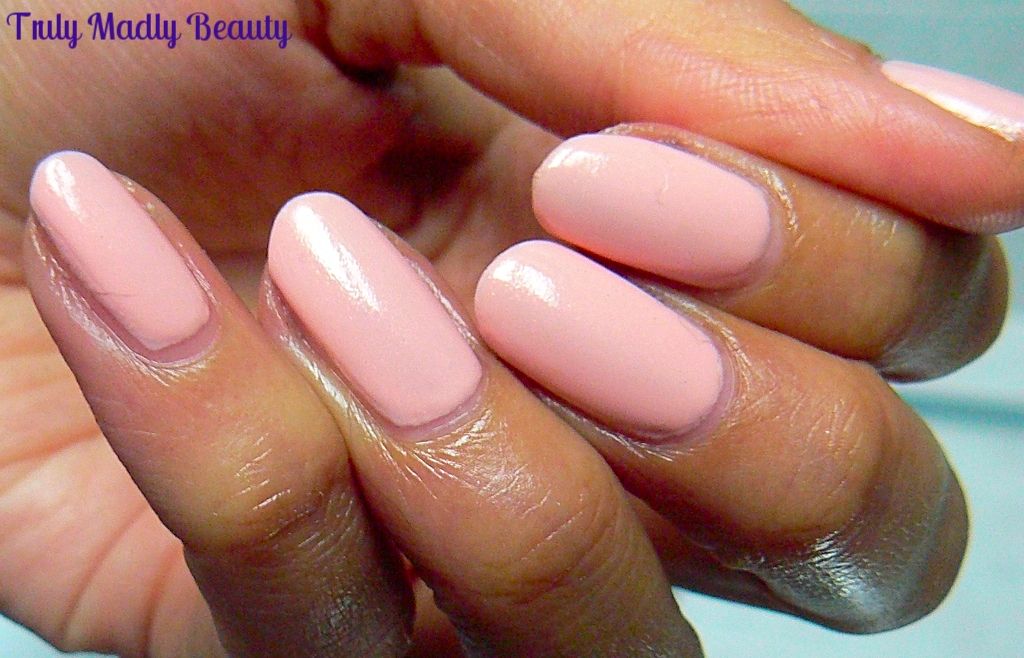
Pink Lemonade is a pretty pale pink cream with a soft satin finish giving a subtle fizzy shimmer to the shade.


This was two coats applied & as always with True Brit London, the formula was dreamy to apply, smooth, streak free & opaque.


I always finish with a coat of my HG CND Air Dry topcoat, not only does it give a lovely glossy look but your nails will be touch dry in minutes!


All the True Brit London polishes can be found online for £12.50. And if you beauts want 10% off, pssshhh why of course you do, then simply use my code TRULY10 :)


Thanks as always for reading!

Lotsa love to ya!


Disclaimer - * products featured were sent to me for my consideration. I am not affiliated with the brand nor paid for this post, this review has been as always my 100% honest opinion! :)
6.20.2016

NOTD - Egyptian Scarab Beetle Nail Tutorial!

Hello there lovely readers!

I found myself in a bit of a dilemma with todays nail art design. You see, I adore Ancient Egyptian history, if someone would hurry on up with inventing a time machine, Cleopatra would the first on my list of historical women to visit!


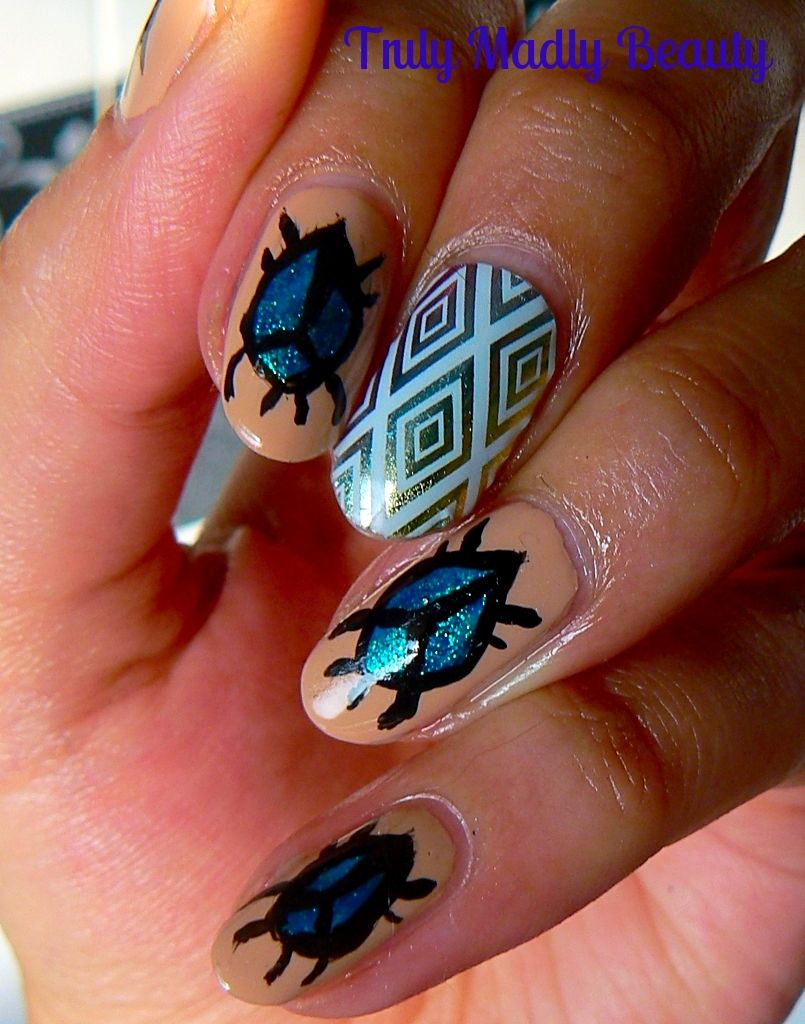
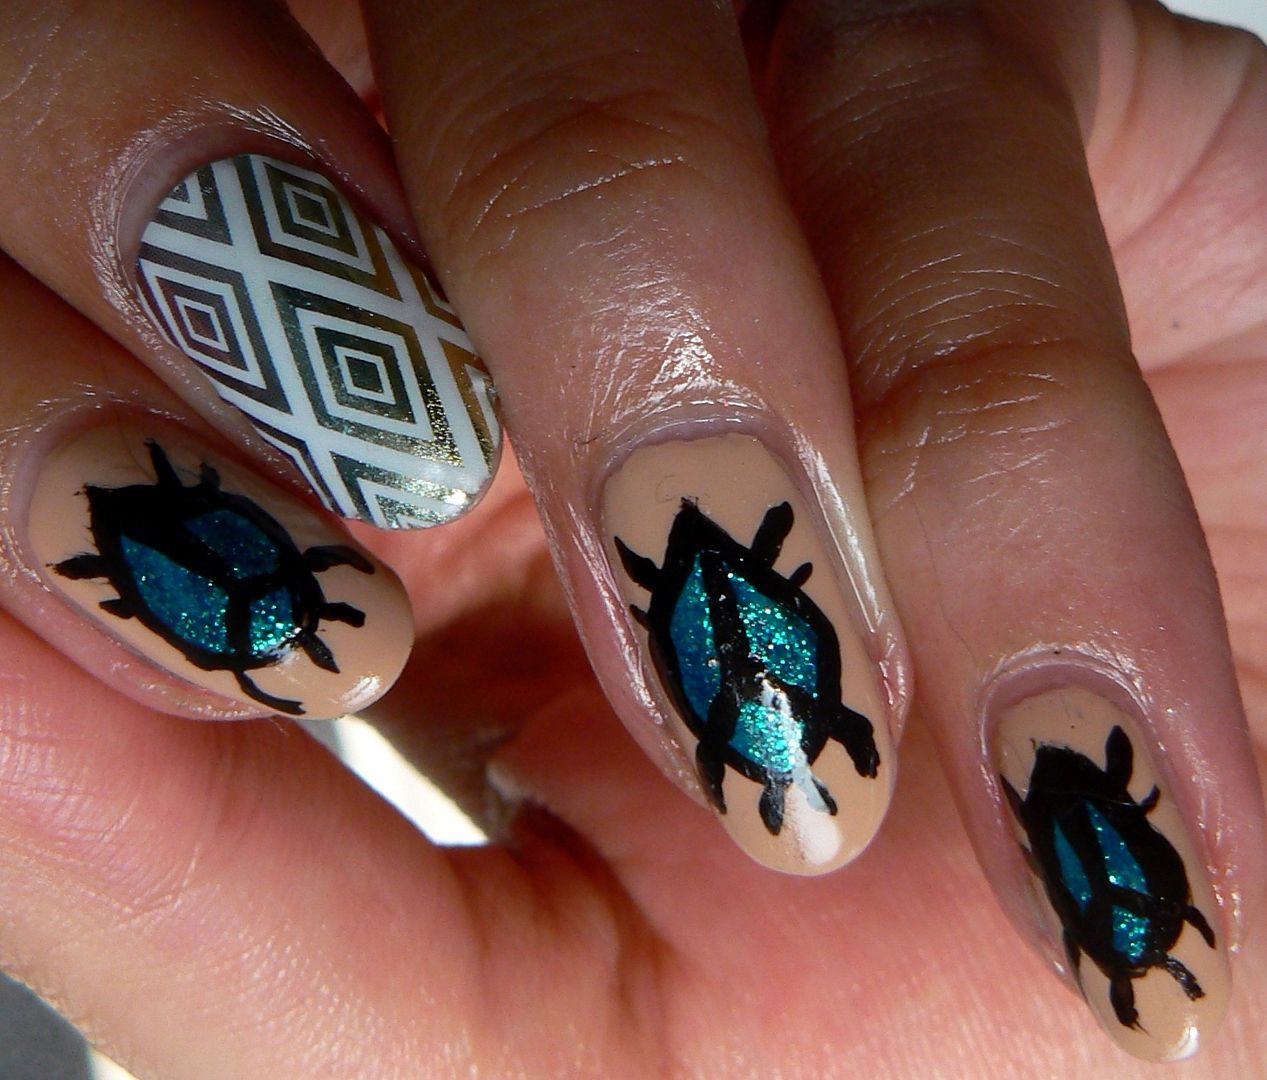
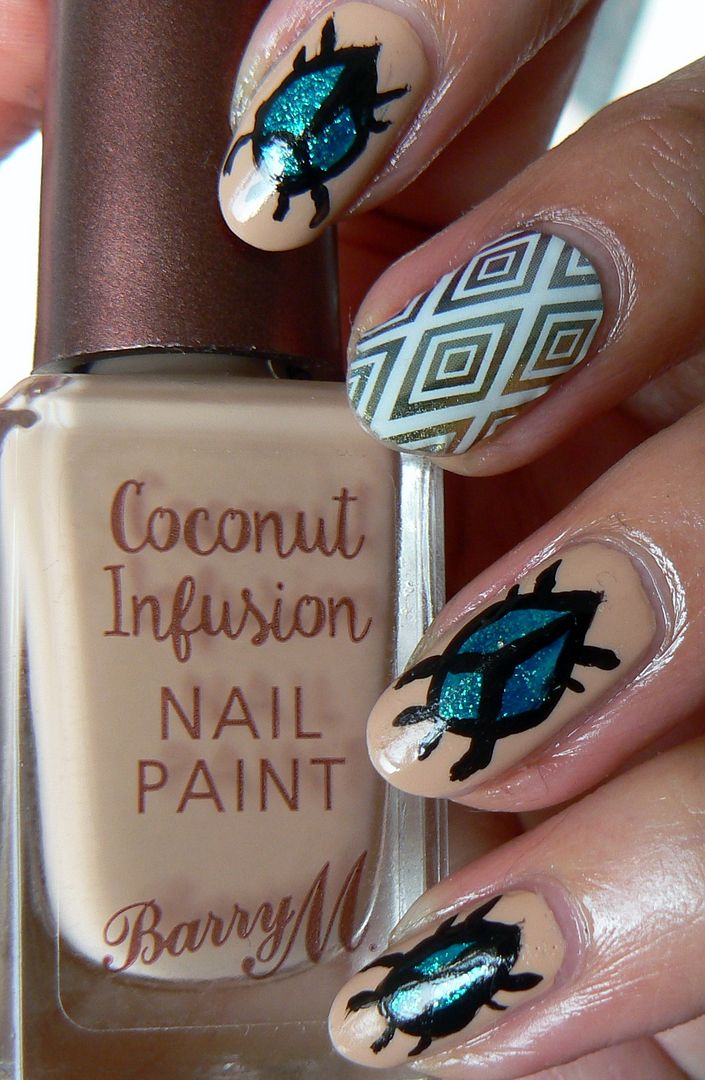
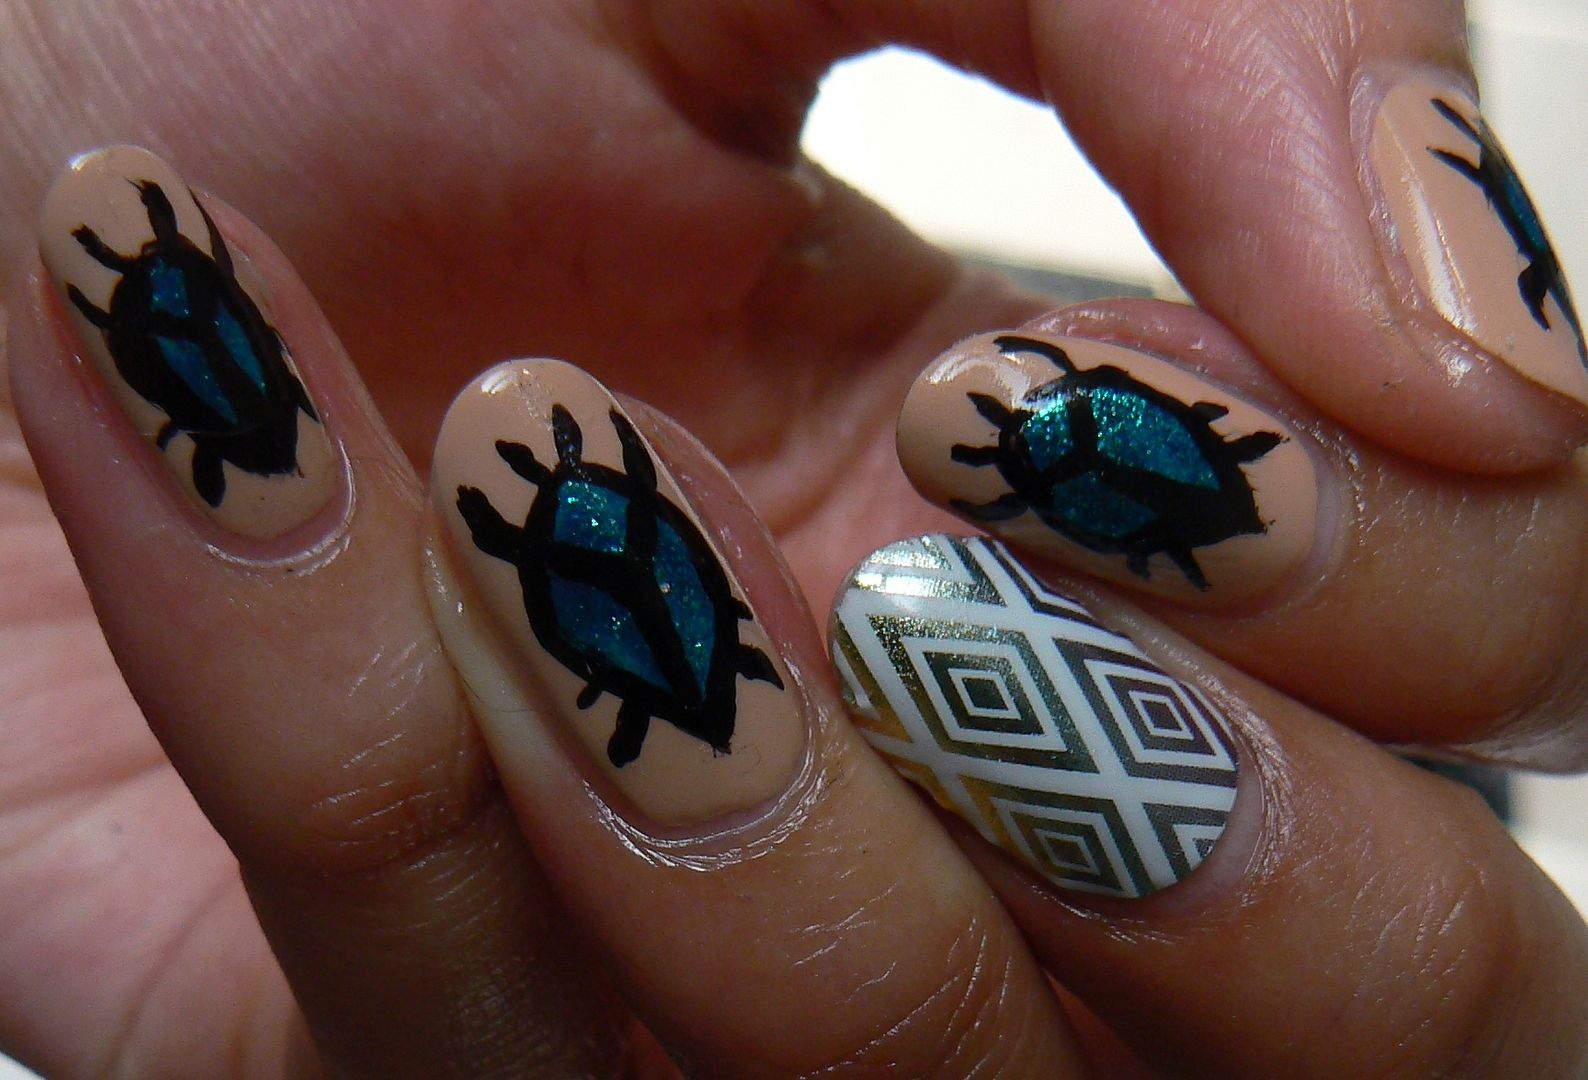
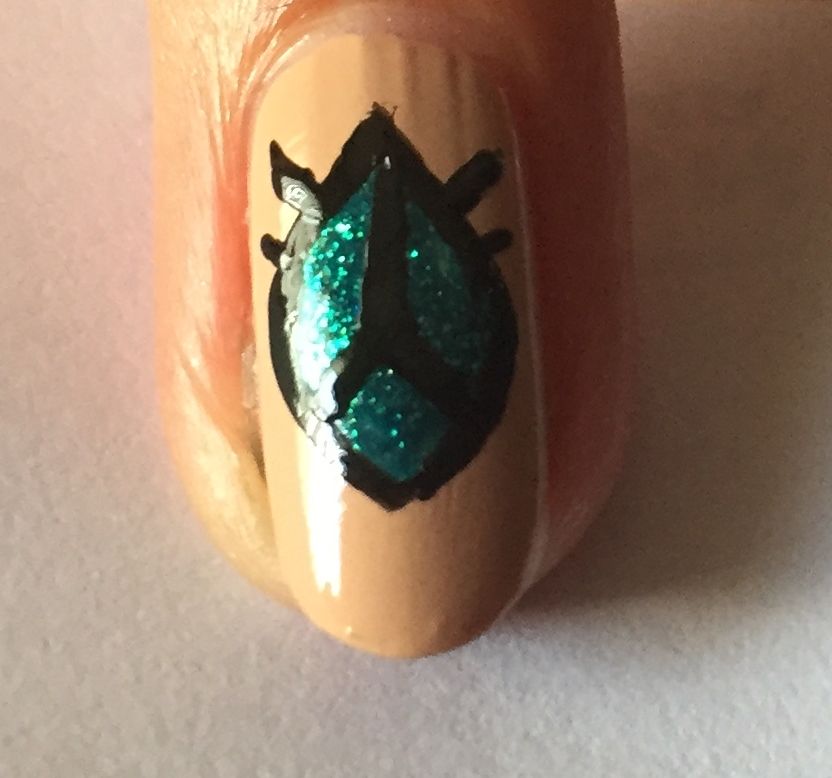
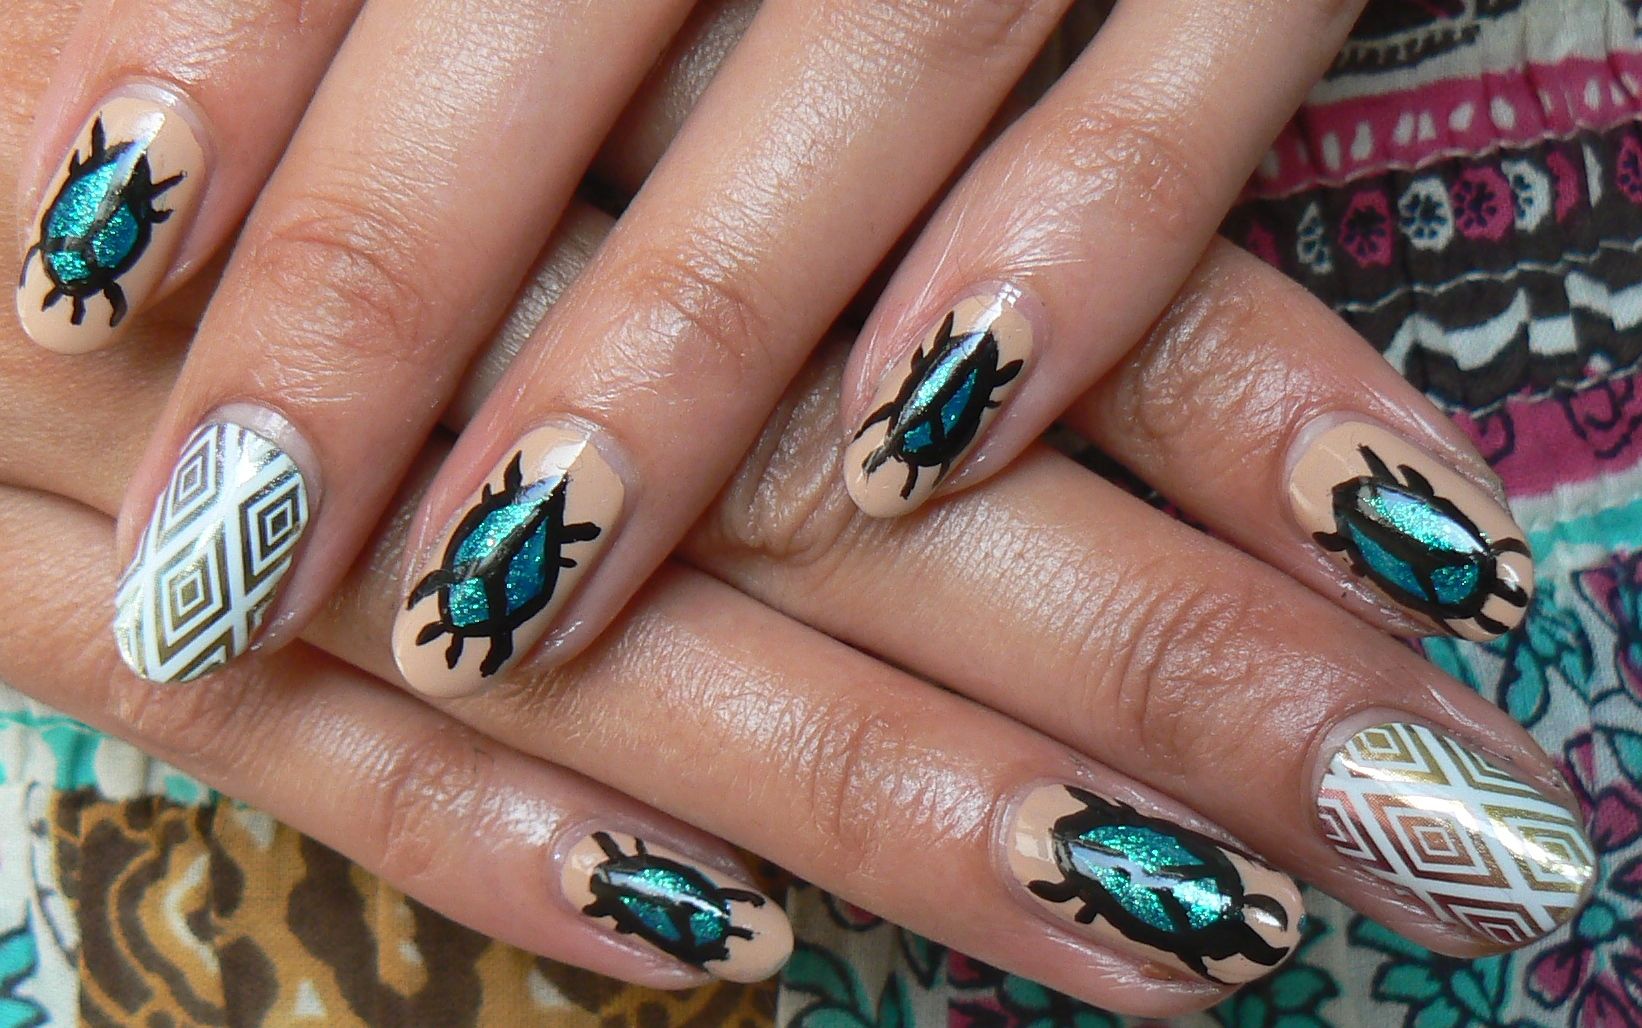
A well known symbol in Egyptian culture is the Scarab beetle & after seeing a beautiful jewelled design incorporating stunning turquoise tones in the shell I knew I wanted to recreate something similar in nail art form. Herein lies the dilemma....I hate bugs! But in the name of the nail art sisterhood I decided to set aside my squeamishness & put those Scarabs on mah nails!


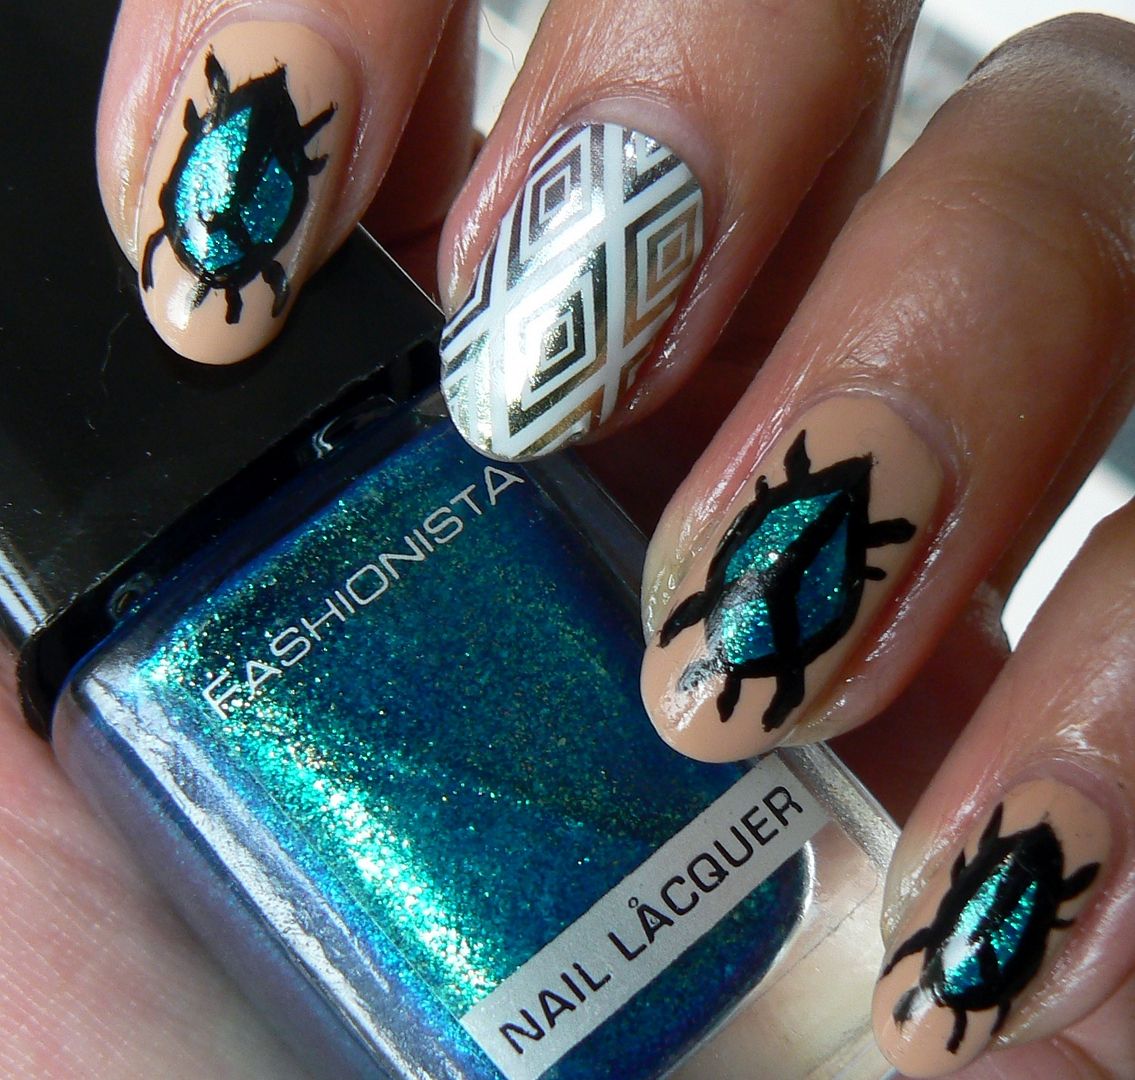
I managed to dig out a super pretty turquoise green sparkler in my stash which gave just the finish I wanted for my beetle shells which chuffed me greatly. I've done a step by step tutorial guide so that you can create these too!


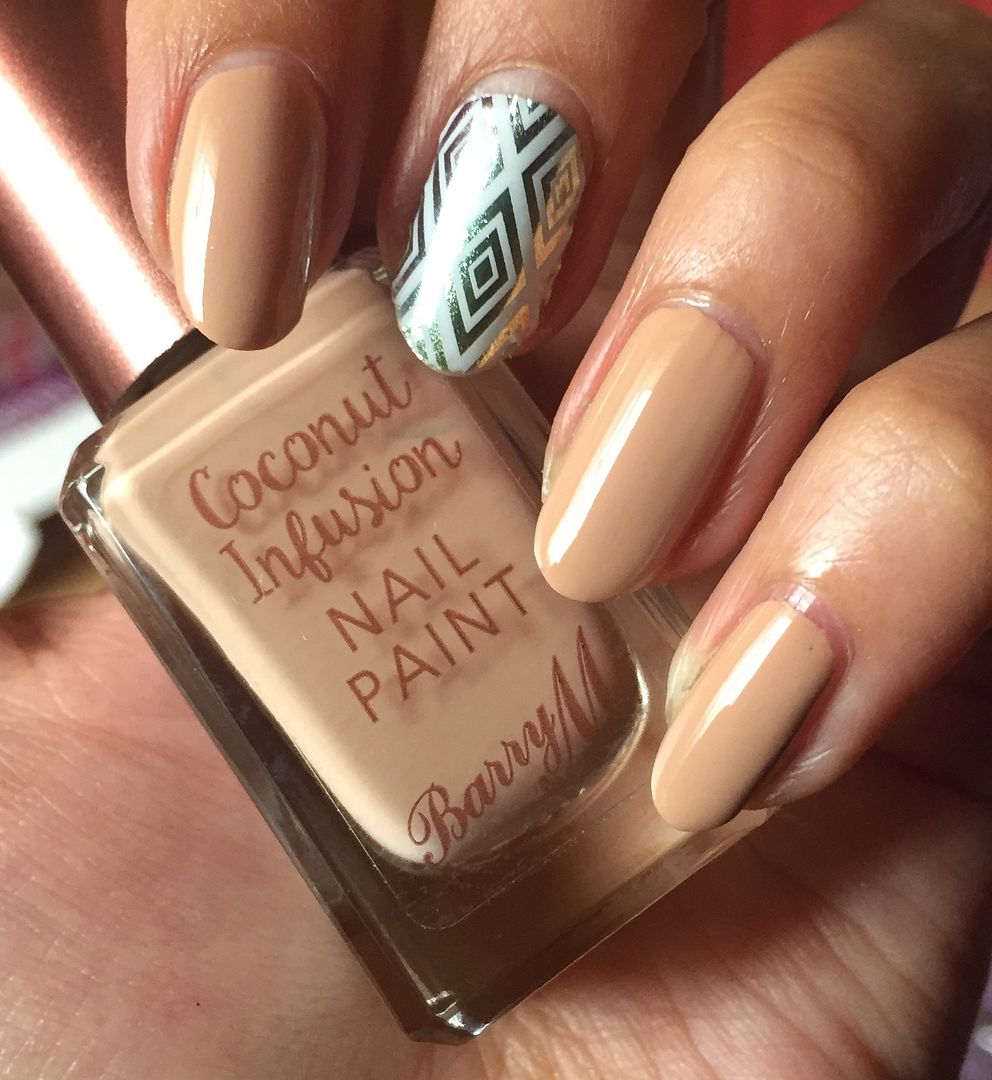
I wanted my Scarabs to stand out thus required a nude base creating the perfect opportunity to give Barry M Coconut Infusion in Sunkissed a whirl!


And dolls...Barry M always has the ability to impress me & the Coconut Infusion range is no exception. This swatch is just one coat applied, amazing coverage! The formula was faultless too, top marks Barry M! The Coconut Infusion polishes require no basecoat, however I'm currently using a base treatment on my nails (post to come soon!) so I have not yet tried on bare nails.


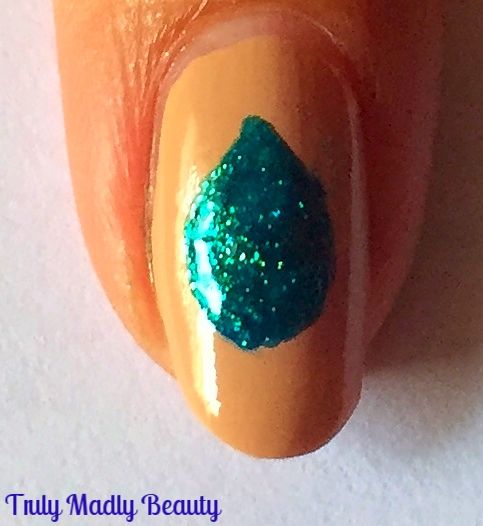
After swooning over the lovely Sunkissed, next step is to add the Scarab beetles! You'll need an eye catching blue/green turquoise, here I've used an old brand Fashionista in shade Mystical Dragon, another utterly swoon worthy shade...


Grabbing your polish & nail art brush start with applying a teardrop shape in the centre of the nail. You can actually also use the polish brush & just place a large blob on the nail, then dragging the top upwards slightly to create the teardrop :)


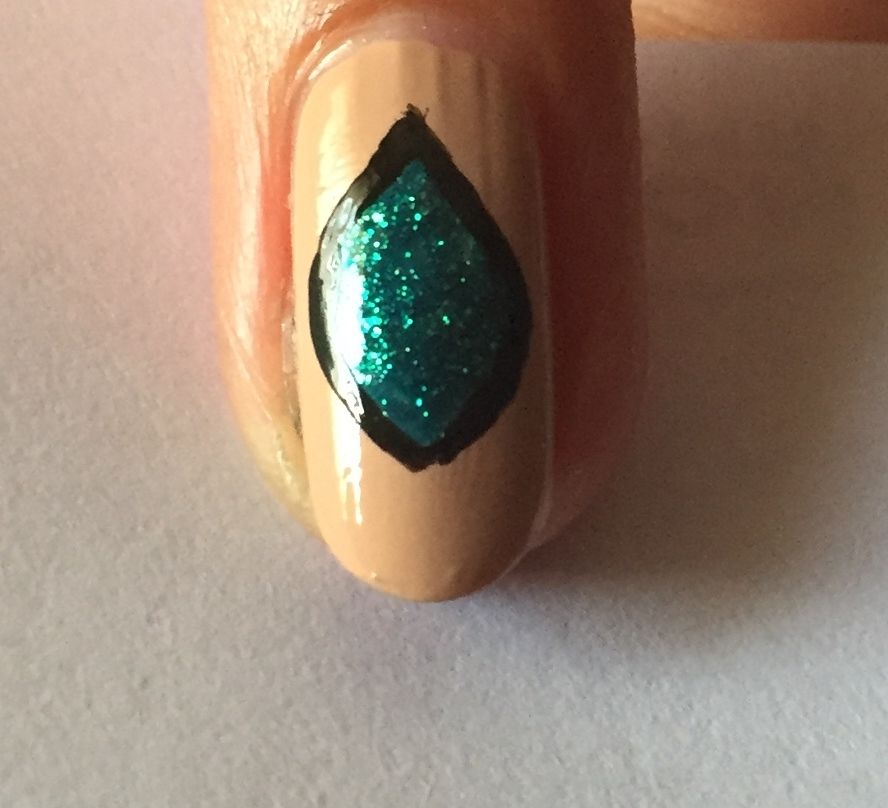
Then using a black polish & another nail art brush or a black nail art pen, outline the outer edge of your teardrop in black


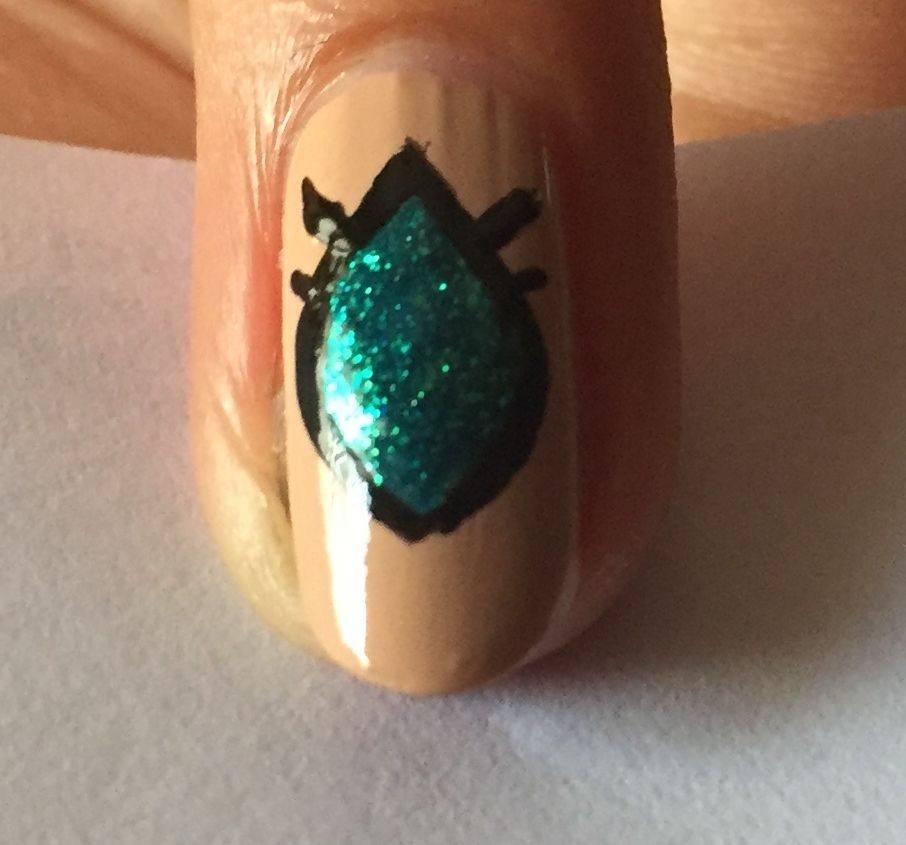
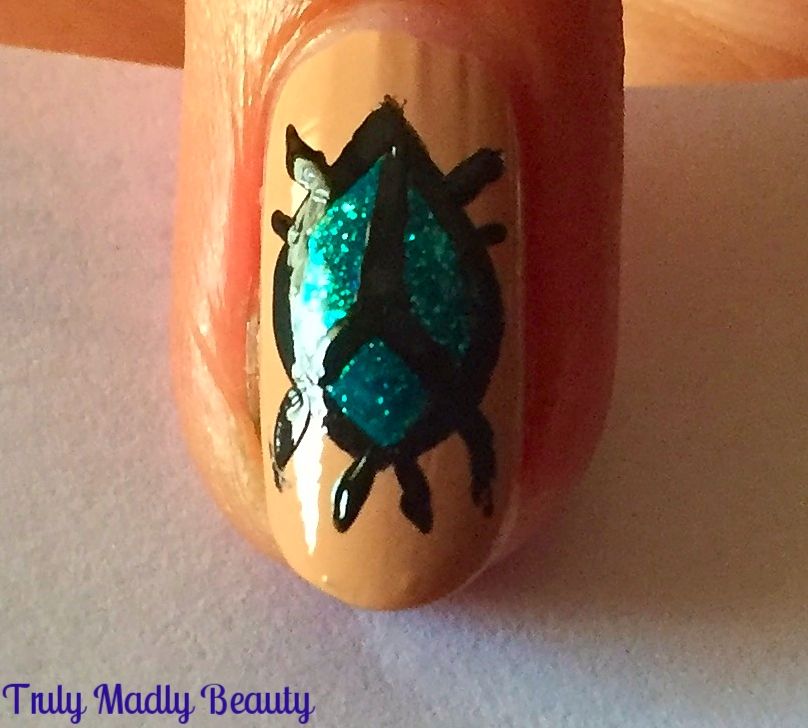
Next add the back legs first by applying two sets of angled lines at the top end of your teardop going upwards making the topmost legs a bit longer.


To create your shell apply a thin black line down the centre, stopping about ¾ of the way before veering two angled lines in opposite directions to the bottom as shown.


Finally to complete your Scarab beetle, add on two more lines for the front legs before finishing with two smaller lines at the end for the...err...what are these called? Pincers? Antennae? Lets go with antennae shall we?


Add a slick of topcoat to seal it all & you have your Egyptian Inspired Scarab beetle nails!


As you can see I've got me a Jamberry nail wrap accent going on too on the middle finger with the stunning metallic "Trippin" nail wrap! You can find this beaut wrap & more designs on my website HERE

Hope you liked! Thanks for reading!

Lotsa love to ya!


6.16.2016

Dove Love...

Hello there lovely readers!

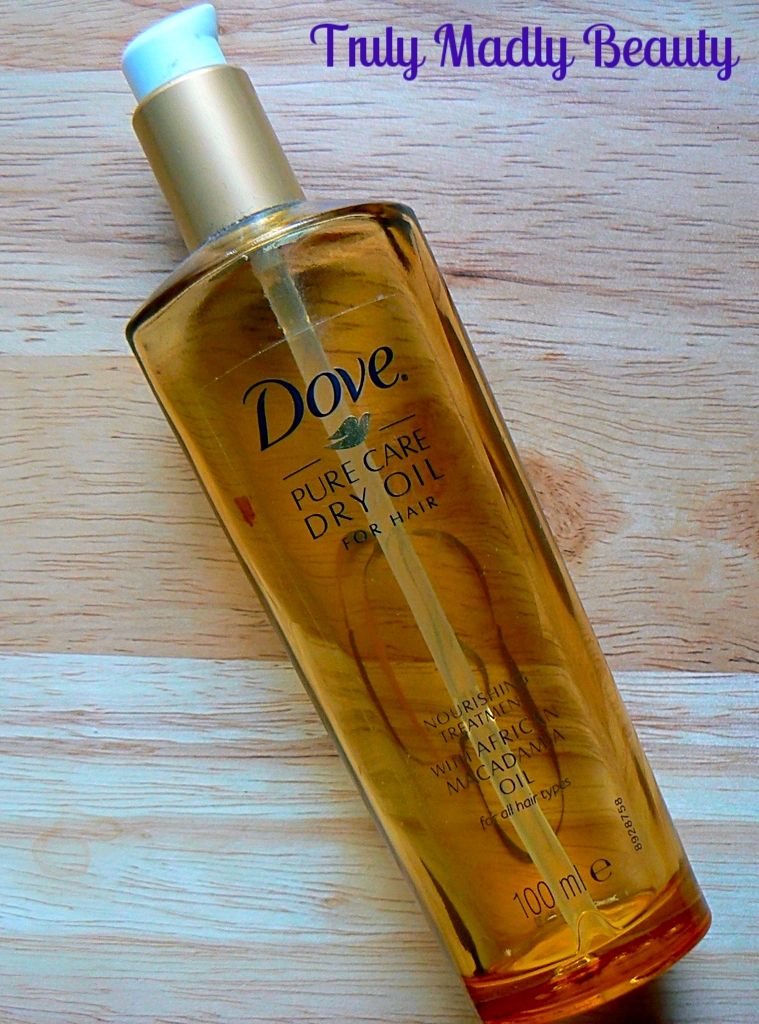
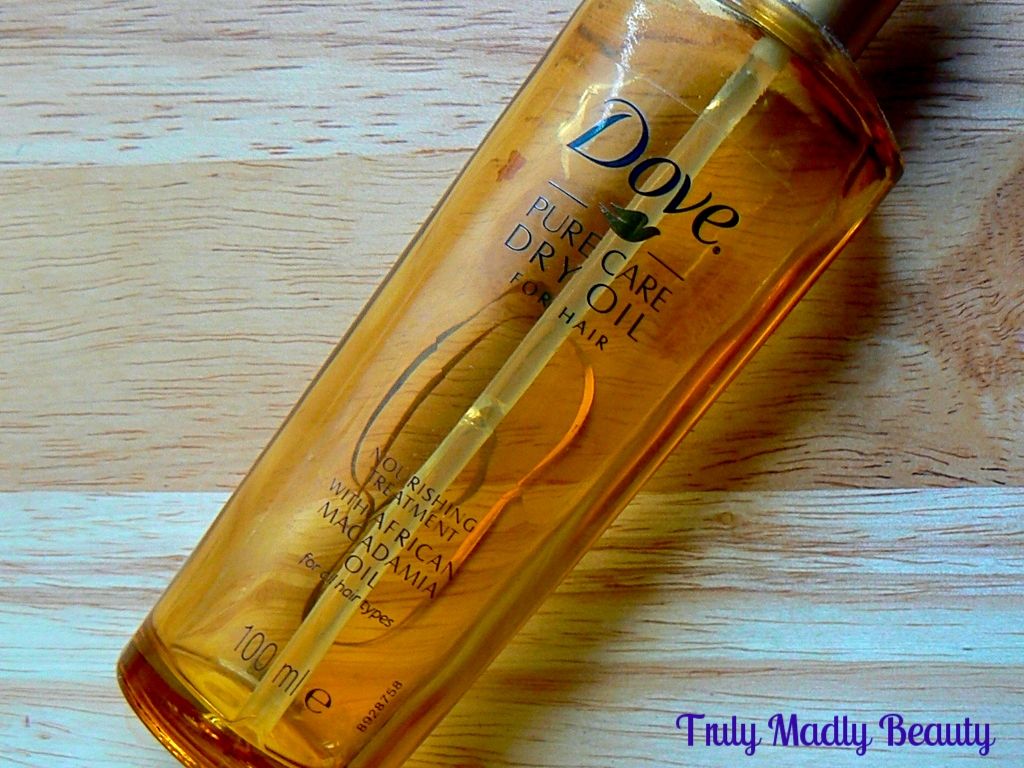
Dove is one of those classic brands that, for me, always delivers well. To this day the infamous Dove soap is the only soap mumma bear will purchase, their body care products are wonderfully moisturising & the shampoos always leave my locks feeling lush. Speaking of hair they also happen to be the makers of my current favourite hair product, the Pure Care Dry Oil (RRP £9.99).


Much like facial oils, hair oil was another product that I only recently incorporated into my care routine & boy is me & mine hair glad for it! Used correctly, adding a drop or two of hair oil to your routine can help keep those locks luscious & healthy looking.


What I love about the Dove Pure Care Oil, which contains African Macadamia oil, is not only the DIVINE scent but the finish it gives my hair. Just one pump is all I need for my long locks & I simply rub the product between my hands to warm, then run through the length adding extra attention to the ends. After applying my hair is left smooth, sleek, visibly shinier, smelling divine & all without being weighed down. WIN.


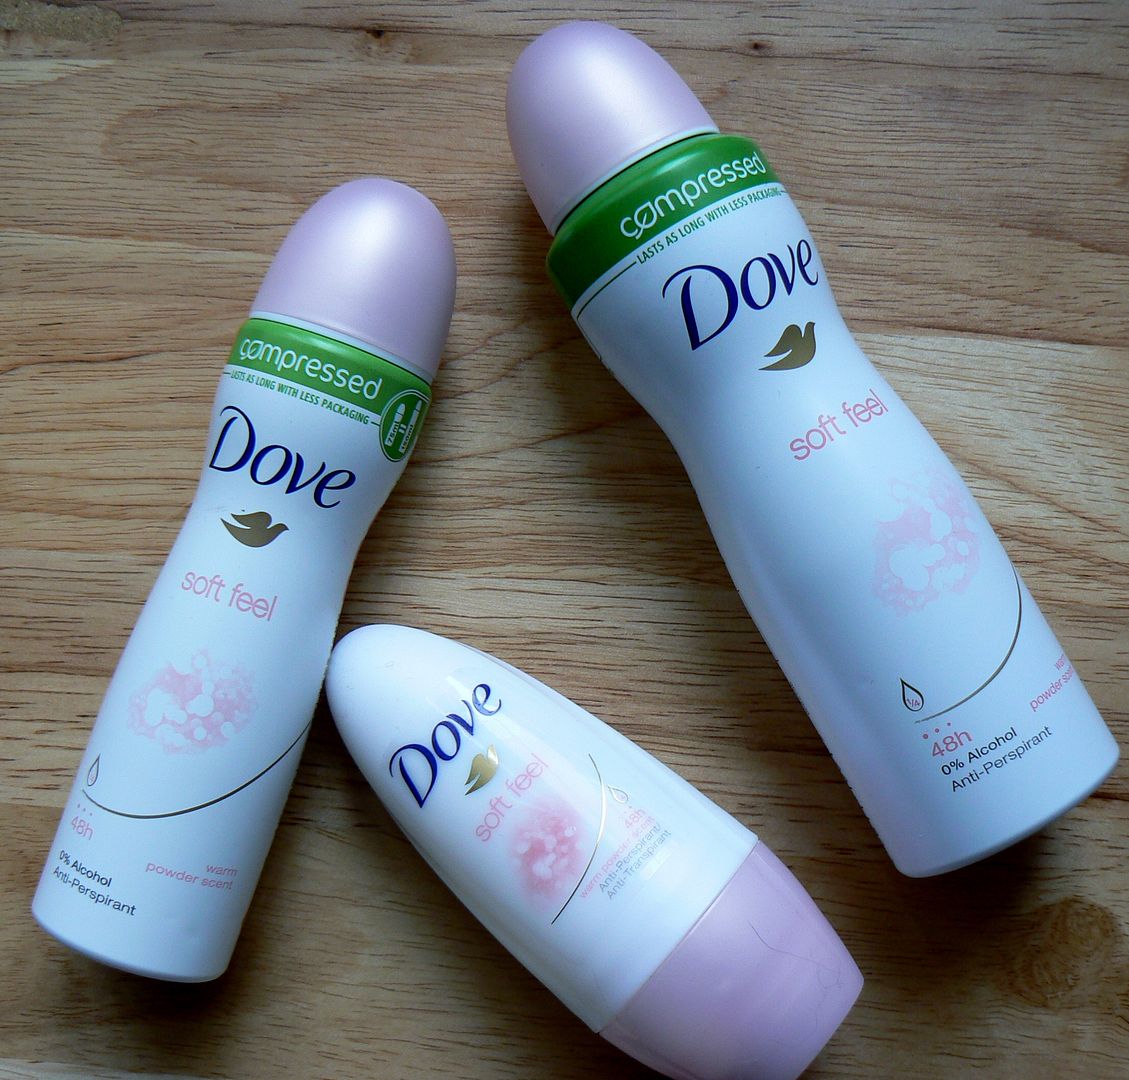
Dove have also recently added some newbies to their range of antiperspirants titled *Soft Feel. For this range Dove has partnered with renowned global fragrance house Givaudan to produce a collection of products with a luxurious yet delicately feminine fragrance of musk & amber which I adore.


Available as both roll on (RRP £2.39) & spray (RRP £2.99/70ml & £3.79/125ml) formulations, both include Dove's signature ¼ moisture cream that makes their products a pleasure to use. The whole Dove range including both hair & body products can be found in most supermarkets & chemists. I definitely have strong love for Dove! Thanks for reading!

Lotsa love to ya!


Disclaimer - * products featured were sent to me for my consideration. I am not affiliated with the brand nor paid for this post, this review has been as always my 100% honest opinion! :)
6.13.2016

Getting Lippy - MAC Mehr Matte Lipstick Review

Hello there lovely readers!

What is this we have here? A post on...LIPSTICK Aysh?! And not just any lipstick but a MATTE one at that? *cue a thousand seizures of shock* I know its crazy isn't it? This well known lipstick-phobe seems to have turned a corner in her makeup journey clearly ;)

But yes indeed today I have a pretty lipstick to share with you beauties that has succeeded in that most difficult task of falling into the 'lip product LOVE' category of mine that previously mostly consisted of lip balms/tints & which has been getting a lot of loving of late.


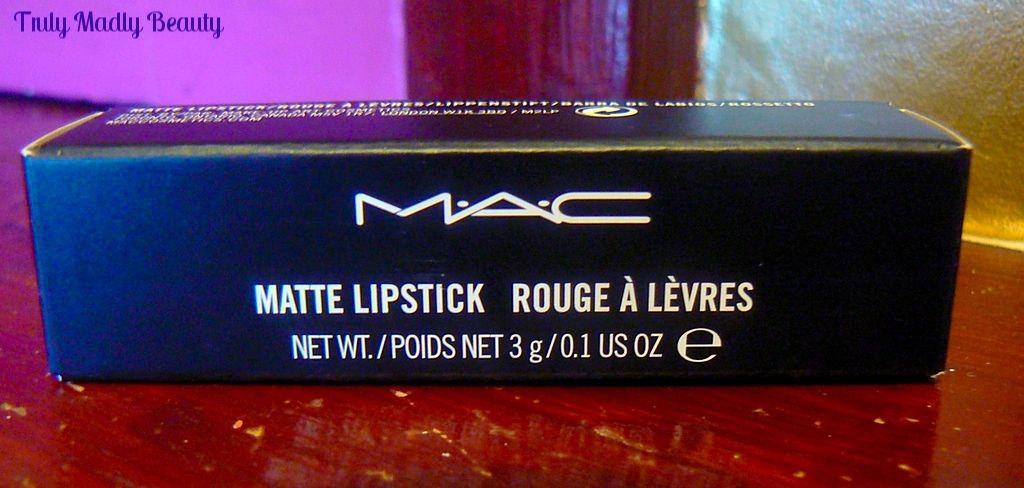
The lipstick in question in none other than an offering from good old MAC whose lippies hold quite a high rep in the makeup world & understandably so. A wide range of colours & formulations to choose from, the MAC lippie stands are a makeup addicts heaven. 


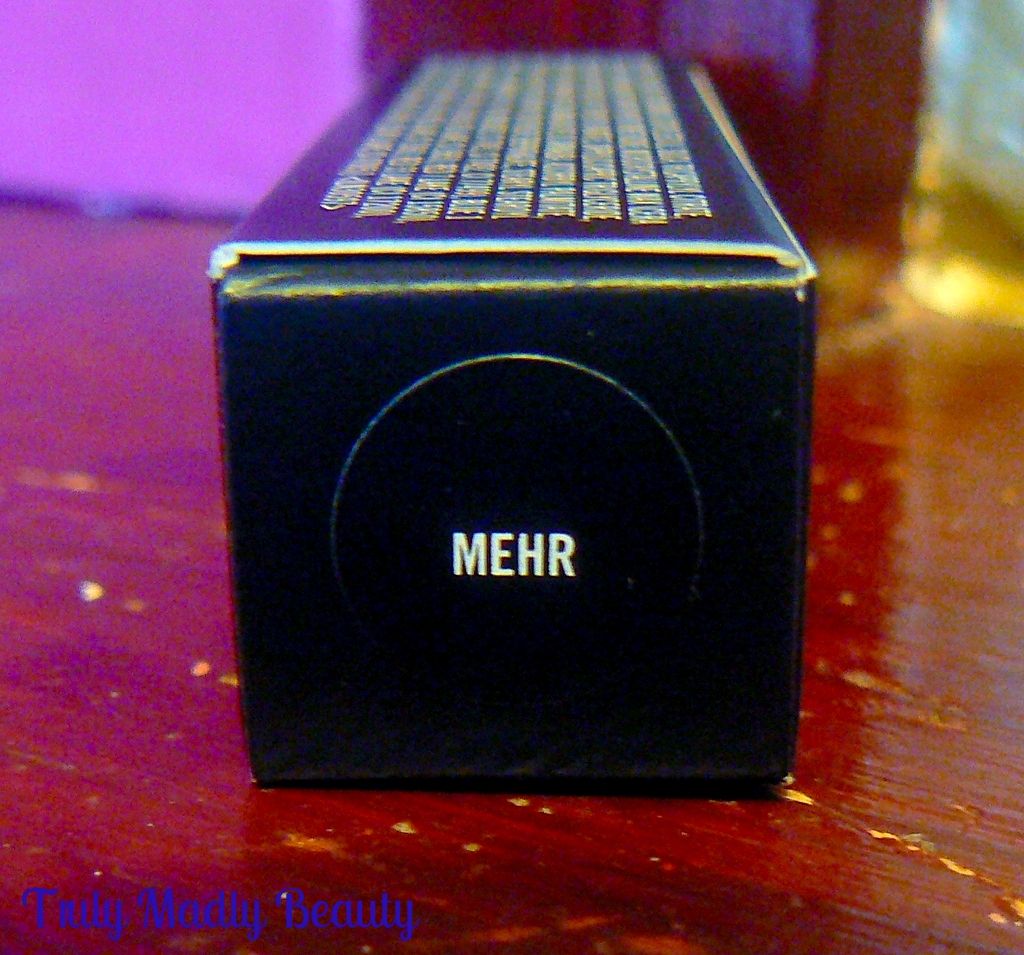
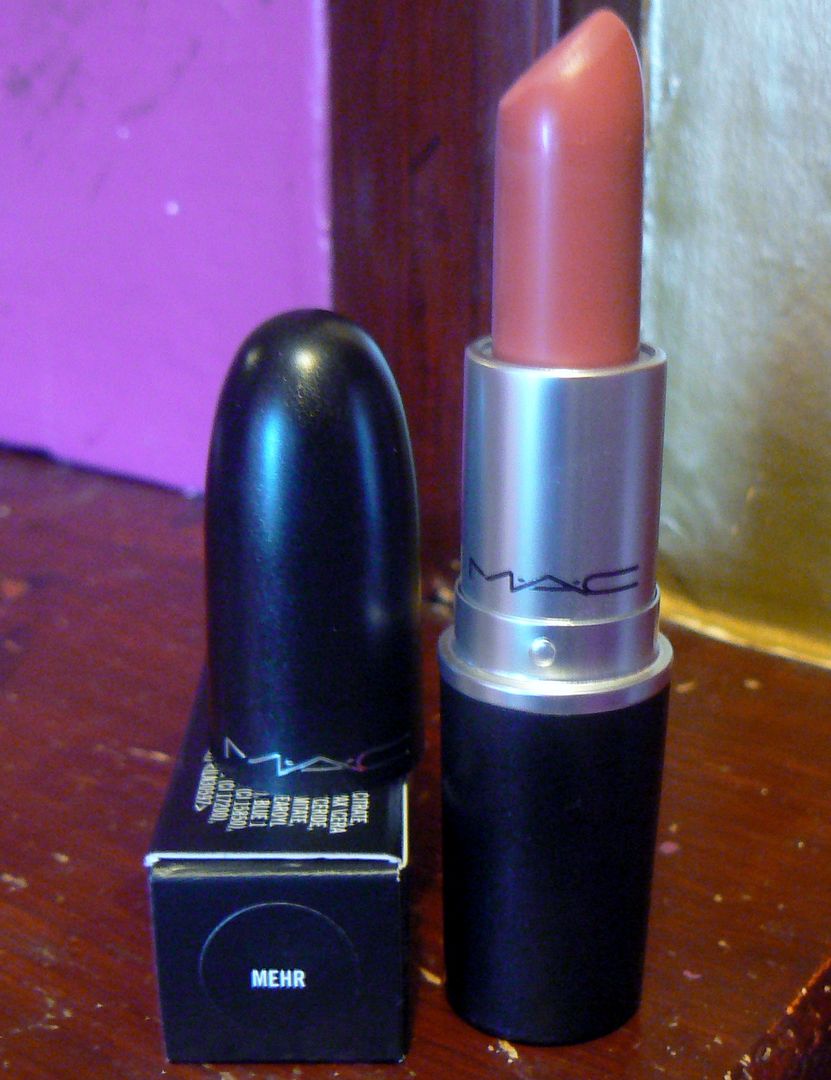
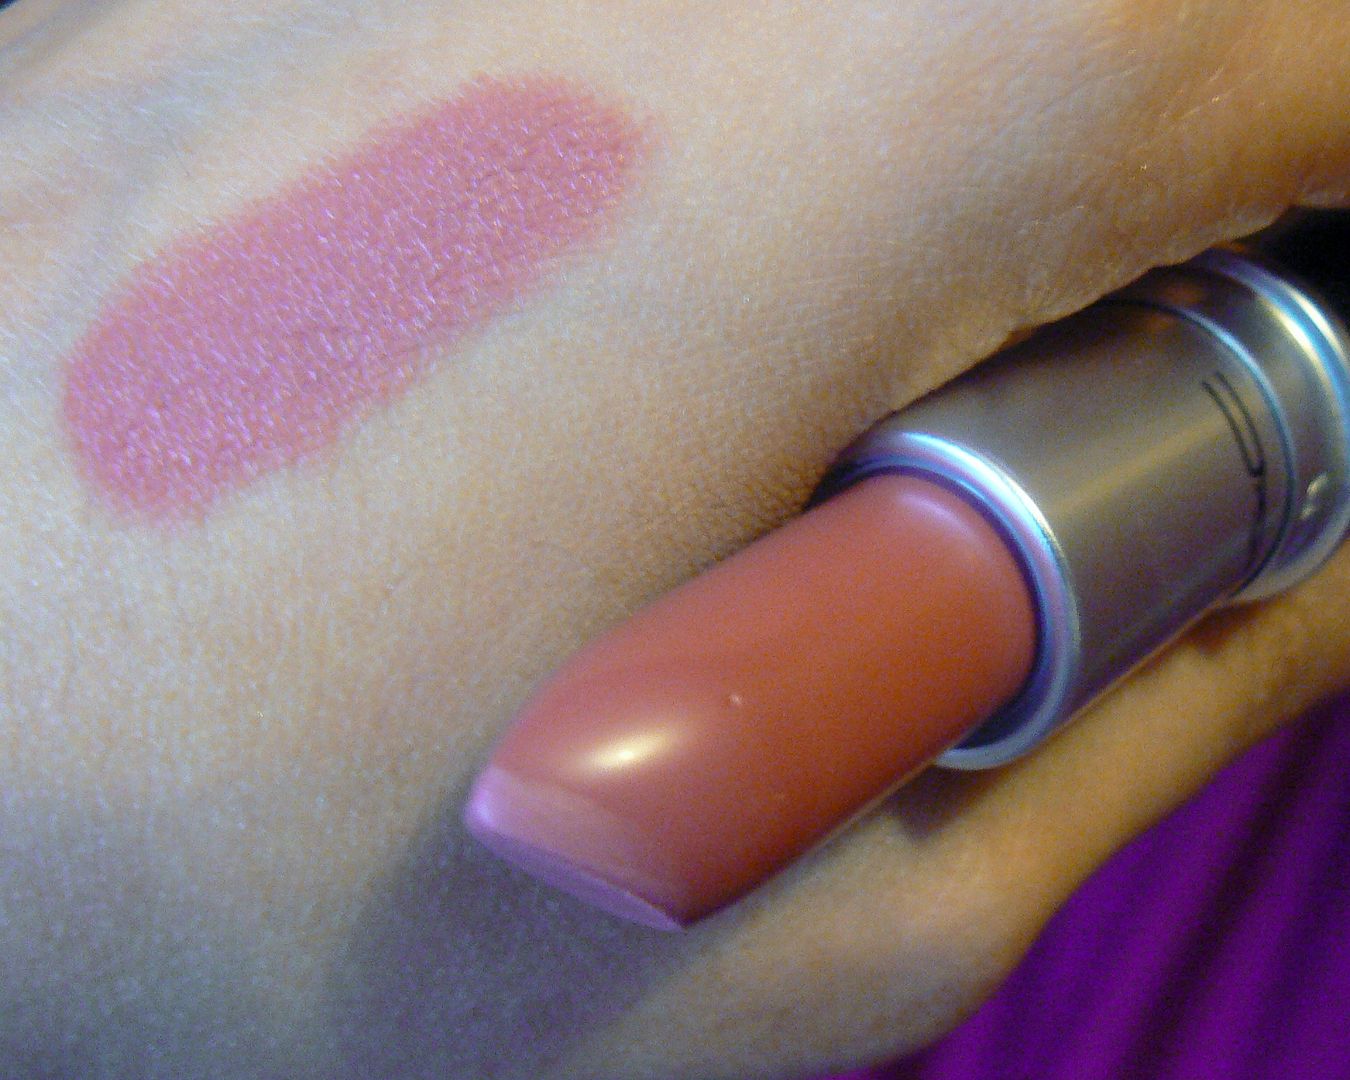
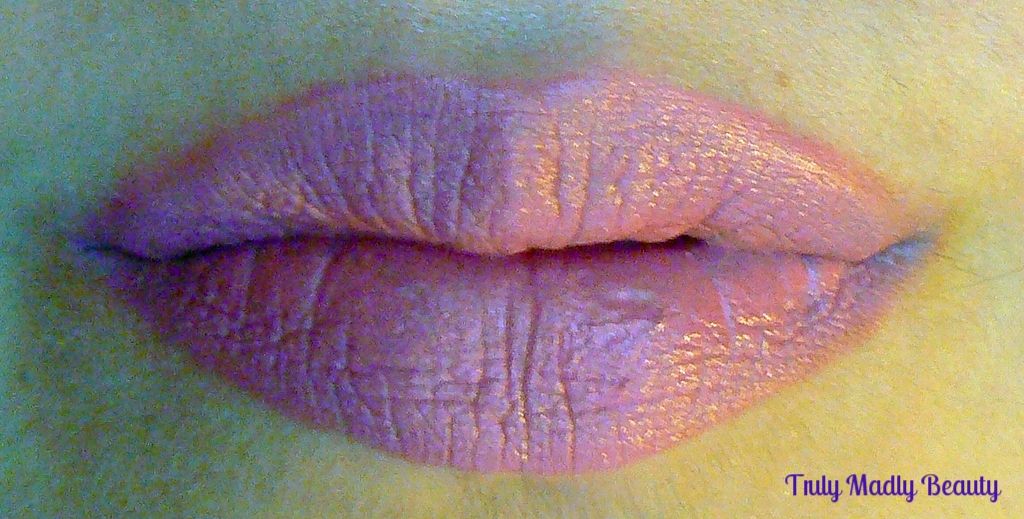
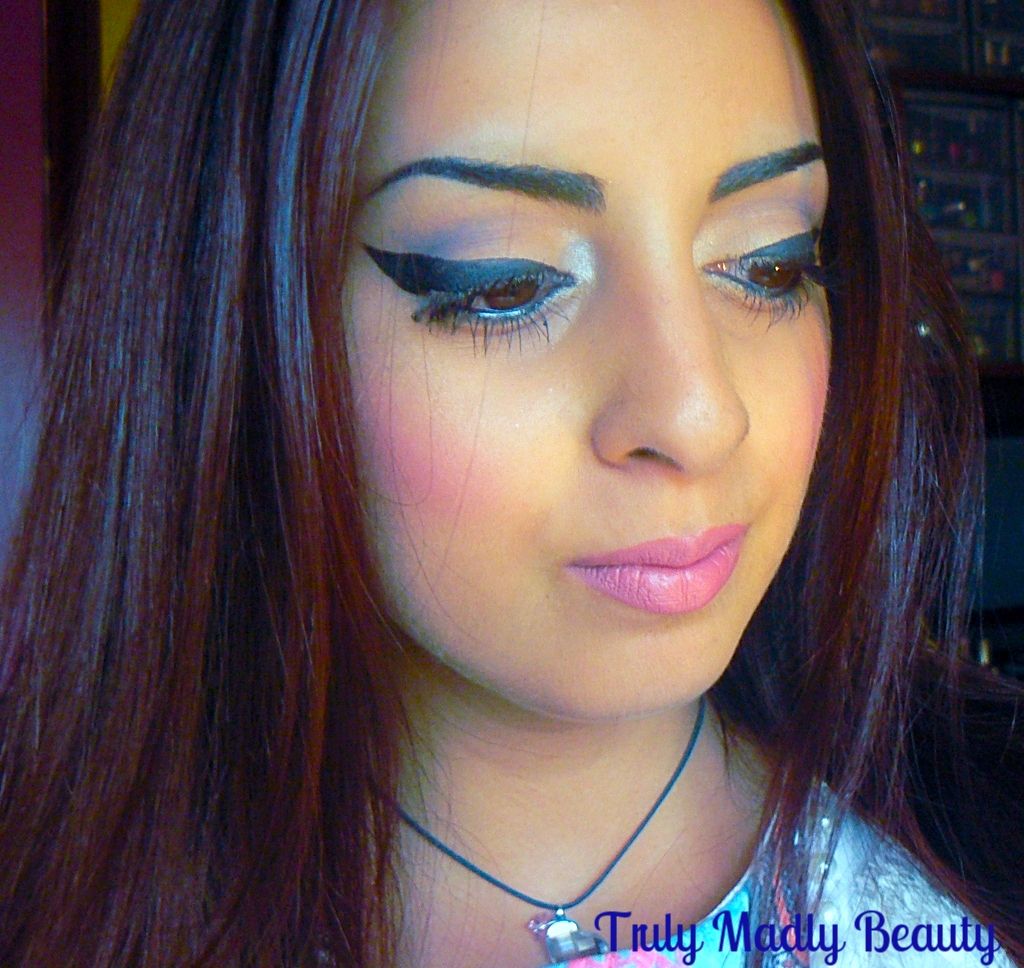
This pretty goes by the name of Mehr & is a dreamy, deep mauve pink/nude shade with a matte finish. I was in london with mumma bear who always loves to browse through the beauty halls, MAC in particular & whilst she was busy inquiring about her lippies I decided to let the MUA have at me with her skills & requested something a bit different.


Well Mehr is what she dug out & whacked on my lips & I can tell you it was love at first swipe. Not only does it glide on to the lips so nicely, without any patchy dryness, the colour is extremely flattering & is a shade that can be worn both daytime & evening.


Suffering from the annoying dry lips situation which is the reason why I'm put off lippies in the first place, I always prep my lips beforehand. So before applying Mehr I quickly scrub my lips with my LUSH Bubblegum lip scrub, apply a quick slick of clear balm, either Carmex or whatever I can find, then go in with the Mehr. If I have the time I do try to line the lips also beforehand to give a better finished look as alas I don't have a Jolie-esque pout! 


MAC Mehr (RRP£15.50) along with the entire range of lipsticks can be found in stores & online, have you any MAC lippie favourites? Thanks for reading!

Lotsa love to ya!