1.28.2016

NOTD - 3 Point Curve Nails!

Hello there my lovely readers!

I hope you're all having a good week so far? Eager for the weekend already, mostly because this crazy cat lady is currently parted from miss kitty/psychopath/spawn of Satan whom, if you follow me on Instagram are more than familiar with her cute comical ways. I'm currently away from home & the folks are away also so madam has been in the cat hotel where she is no doubt wondering where her the heck her owners have buggered off to...O_O 


Some super simple nail art for you today my beauts, so much so why you can even do it with your eyes closed! I was at a bit of a loss on what to name it, I always do get stuck with that I admit...I mean I'm nowhere near cool enough to use song lyrics or anything poignant like that in my post titles haha! However going by how this design is done I settled for 3 point curve nail art & simply roll with it.


Firstly though apologies for the horrendous quality pics! These were quickly snapped on my phone. I normally like to neaten my photos as much as I can & the editing platform I use (Photobucket) has been having problems, so frustrating! If you know of any good alternative to Photobucket please do share!


I was in the mood for some pastel & metallic action so decided to go for a lovely light milky pink base using Sally Hansen In The Flesh which I picked up in Poundworld. I've recently found some fab Sally Hansen polishes in that which is considered my most favoured of polish hunting grounds, so do have a looky! 


This was two coats applied, Sally Hansen formulas really are delightful, especially my experience with this range in particular. Isn't the pale, almost white pink just so scrummy? And to think it only cost a quid...high fives!


Next for the arty part, I decided to use the gorgeous Models Own Chrome Rose polish which is exactly what it says on the tin...a pretty rose tinted metallic giving a lovey rose gold finish. I have one polish which I always say EVERY girl needs in her collection & that's Models Own Pink Fizz. Trust me, you won't regret it & I'd say this one would also be a MUST HAVE, especially for my fellow rose gold lovers.


For this design simply grab a fine nail art brush, dip into your polish which you'll already have dolloped on to a piece of card/foil/paper, then glide the brush straight down the centre of the nail, starting at the cuticle & finishing at the tip. 


Then using the same brush & more polish, draw one curved line on the left from the top point by the cuticle....& then another curving to the right. And...thats it! Finish with obligatory top coat & you're done.  It actually reminds me of a birds footprint! But I don't think Crows Feet would've made a good name for this...O_o 

***EDIT*** - Thanks to the lovely @Yahyah56 suggestion on Twitter that this mani bares quite a strong resemblance to the delightful Prince Andrei's uniform from BBC's new drama War and Peace! So henceforth this manicure will be titled "War & Peace"....or "Dishy Prince From Historical Drama That Makes Girls Swoon"...either or will suffice ;)

Thanks for reading lovelies & catch up soon!

Lotsa love to ya!

1.24.2016

Santhilea Magnetic Lash Mascara Review

Hello there lovely readers!

I can't recall if I've mentioned but yours truly recently went through that most dreaded time which bloggers often endure...a spending ban O_O Being the beauty addict I am, for which there is no cure alas, I realised that my makeup stash was getting a tad out of hand, with a large number of products (many bought just for "blogging purposes" of course!) sitting tucked away in the drawers unused.


Thus I decided to enlist some self control & hold off purchasing anything new (which in the blogging world is HARD I can tell you!) & focus on products I currently own. The positive from this is not only has it been extremely satisfying hitting pan & actually finishing a product, but along the way I've re-discovered old favourites, as well as fallen in love with a few new products too. Which has made the whole ordeal worthwhile :)


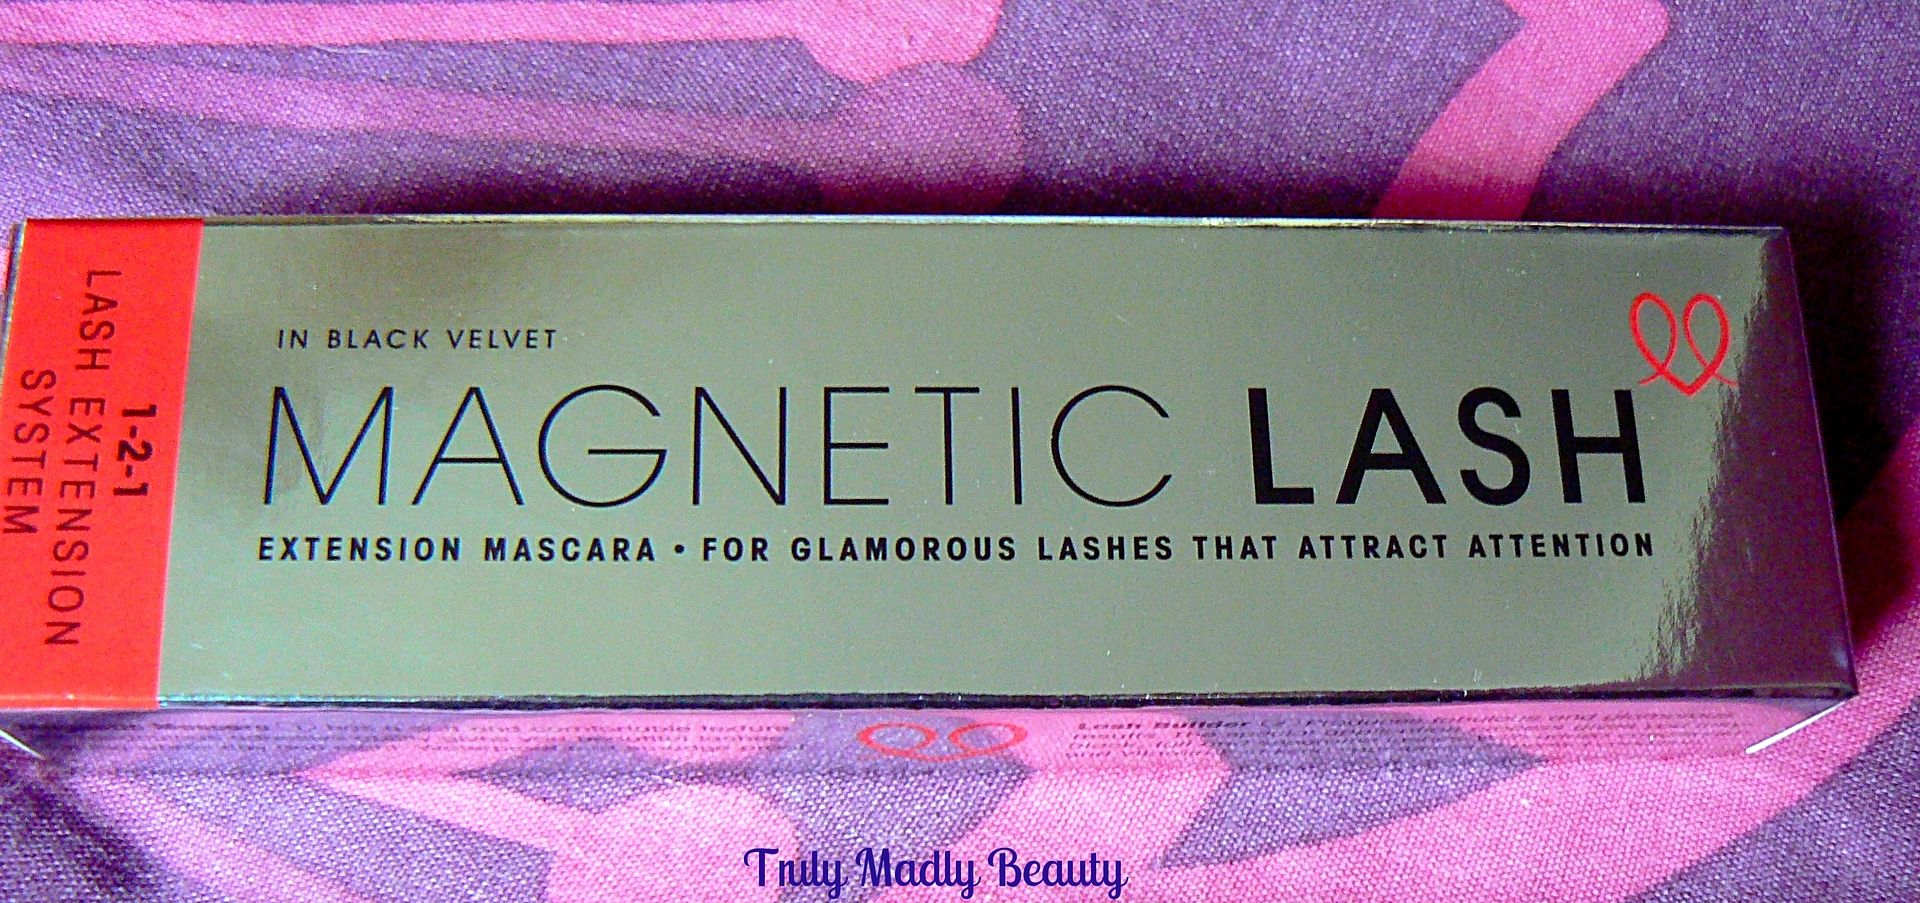
One product which falls in to the 'new love' category is this delightful little mascara offering, Magnetic Lash by Santhilea*, which popped through my letterbox a while ago & sadly met the fate of being added to the pile of products left untried *hangs head in shame* But now all that's changed & I've finally given this intriguing mascara a whirl with, I'm happy to report, some super satisfying results!


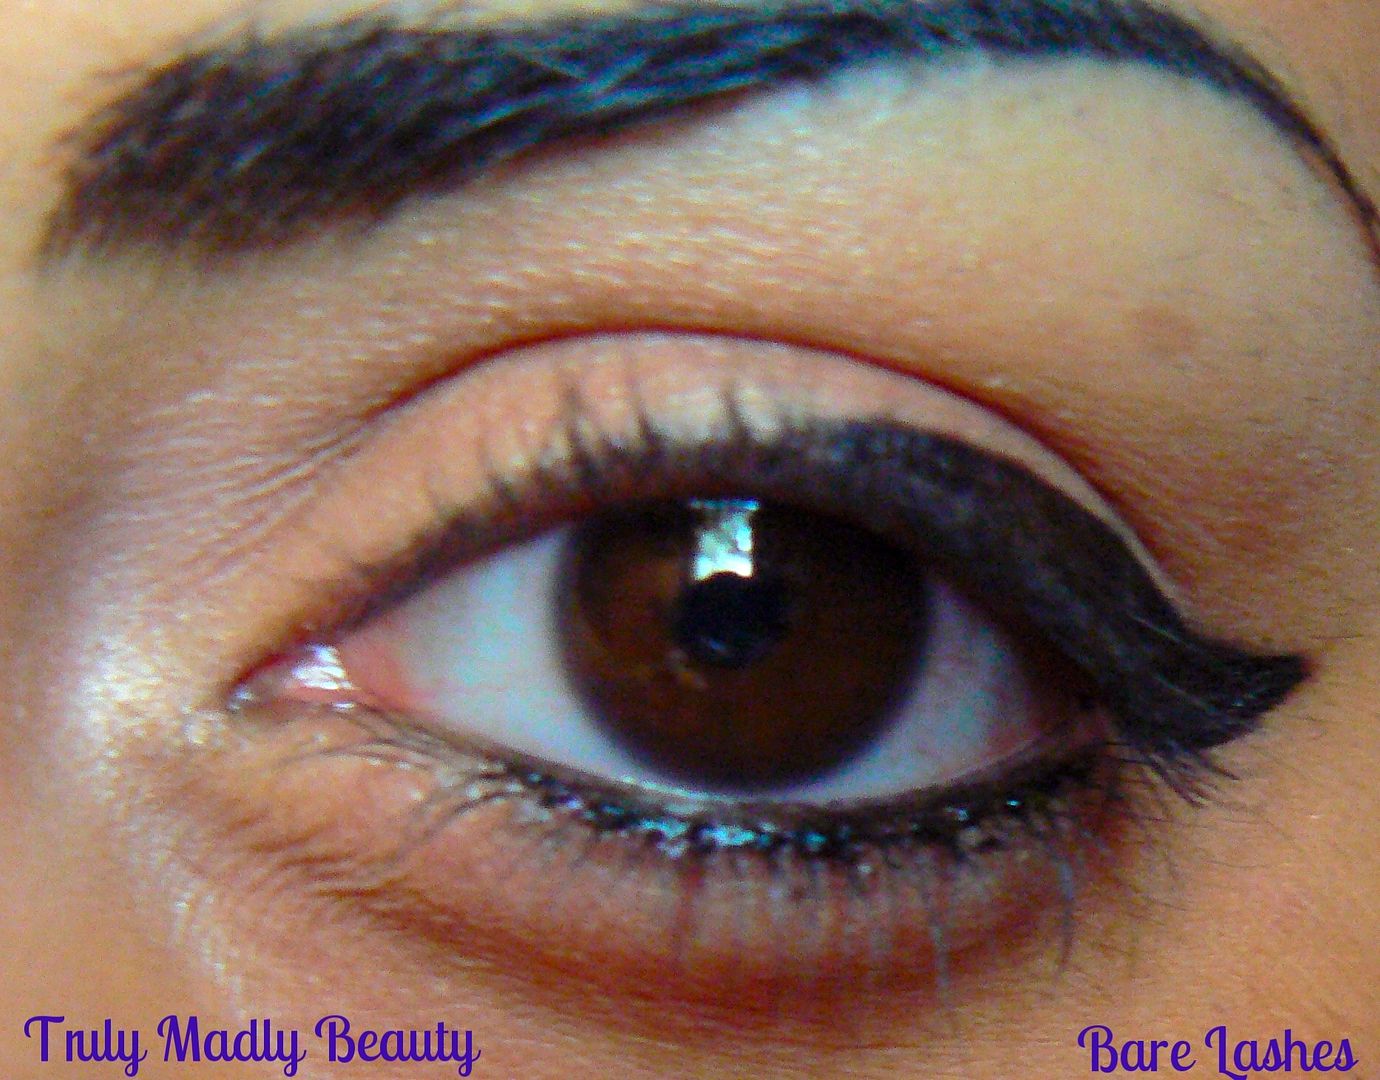
Santhilea is not a brand I'm overly familiar with, however this award winning mascara has been on the receiving end of many positive reviews so I couldn't wait to see the results for myself.Truth is in the testing so here's a before pic of my bare lashes for you...


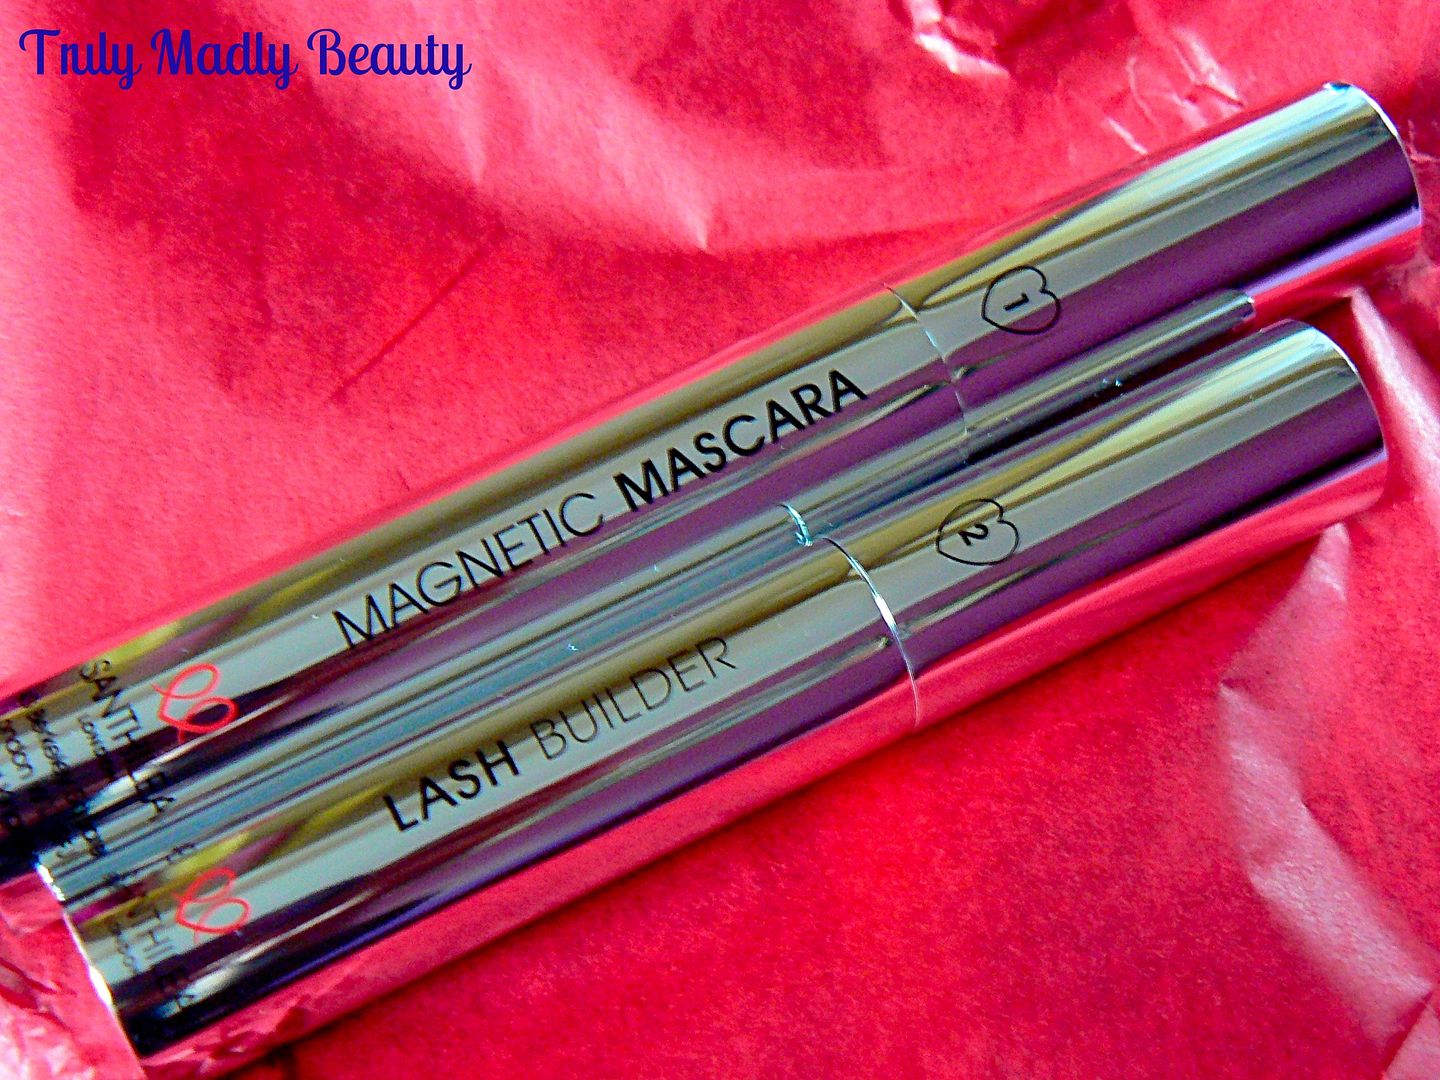
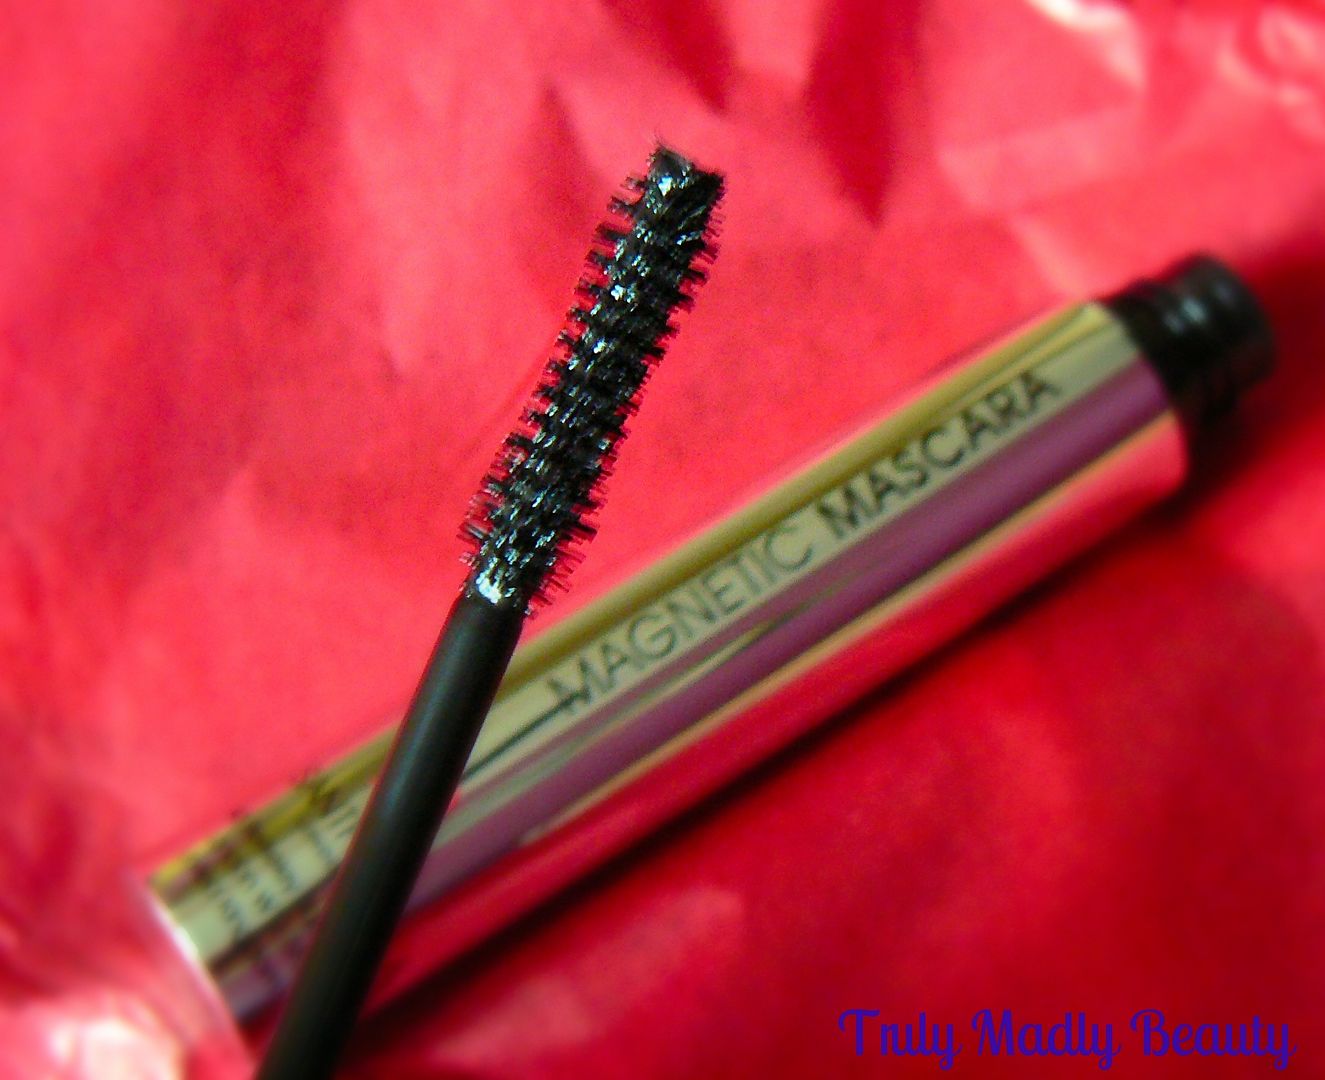
The Magnetic Lash uses a 3 step lash extension technology using specially made fibres to help build up & volumise your lashes to give a full lash look without having to resort to falsies. With ingredients including hyaluronic acid and vitamin E, it definitely sounds like a nourishing treat for the lashes. Magnetic Lash comes as two separate products for each stage, the Magnetic Mascara & the Lash Builder. 


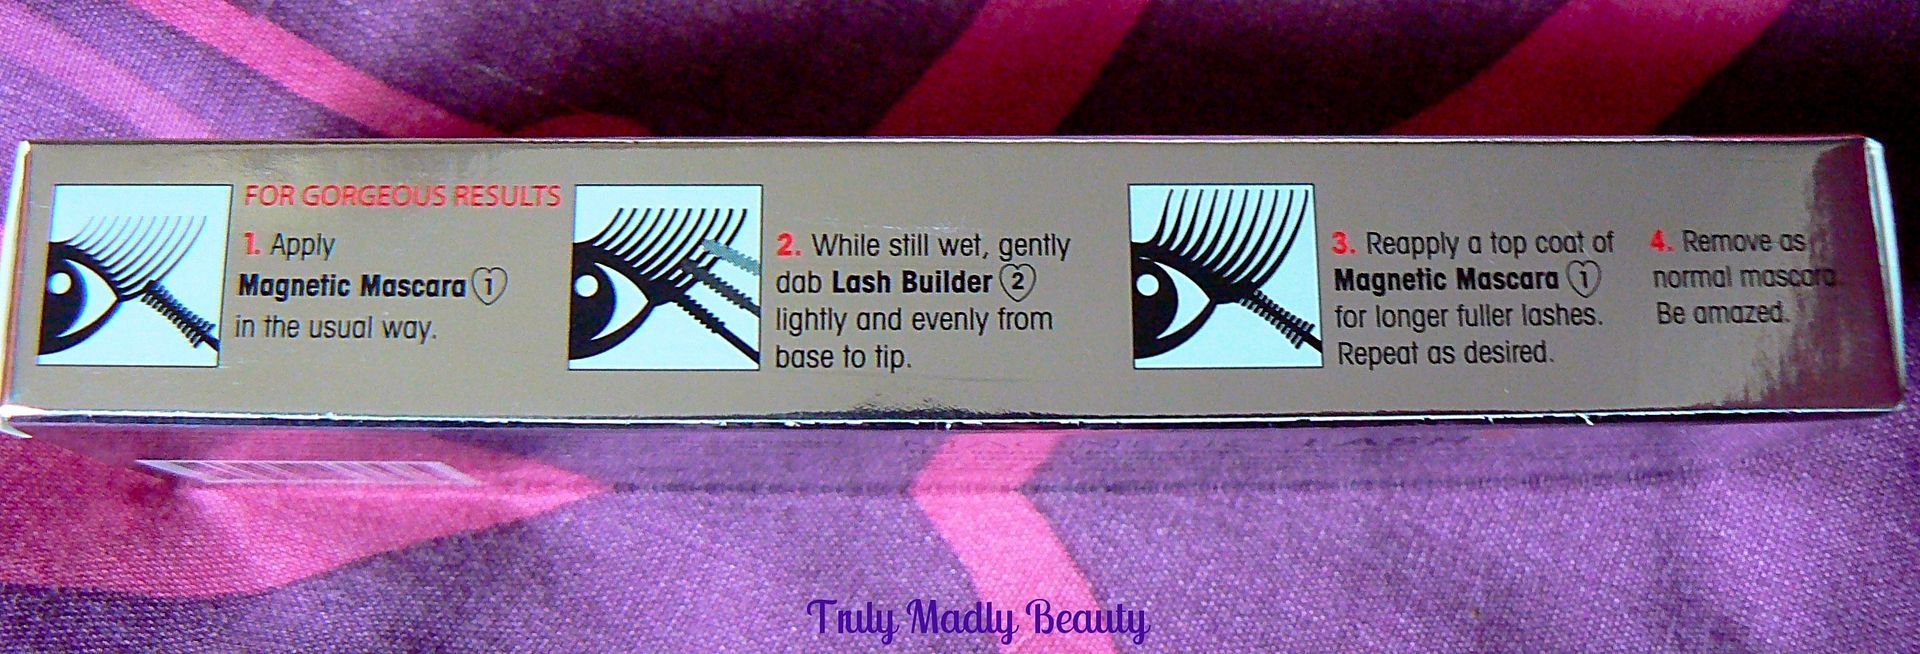
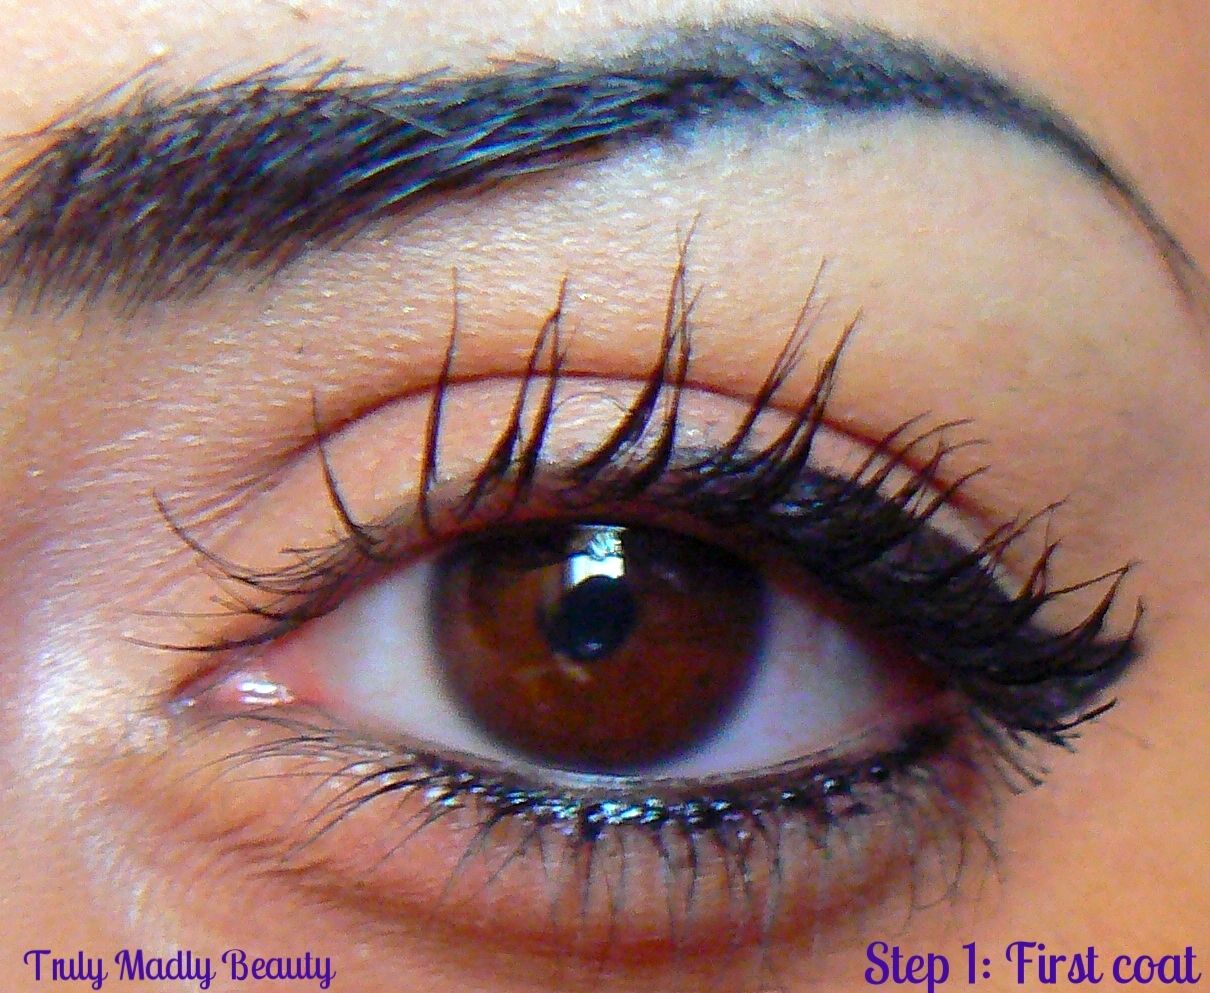
The first step is to apply one coat of the Magnetic Mascara, ensuring each lash is covered from base to tip.The wand with this mascara is pretty straightforward in shape, no crazy designs here but it caught & lifted the lashes well. I apply my mascara on the top of the upper lashes brushing down, then underneath & lifting up.


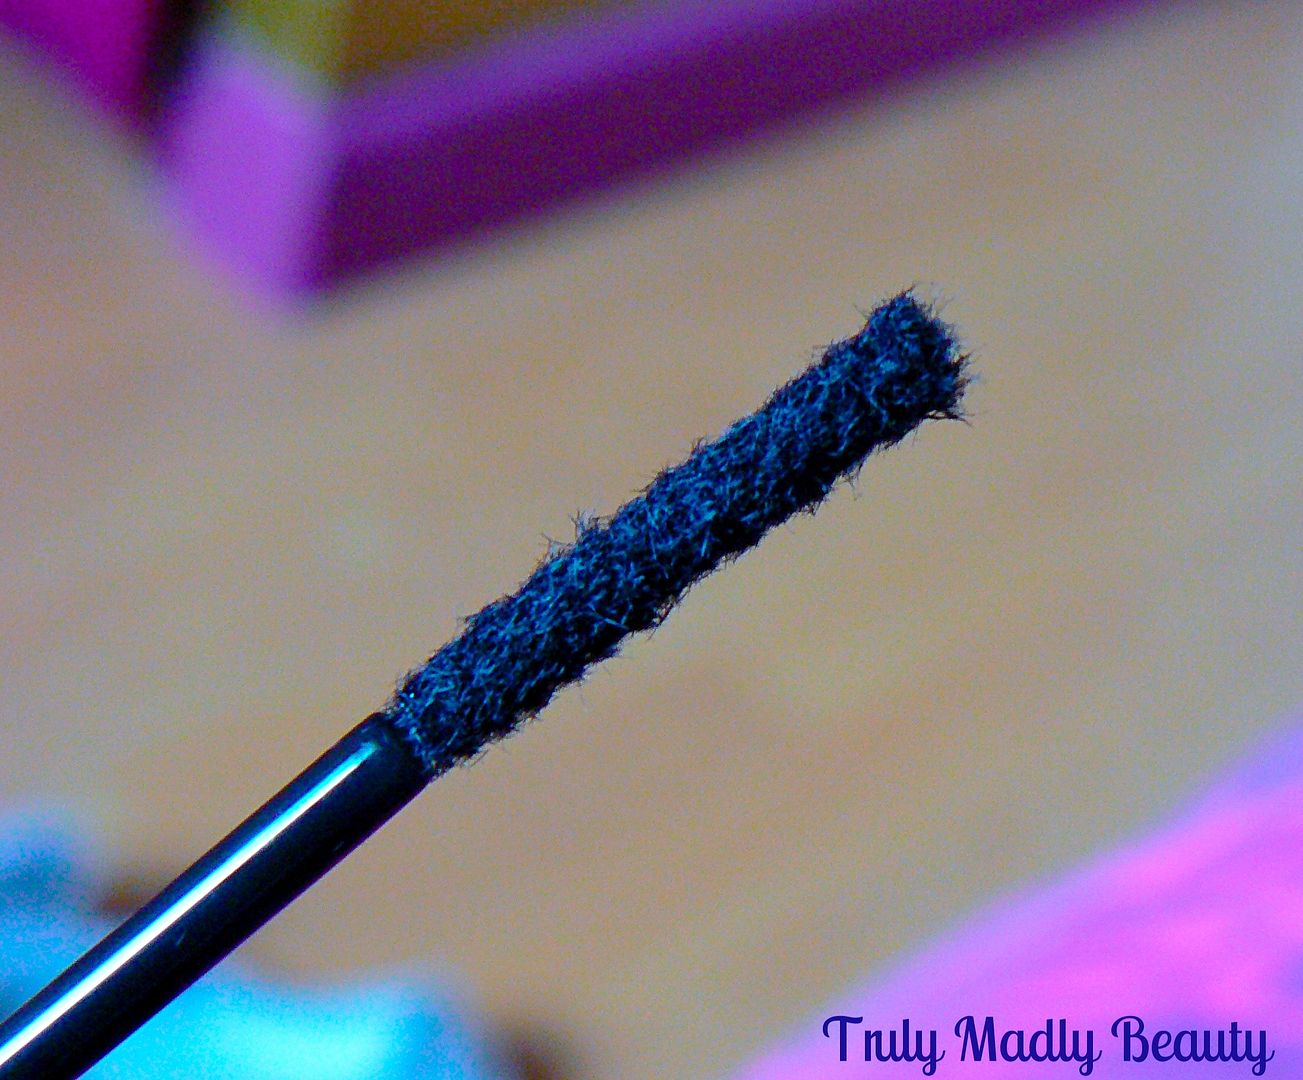
Next step is to go in with the lash builder, to apply simply dab the fibers on to the lashes using the wand, ensuring they distribute evenly, concentrating more on the ends. Fan the eyelashes a tad with your hands to help dry & secure the fibres to the lashes   


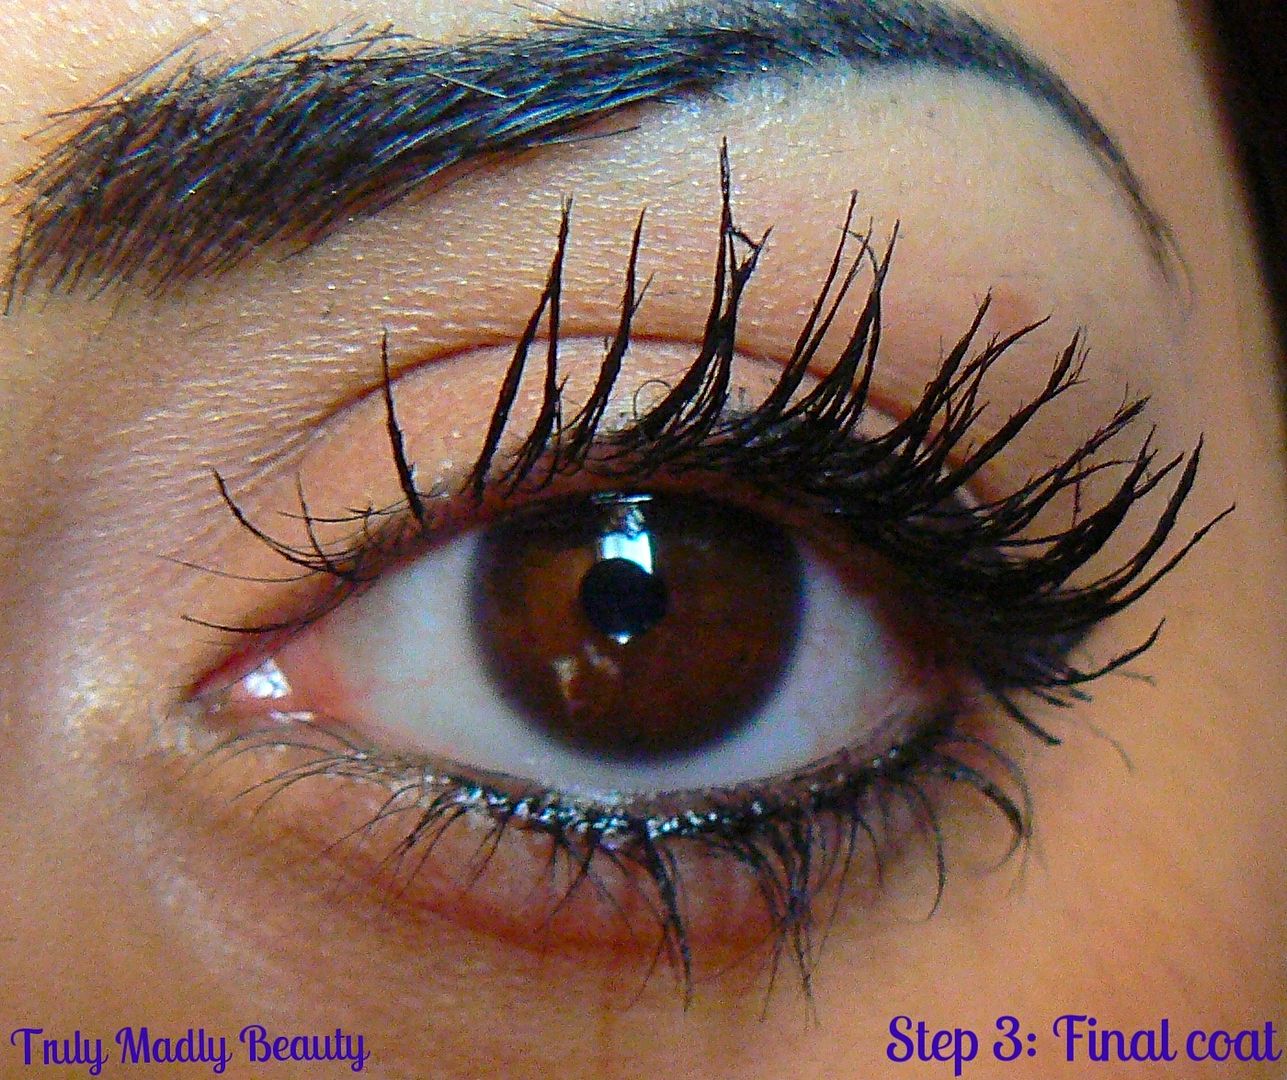
Then to seal in those fibers, go back in with one more coat of the Magnetic Mascara, using smooth upward combing strokes to prevent loosening any fibres. 

For a more dramatic look you can repeat steps 2 & 3 however I was very satisfied with this finished result. I can't stand having a too heavy feeling on my lashes & Magnetic Lash succeed in giving a va va voom lash finish without heavy spidery clumpiness, instead leaving my lashes feeling glam yet incredibly light. Cue obligatory after pic...


I'll admit, I wouldn't have the time nor patience to go through the application process of Magnetic Lash everyday, as speed is key for me in the mornings! However I will happily reach for this mascara for special occasions, weddings etc as a special treat product.

The Santhilea Magnetic Lash retails for £24.99 & can be found online. Have you ever tried this lash fiber technology?  Thanks for reading!

Lotsa love to ya!

Disclaimer - * products featured were sent to me for my consideration. I am not affiliated with the brand nor paid for this post, this review has been as always my 100% honest opinion! :)


1.18.2016

NOTD - Burgundy Reign

Hello there lovely readers,

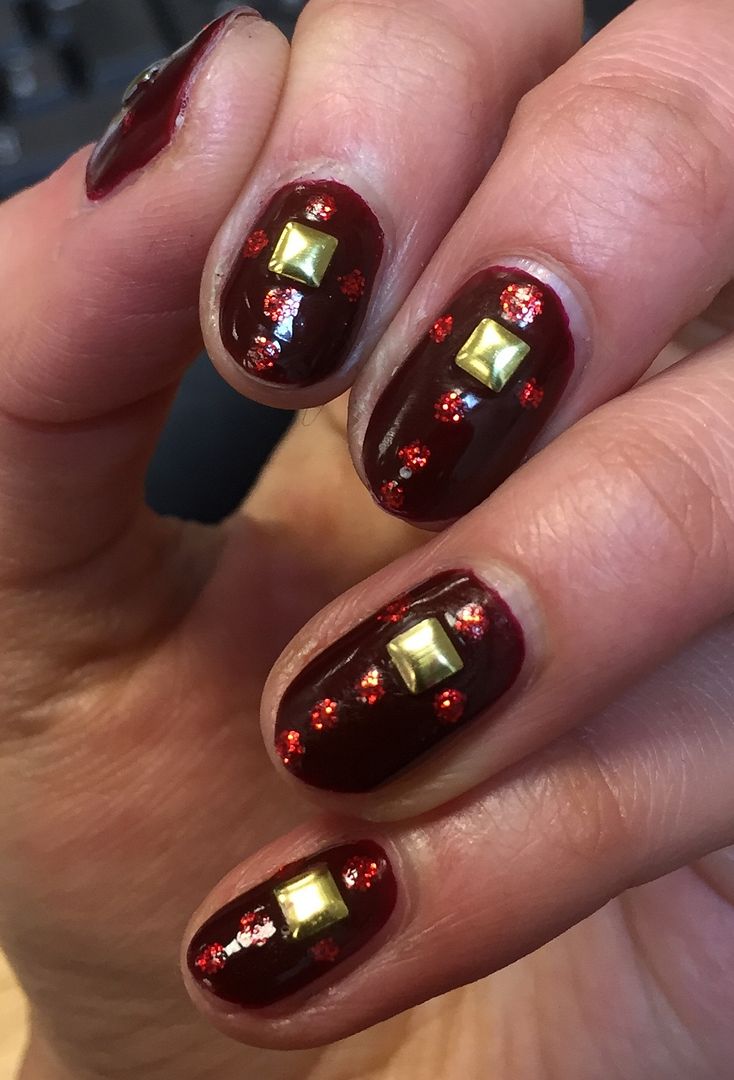
When it comes to nails as much as I adore all the colors under the sun, there are occasions when one desires to keep things simple & classic, whilst adding my own little twist naturally & one of my favourite ways of keeping things such is with a gorgeous glossy burgundy mani, which is what I've been rocking quite frequently of late.

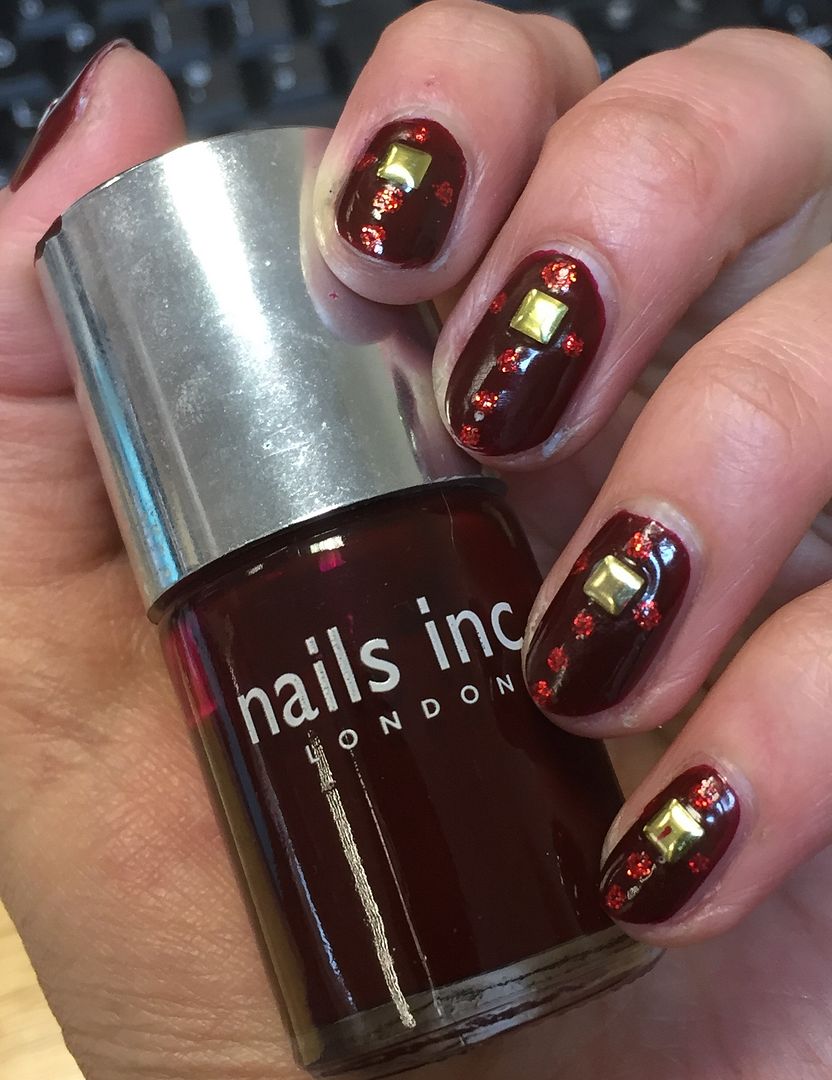
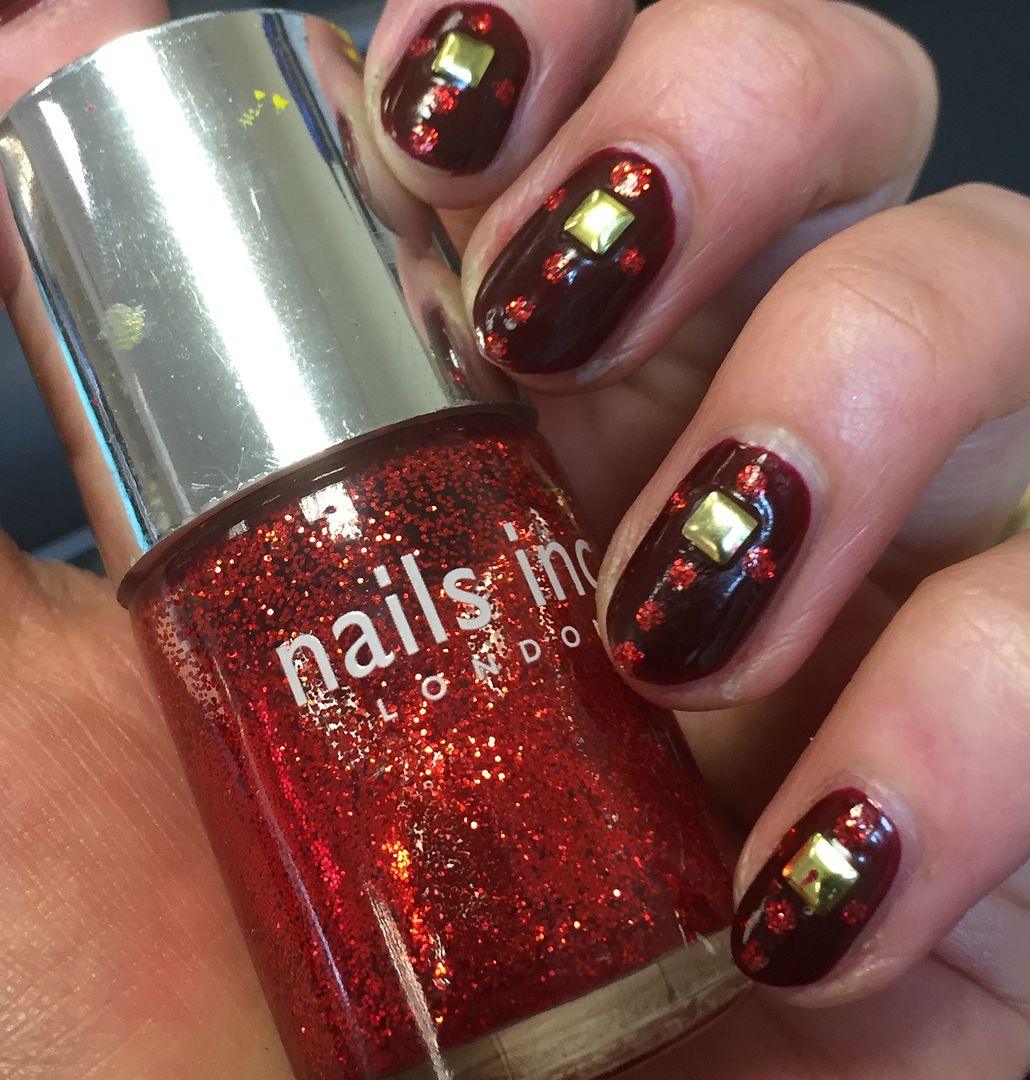
During a meeting at work the other week I noticed one of our clients had clearly recently paid a nail salon a visit & was sporting a gorgeous deep wine red glossy shellac mani. For someone who regularly changes their polish, shellac is not for me, up to 3 weeks of the same colour... *cue palpitations at the thought* I do however own many burgundy wine tones, would I say too many? NEVER. Ungh I just can't get enough of them! And so I rushed home & dug out the nearest which happened to be Nails Inc Chester Square...


Chester Square is exactly what I required to satisfy my mani needs, a dark, vampy, juicy wine red shade I almost have to stop myself from swooning & drooling during application I love it THAT much...what can I say, I get all kinds of emotional over polish...you KNOW this about me.


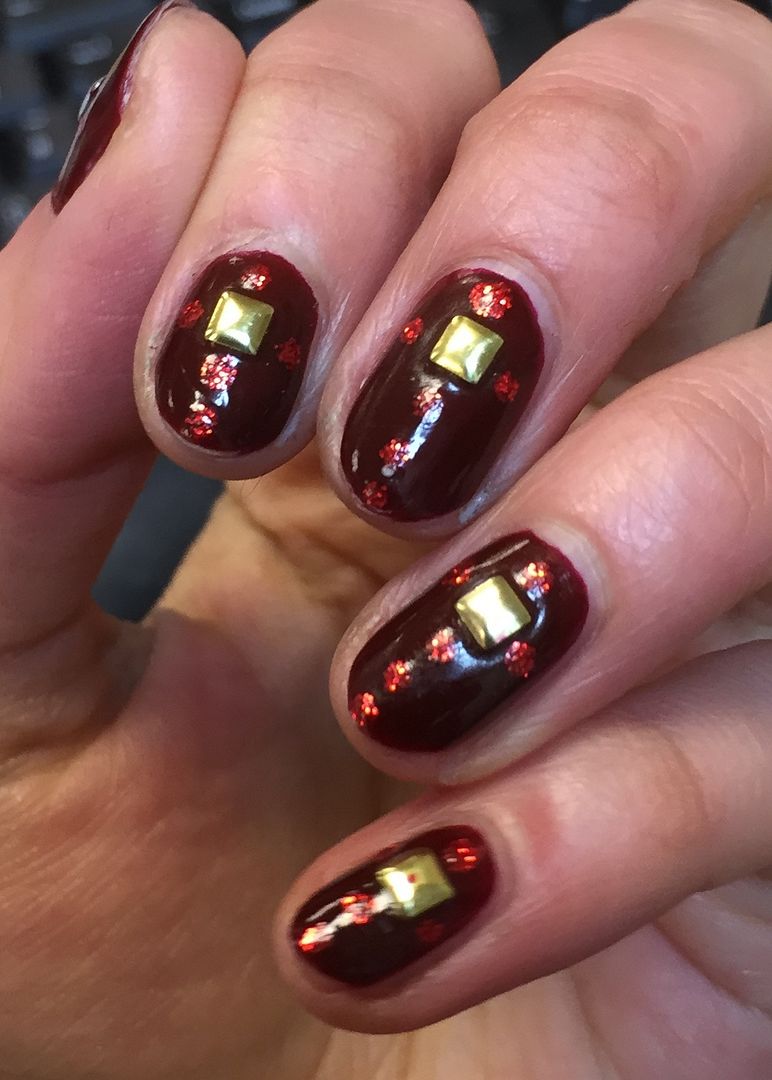
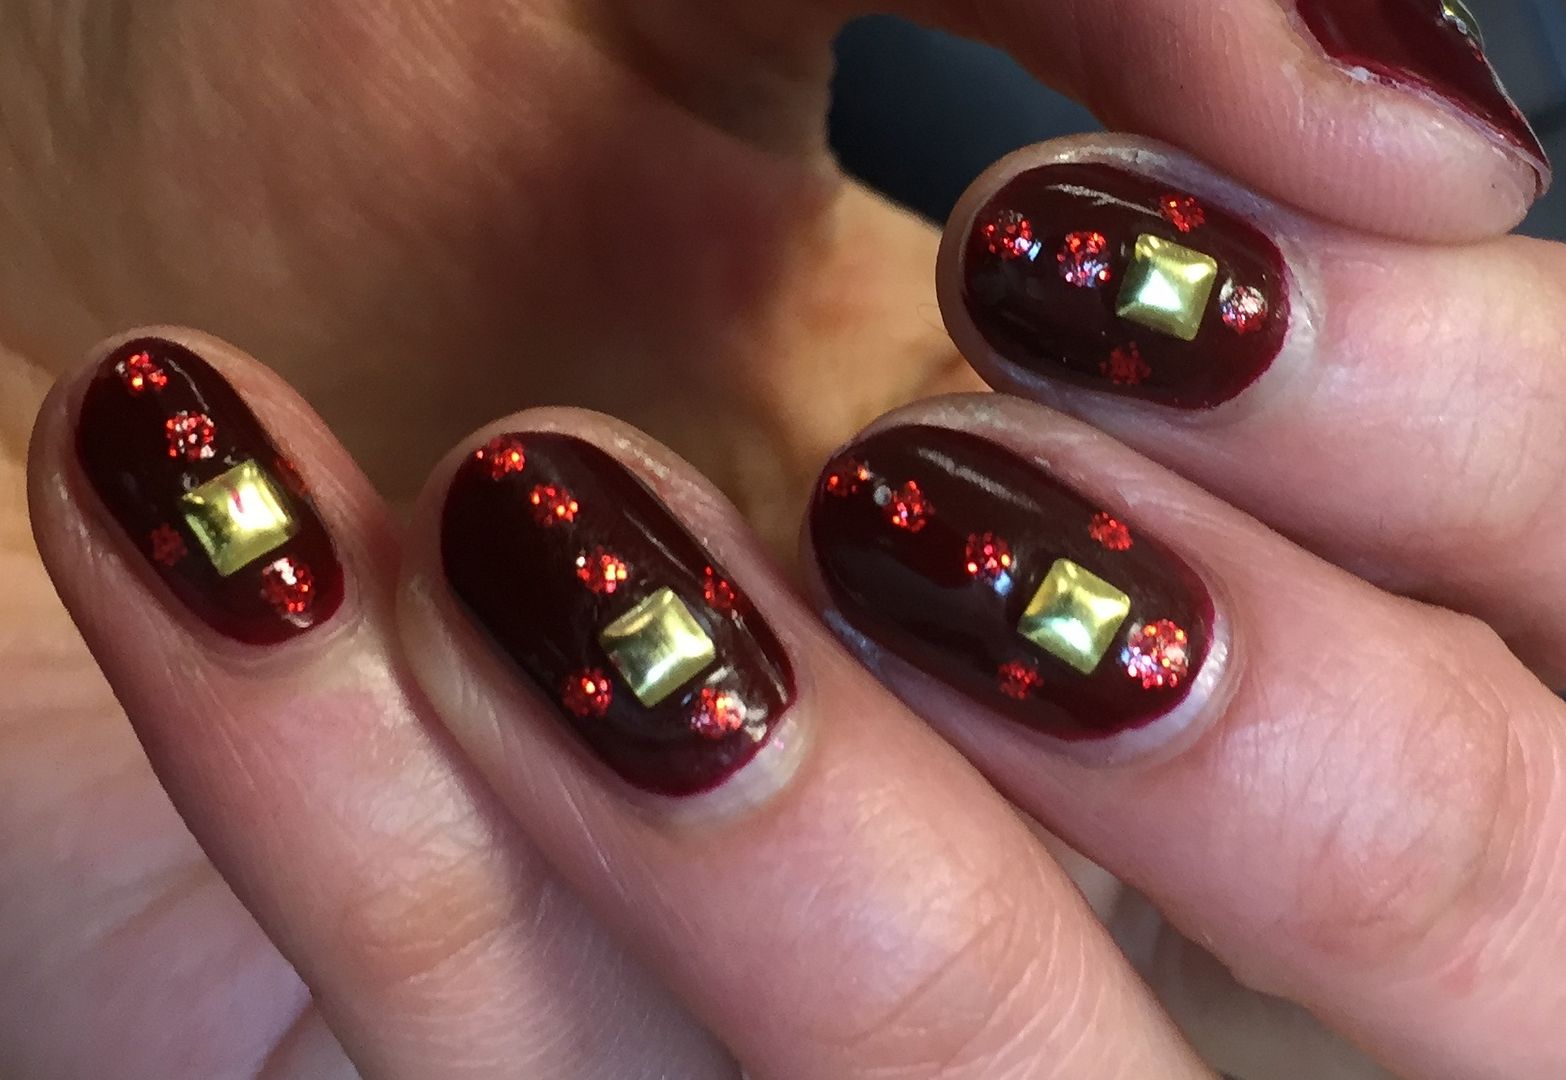
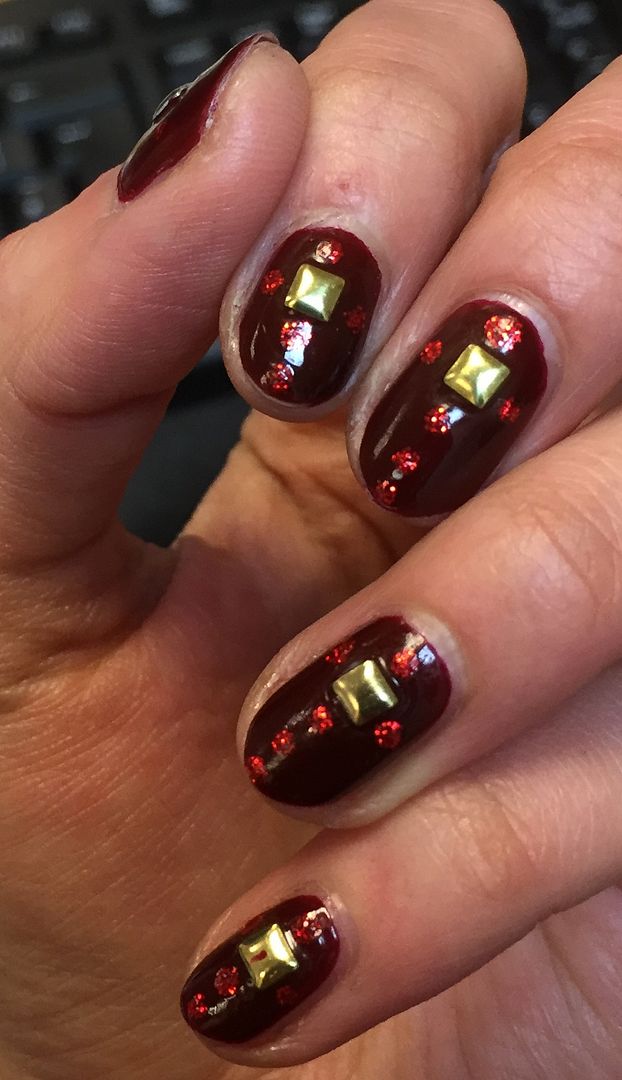
Application was lovely & smooth, two coats applied leaving a gorgeously glossy finish. Absolutely divine all by its onesie but you know I do like adding a little extra something something, in this instance I was feeling Tudor-esque Gothic vibes clearly...


My current Netflix addiction is Reign, a drama series telling the tale of Mary Queen of Scots. At first I didn't think much of it as whilst I adore anything historical, (The Tudors...now wasn't that a treat for the eyes that has nothing whatsoever to do with the presence of one Henry Cavill...O_O)


I didn't really like the modern twists i.e costumes, music tracks etc but it slowly grew on me & now I'm completely HOOKED! Anyhoos, I always associate rich jewel tones & Gothic cross emblems with that era, so incorporated those vibes into this mani.


I applied a square gold stud to the centre of each nail, then added some small dots of red glitter to resemble a cross design using a simple dotting tool, one on each side of the stone & continuing down horizontally until you reach the tip. Easy peasy.


A slick of topcoat to seal the design & add even more shine & you're done, a lovely classic mani with a gothic twist :) I am satisfied.

Thanks as always for reading! Till next time!


1.17.2016

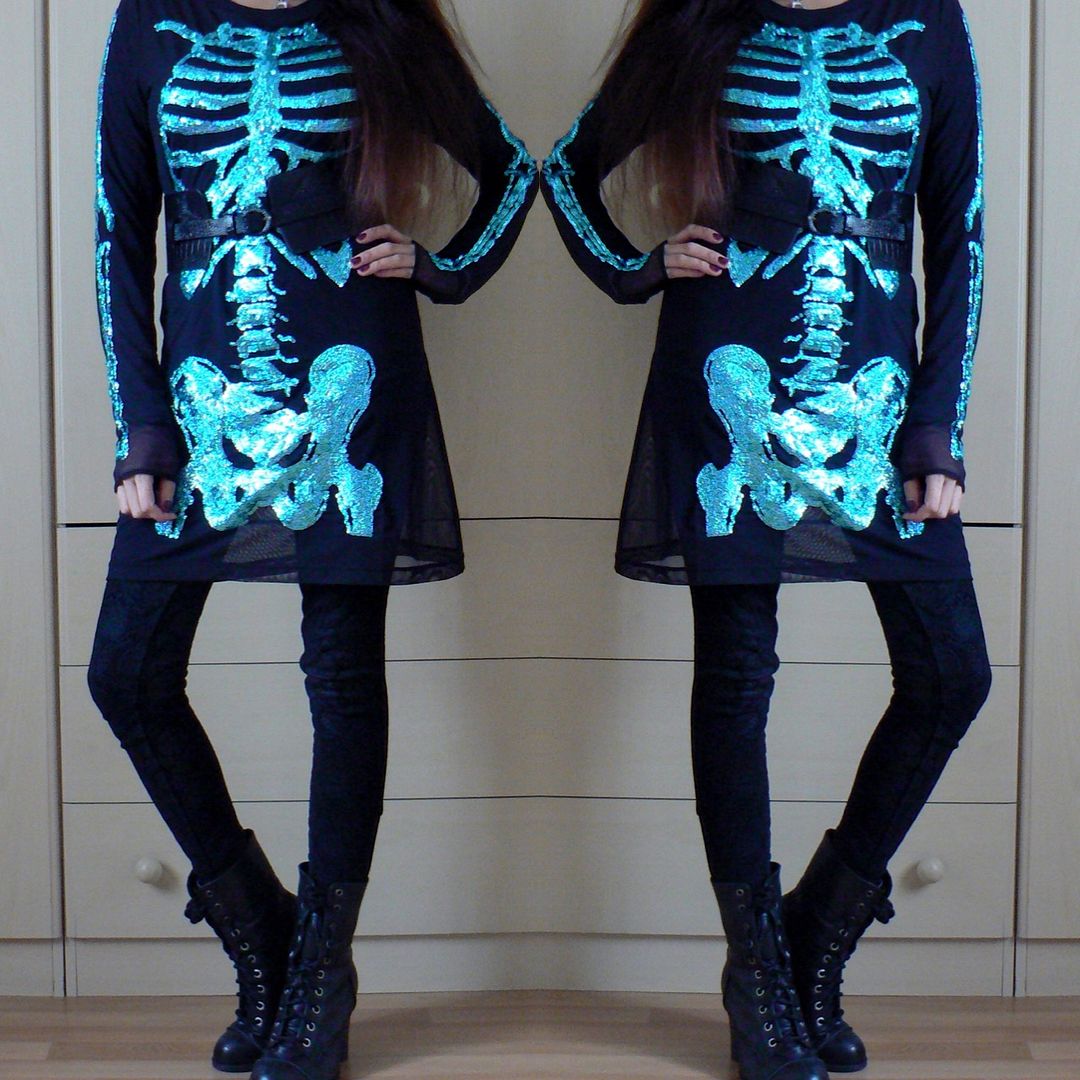
What I Wore...Glitter Goth

Hello there lovely readers!

Blimey January is a toughie eh? That struggle of re-joining the gym which is still pending action & you wonder if it EVER will...the excruciatingly slow wait for the next pay day to come round *gazes far in to the abyss*... I'd gotten so used to 3 or 4 day weeks in the last month of December that getting back into the swing of a five day working week is proving a hard task! A holiday is required methinks to counter all this stress, but good news is that New York episode 2 is officially booked & confirmed for June this year & I cannot WAIT! *cue happy dance* After falling head over heels with the city last year I knew I'd be returning for sure & to do so in the summer months where hopefully the weather will be good is the cherry on top. 

Anyhoos trooping onwards for now with a wee outfit post for you today beauts, just to mix it up a tad.


Those who know me well know that bargain hunting is a task I take seriously & not without a touch of pride! Snapping up a good deal is most satisfying, Depop is my addiction, having discovered some ace finds, most recently a Vintage Star Wars skirt featured HERE as well as a new Lolita coat which I nabbed for only £40! As they retail for up to £200 I think that definitely qualifies as a bargain buy. When it comes to shopping in stores I tend to be more weary, I don't do well in crowds & often the sale racks look like a bomb site that breaks me out in a sweat to even contemplate facing! However there is the rare occasion where I manage to discover a treasure hidden away, one such find was this piece of glitter goodness in H&M no less.


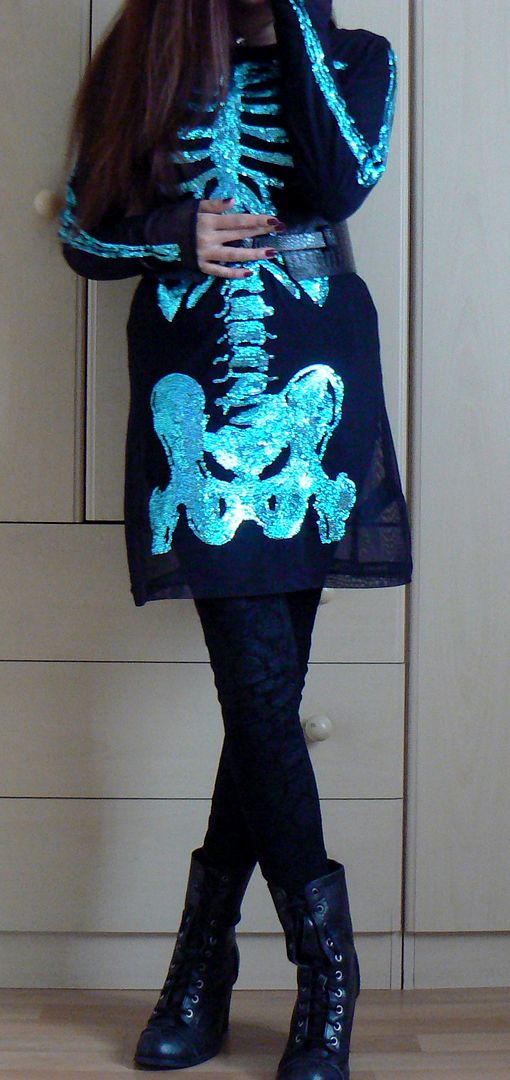
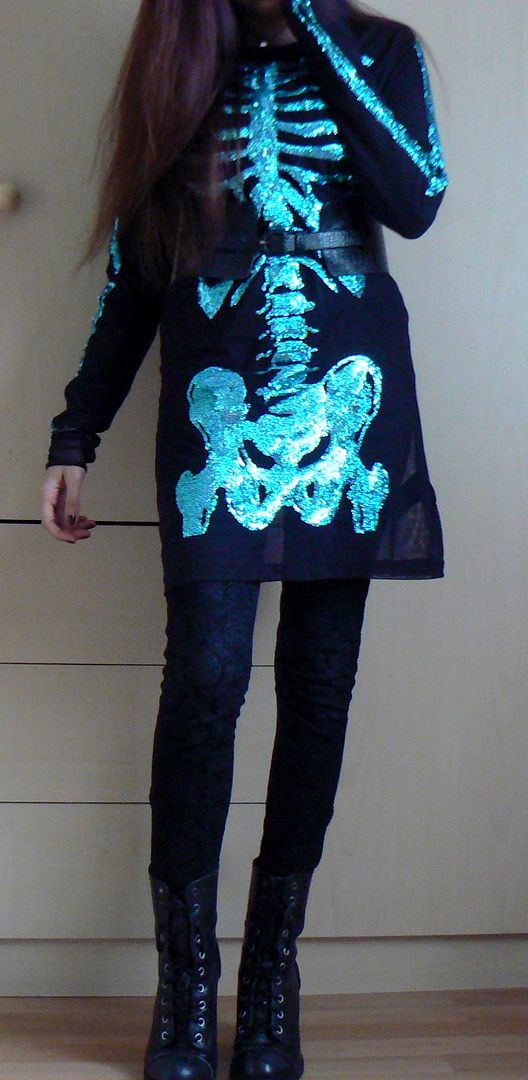
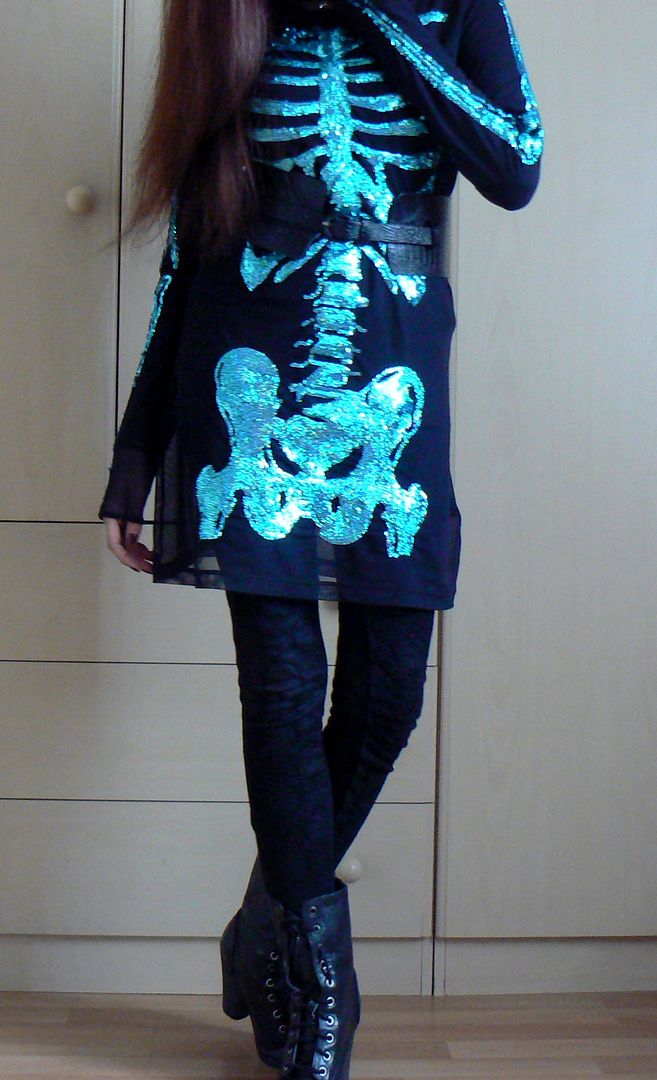
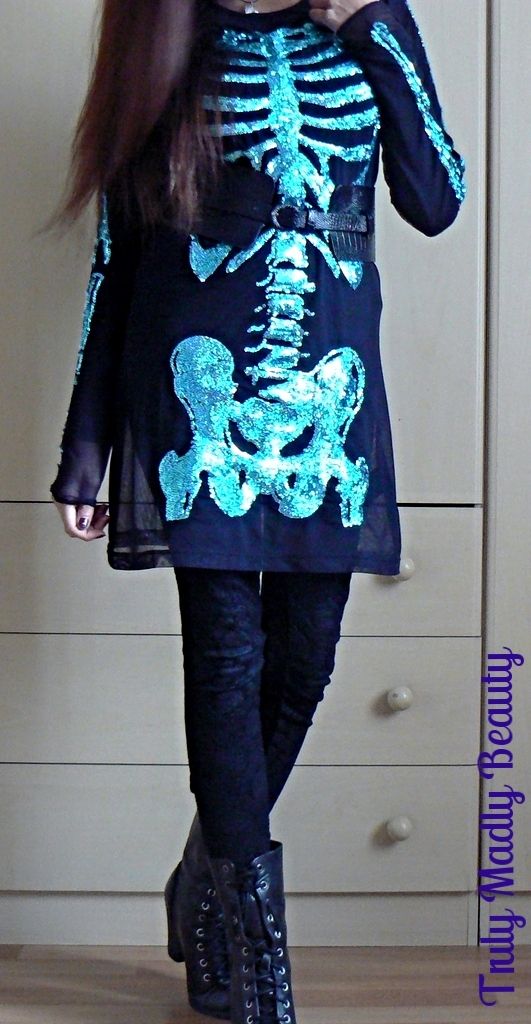
GLITTAAH! Oh yus the inner pixie was definitely happy with this sparkly number as well as satisfying my dark soul ;) I do have a soft spot for H&M as they occasionally roll out stellar items like this divine long tee with skeleton rib-cage detail along the front & sleeves covered in beautiful turquoise glitter, its glinting was what caused me to pause whilst strolling by.


The shirt is made up from a thin black see through cotton, very comfy but some underlining twas required, wouldn't want to flash any dodgy parts haha! This was rectified with the simple addition of a long sleeve black t shirt which in this current freezing climate we are experiencing was necessary too! Layers for the win.


I am a lover & loyal wearer of dresses, nothing makes me feel happier than donning a swirling skirt & I'd say 80% of my wardrobe is entirely made up of swishy numbers of some sort, so this is quite different for me. However I adore channeling the gothic vibes on occasion also so this satisfies that perfectly.

Here I've teamed it with some velvet baroque leggings from Zara & my Biker Boots which were a Debenhams purchase many moons ago, finishing the look with a bit of waist cinching courtesy of a gothic leather belt.


So yup definitely happy with this addition to my wardrobe! Thanks as always for reading beauties! Next time your passing by H&M do have a browsy through their sales section, you never what treasures you might find ;)

Lotsa love to ya


1.11.2016

NOTD - Egyptian Jewel Inspired Nails!

Hello there lovely readers!

I've always been fascinated with Egyptian history. I adore watching films depicting the time of the Pharaohs & I hope to visit Egypt one day, being a huge Poirot fan also, a Nile cruise has been on the bucket list for a long time!

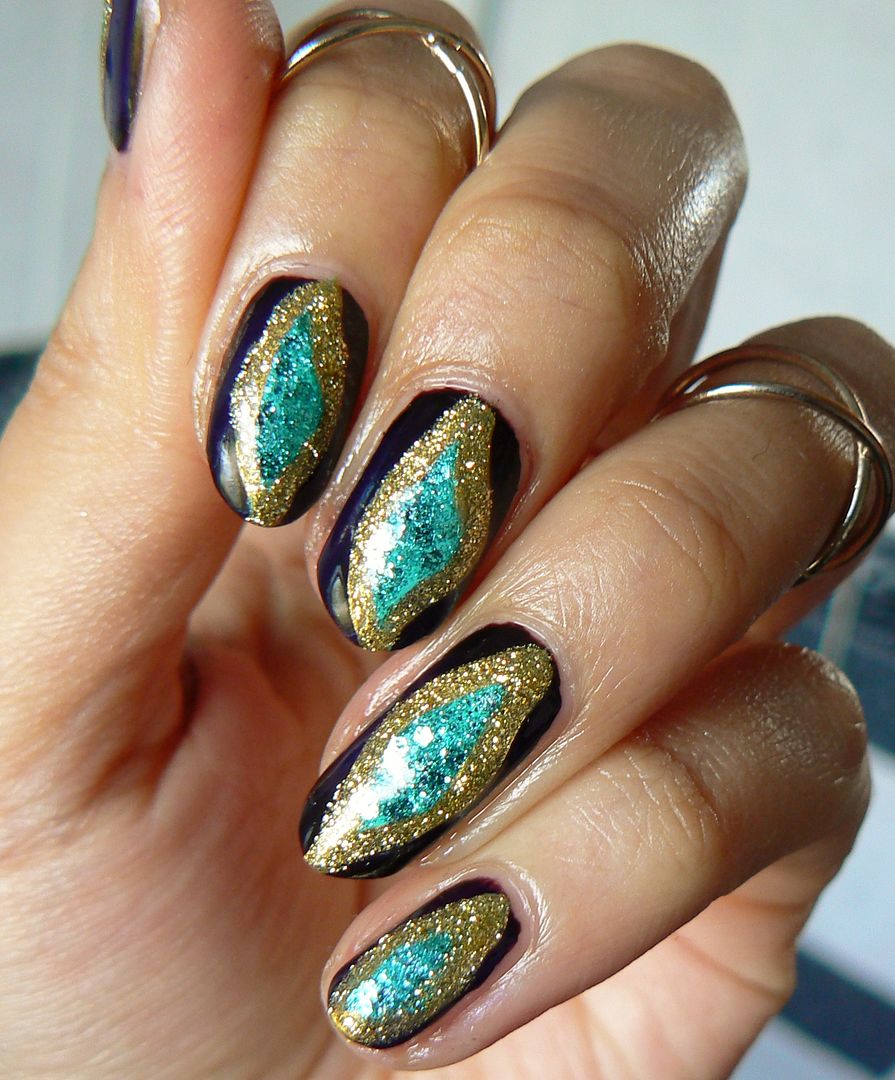
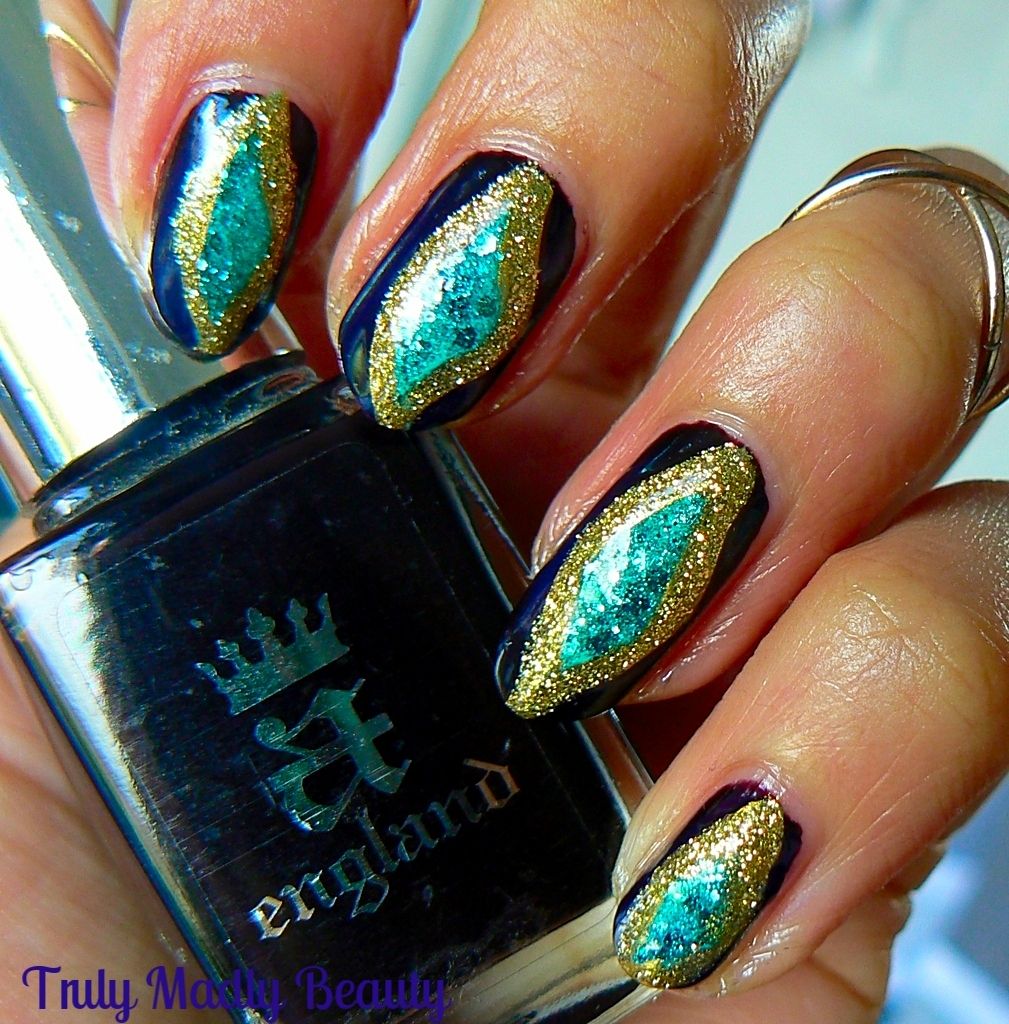
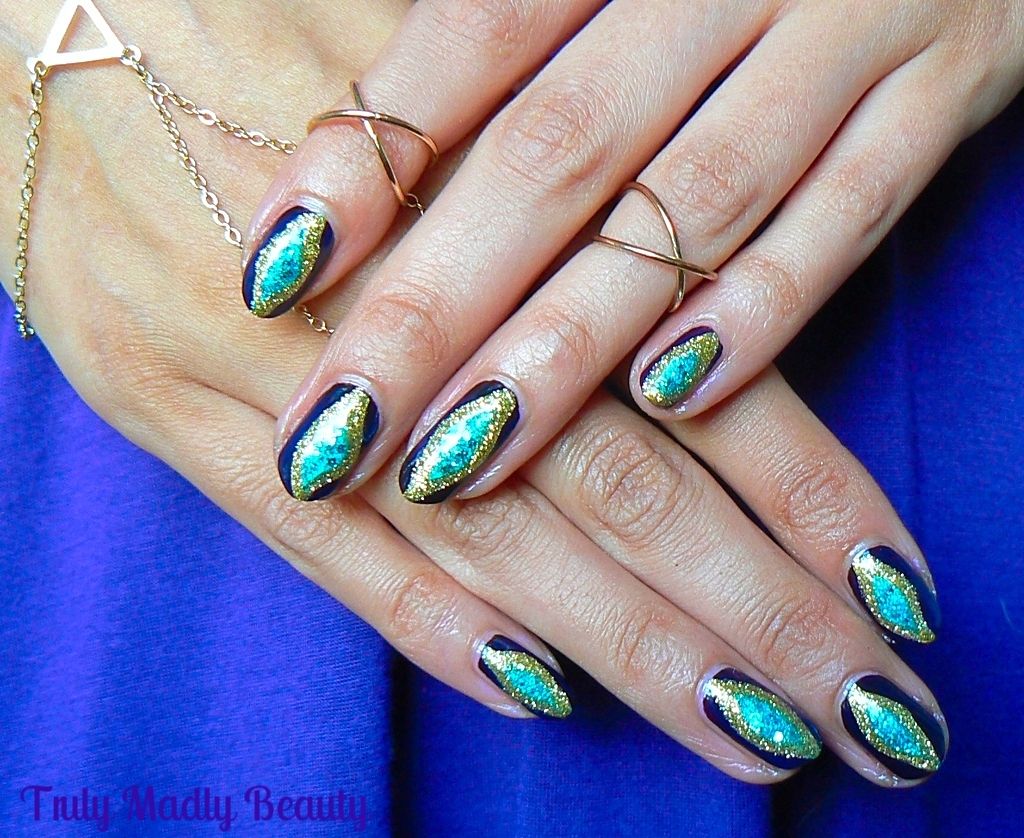
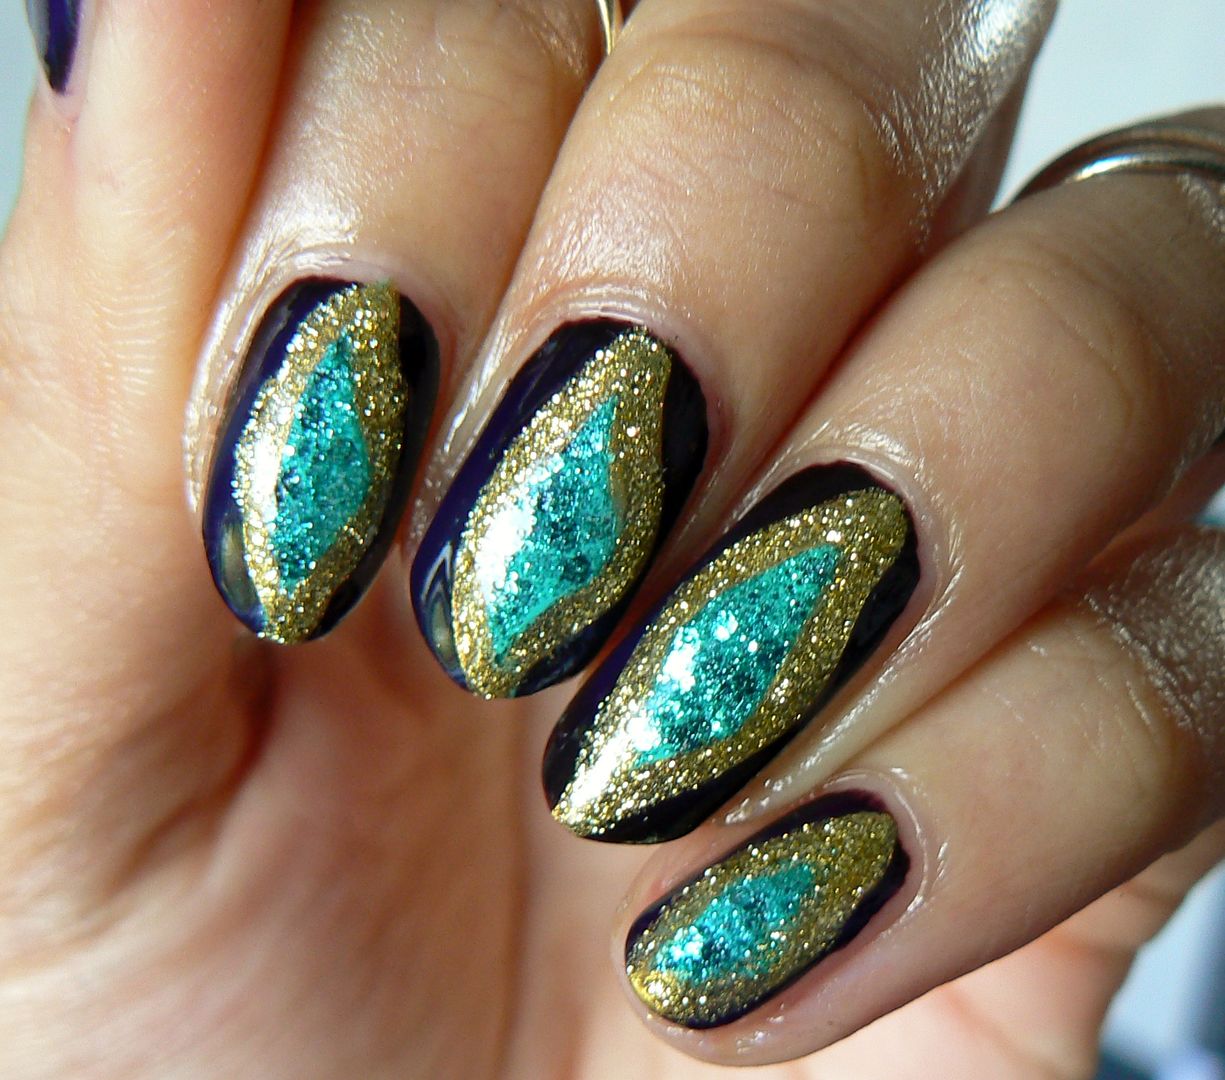
From a beauty addicts perspective, the Egyptian era is truly a feast for the eyes...the stunning hairpieces, the bold makeup, the eye catching jewels! Its the jewels in particular that inspired this particular mani I have for you today, using tones of black, turquoise & gold I came up with these Egyptian inspired jewelled stone nails.


To recreate these could not be easier. Start with applying a black base. Here I've used two coats of A England Lancelot, one of my favourite blacks, it has a divine Gothic red tint to it & a beautiful glossy formula.


Next apply your turquoise centre. To do this I used a fine nail art brush & Models Own Turquoise Gloss. Free hand a teardrop/diamond style shape in the centre of your nail, before filling in. Don't worry if they don't match, I actually think having each nail look slightly different is better!


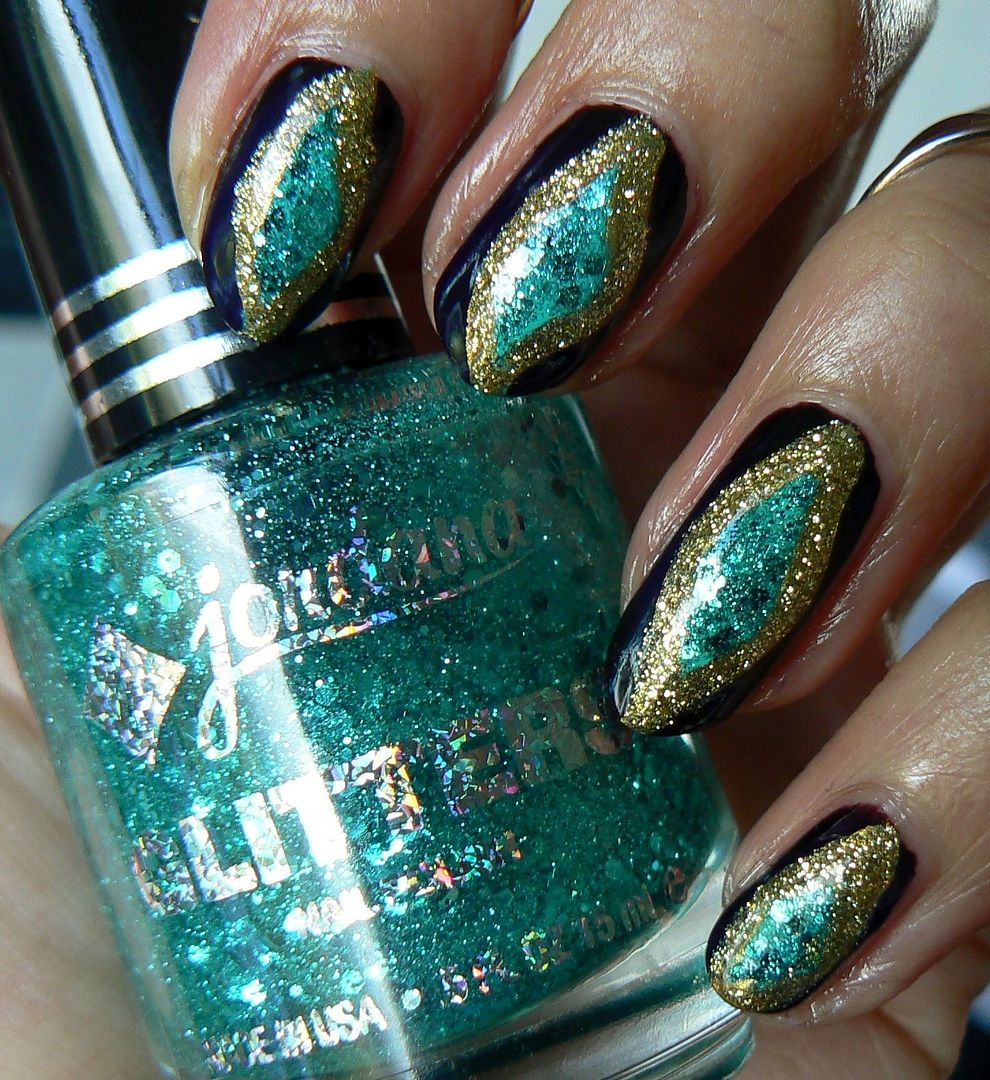
You know I am a glitter FIEND so sparkle was definitely required. To bring out that turquoise I applied some of this gorgeous Jordana glitter in Celestial on top of the Models Own.


Then using a fine nail art brush & some gold polish or a gold nail art pen which I've done here & naturally forgot to photograph because...well...I'm a plonker, apply a gold border around the turquoise.


Finally grab that glitter again, this time some sparkly gold, I love my trusty Color Club & simply go over your gold border with the glitter using another fine brush.


Finish with a coat of topcoat & jazz up the hands with some hand jewellery if you like & your Egyptian inspired manicure is done!


This mani is actually from my archive from a few months back but I'm in mourning for how long my nails are here! Lately they've been breaking left, right & centre & its slowly driving me mad! *throws self down dramatically & wails in despair*


If anyone has any tips to share to help aid this wee problem I'd love to hear any recommendations! Thanks for reading!

Lotsa love to ya!

1.06.2016

Star Wars Storm Trooper Nails & What I Wore....

Hello there lovely readers!

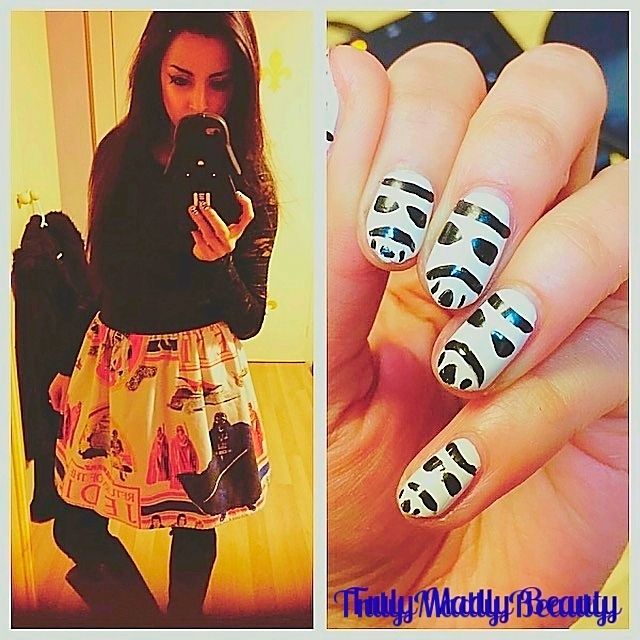
Still very much on the Star Wars high here dolls. I thought I'd share with you the nails & outfit I wore to watch the film with my gang of fellow sci fi fans last week. Don't worry I didn't go as an ewok or jawa or any of the other wonderful suggestions my work colleagues kindly recommended to someone of my height... O_o Though there were a few Jedi's Knights strolling about!

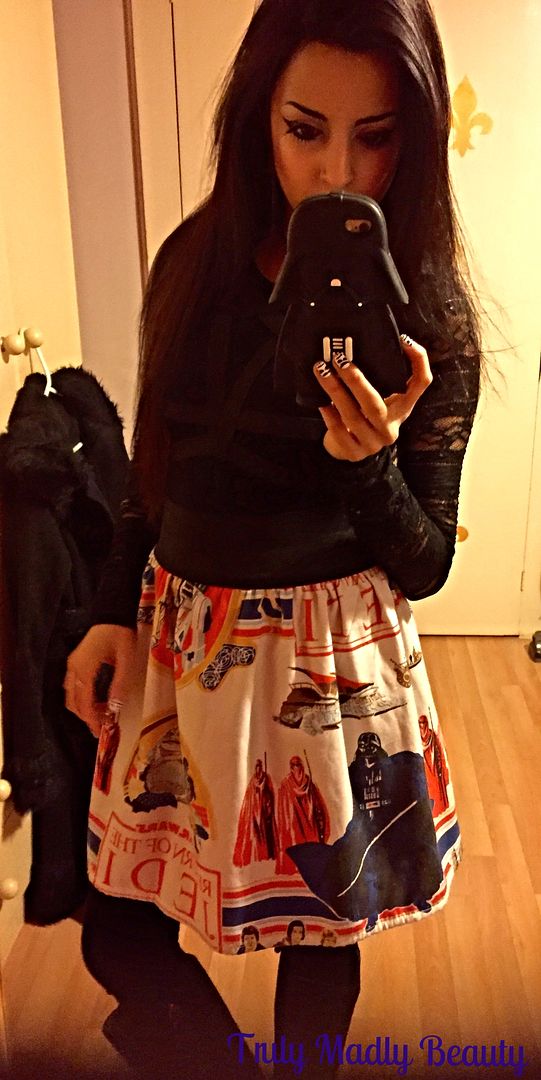
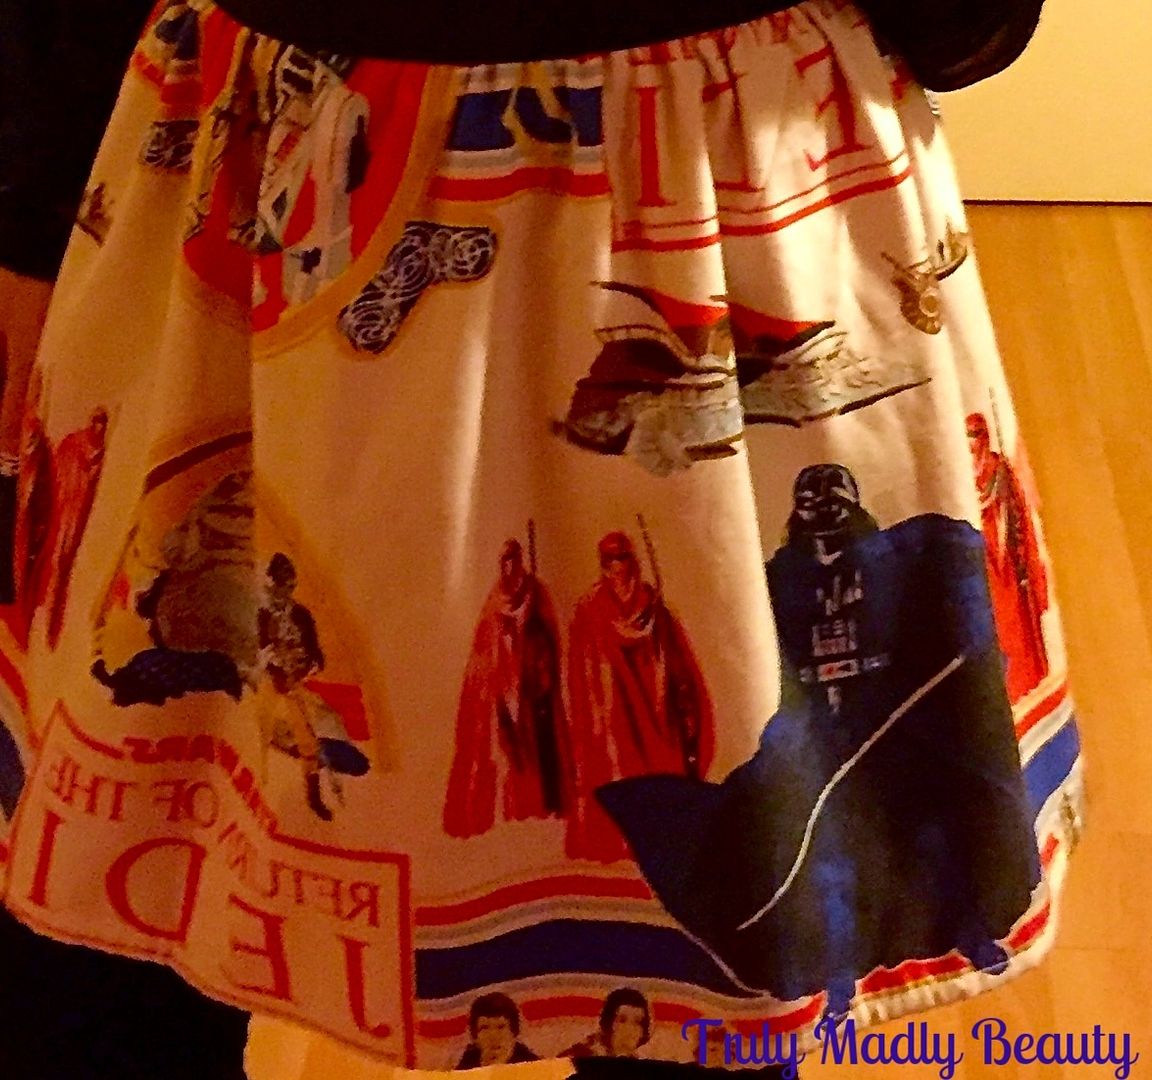
I did however manage to nab this beaut one off piece vintage skirt from Depop, my favourite shopping app, I am seriously addicted to it! You can find such great bargains, I recently picked up a stunning brand new Lolita coat for a fraction of the retail price & this was another one of my finds. Do excuse the quick mirror selfie snaps! But...at least I can show you my snazzy new phone cover... ;) Also a Depop purchase!


The skirt is originally from brand MyTribe & made from the most superb vintage Return of The Jedi print material, with an elasticated waist, no belt is required so I can eat to my hearts content whilst wearing it which is most important. I paired it with a simple black lace top & knee high boots. It may be my new favourite piece & will definitely get a lot of loving! 


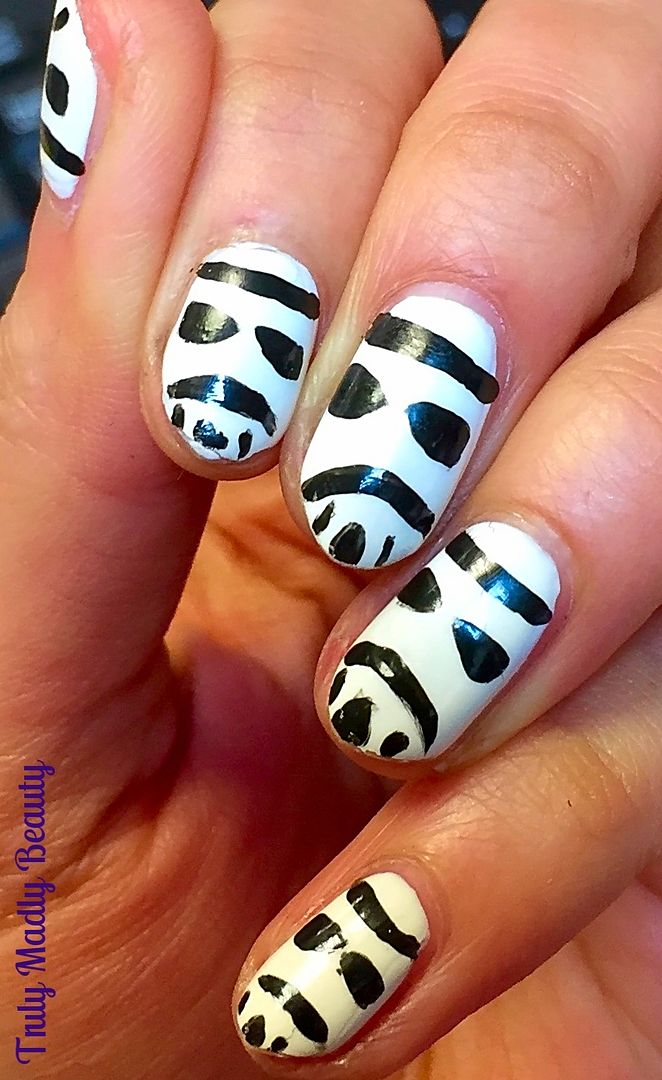
Moving on to the nails, if you caught my LAST POST you'll know that I recently recreated some R2D2 nails! As much as I loved these, the design was a bit palpitation inducing with its detail so for this occasion I decided to simplify it a tad with some black & white storm trooper nails!


For these you need just a white & black polish or nail art pen which I'm sure every gal has in her arsenal :)


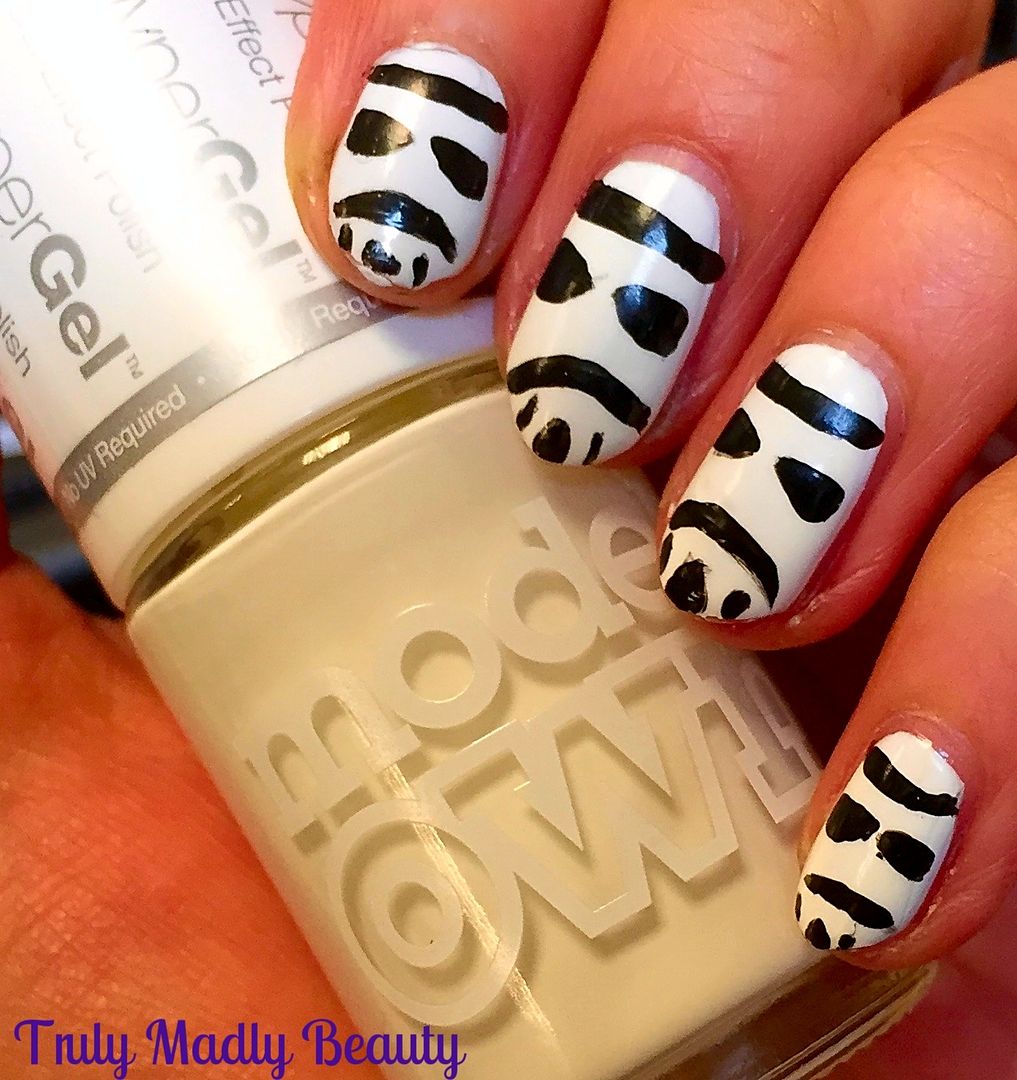
For my white base I used two coats of Models Own White Out Hypergel, I absolutely love this range of polishes from Models Own, the white especially is guaranteed a glossy smooth opaque finish & they are also great for gradients!


I decided to use black polish with a fine brush instead of a nail art pen but use whatever you fell most confident with! Dipping your brush into you polish, start with two triangular shapes side by side for the storm troopers eyes.


Then draw a slightly upwards curved horizontal line above the eyes for the top of the helmet. Next draw another curved line, this one curving downwards below the eyes for the mouth.


Finish with three small vertical lines on the tips of the nails below the mouth to complete the ventilator of the mask.

Topcoat & that's it! I would've like to have added more detail but these were done in a rush as is obvious from a few of the lines looking more like grimaces haha! Storm troopers with gas alas.


Thanks as always for reading & may the force be with you always my lovelies!

Lotsa love to ya!

1.04.2016

NOTD - Star Wars R2 D2 Nails!
Hello there lovely readers!

Last week was a momentous occasion as I finally went to see the new Star Wars film & it was simply...EVERYTHING. When I heard that J J Abrams had taken the helm & would be directing the movies I knew that Star Wars would be in good hands & he did not disappoint! The new film exceeded all hopes & expectations, succeeding in erasing the disastrous tragedies that were Episodes 1,2 & 3 from memory...lets just pretend they never happened. Now I know what my papa bear went through all those years ago when the original films came out, it will be hard to wait patiently for the next instalment but I cannot wait!


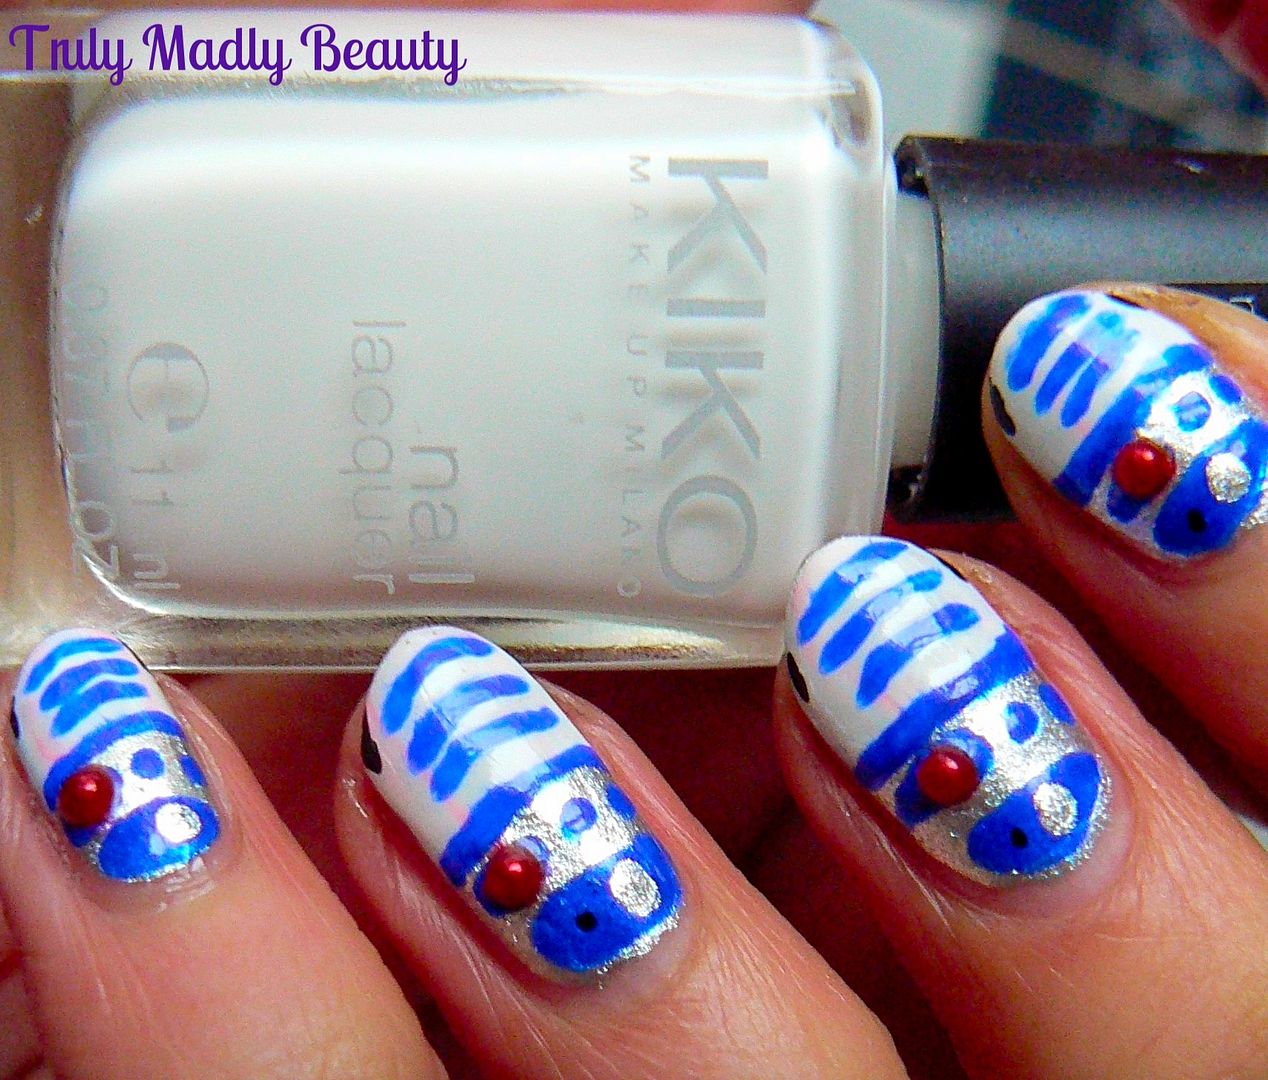
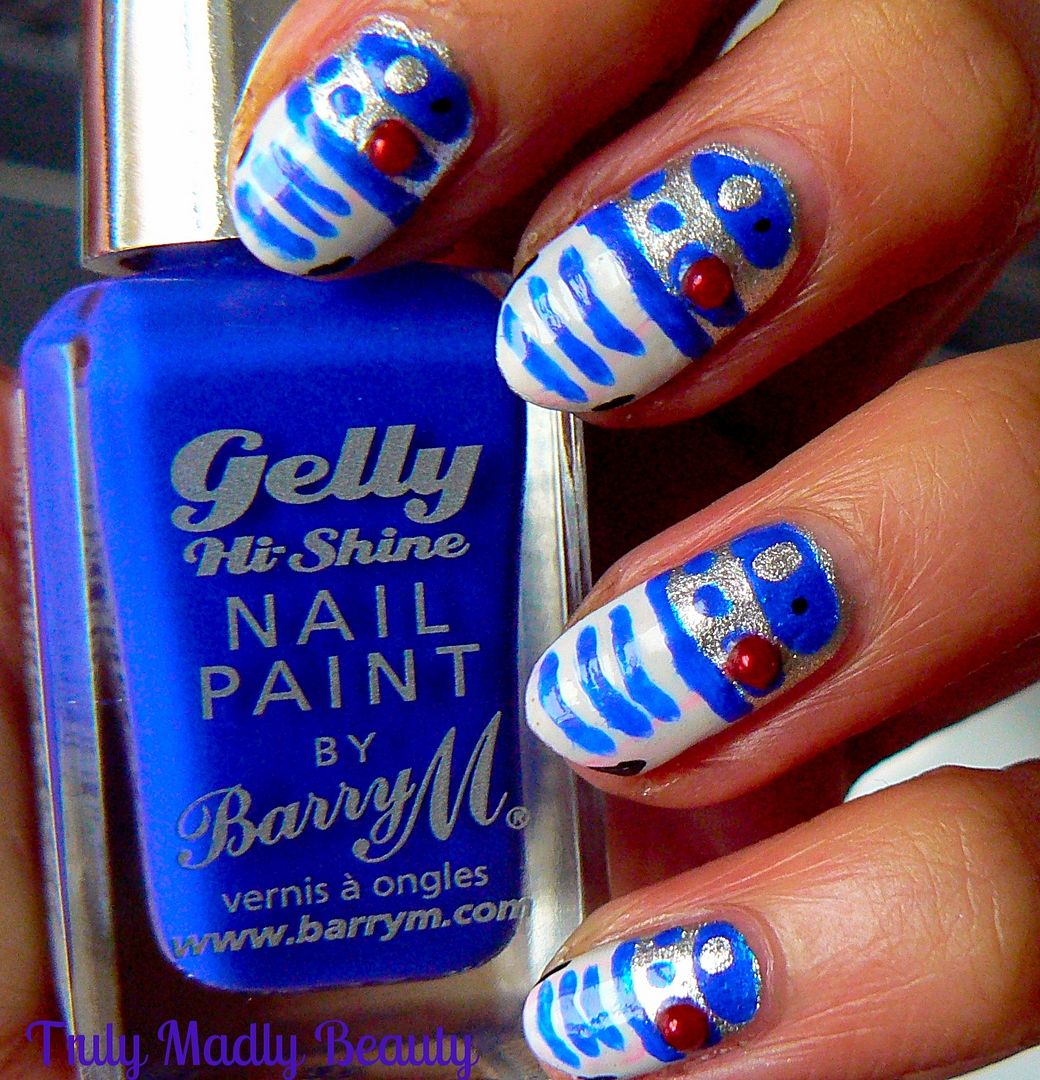
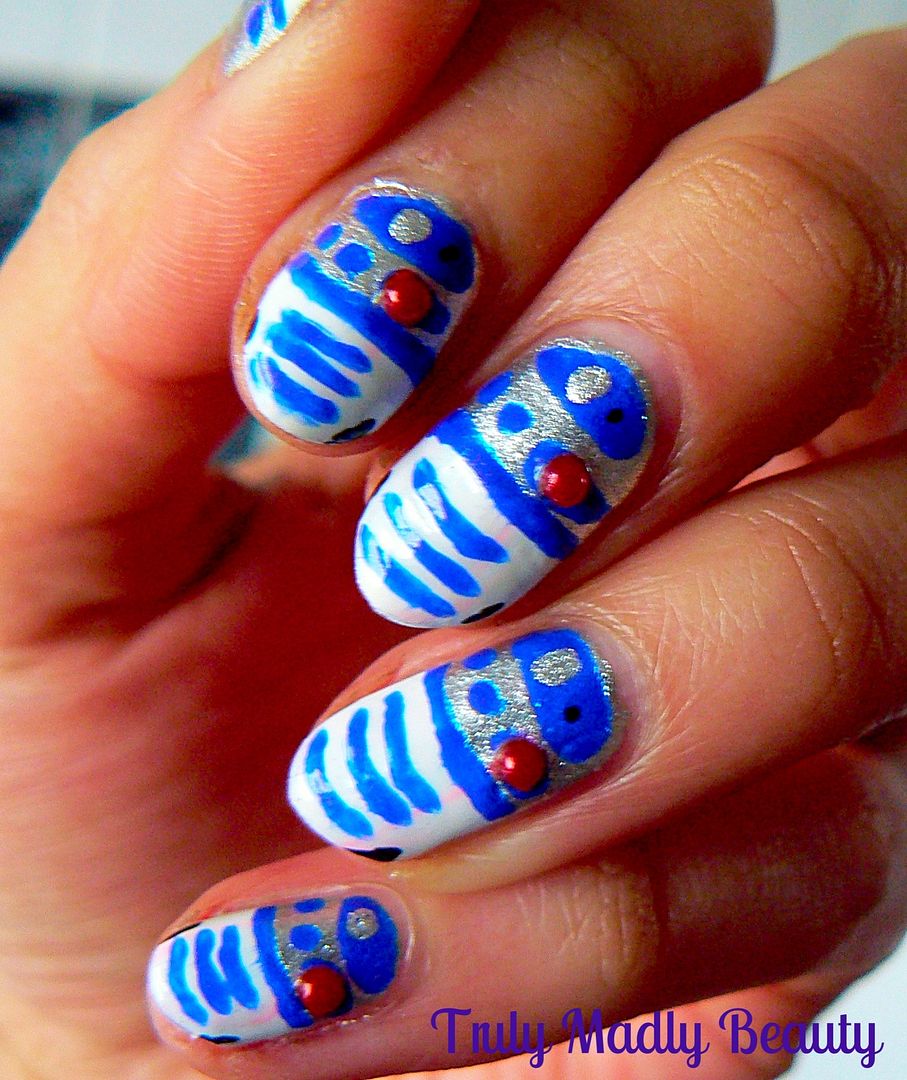
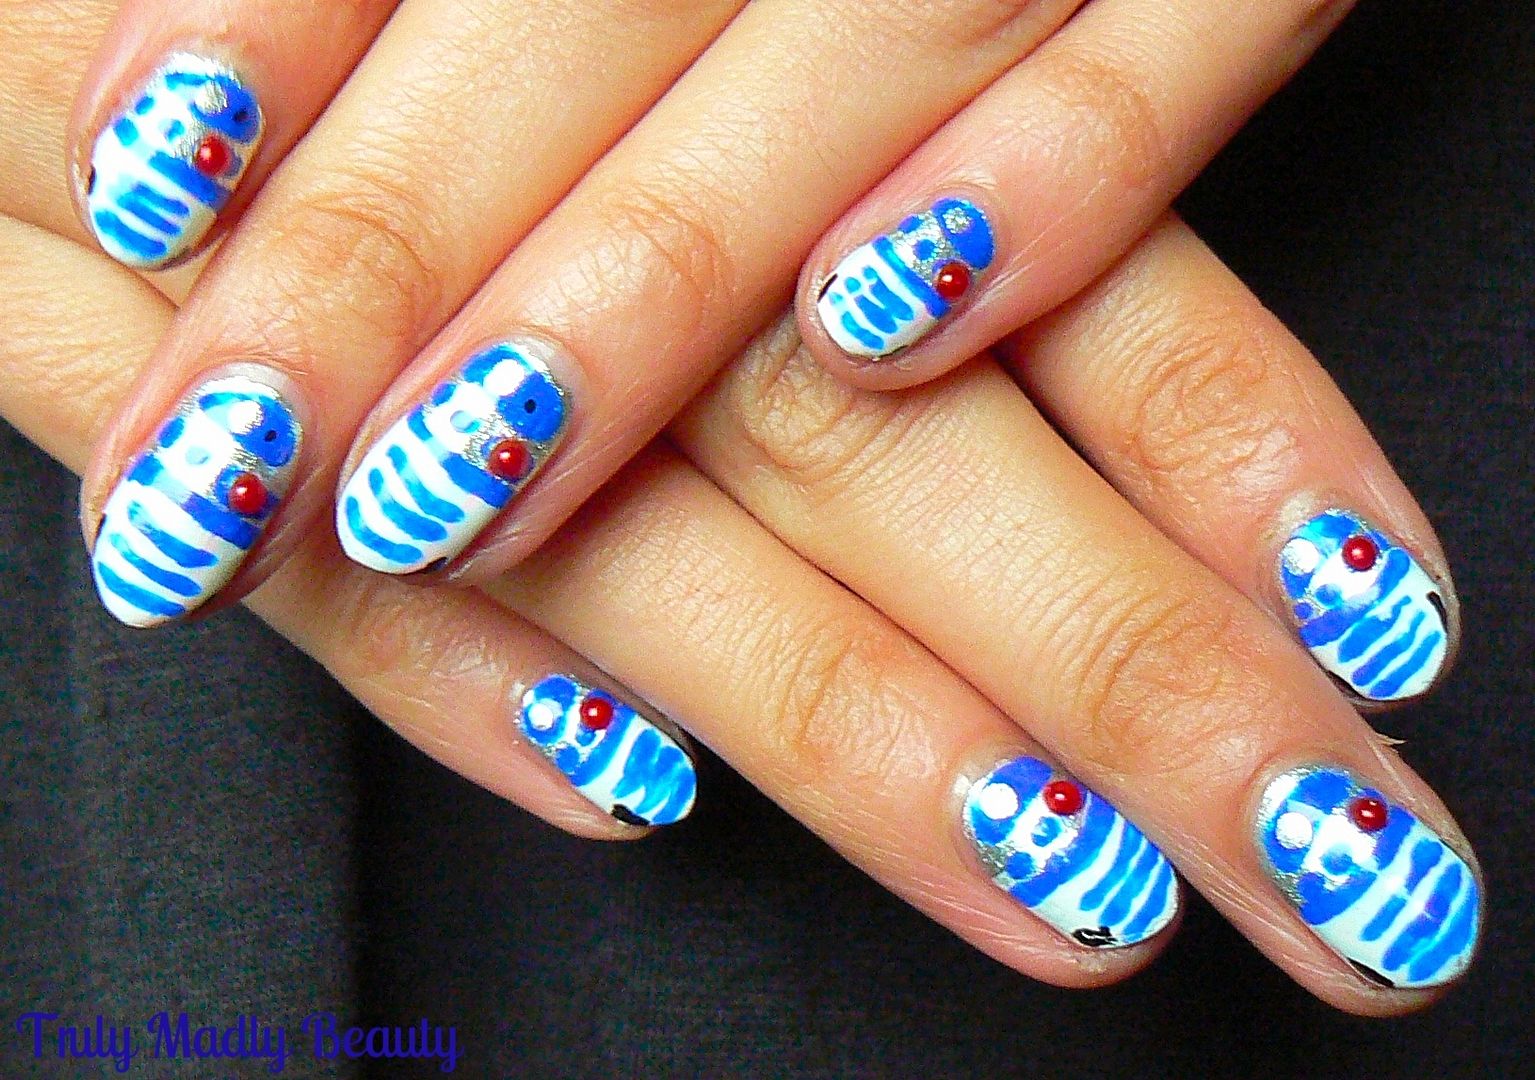
Inevitably I couldn't resist embodying this magical sci fi world that first fascinated me as a child on to my nails in some way or other & the first thing that came to my mind was everyone's favourite wee droid (though he may have some serious competition in the new film!) R2 D2!


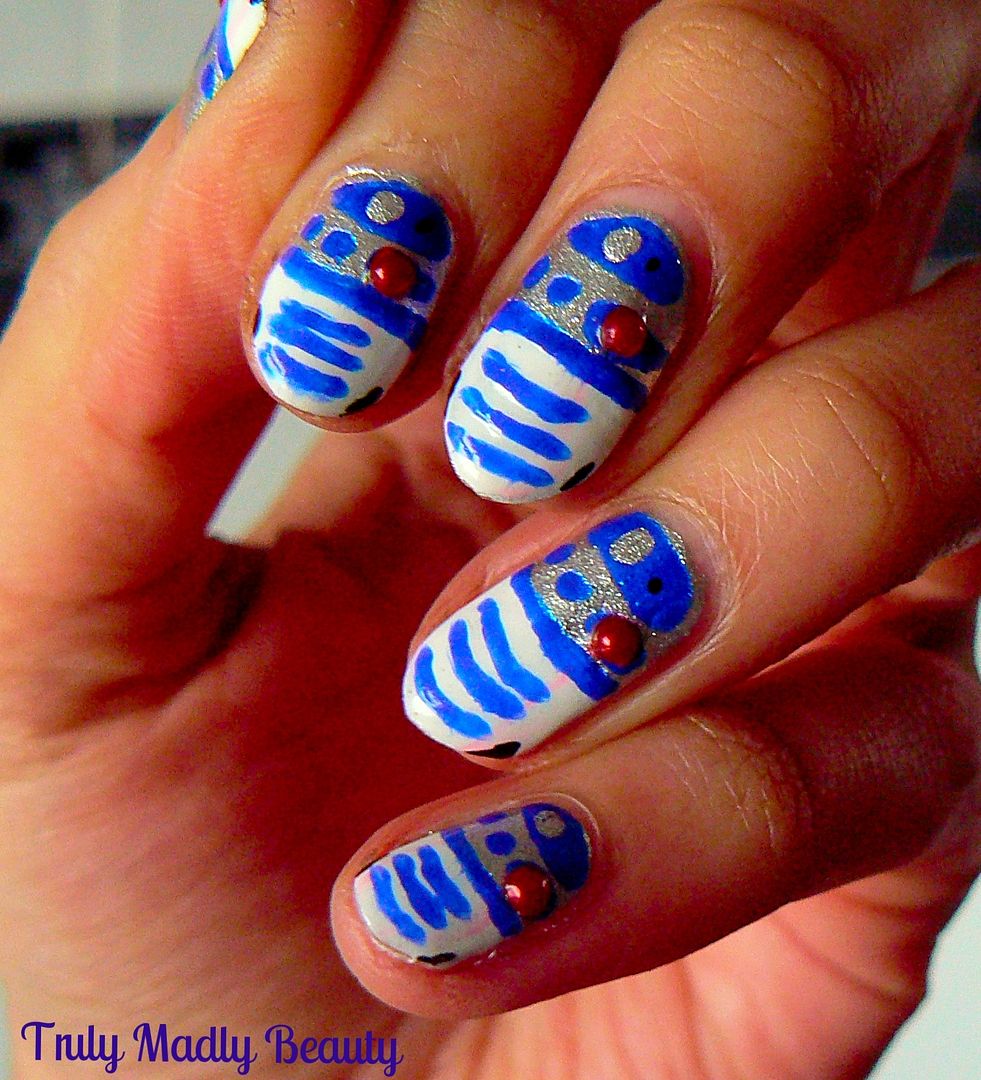
After having had a closer look at all the detail involved on this little droid I did wonder what I had let myself in for, but I'm nothing if not determined, especially when it comes to a nail art challenge! So grabbing the shades required I got to recreating R2 D2 as best I could in nail form.


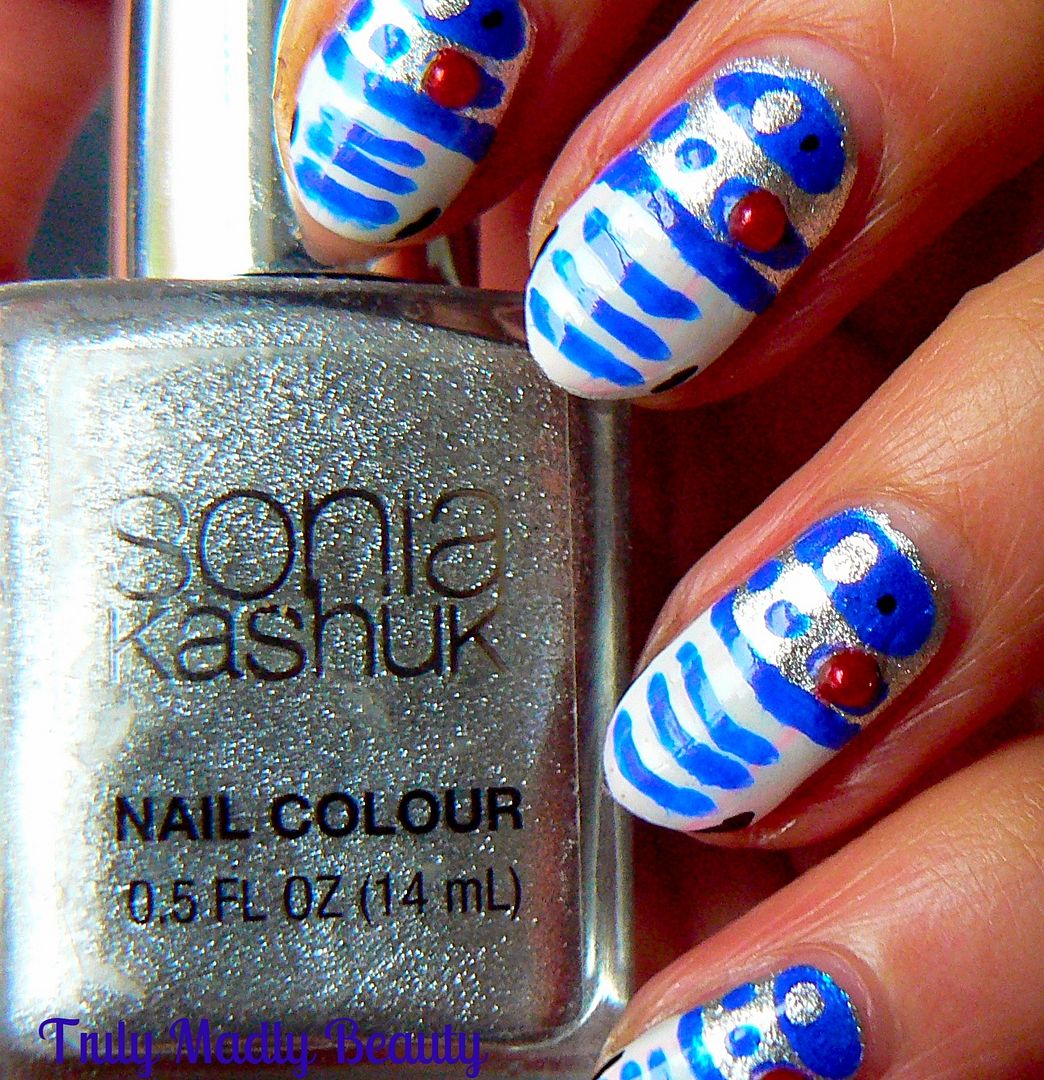
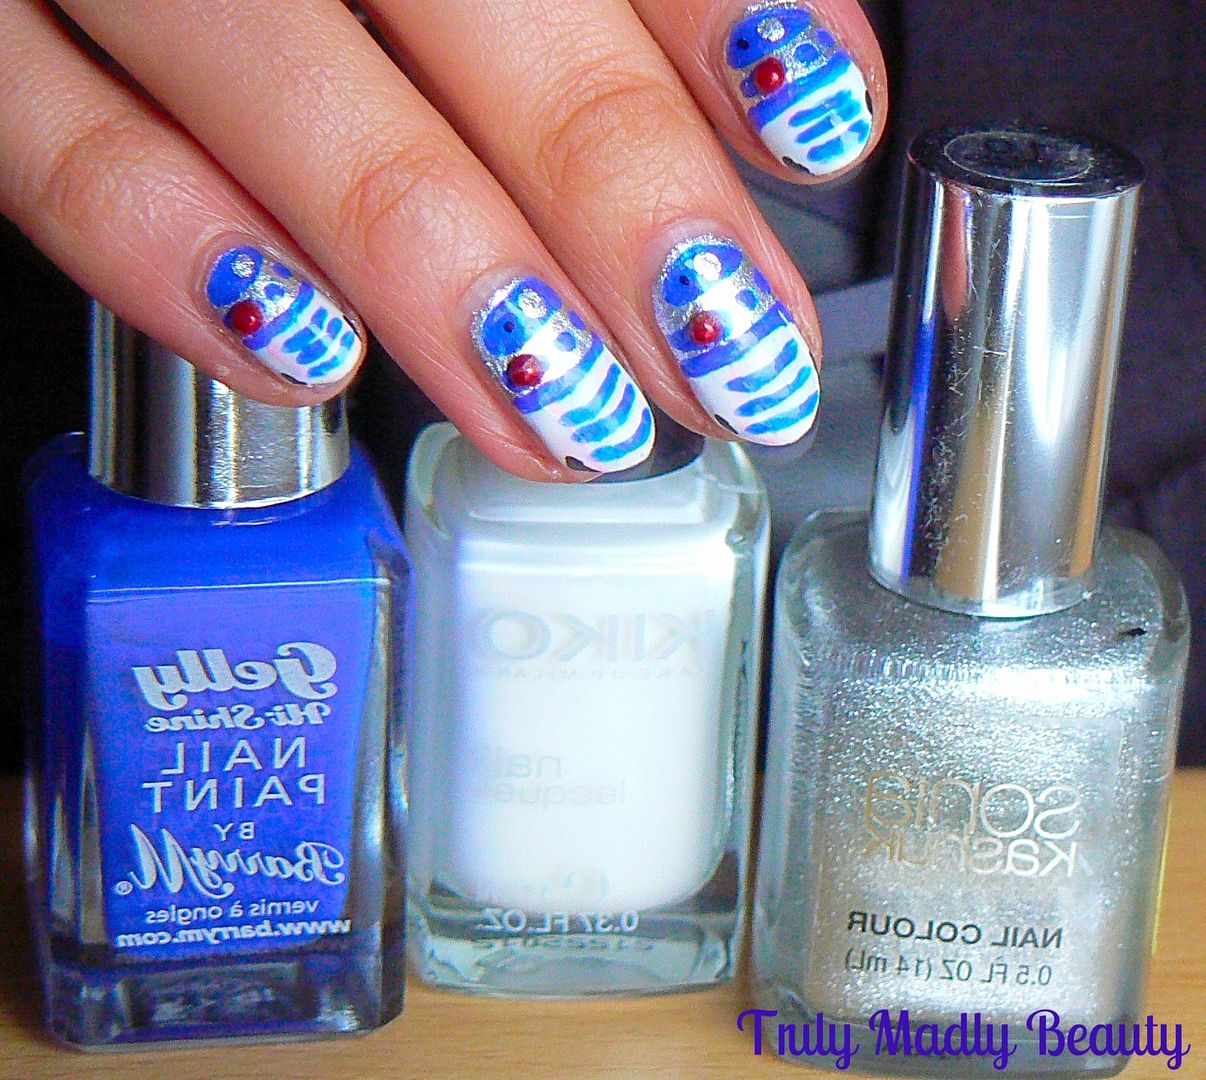
First step is to start with a silver base, I've used one coat of Sonia Kashuk Smoke & Mirrors, one of my favourite silvers as its so metallic & opaque.


Then using Kiko white nail lacquer for French Tips which has a fine brush perfect for nail art, I applied the white on to the bottom half of the nail.


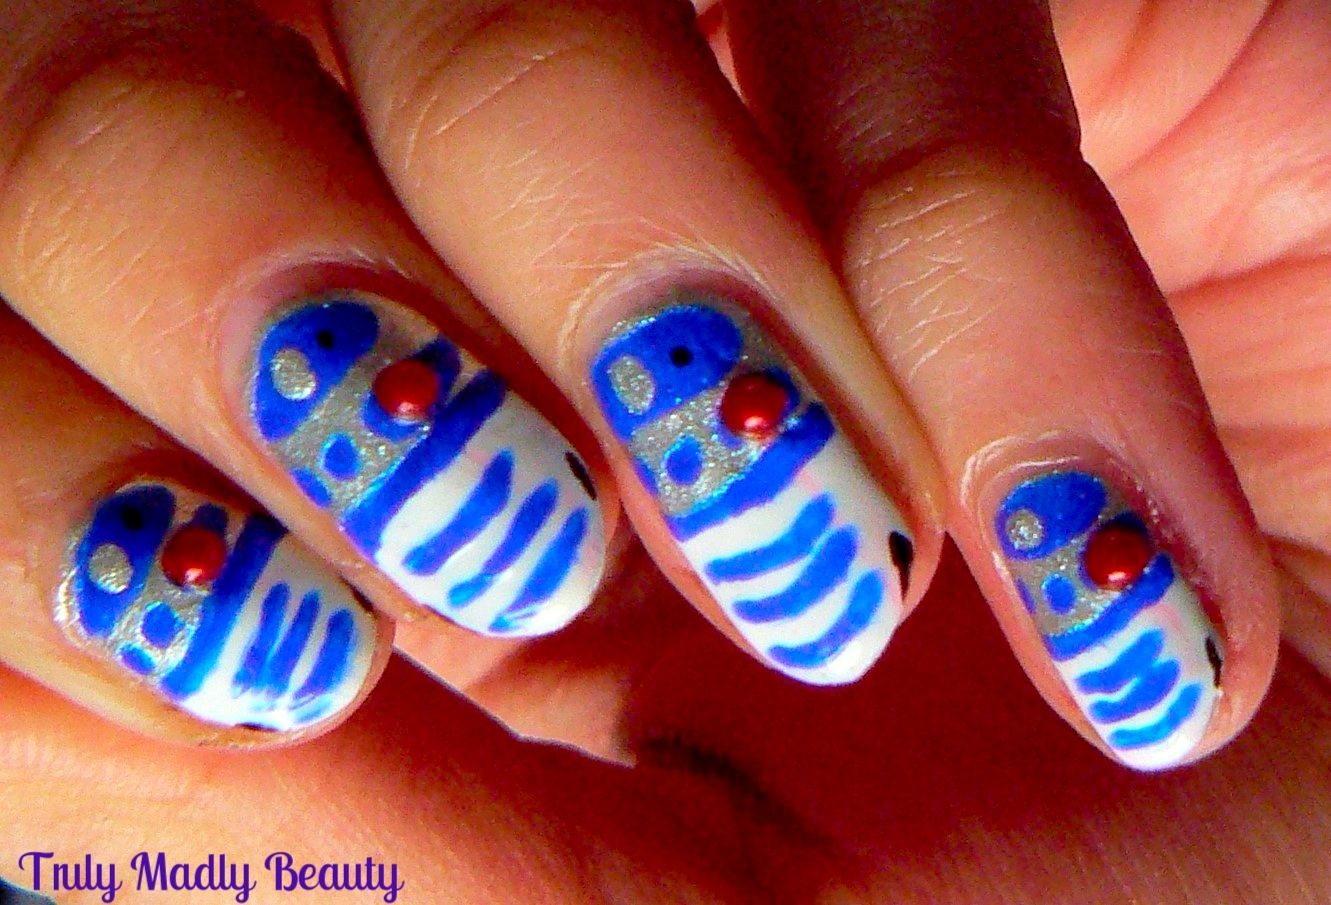
Next up are the blue details for which I used Barry M Gelly in Blue Grape which is the perfect R2 D2 blue! Using a fine nail art brush I free handed on all the little droid details, so three small lines along the white body, one long line along the width of the nail in the middle, a row of small squares above that, before finishing with a roundish semi circle on top.


Grabbing the silver polish again, add a large dot on to the large blue semi circle, with a smaller black dot next to it. Then still using the black add on a couple of small lines on the tips of the nails for R2's legs.


Finally I stuck on a red stud for R2'S little light before sealing it all with topcoat to finish. Though I very nearly ruined everything as I didn't realise that the colour from the stone would drag when topcoat was applied! Lets just say thumb R2D2 had a distinct red tint to him O_O Topcoat was applied with a bit more care on the other nails...


Thanks for reading as always, I hope you liked the R2 D2 nails! I've got a couple more Star Wars themed nail art ideas floating around in the ol noggin, including The Force Awakens new little star droid so stay tuned my fellow sci fi lovers!

Lots of love to you!