1.02.2016

Green Freshlook Colourblends Contact Lens Review

Hello there lovely readers!

I've always loved the look achieved when wearing green tinted lenses, on Asian skin-tones I think the colour is flattering, making the eyes stand out in a natural way without looking too artificial.

Recently I tried & tested out the Green Colourblends* lenses from the brand Freshlook, whom I've had experience with in the past, I remember I was a big fan of their Pure Hazel Daily Disposable lenses & used to wear them all the time for special occasions, a really lovely colour!
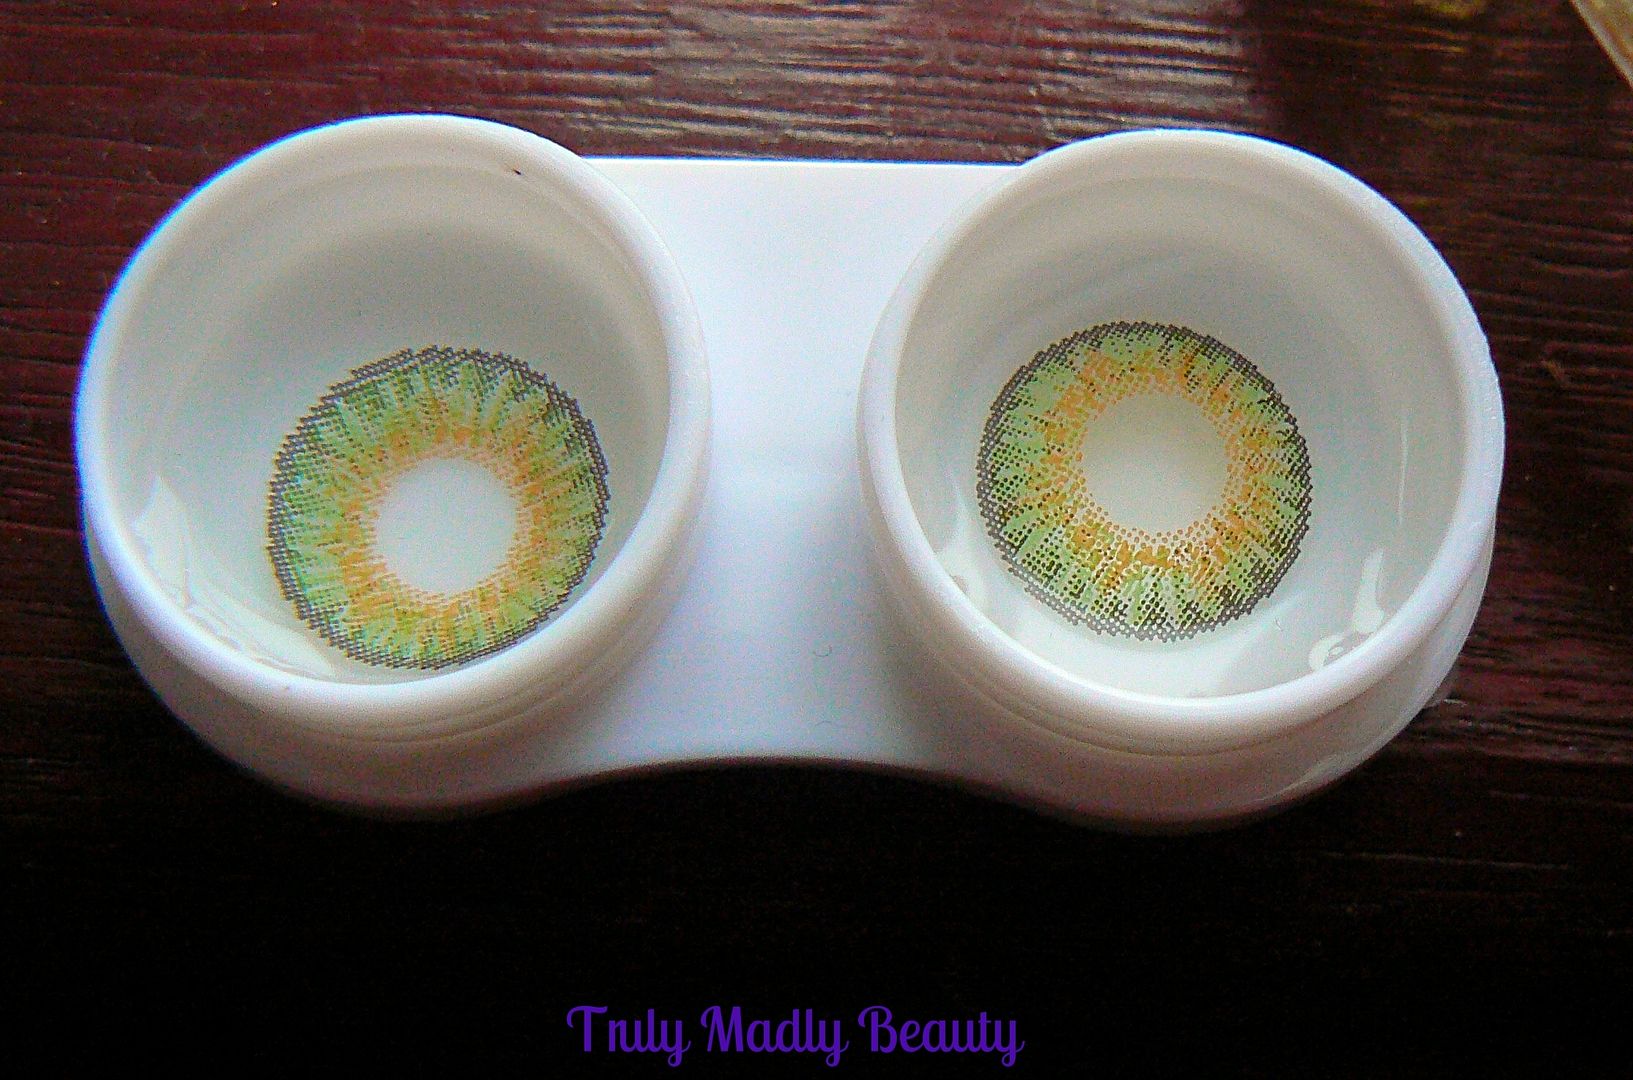

The Freshlook brand have a diverse range of shades to choose from, ranging from blues, greens, greys & hazels. All of these can be found & purchased online from Coloured Lenses UK who are a special online retailer for cosmetic lenses. Its good to know of a site within the UK which sells coloured lenses that you know have been tested & are safe to use! Especially if you are a tad weary about purchasing internationally.

The lenses came with an accompanying lens storage case to keep them in. As well as your standard storage case, Coloured Lenses UK also has a range of cute & quirky cases, these CAT ones caught ones eye in particular, SO adorable (spoken like a true crazy cat lady naturally)

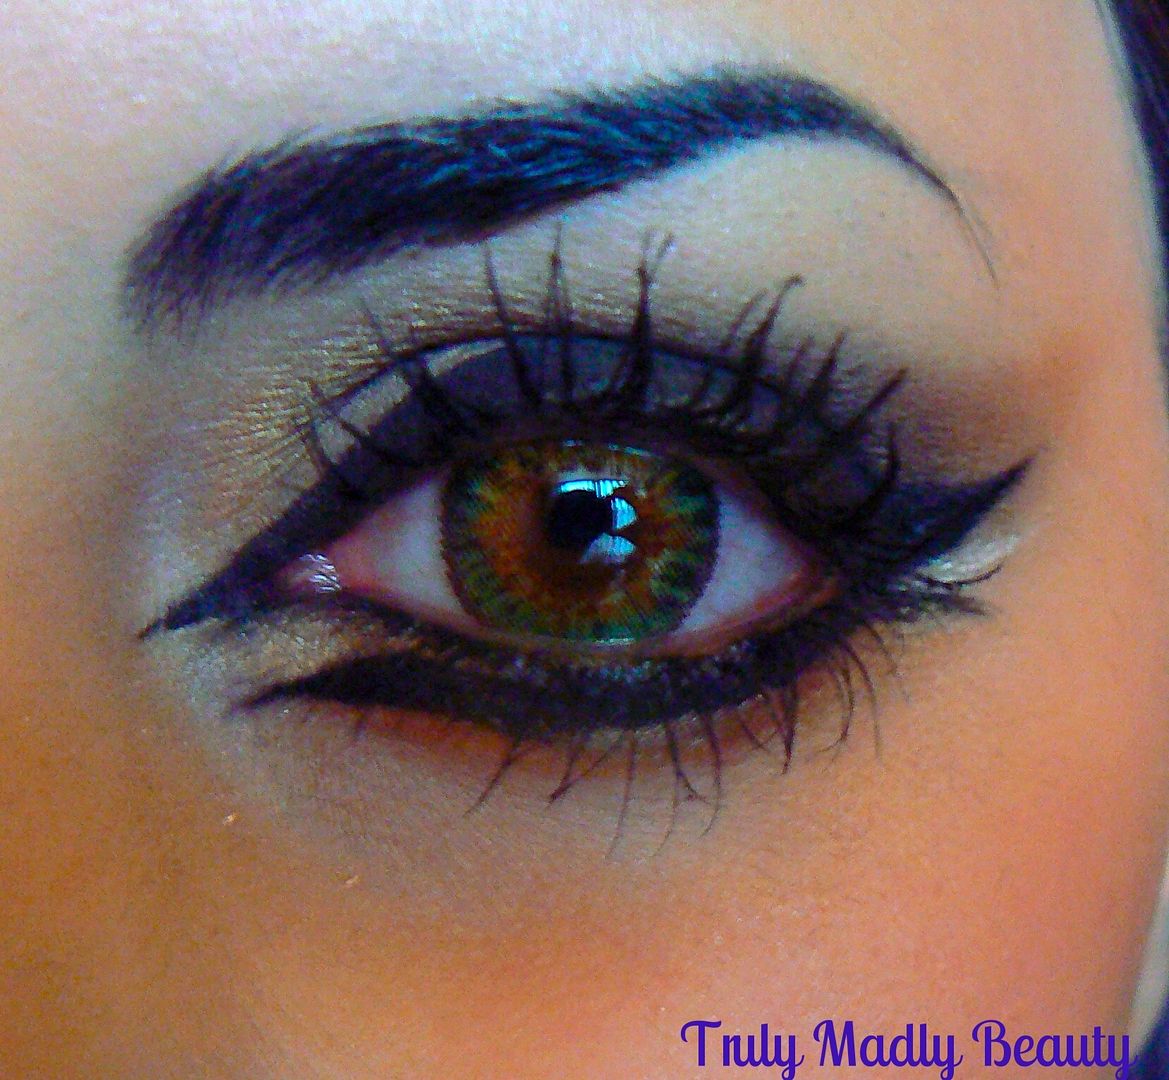
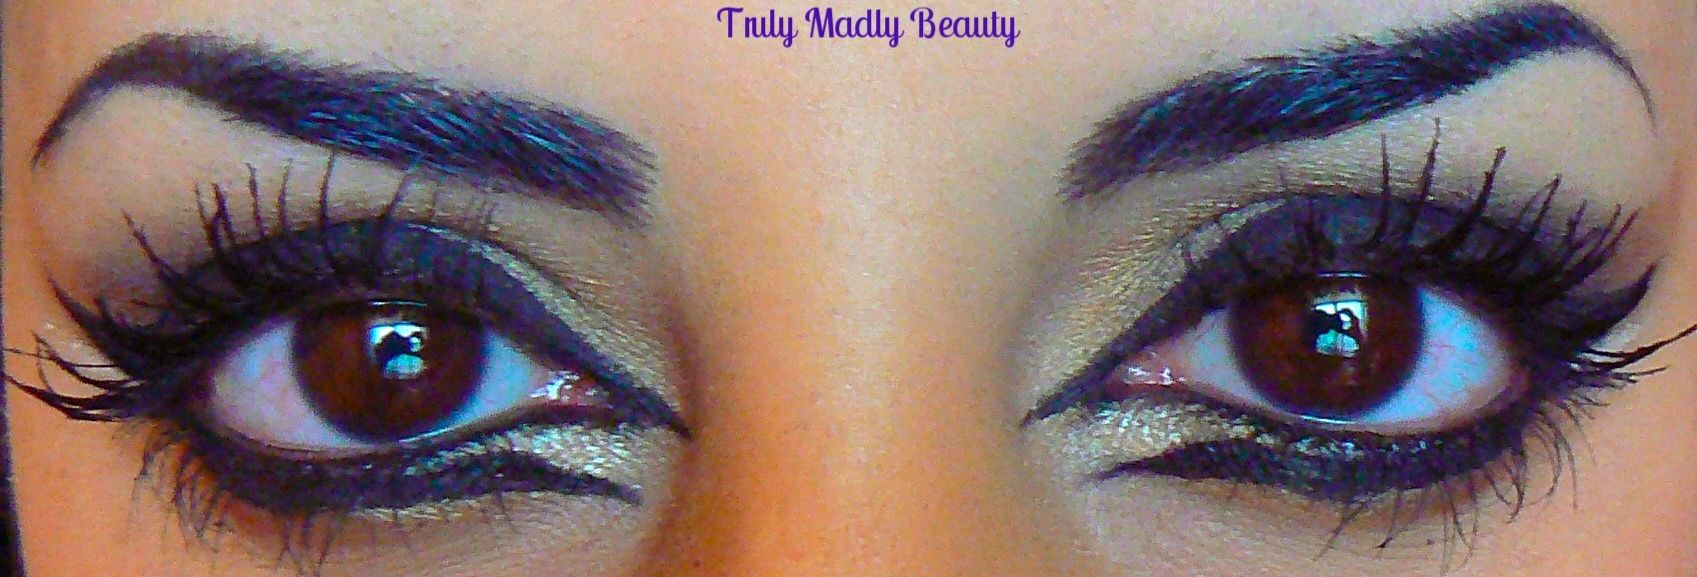
Okey dokes folks, so to give you a clear idea of the difference here's an obligatory before shot with my natural baby browns...


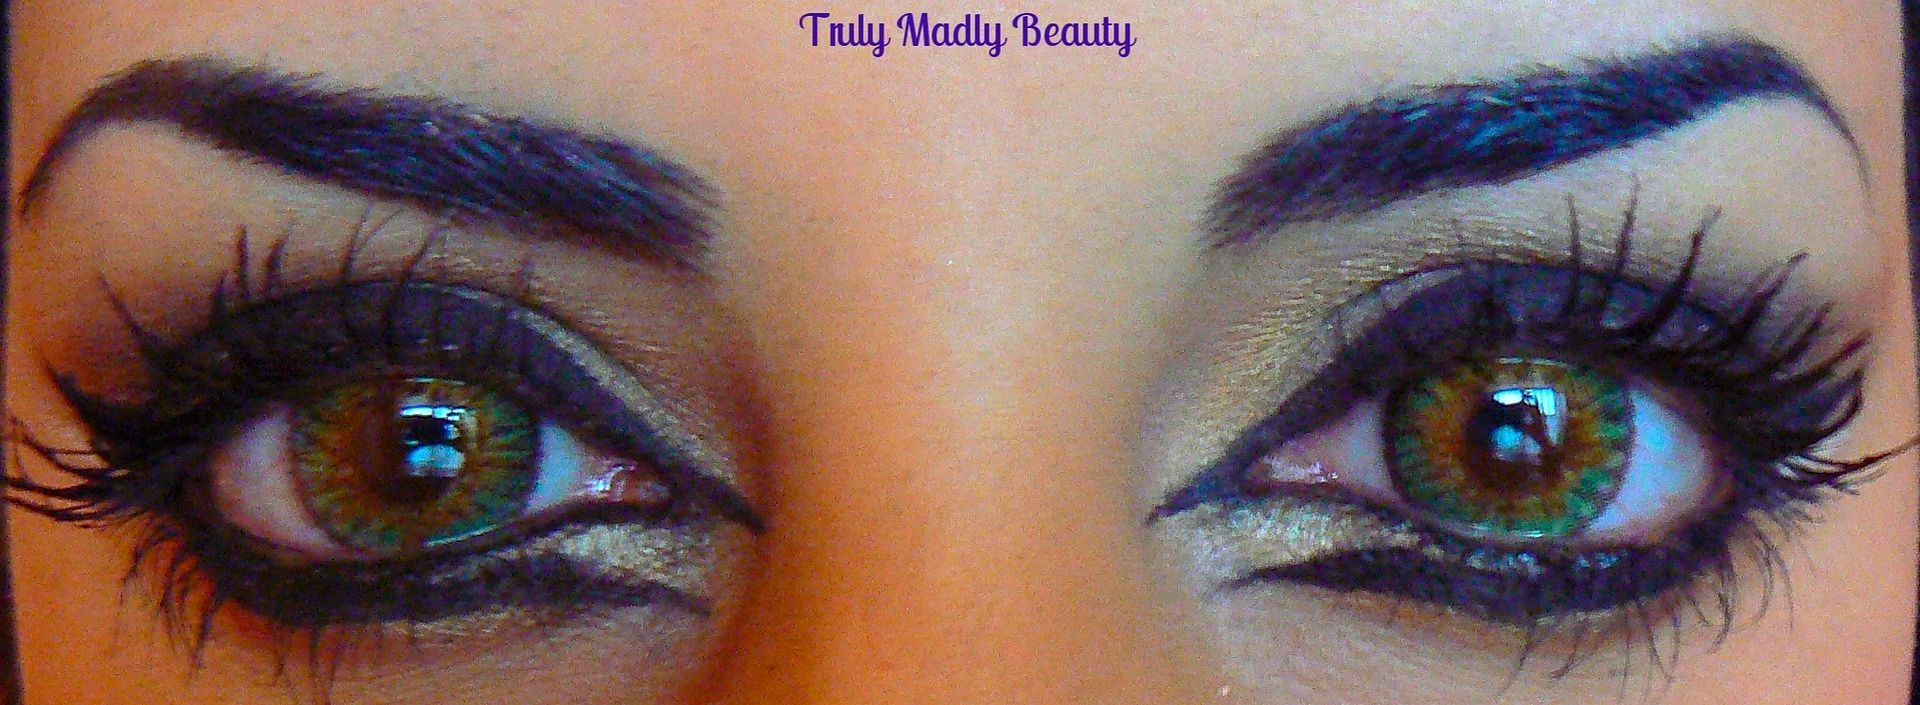
And here with the Freshlook Green Colourblends in...


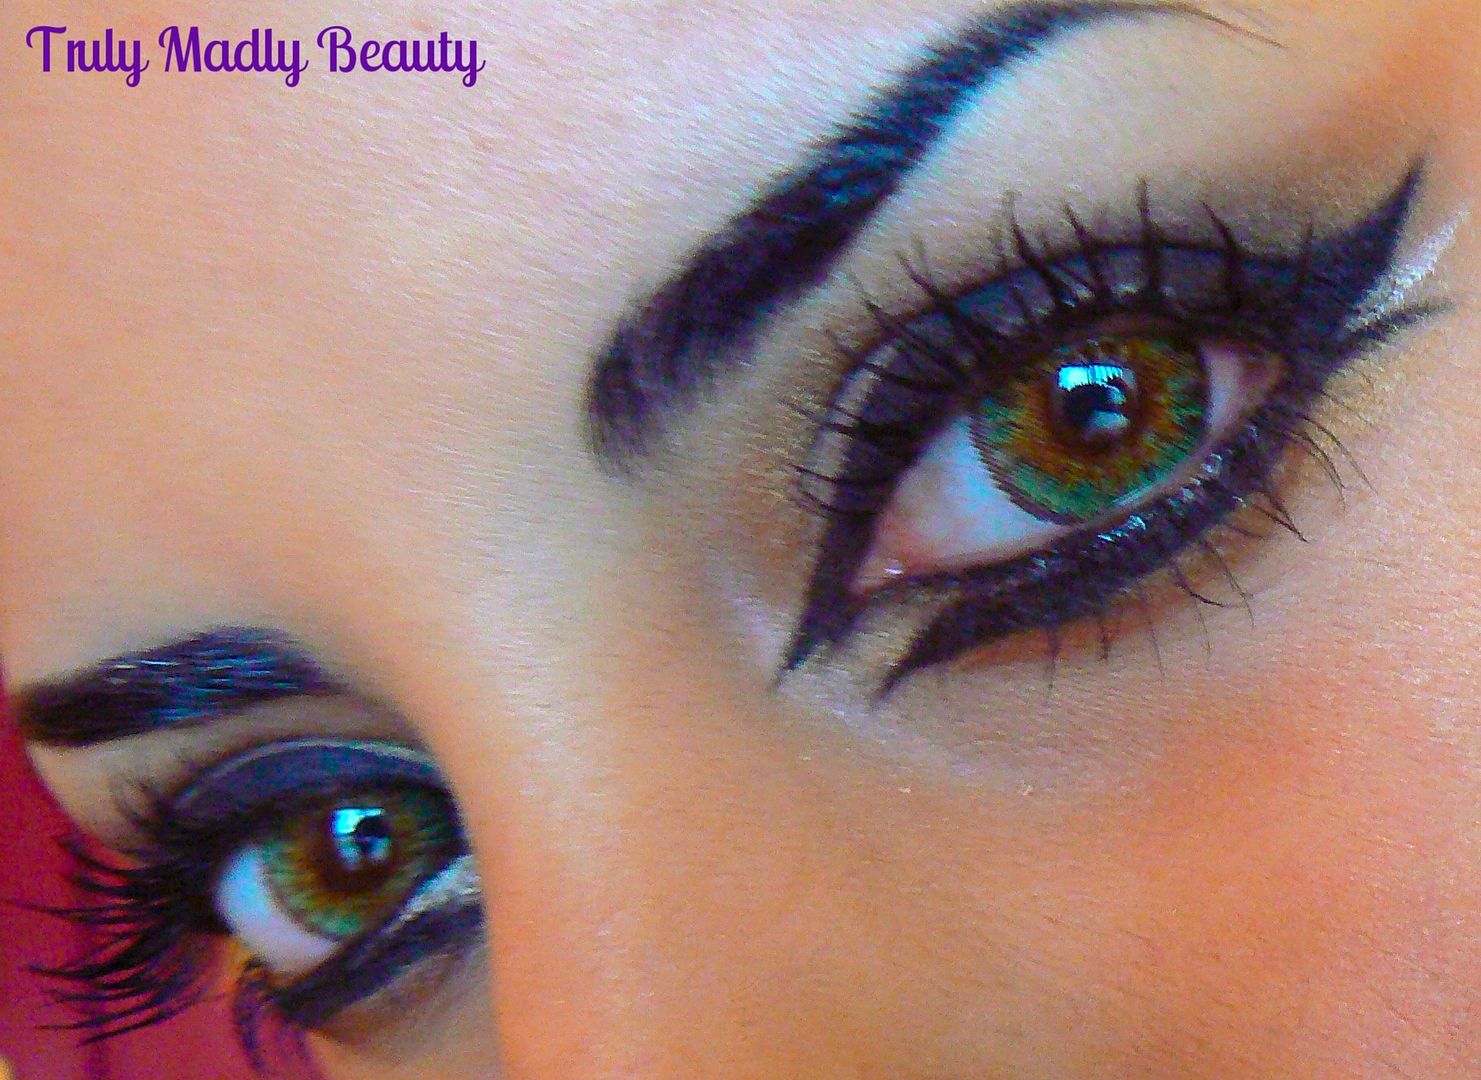
I absolutely LOVE the colour of these lenses, still natural but very eye catching, especially when teamed with an arabic style makeup look which I like to do on occasion, the eyes seriously pow wow! The green colour tone is subtle yet striking.

These lenses are 14.5mm in diameter & from the 3 tone shade range which gives the colour a more natural look, with a warm hazel brown  centre, blending into a pretty green outer edge. The lasting time is 1 year, so you would definitely get good usage out of these.


If you follow me on social media you'll know that recently I've been dabbling into the world of pastel hair thanks to the assistance of Black Candy Fashion wigs to help fulfill my unicorn/mermaid hair dreams as I simply cannot go down the long business of bleaching the hair! My locks will never forgive me & to be honest its far too much hard work/commitment than I can be asked with haha! Anyhoo I digress there but I recently teamed the green eyes with the lilac hair & a cat eye wing & absolutely loved it! (excuse the otherwise no make up face!)


So the green lenses gets a big high five from me. There sadly has been one little down factor with these Freshlook lenses in particular in that they made my eyes extremely dry. I mean I suffer from dry eyes anyway but I did feel like I had to reapply eye drops to keep the moisture a lot more than I would normally do.

Due to that I would say I get a good couple of hours wear of these before feeling the need to remove them, therefore I would simply keep these for evening occasions where I know I'll only have them in for a few hours, definitely not all day wear.

The Freshlook Colourblends contact lenses are available online for £16.99 pair & as mentioned before will have a longevity of about a year before discarding.

Thanks as always for reading lovelies, do you like to dabble in different eye colours?

Lotsa love to ya!

Disclaimer - * products featured were sent to me for my consideration. I am not affiliated with the brand nor paid for this post, this review has been as always my 100% honest opinion! :)

12.31.2015

NOTD - Distressed Foil Fireworks Nails for New Years!

Hello there my lovely readers!

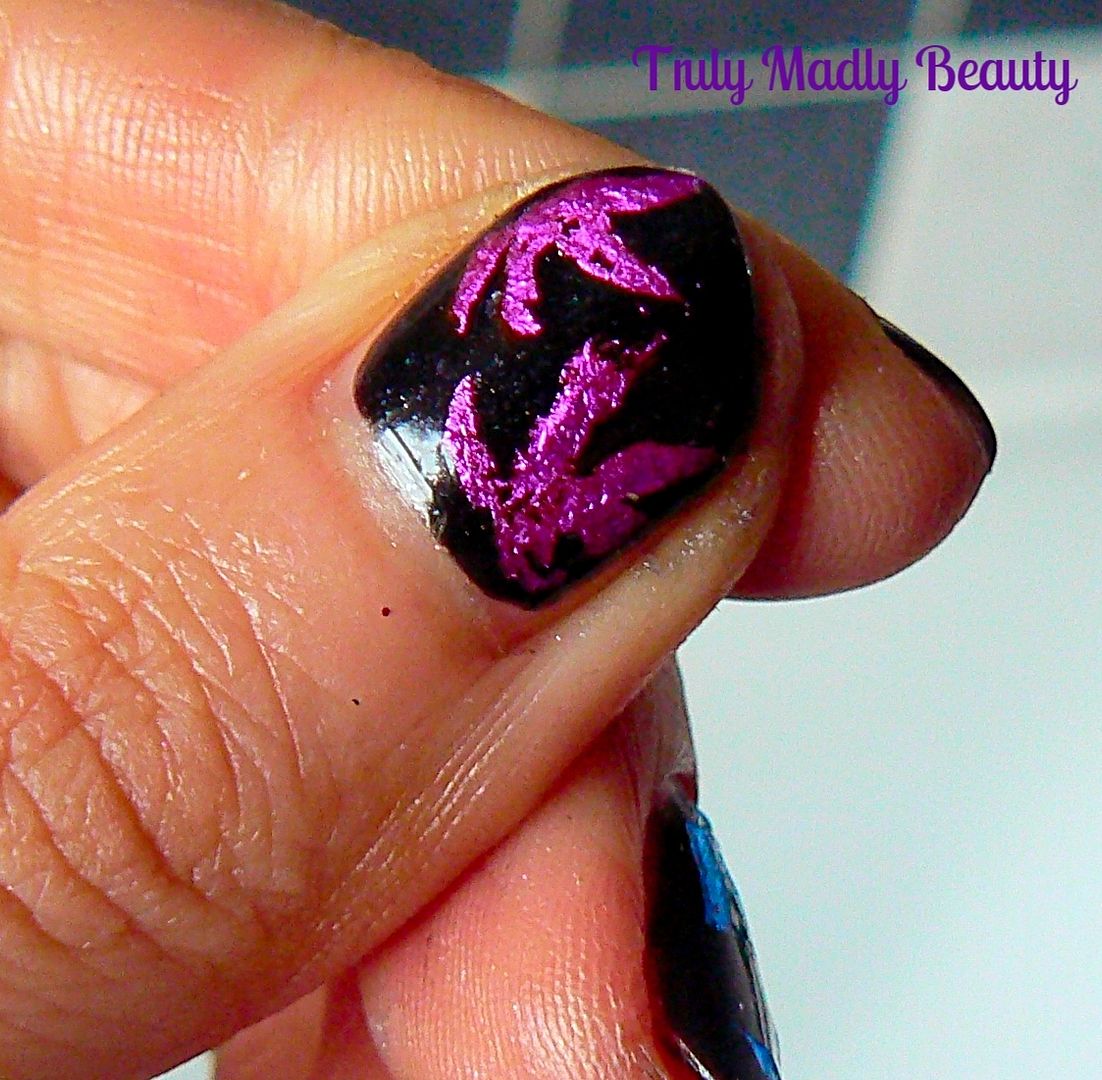
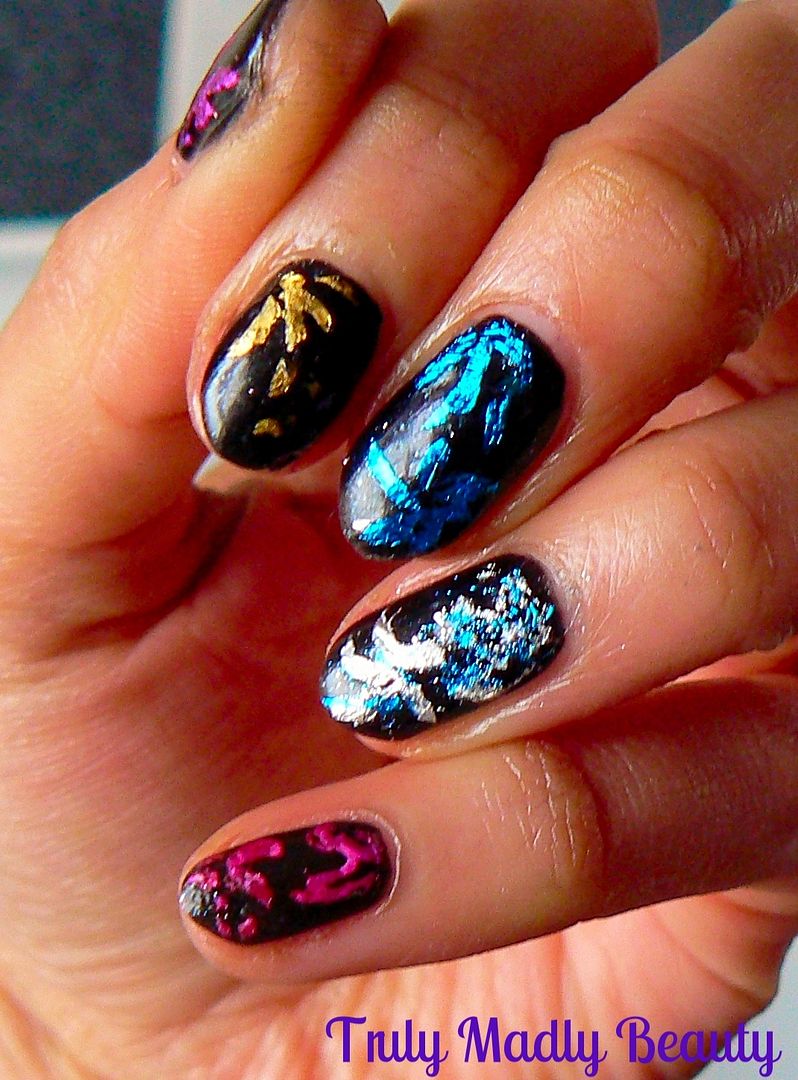
So New Years Eve has creeped up on us already! I'd originally planned on keeping it a quiet one this year however last minute spur of the moment plans have been thrown together & I'm looking forward to getting my glad rags on & seeing 2016 in with good food & friends! As usual I couldn't resist rustling up some nail art to go with the celebrations, so decided to go for  some 'distressed' foil nails.


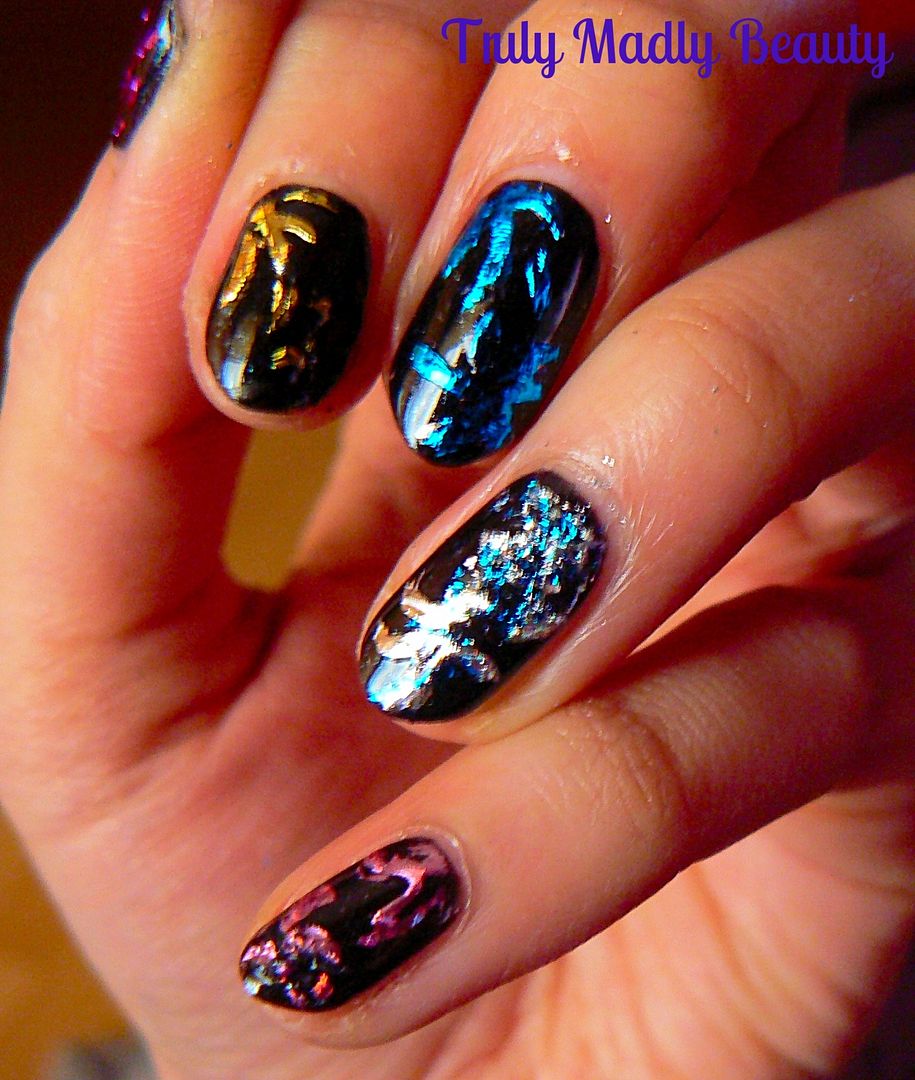
Now this mani didn't turn out how I wanted, hence the strategically used word 'distressed' haha! Believe me I have MANY mani fails! This is the first time I've used the transfer of nail foil with glue technique, however I'm rolling with it anyhoos as its a concept I love & will be practicing more of for sure! I was inspired by the amazing Lucys Stash who used this technique HERE. The idea is basically applying glue to certain parts of the nail where you want the foil to be, then using special mylar nail foils, transfer on to the nail!


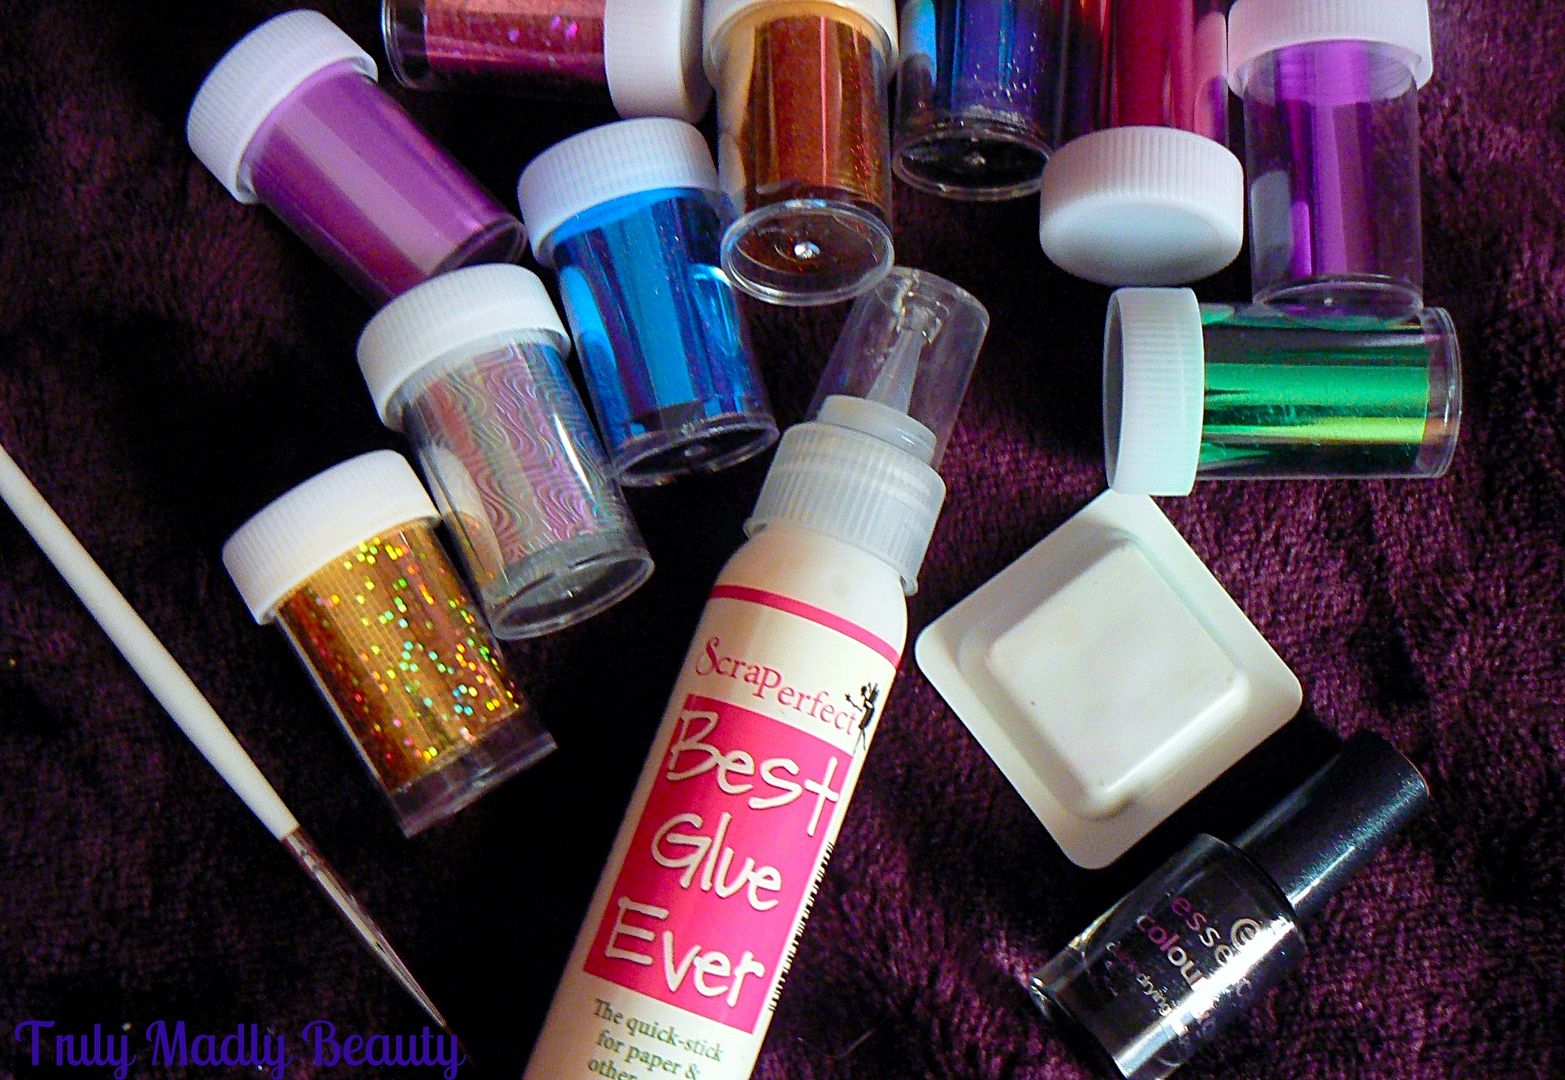
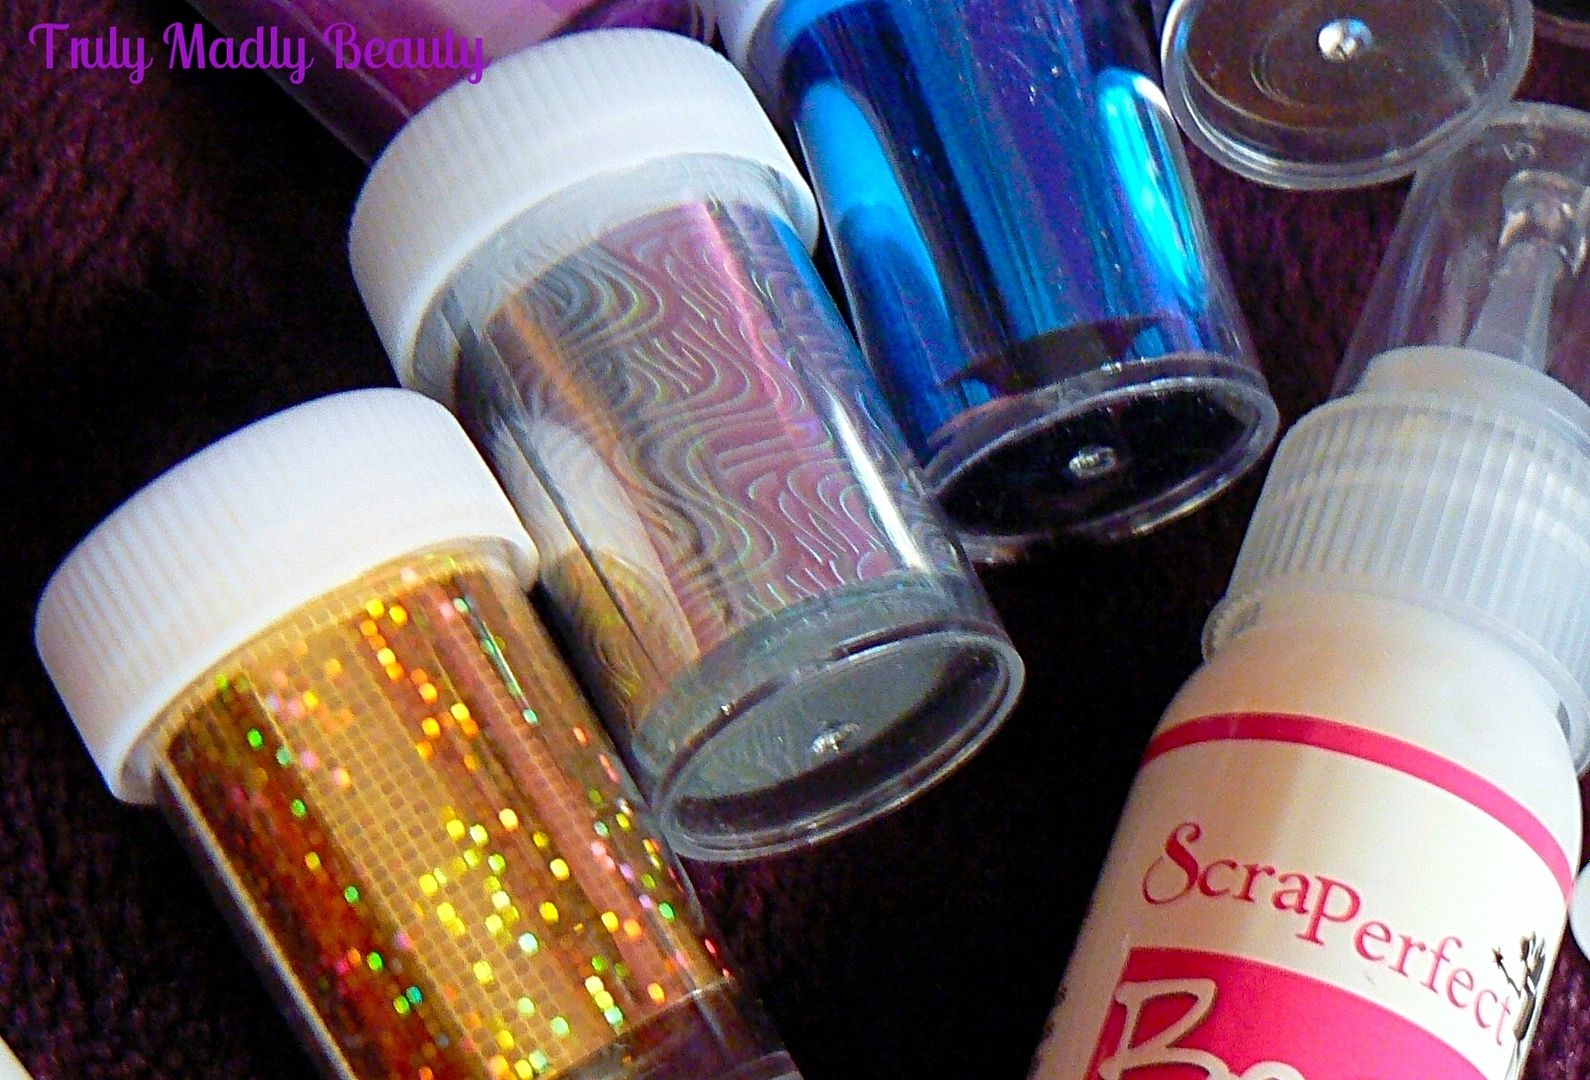
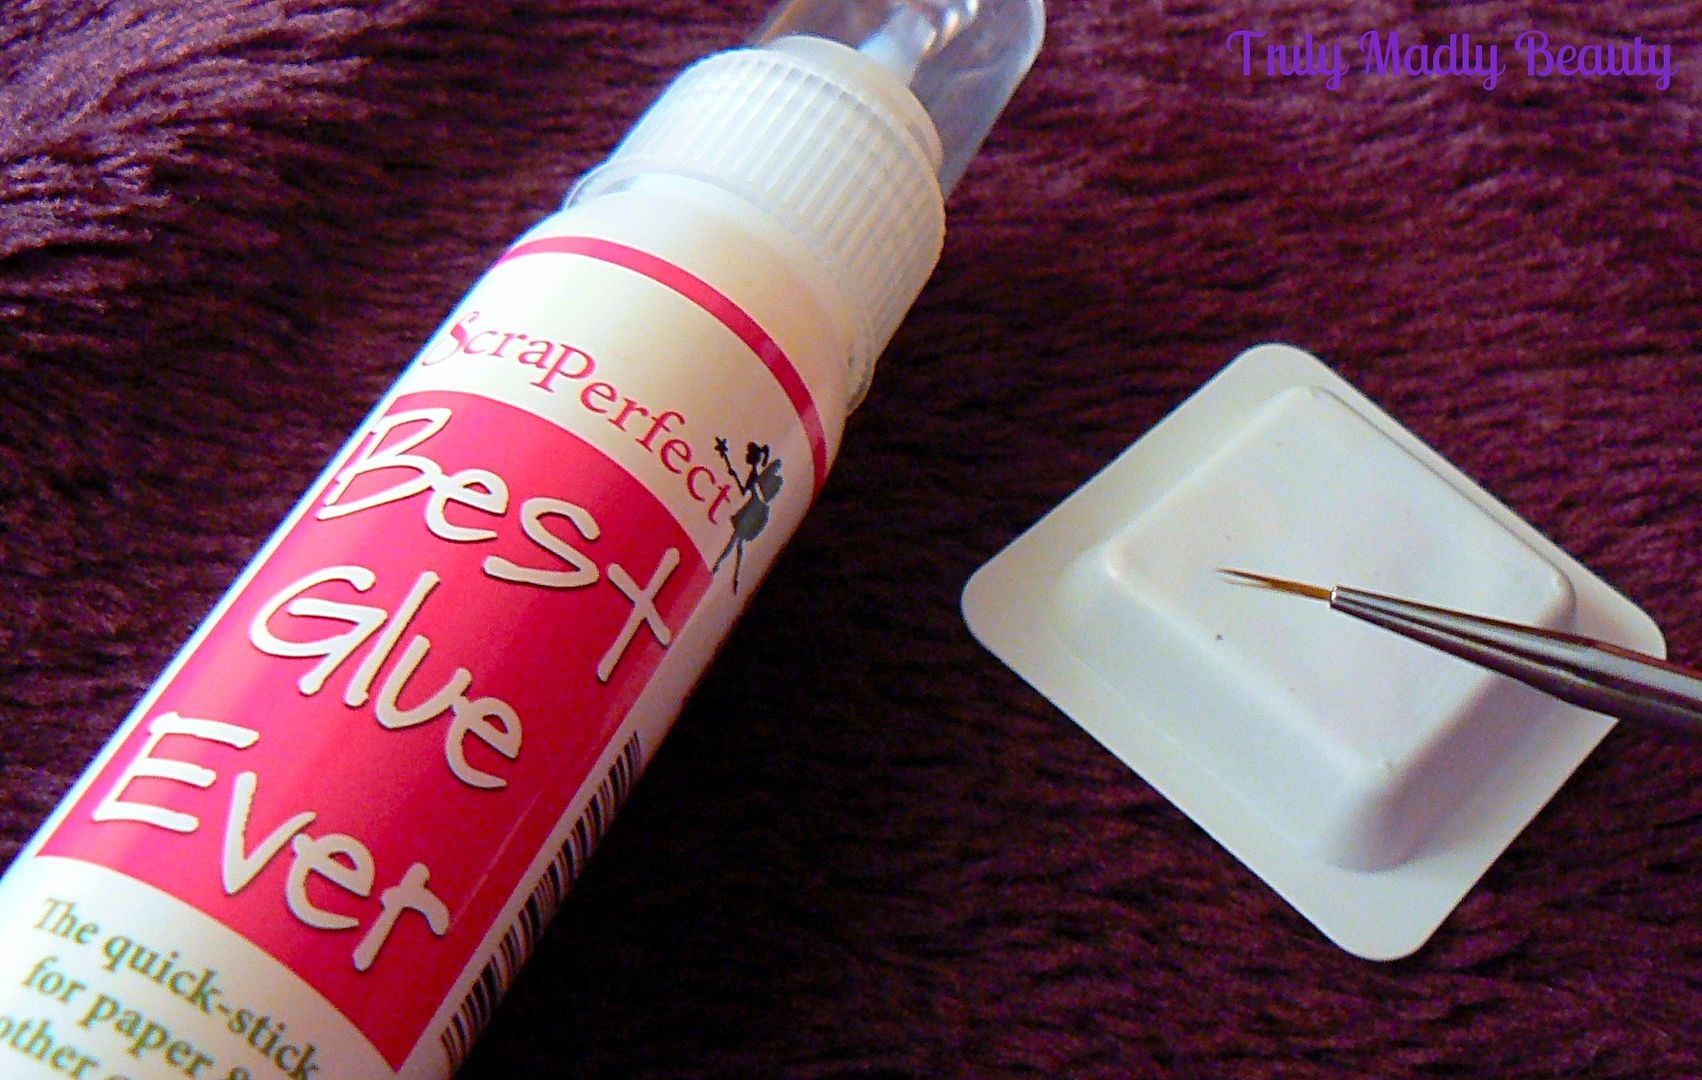
The glue used is one that was recommended by Lucy, Best Glue Ever. I purchased mine from Amazon a while back but I just googled it & apparently there is a shortage due to the raw materials used to manufacture being unavailable! There's a bottle on Amazon going for £40! Mad! However the makers, ScraPerfect are hoping to have stock available again early 2016. I picked up the nail foils from Ebay yonks ago but I believe you can also get them from Born Pretty Store who also sell special nail foil glue too just for this purpose which will make a perfect alternative to the Best Glue Ever. (get 10% off using my code TRUW10)


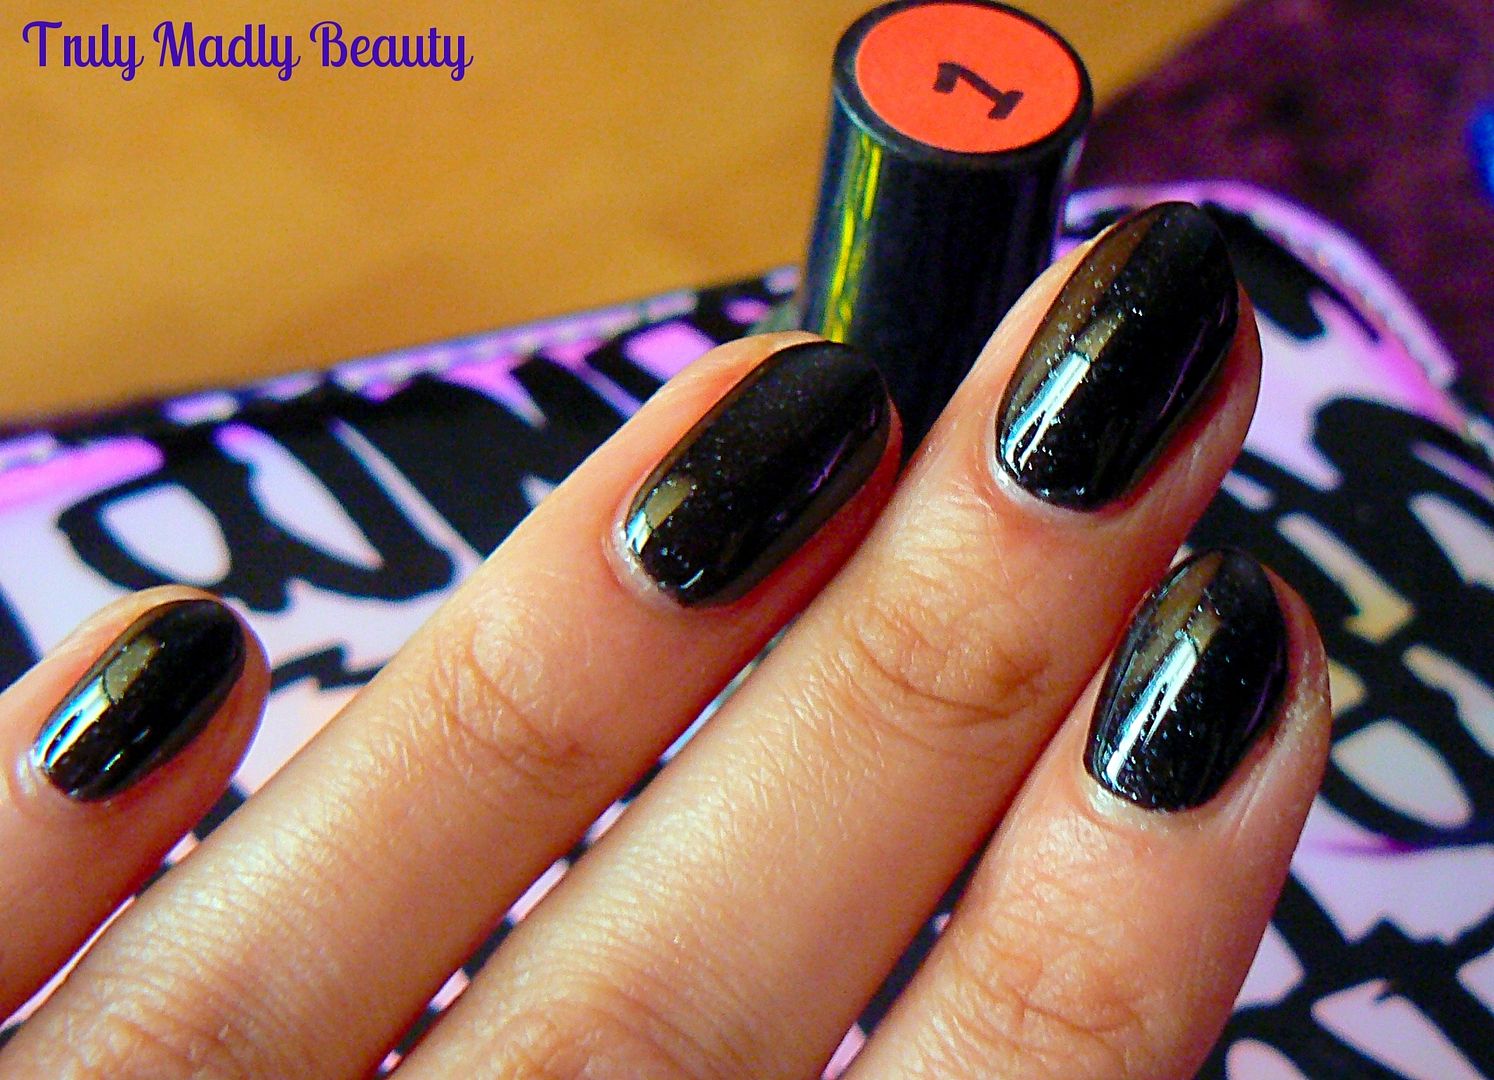
To get the best finish with this technique its better to use a dark base so that the foils can really dazzle on top, here I've applied two coats of Essence Galactic Black which is a black with silver macro glitter.


I wanted to have a different colour foil firework on each nail so I cut up a square piece from 5 different foils ready for me to use.


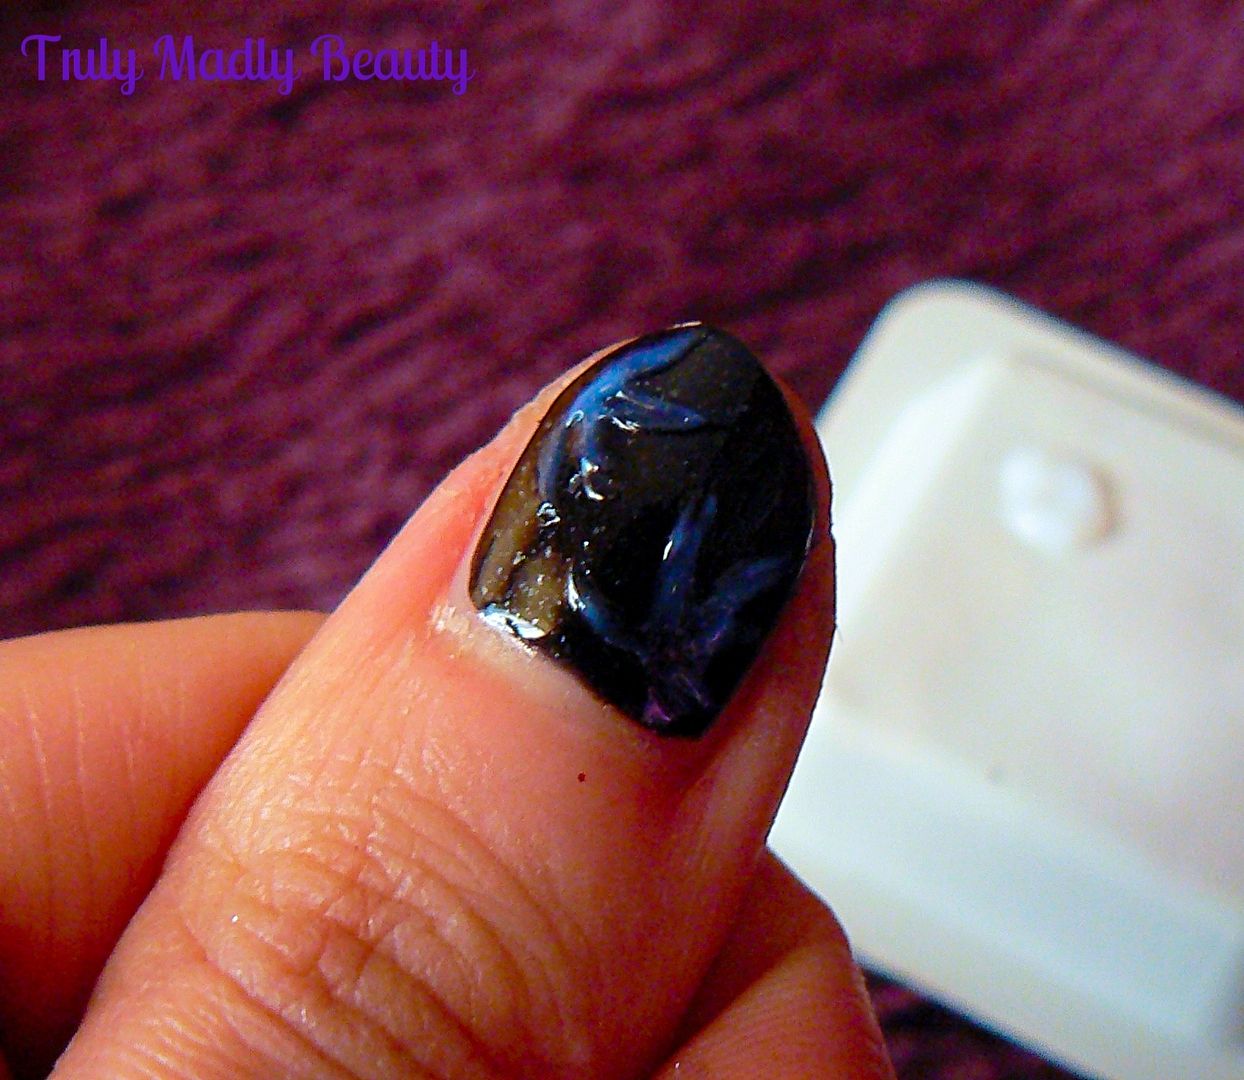
Using a thin brush & a piece of plastic/paper/whatever you like to dispense your glue on, dip your brush into a bit of glue & then apply on to the nail in the areas you want the foil. I went for a sort of firework type of pattern, needless to say it came out successfully on only some nails more so than others....O_O


Wait for the glue to COMPLETELY dry, this will be easy to tell as the glue will dry clear, though this is probably where things went a bit tits up for moi as I was just too impatient!


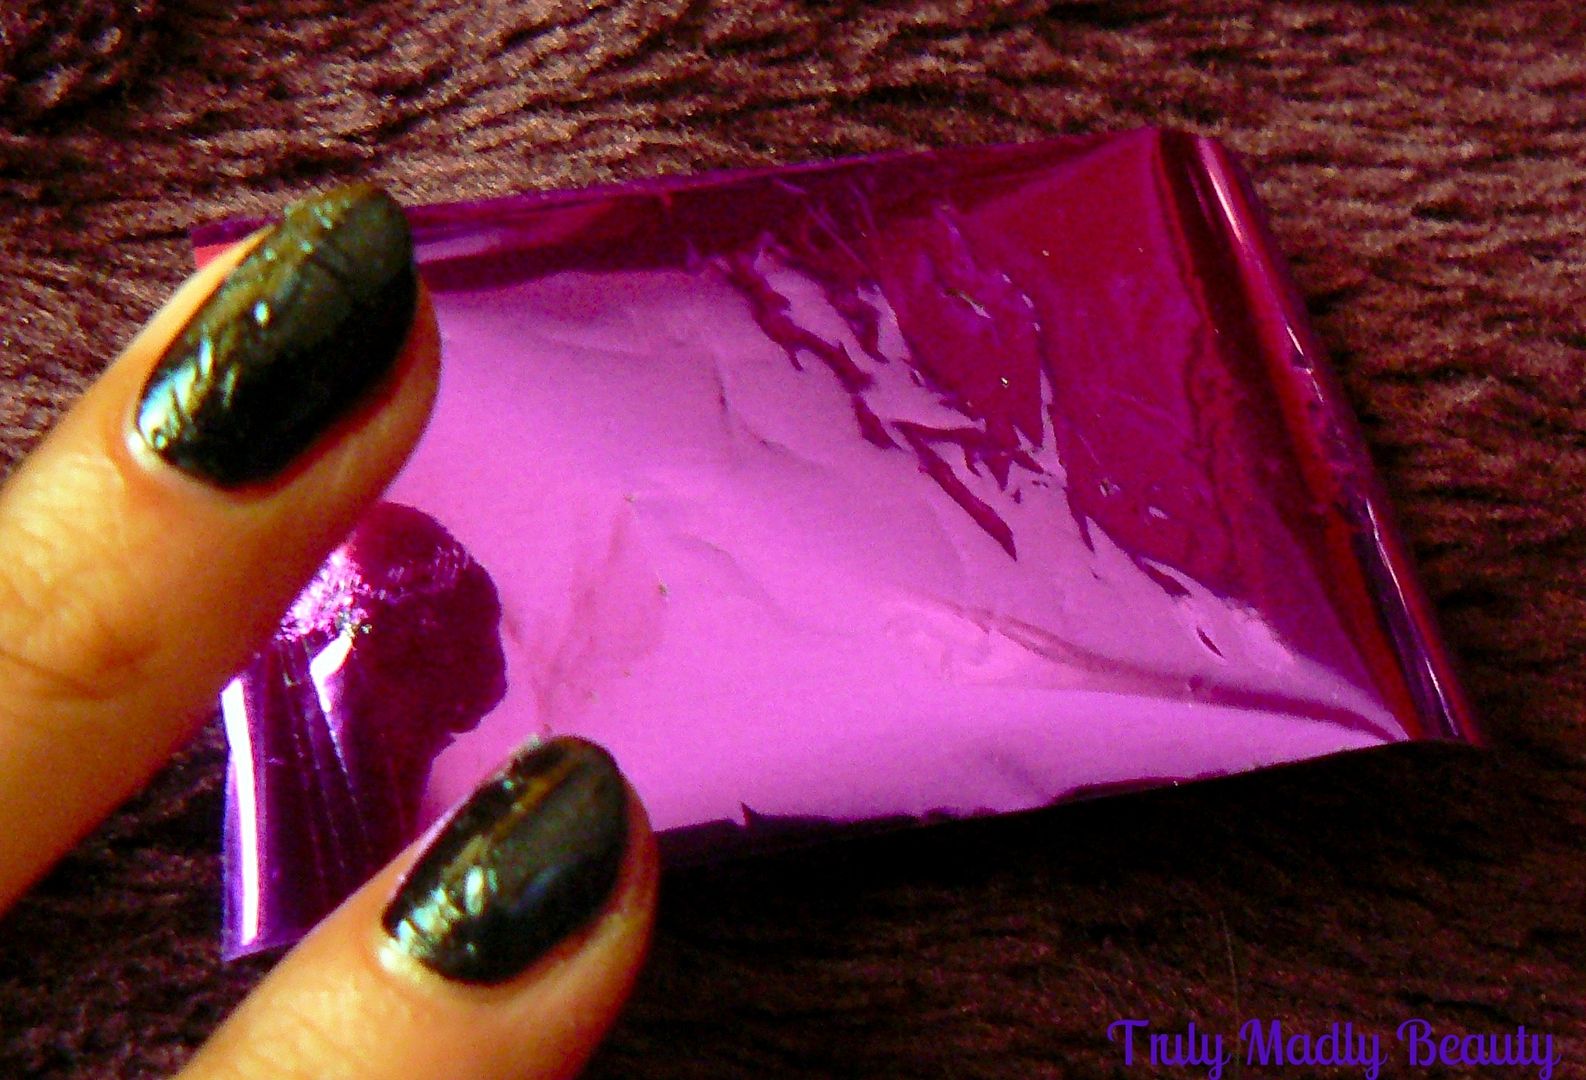
Then grab your piece of foil, the mylar foil has two sides, matte on one side & the coloured foil on the other. Its the matte side you need to dab on the nail. Using light tapping motions, its easier if you wrap the piece of foil around you finger when doing this, dab the foil on to the nail until it has transferred on to the glue.


Do this on every nail using your different colours until you've done all ten, I decided to mix it up with both blue & silver on the ring finger. I'm really happy with how my thumb came out, the others...not so much ha! But you get the idea of it.


Finish it all with a nice thick coat of glossy topcoat! As you can see I still need a helluva lot more practice & playing around with this, think I may give Lucy's Flame Effect nails a whirl with the foil just on the tips!

Thanks for reading lovelies & wishing you all a Happy New Year! See you in 2016!

Lotsa love to ya!


12.28.2015

Afternoon Tea Adventures - The Mad Hatters Afternoon Tea at The Sanderson

Hello there lovely readers!

Did you all have a lovely Christmas? Normally I'm not fussed with getting time off but this year I managed to nab a few extra days & I won't lie, these past 6 days of doing nowt but rest, eat, relax & repeat have been bliss. However one must slowly come out of hibernation & join the real world at some point! Thankfully this week will be a short two day affair not to mention I'll finally be watching the new Star Wars film on Wednesday! Getting back into the swing of things on here too now with my next afternoon tea review! So far I've written about my Claridges experience which you can read HERE. Today I'll be sharing with you one for any Alice in Wonderland fans out there...

The Mad Hatters Afternoon Tea is one I'm sure many of my fellow afternoon tea addicts have heard of. This wonderfully themed experience is held at The Sanderson Hotel & I was finally able to try this much raved afternoon tea for a friends birthday & even though this was last year (please note changes may have been made since then!) I thought I'd still share the experience as part of my afternoon tea series.

Source: Google images


12.23.2015

Festive Nails - Candy Cane Dotticure!

Hello there my lovely readers!

Christmas week has finally creeped up on us most speedily as it inevitably always does! Gosh this year really has flown by but I'm looking forward to 2016, I have many plans I hope to see carried out so here's to exciting new adventures!

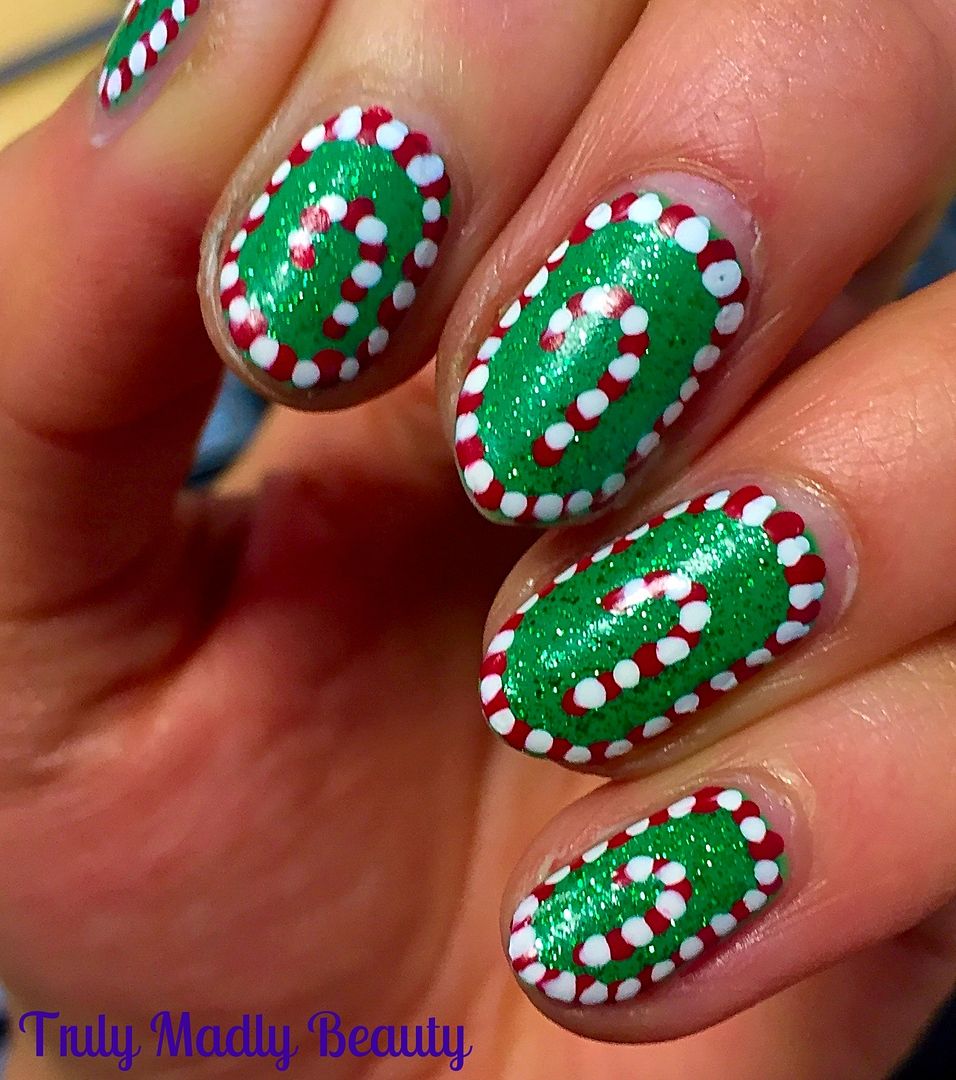
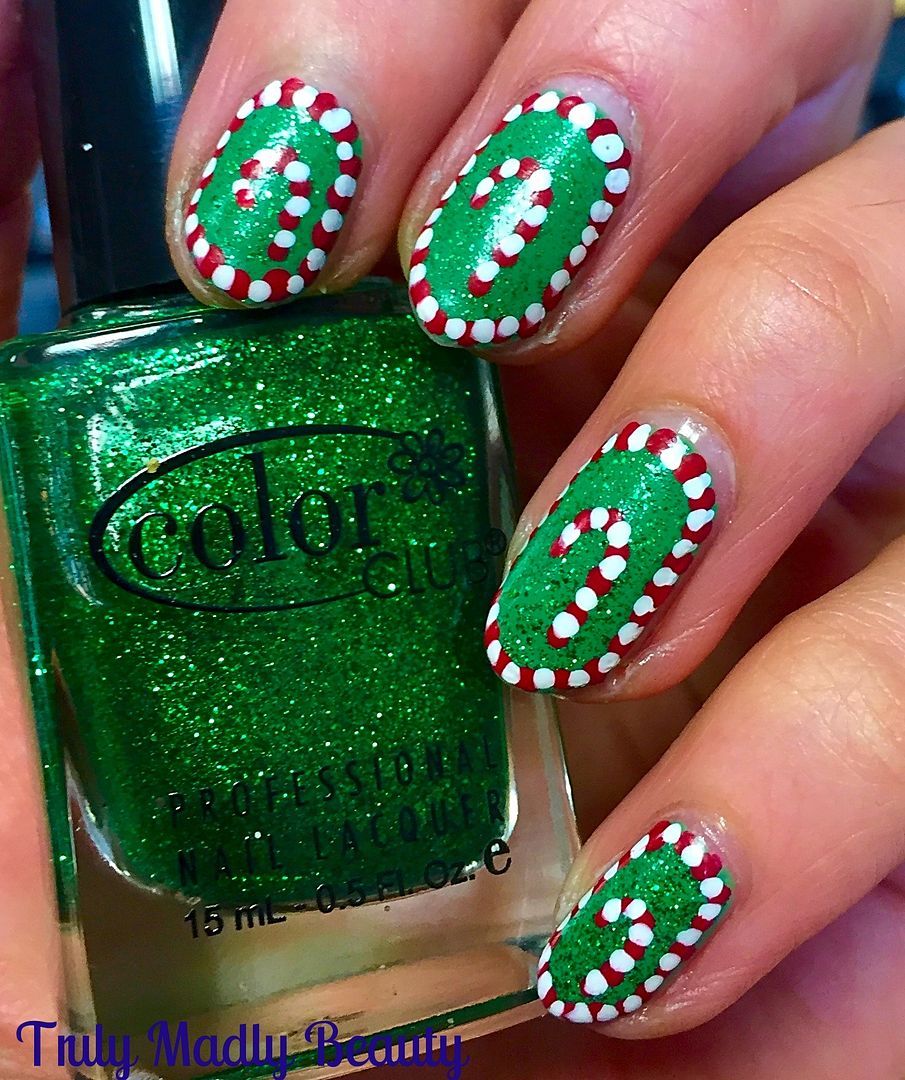
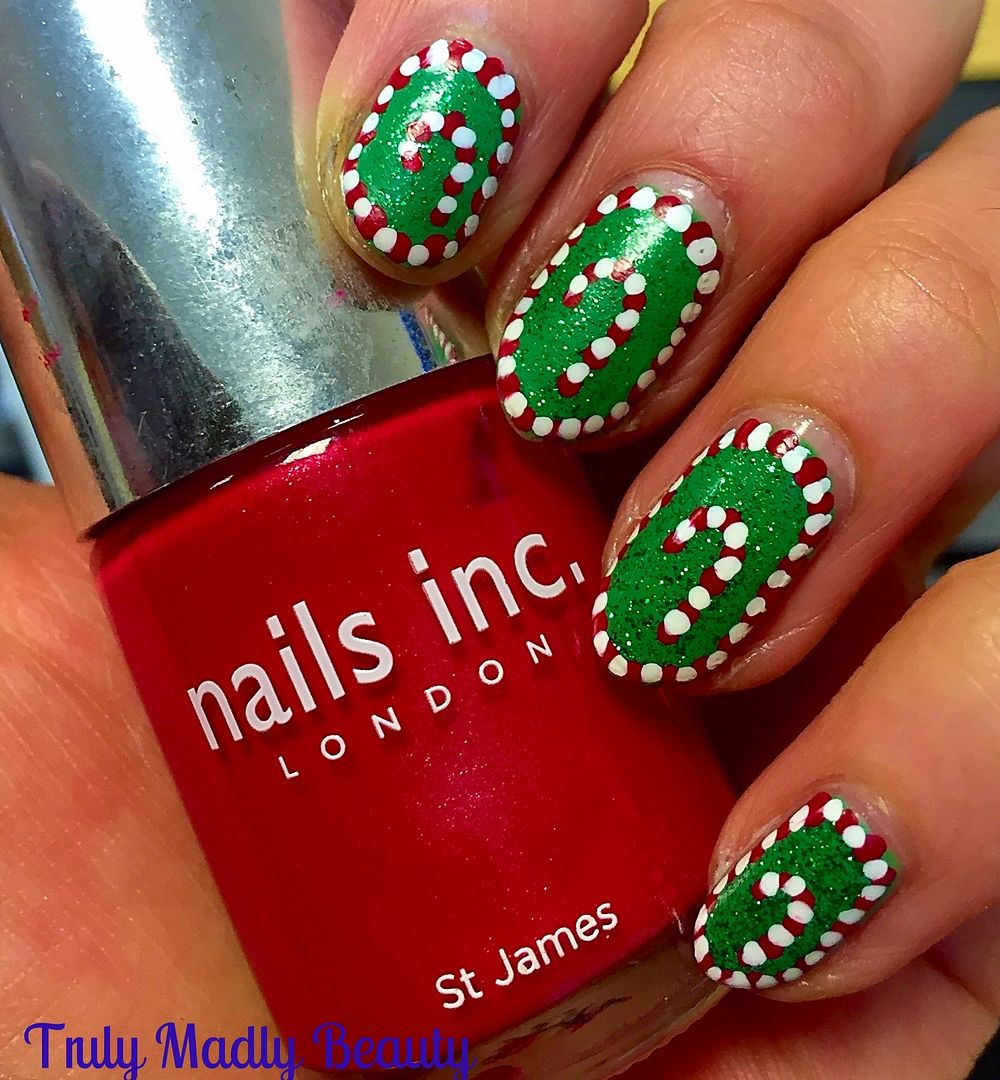
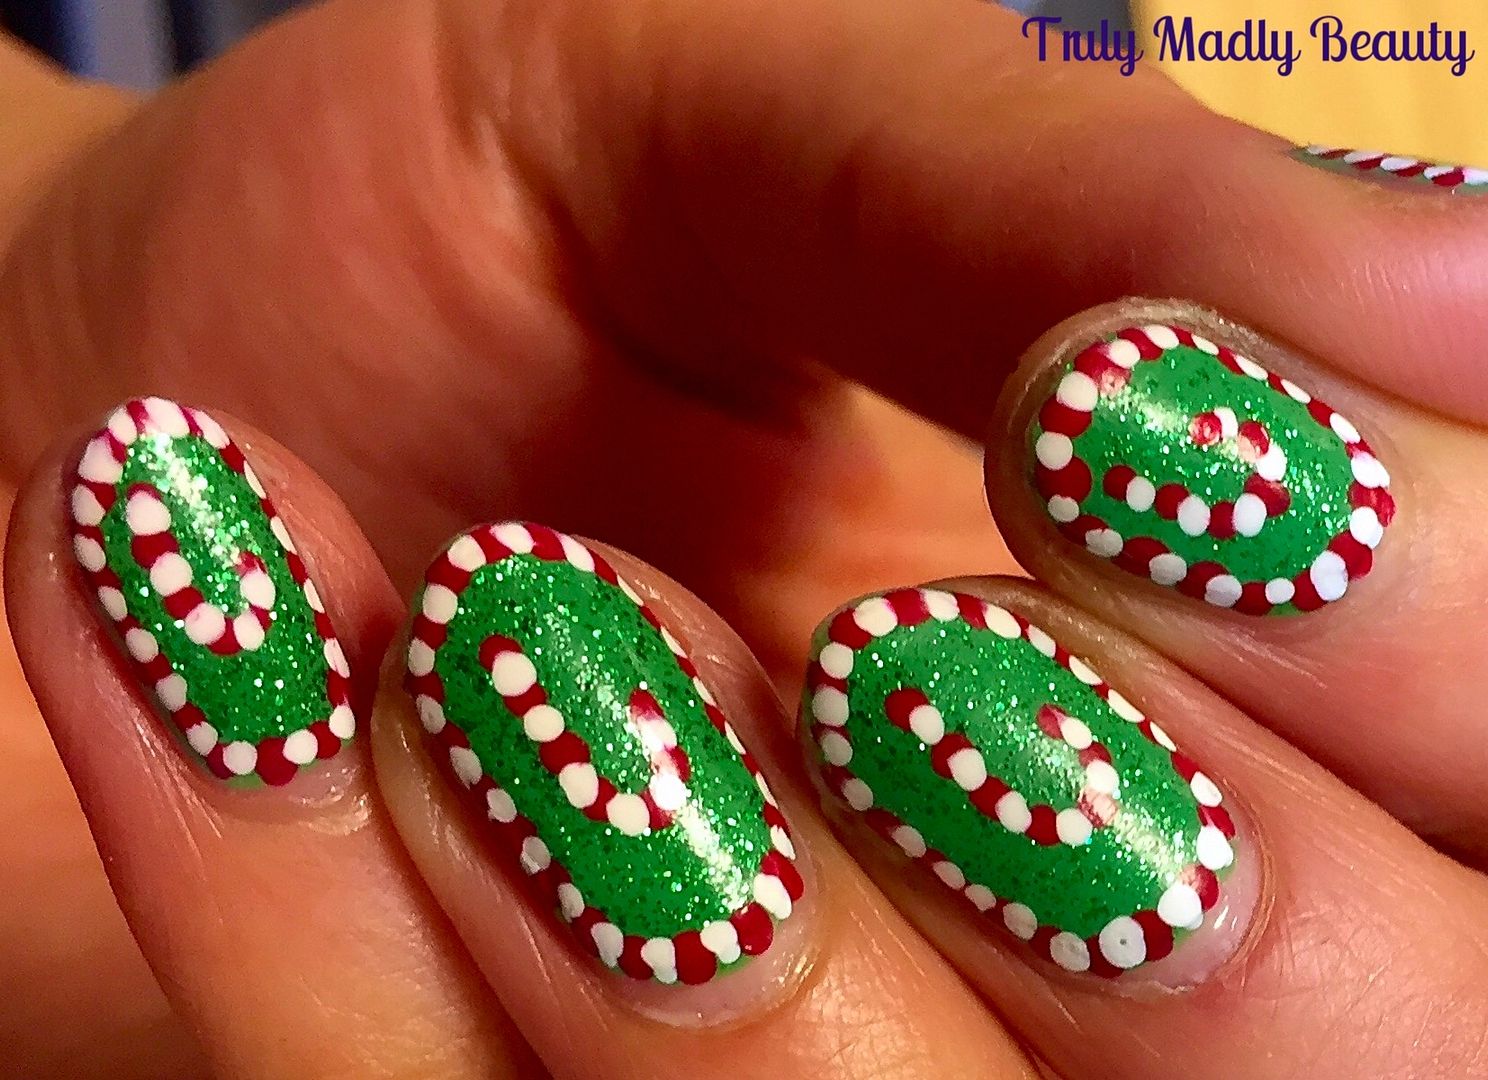
Squeezing in one last festive mani of the year for you today & I think this is my favourite one out of the bunch! This year I've managed to roll out a few which I hope you've enjoyed & helped get in to the Xmas spirit with some Christmas Presents, Festive Baubles, Sparkly Holly & Christmas Trees! For my final festive mani I went down the dotticure road & created some Candy Cane nails!


I'd forgotten how much I LOVE dotticures, so fun yet easy to do & with such pretty results as you can totally have fun with it! This brought back to mind the Aboriginal style dotticure HERE I did a while back...I will definitely be having more fun experimentation with dotticures next year! ;)


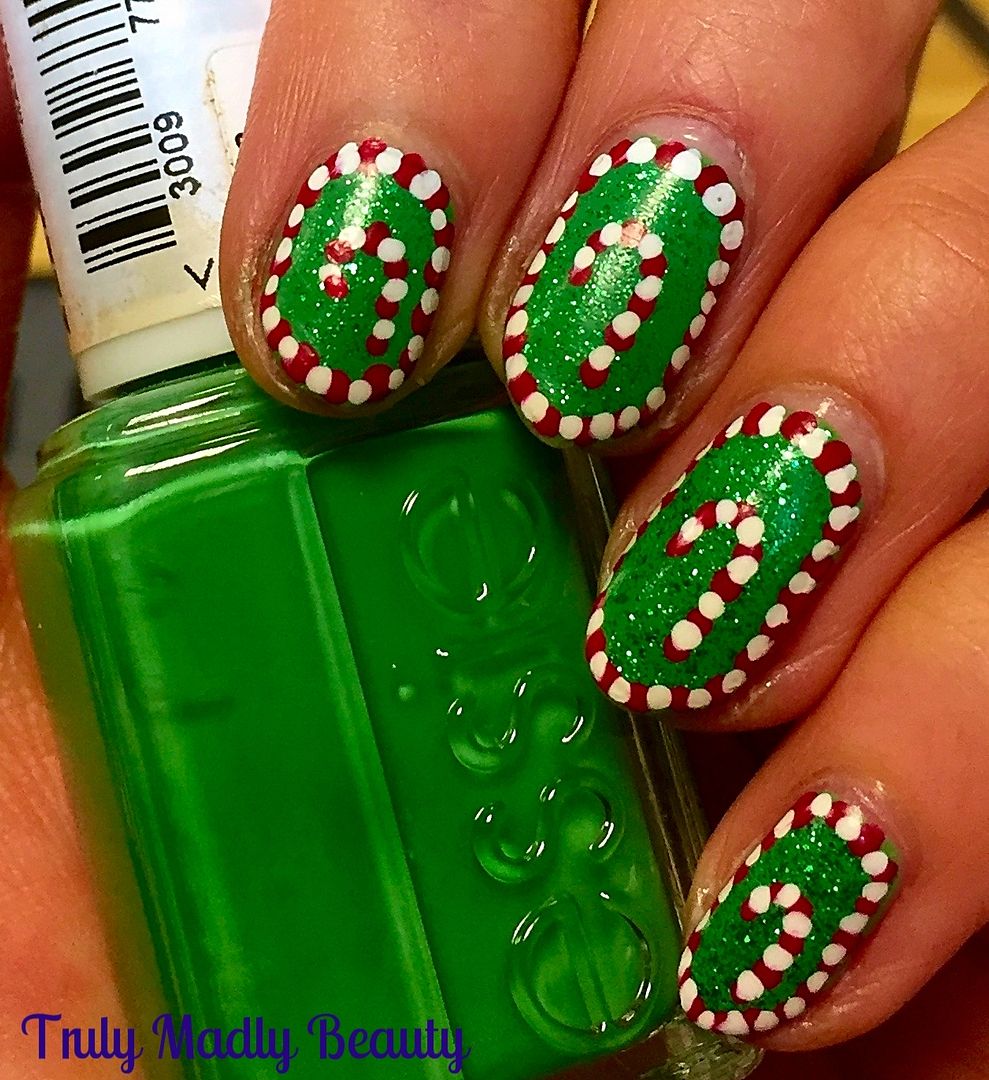
Going with the festive colours of green, red & white I started things off with a nice bright green base that wouldn't drown out the design. Here I've gone for one coat of Essie's Mojito Madness.


To jazz up the green I then added one coat of Colour Club green glitter because...well..you know...SPARKLES

Then for the dotticure design I started by applying the dots along the edge of the nails first to create a border, 


Rather than switching tools repeatedly apply one colour at a time, so I first added on my red dots using Nails Inc St James & a fine dotting tool, making sure to leave a wee gap in between each dot for where the white will be added.


For the white I used my Models Own nail art pen, the nib is really handy (when its not blocked that is!) as it distributes the perfect amount of polish for a neat dot without polish flooding out, causing a huge mess & a mini seizure, as is the case with a lot of nail art pens! Apply the white dots in between your red.

Then for the final bit, dot on your candy cane in the centre of the nail using the same concept that is done with the border.


Leave the polish to dry for a good five minutes before finishing with topcoat as, depending on how thick your dots are, the polish may drag which you really don't want after all that effort.

And that's it! Easy peasy :) I hope you liked the Christmas nail art this year dolls! Did you go festive on your nails? Thanks for reading & have a wonderful Xmas!

Lotsa love to ya!