4.16.2016

Huntsman Winters War - Snow Queen Freya Inspired Nails!

Hey lovely readers!

After watching the Huntsman Winters War movie recently I was inspired to create some nail art after the two stunning, if a wee bit evil/bat shit crazy/mad, queens of the film portrayed by the gorgeous creatures Charlize Theron & Emily Blunt.

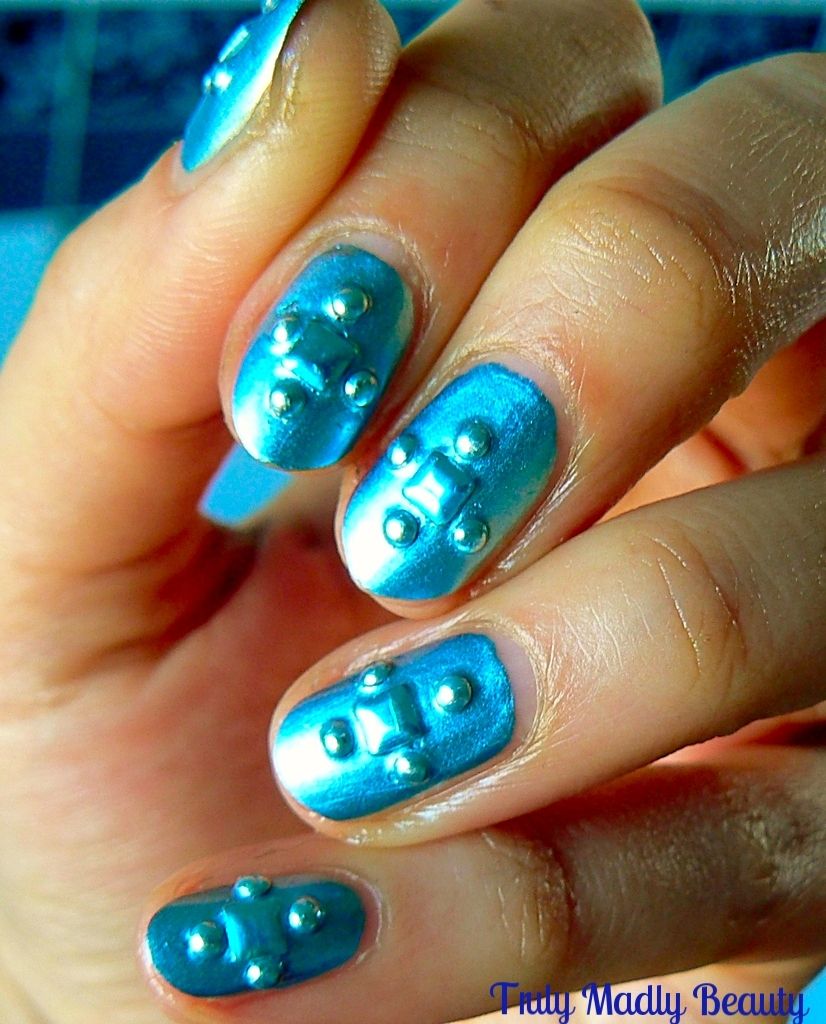
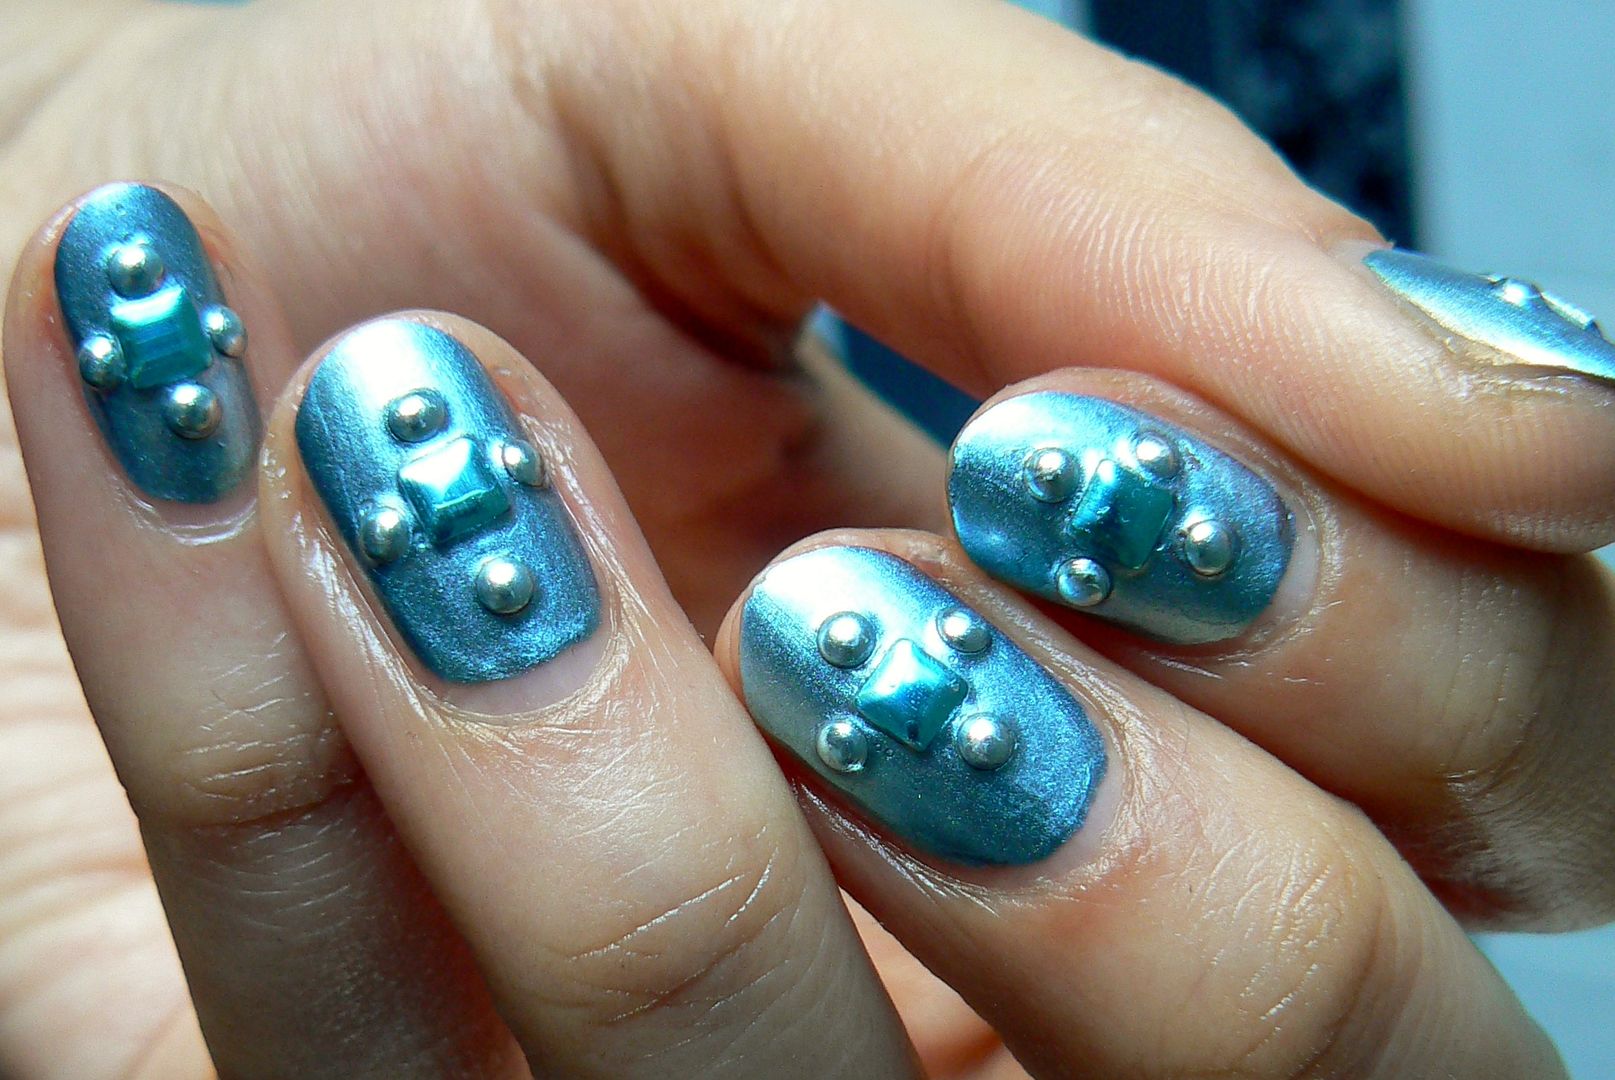
My previous post was what I came up with for Charlize's Evil Queen Ravenna & featured lots of dark gothic gold vibes. This time I used Freya's frosty magic as inspo to create an icy manicure suitable for the snow queen & this is what I came up with...


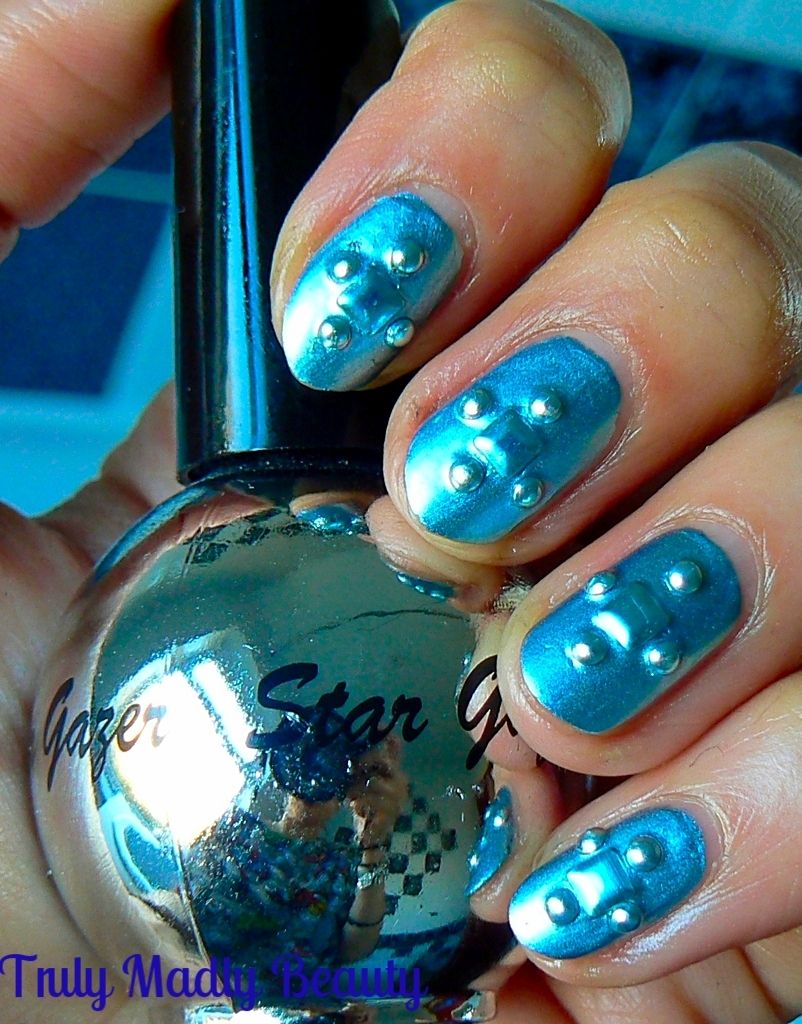
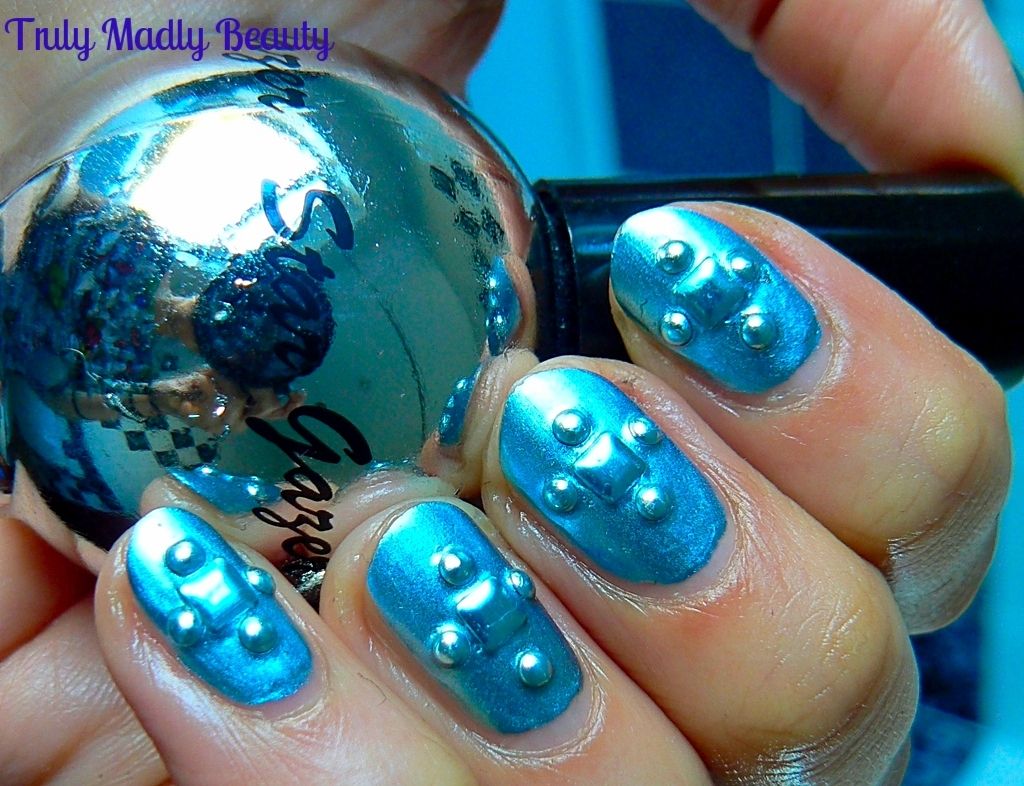
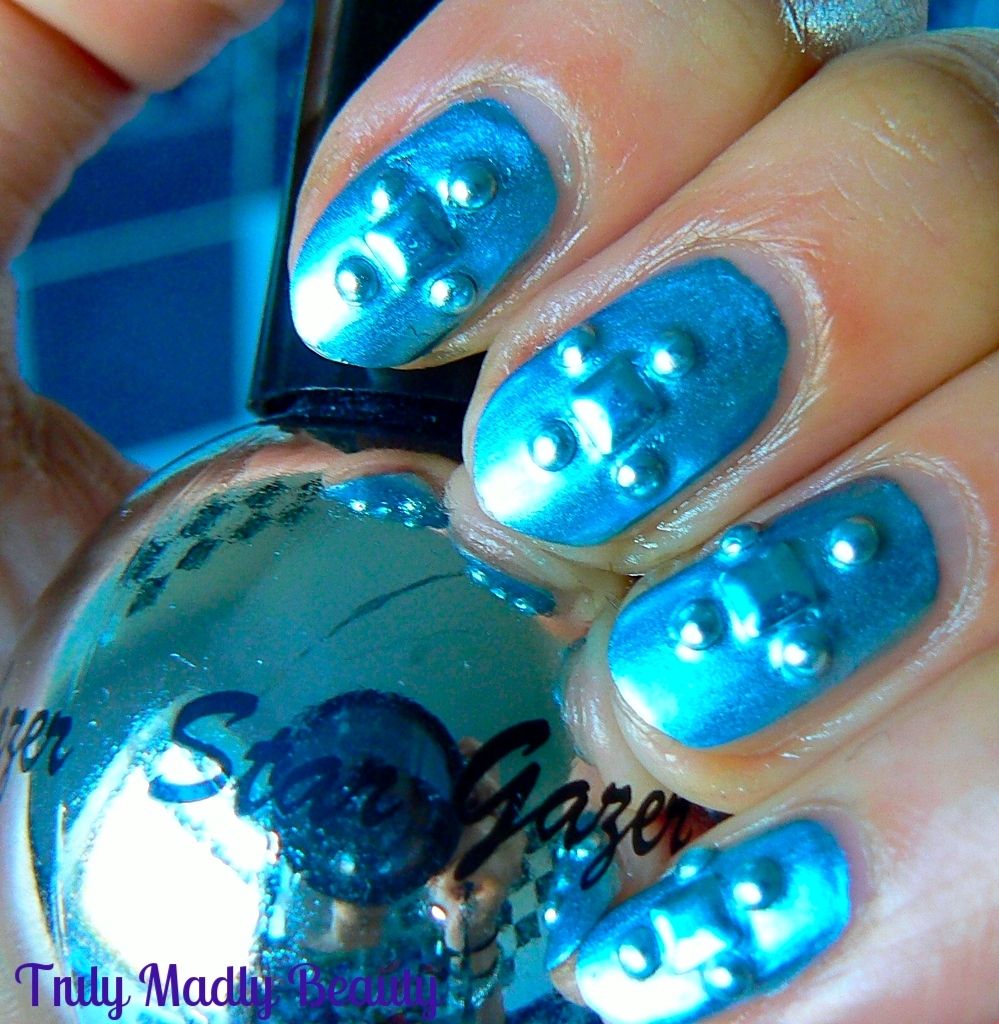
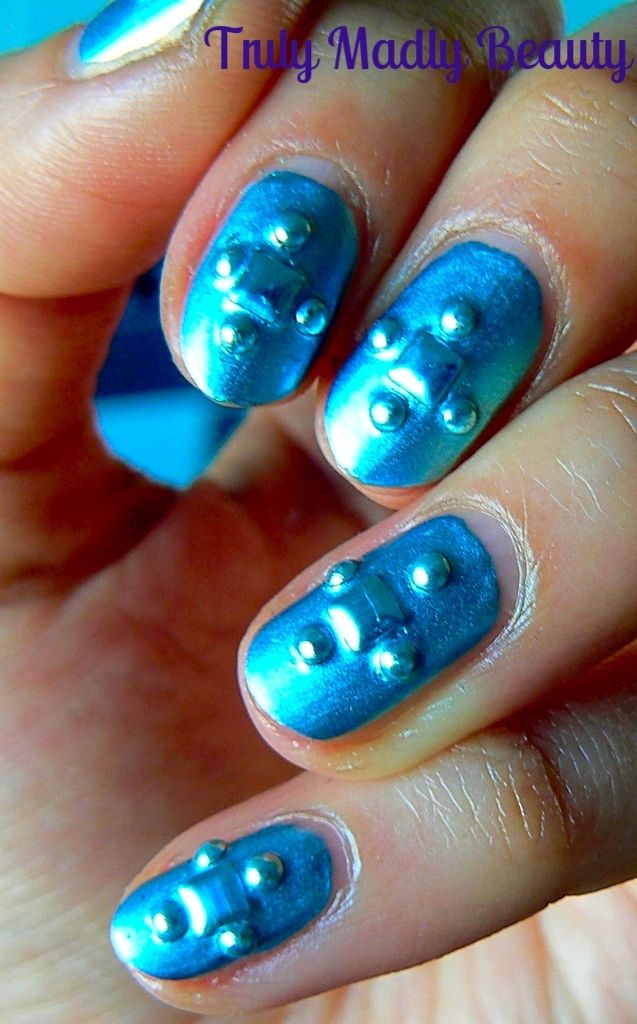
I knew a foil was required for this mani to get the look I wanted & I couldn't have found a more perfect one than this offering from Stargazer. When I picked this up at a beauty expo I actually had no idea what the colour would be as the bottle is a completely opaque silver like a mirror, why you can even see my reflection...*waves* But I threw caution to the winds & to my utter delight I discovered 233 to be an absolutely stunning silvery blue metallic foil! LOVE IT.


I do love foils, if not for their stunning mirror-y finish then definitely for their speedy drying time! This is two coats which applied nice & smoothly without streaking & dried super quick!


For the nail art I decided to actually keep things a bit simple & low key for once (GASP!) but I thought it suitable as Snow Queen Freya's demeanor is as cool & composed as Ravenna's is over the top mad.


I reached for some pretty ice blue silver square & round studs which I applied in a cross pattern on top of the foil, with the square in the centre, surrounded by four round studs, which added a nice medieval vibe to it that I love as its an era very in tune with the film.


Seal with a thick coat of topcoat to secure the studs & Freya's metallic frosty mani is done!


Thanks for reading! I'm trying to find some beautiful nail claw jewelery similar to the ones worn by the Queens in the film, hopefully Etsy? I think I may have found my seller...click on THIS link if you dare, you will want ALL THE GOTHIC NAIL BLING! I predict a cheeky haul in the very near future...

Lotsa love to ya!


4.14.2016

Huntsman Winters War - Evil Queen Ravenna Inspired Nails!

Hey lovely readers!

I finally watched the new Huntsman Winters War film recently which went down a treat! I thoroughly enjoyed the first film, Kristen Stewart's awful performance aside, the combination of Chris Hemsworth & Charlize Theron's fantastically crazy Evil Queen was divine & knowing that Emily Blunt was present portraying Freya the Snow Queen in this film, I simply I couldn't miss it & it didn't disappoint :)

I knew when looking at the promos prior to release that I had to attempt a mani inspired by each of the queens, Ravenna with her dark gothic gold and Freya with her icy silver was just screaming nail inspiration to me! So lets start things off with the Evil Queen Ravenna...


Unfortunately I did this mani in the evening by which time all decent lighting was lost therefore I had to wait the next morning to snap pics! Because of this it wasn't as neat as the day before, having lost a few shards & a bit of lifting! But I'm rolling with it anyhoos ;)


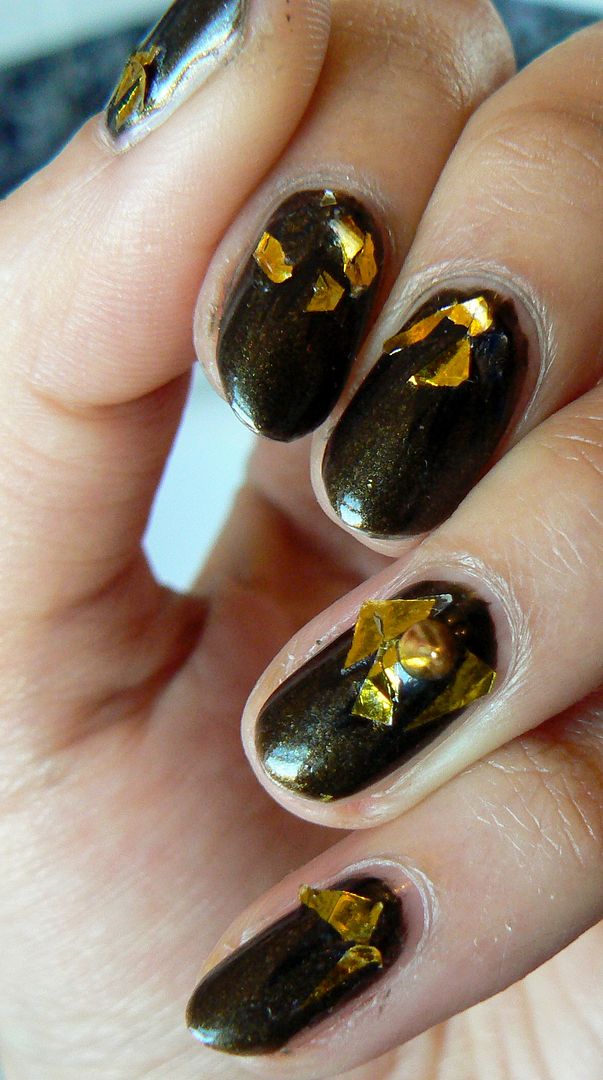
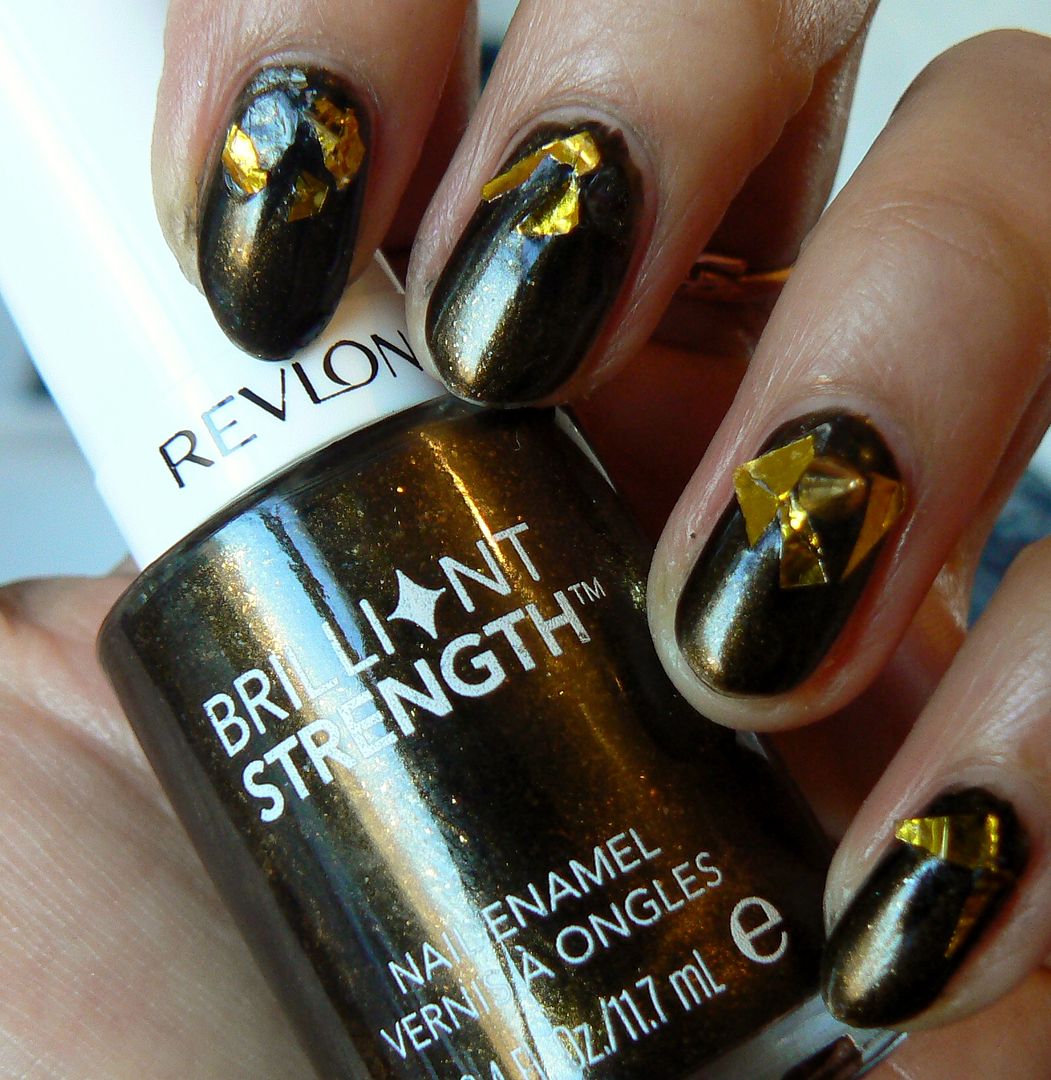
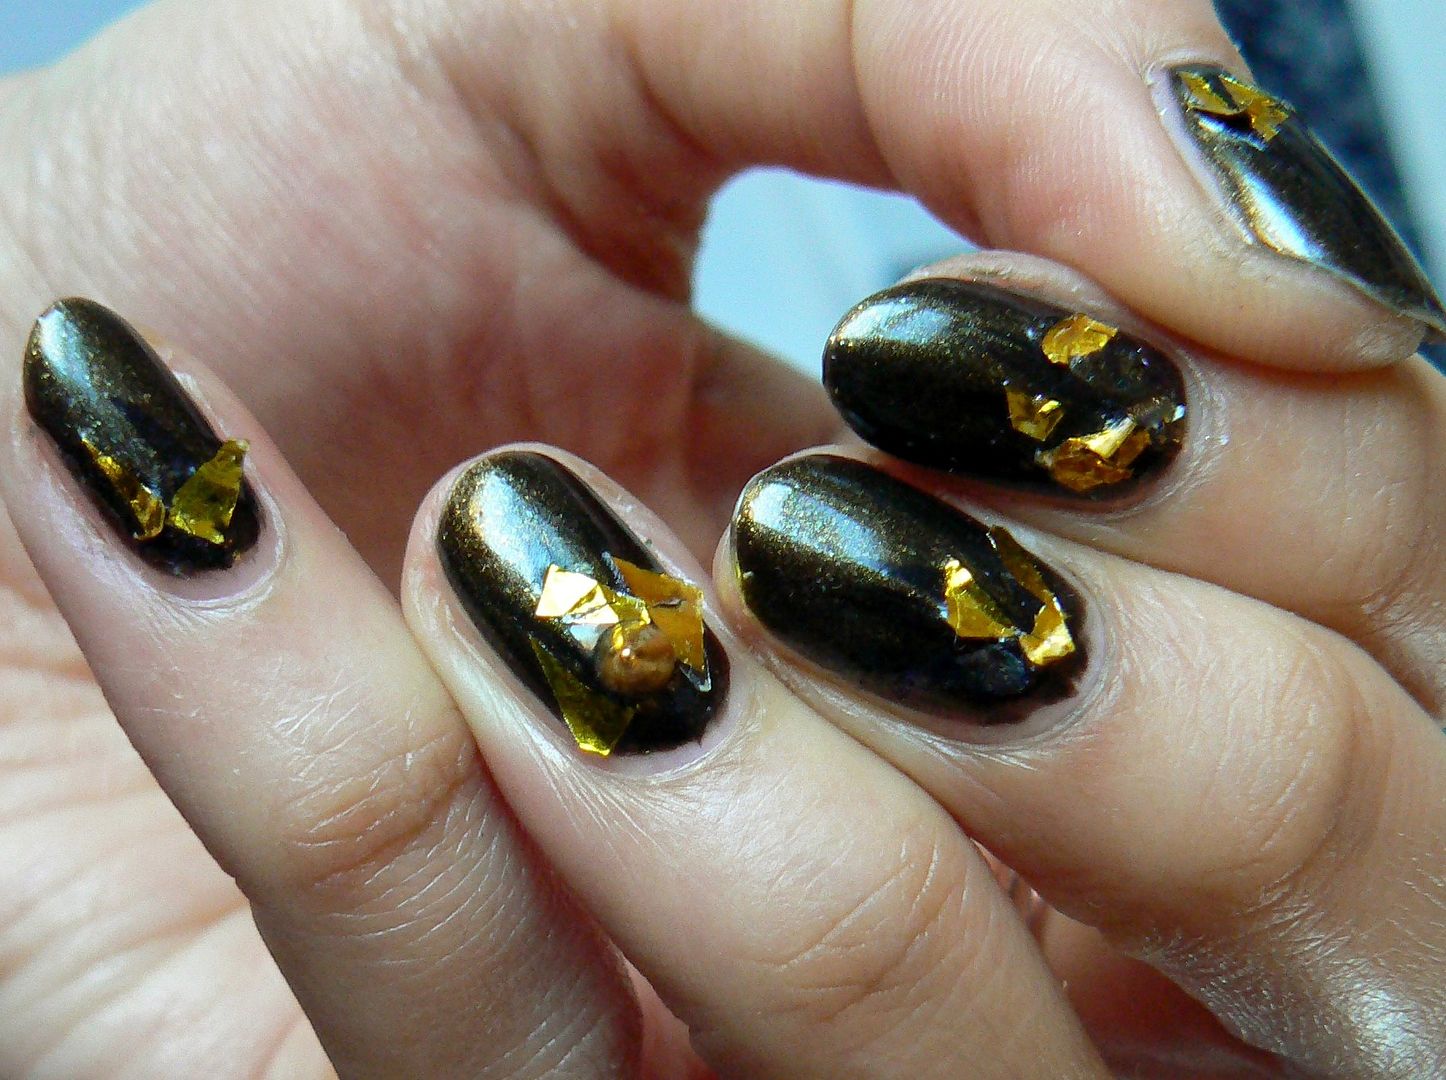
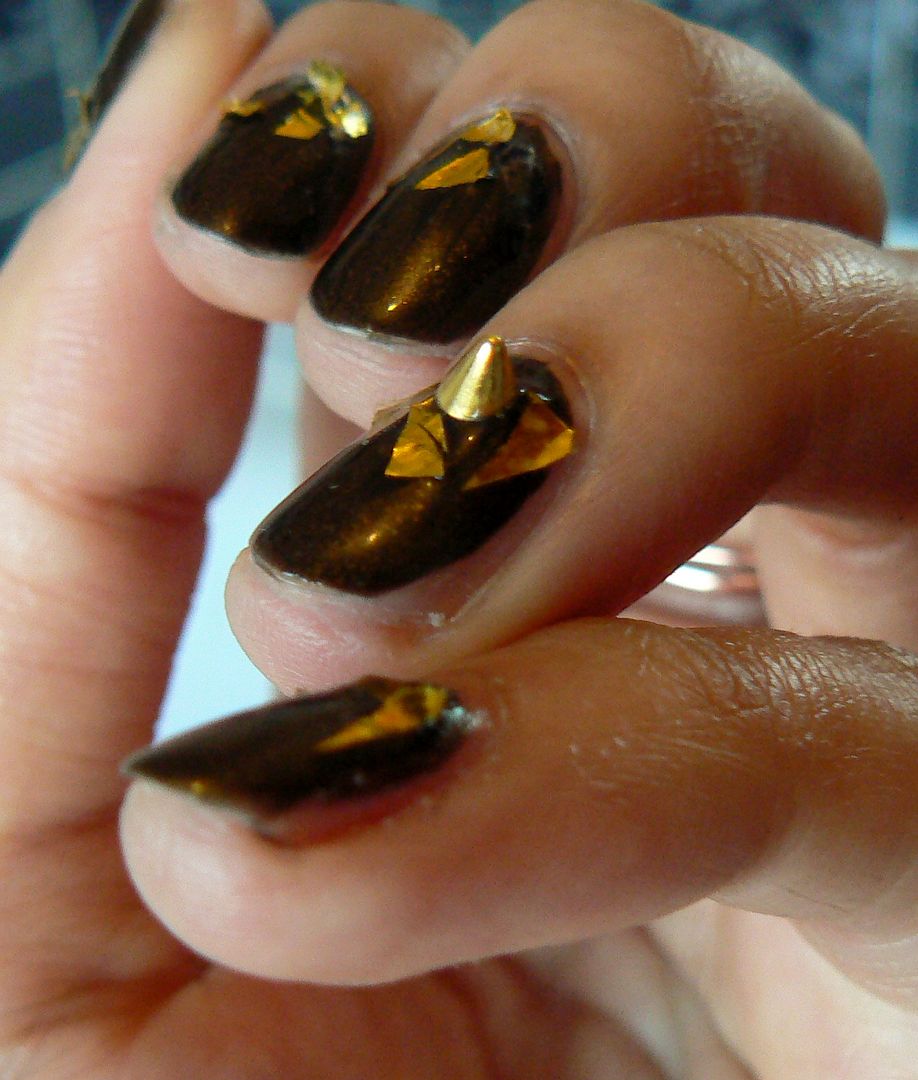
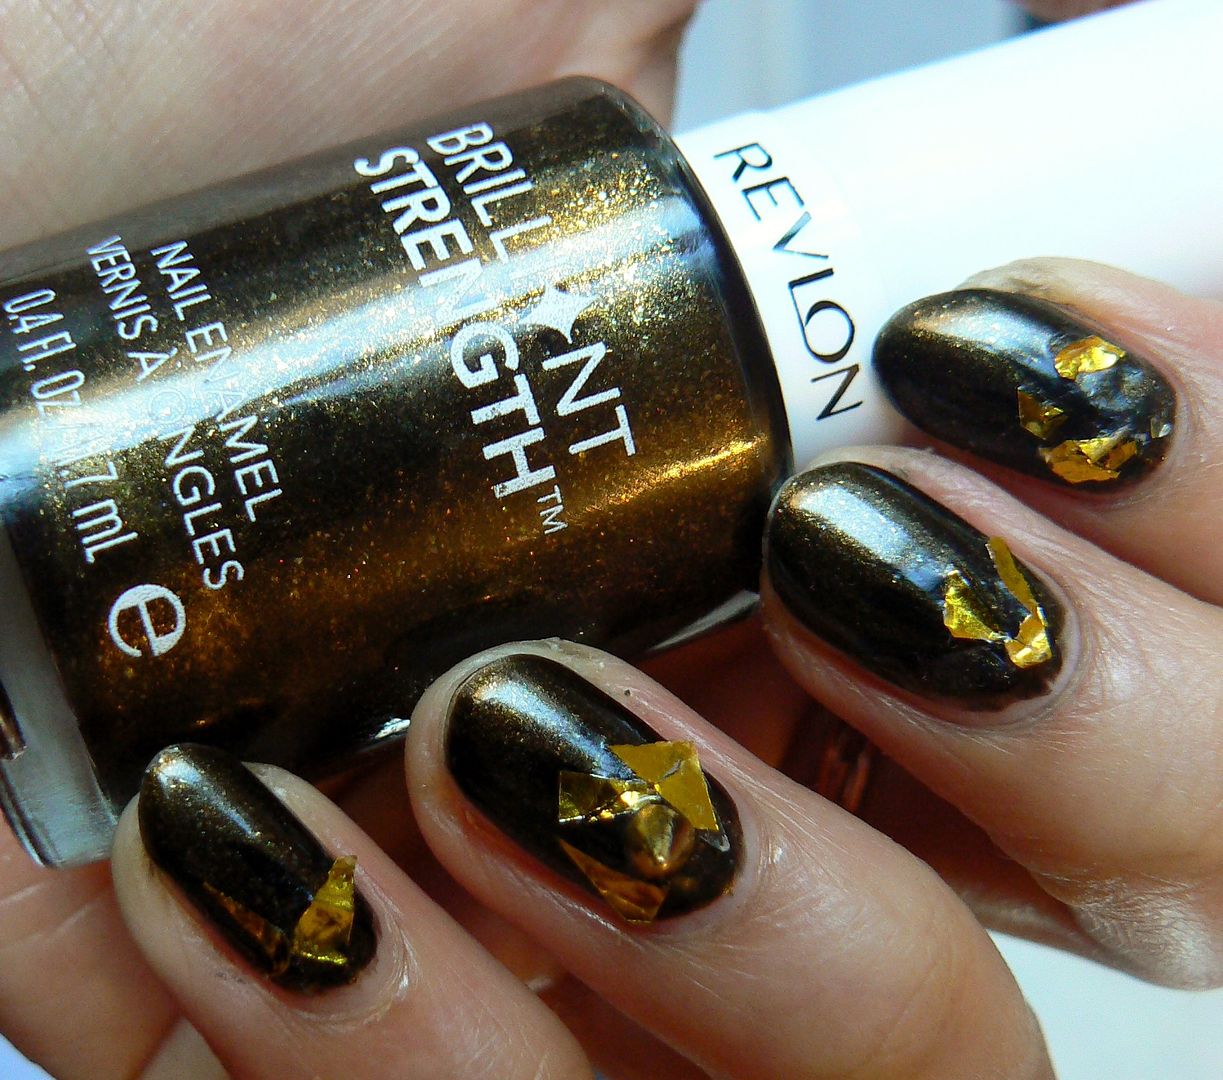
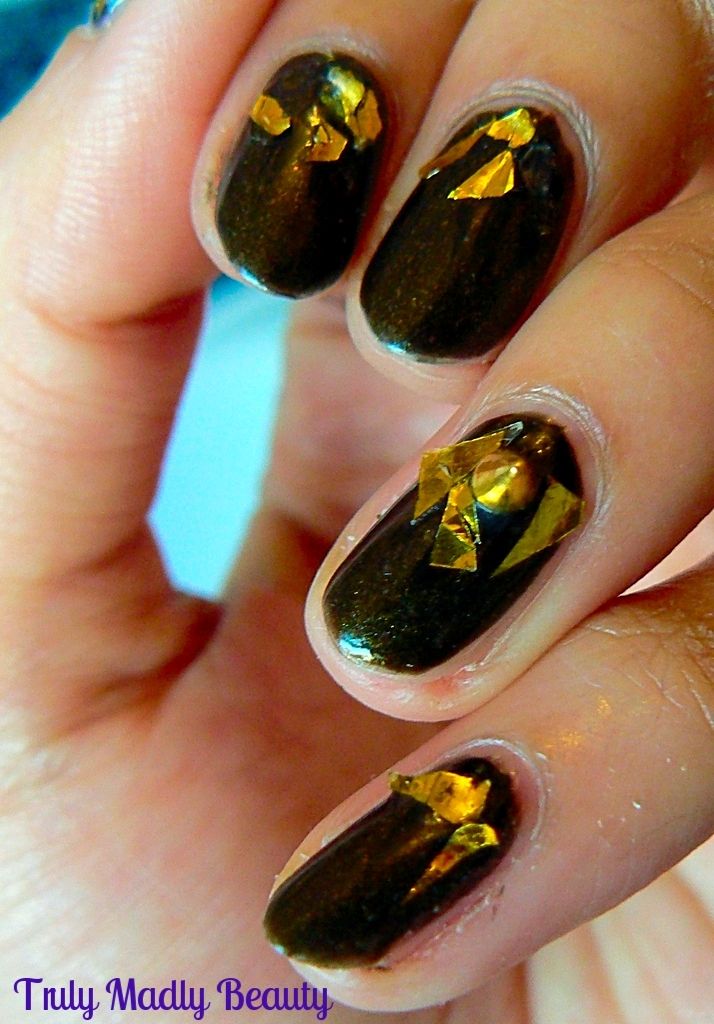
I started with two coats of this Revlon polish Enthrall, quite fitting actually, which I actually only picked up last week after spotting it in Poundland! The dark olive/black with a stunning golden shimmer running through immediately made me think of Ravenna. So gothic-ly pretty!


Its a bit difficult to see but I added a few sharp downwards streaks of black polish from the cuticles using a thin nail art brush & black polish.


I then used some pretty gold flakes I picked up from Born Pretty Store, using a wet brush to help pick up the shards of gold, I just placed a few pieces on top of the black streaks by the cuticle edge of the nail also.


Whilst doing a recent Born Pretty Haul (FYI you can use my code TRUW10 for 10% off your order) I couldn't resist picking up a few spike nail art charms too! This I added on to my ring finger as an accent using a bit of topcoat to help secure it down.


Finish with a thick coat of topcoat & thats it! A dark gothic gold (& perhaps slightly dangerous) manicure suitable for any Evil Queen! You may need to add a good few topcoats to keep those gold flakes in place!

Thanks as always for reading! Stay tuned for a frosty themed mani for Freya...

Lotsa love to ya!


4.11.2016

Exciting News - Jamberry Nail Wraps Have Now Launched In The UK!

Hello my loveley readers!

So I have some exciting nail related news to impart ;) Its always been a wish of mine to incorporate my passion for nails in, if not a career, then something to pursue alongside my work, well now I have been given the opportunity to do exactly this & I am eager to share it with you lovelies...let me introduce you to Jamberry...


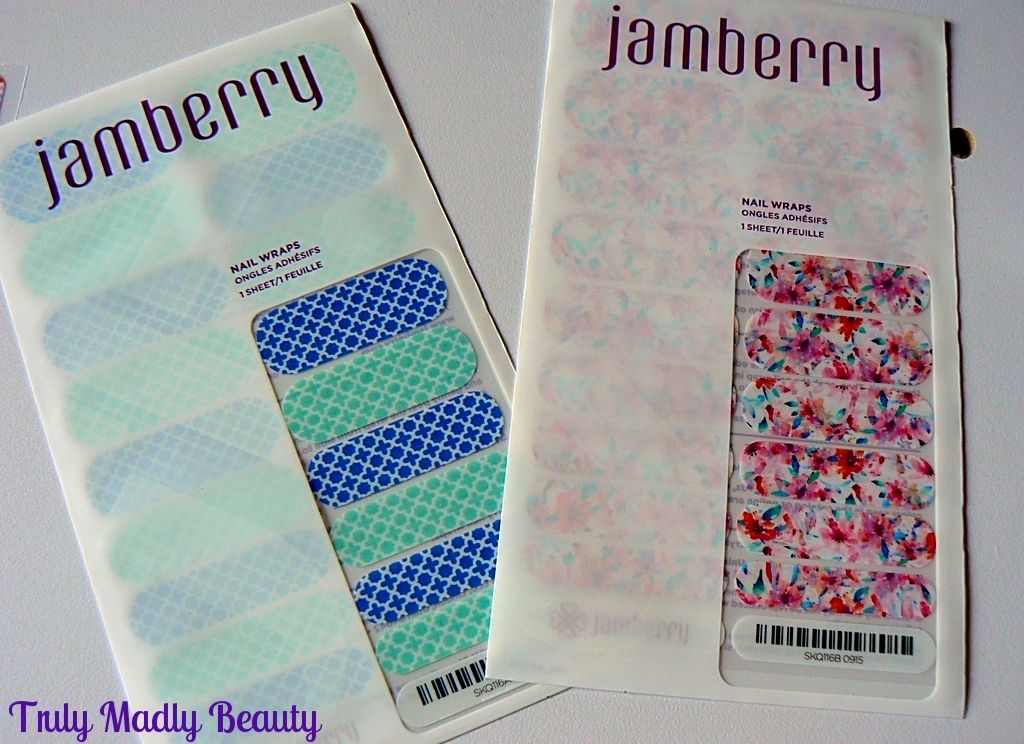
You may have heard of Jamberry, a brand that has become rather big in the nail wrap world & first launched in the US in 2010 by 3 sisters creating their own line of DIY nail wraps. It went down a storm as the brand has now become a global success not only in the states but Australia too. Well Jamberry has spread the love to our shores, launching in the UK this month & not just that...but yours truly is officially one of the first UK consultants to have the pleasure of representing the brand here, which I am very excited to be a part of as it is a product I've gone gaga over big time & I will share with you exactly why.


I'm sure your thinking what makes these wraps so special compared to others? You know I love my nail art, yet many of you I'm sure simply do not have the time to even polish your nails let alone anything else! If you love having jazzy nails (who doesn't) yet can't deal with the faff of waiting for polish to dry or finicky nail art then Jamberry is your answer my beauts.


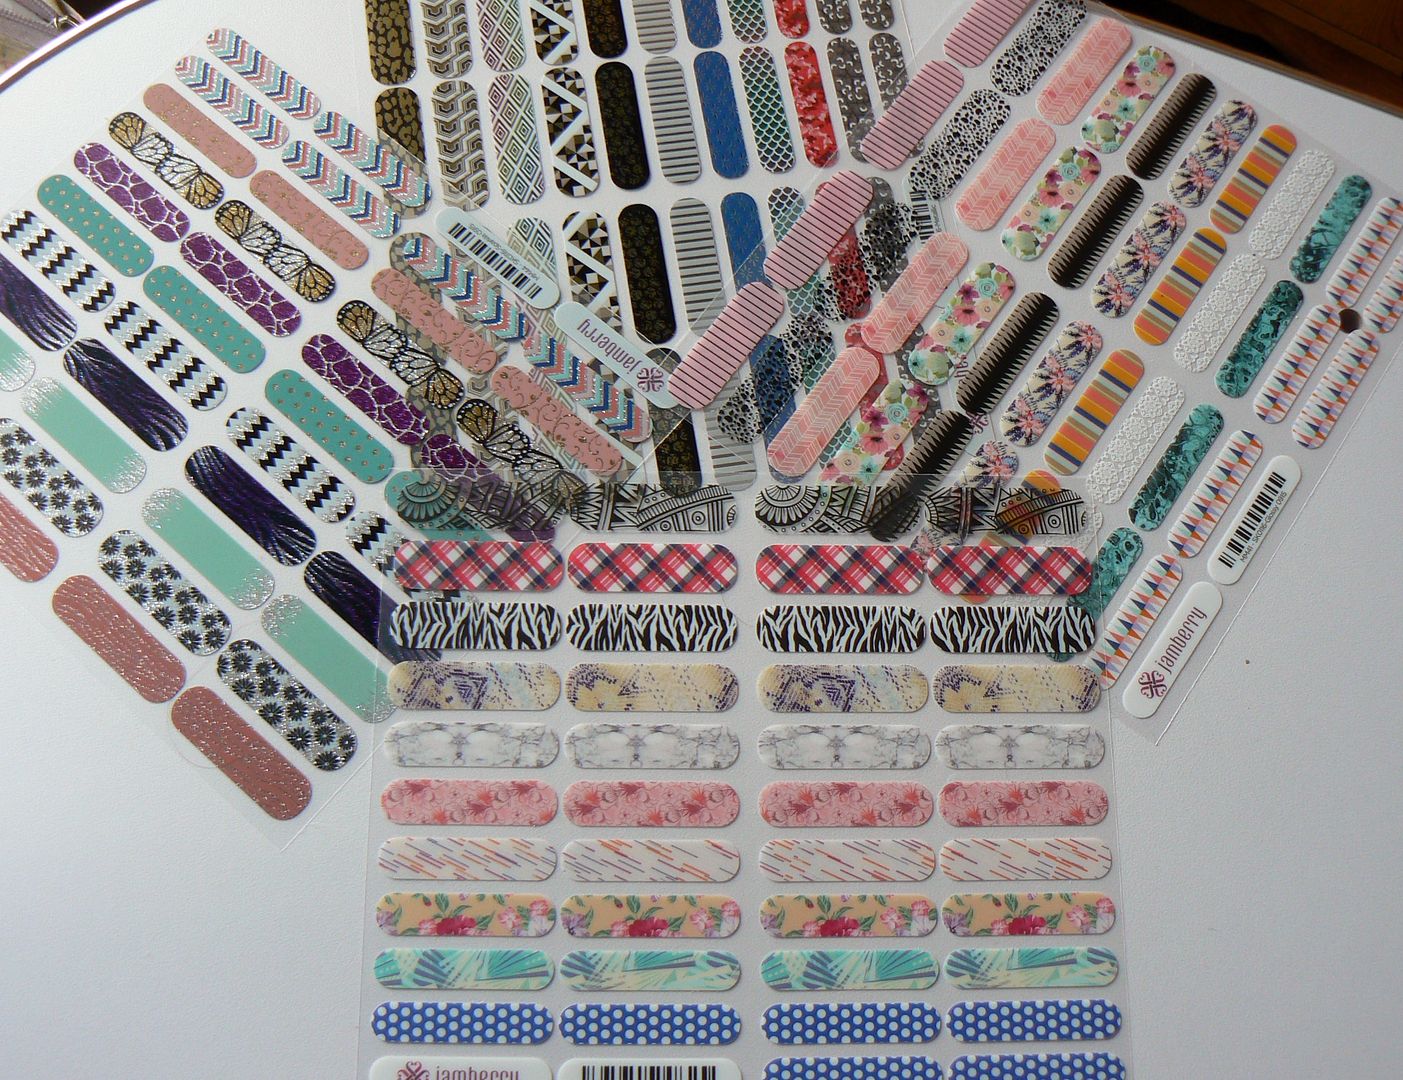
Available in over 300 different designs, so your bound to find something to your liking, these wraps can be used over both natural nails & gels/acrylics & will last for up to 2 weeks on the hands & 4 weeks as a pedi. Not only do they have a superb longevity they are also:

  • Non toxic
  • Five free
  • Easy to apply at home
  • Require ZERO drying time
  • Durable for long lasting wear without chipping, fading or peeling

There are some really beautiful designs available, I already have a wish list of ones to try & these can be used in any way to customize your own mani, be it full on Jam, mixing up different designs or just an accent nail :)


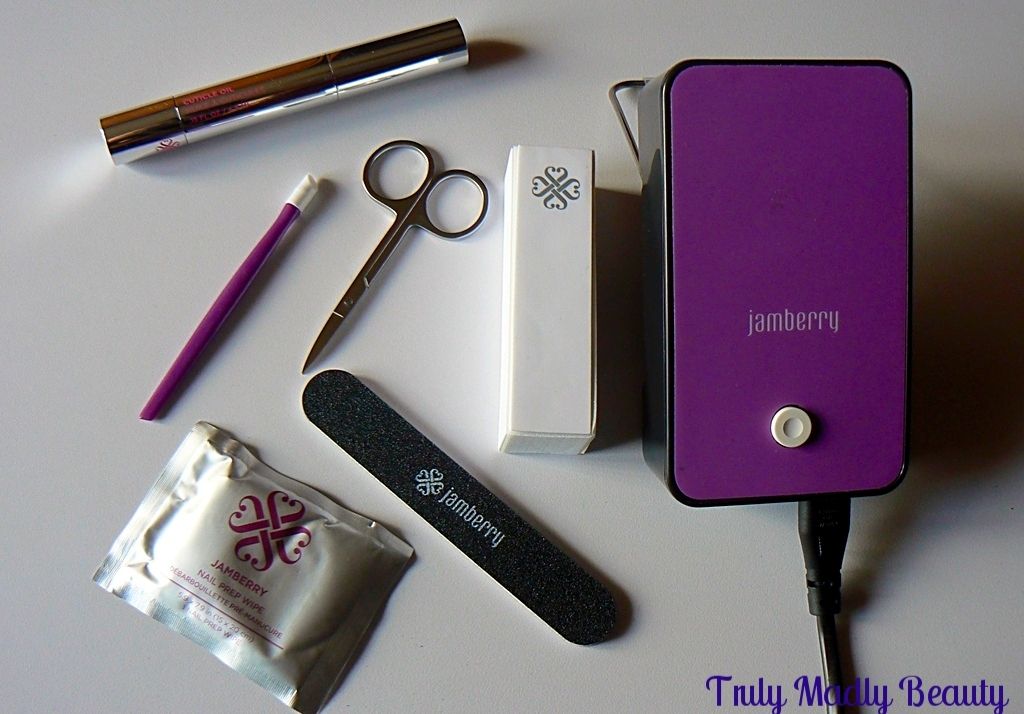
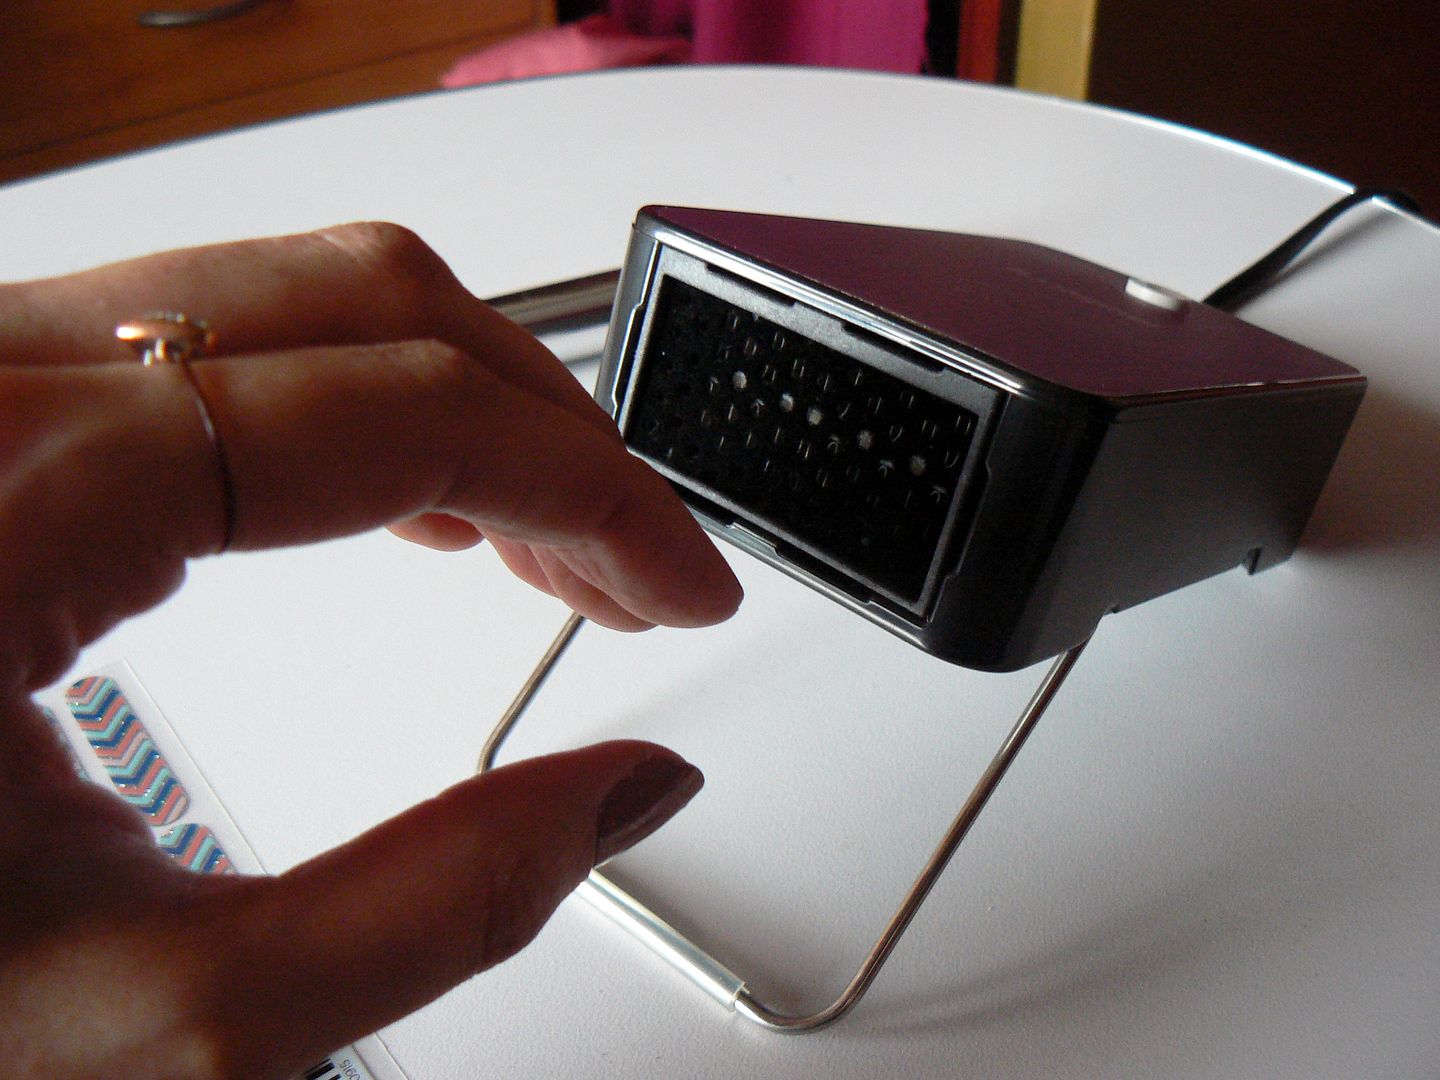
The wraps are applied with heat & pressure, I'm sure every gal has a hair dryer in their arsenal? If not then Jamberry have their own Mini Heater available for £19 which has a wee stand making the process even more easy! I've purchased one of these myself & can confirm first hand that it is an ACE wee thing.

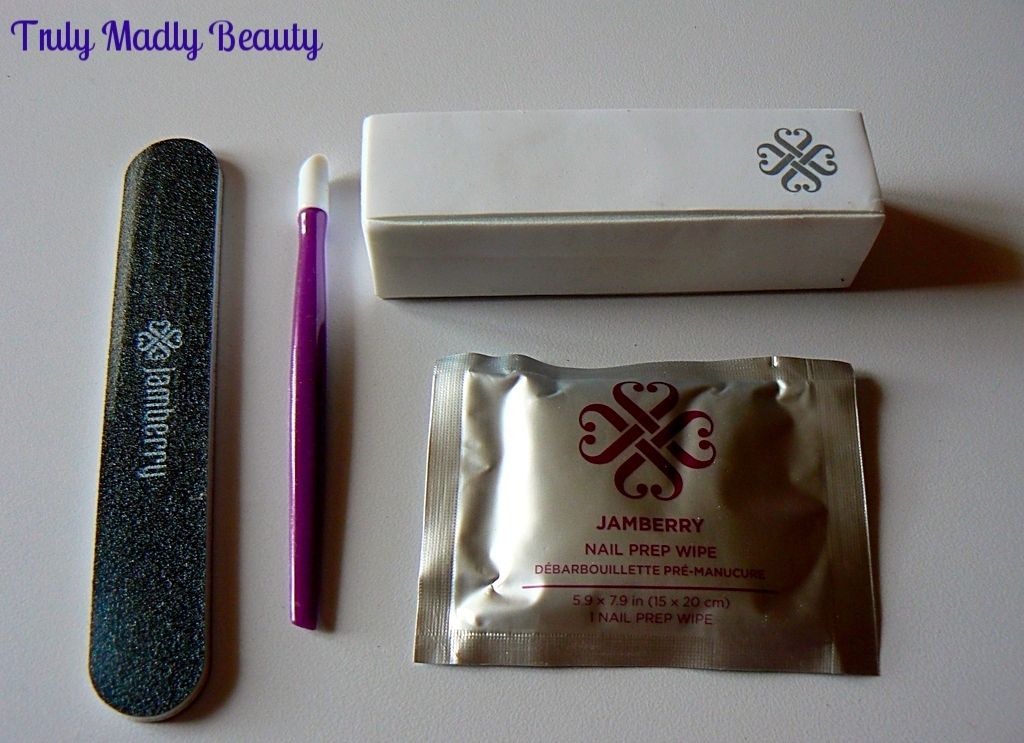
There is also a LUSH Cuticle Oil available in both Pen & Bottle form which smells SO GOOD, I plan on keeping this by my work desk, as well as other tools such as buffers, cuticle pushers & nail files, which are available as part of the Application Kit, of which I was very impressed with the quality of in all.


I confess, when Jamberry first came to my attention I was a tad dubious with the claims of easy application, however once I'd given it a go myself I was truly blown away with the results & am now in love with the nail wrap revolution! And I'll show you just how easy it is with a wee step by step breakdown...


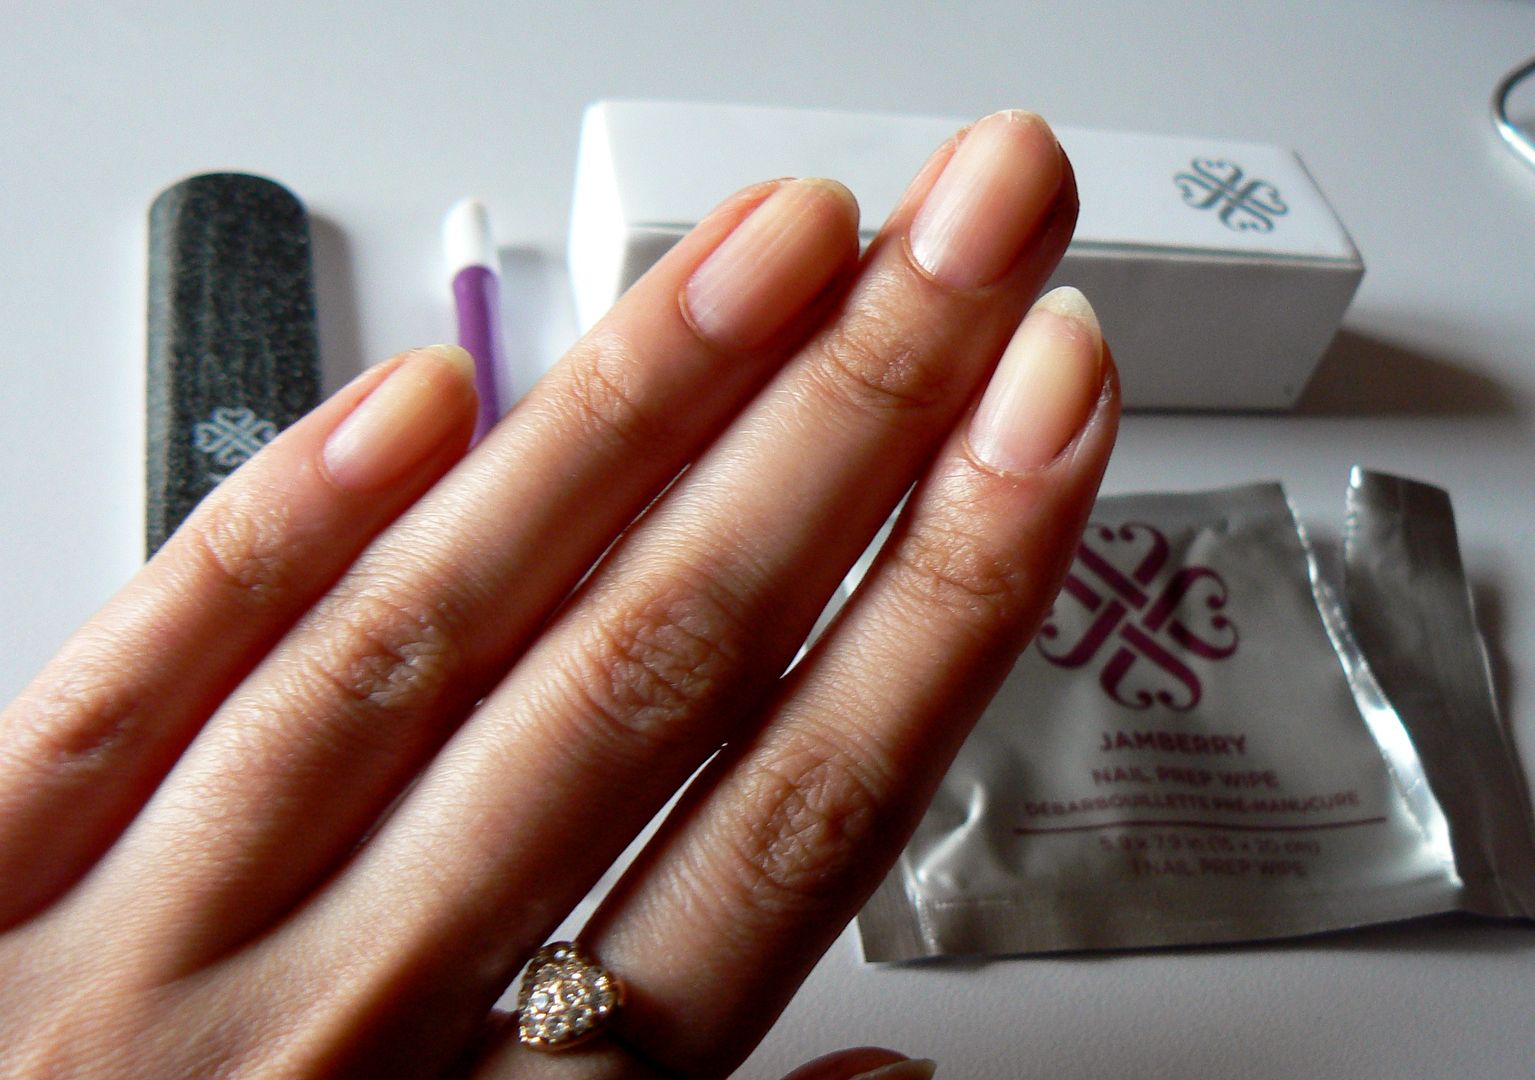
To start you'll need to prep your nails, simply push those cuticles back, file the edge of your nails till are happy with the length, buff the surface to smooth & then wipe the nail with an alcohol wipe to shift any oils on the surface as this will all help the wrap adhere to the nail. I have these prepared wipes from Jamberry which come in the application kit, however you can use Isopropyl Alcohol which can be found in pharmacies/supermarkets or even just good old nail polish remover will do the job!


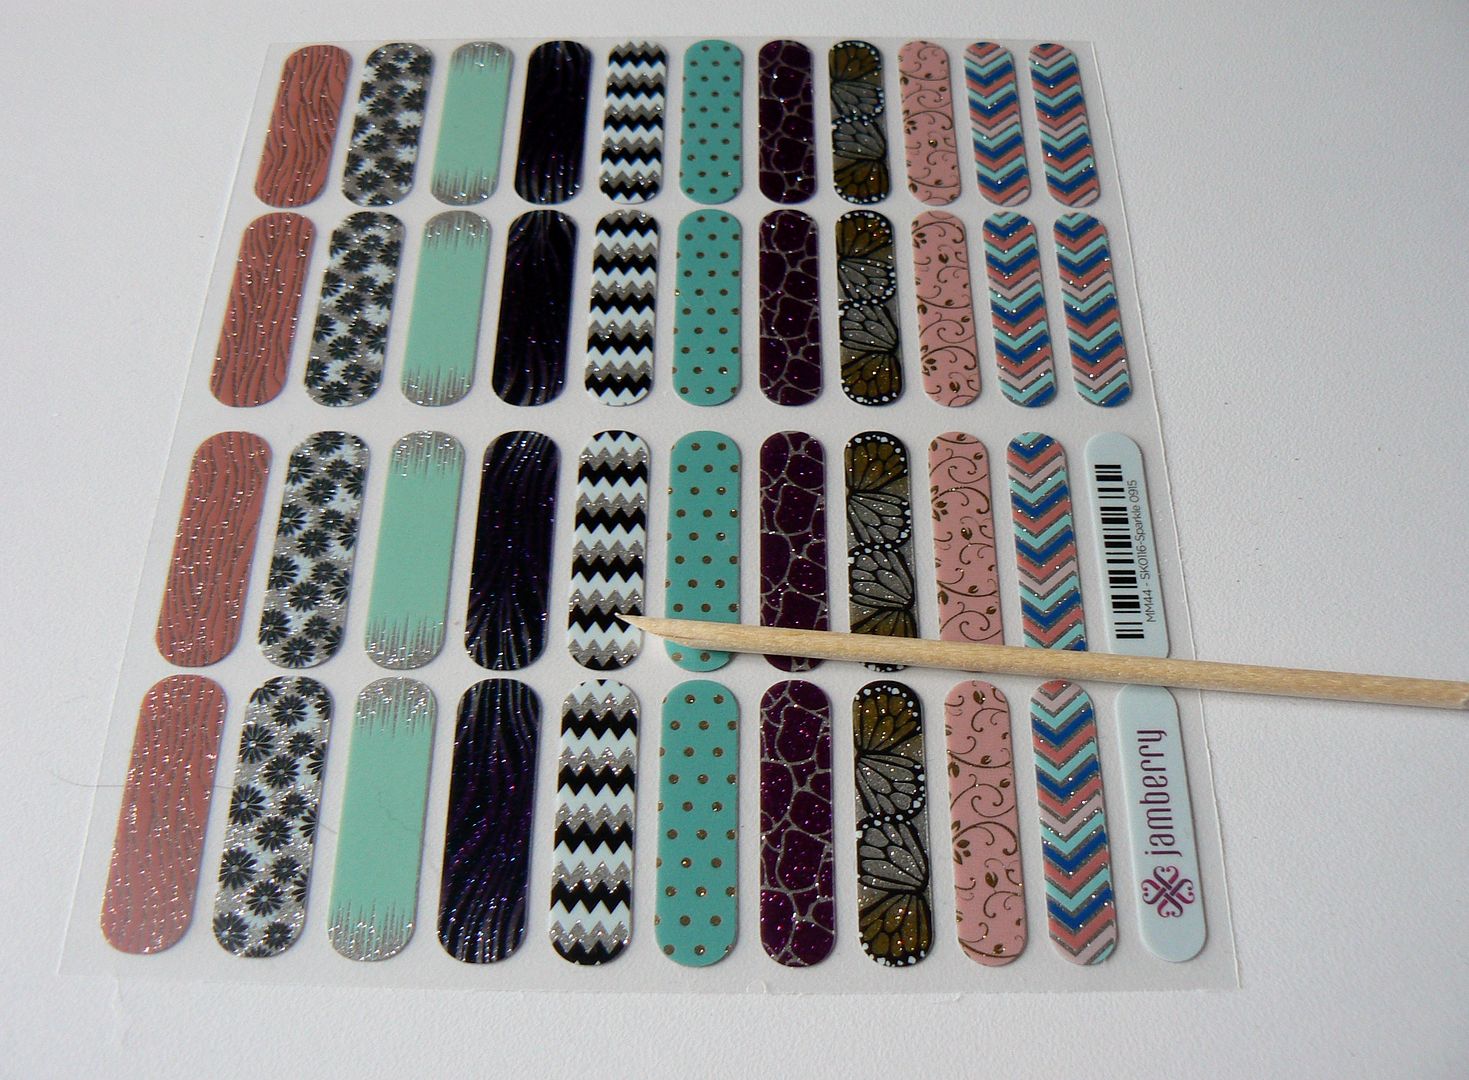
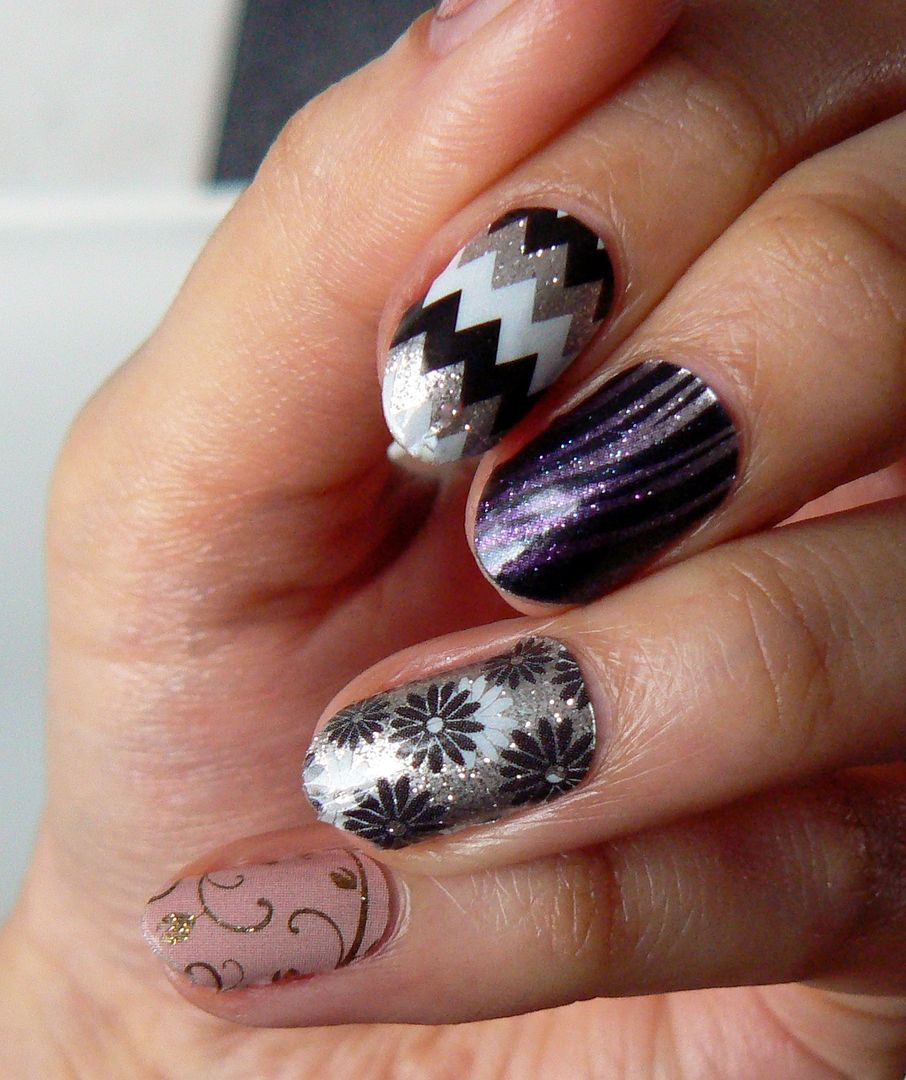
Next grab your sheet of wraps & orange stick, I couldn't decide on a single one, so went for a skittle Jamberry mani using different sparkly designs! The wraps are on a clear plastic sheet so you can easily match up the right sized wrap to fit your nail by just placing your nail underneath.


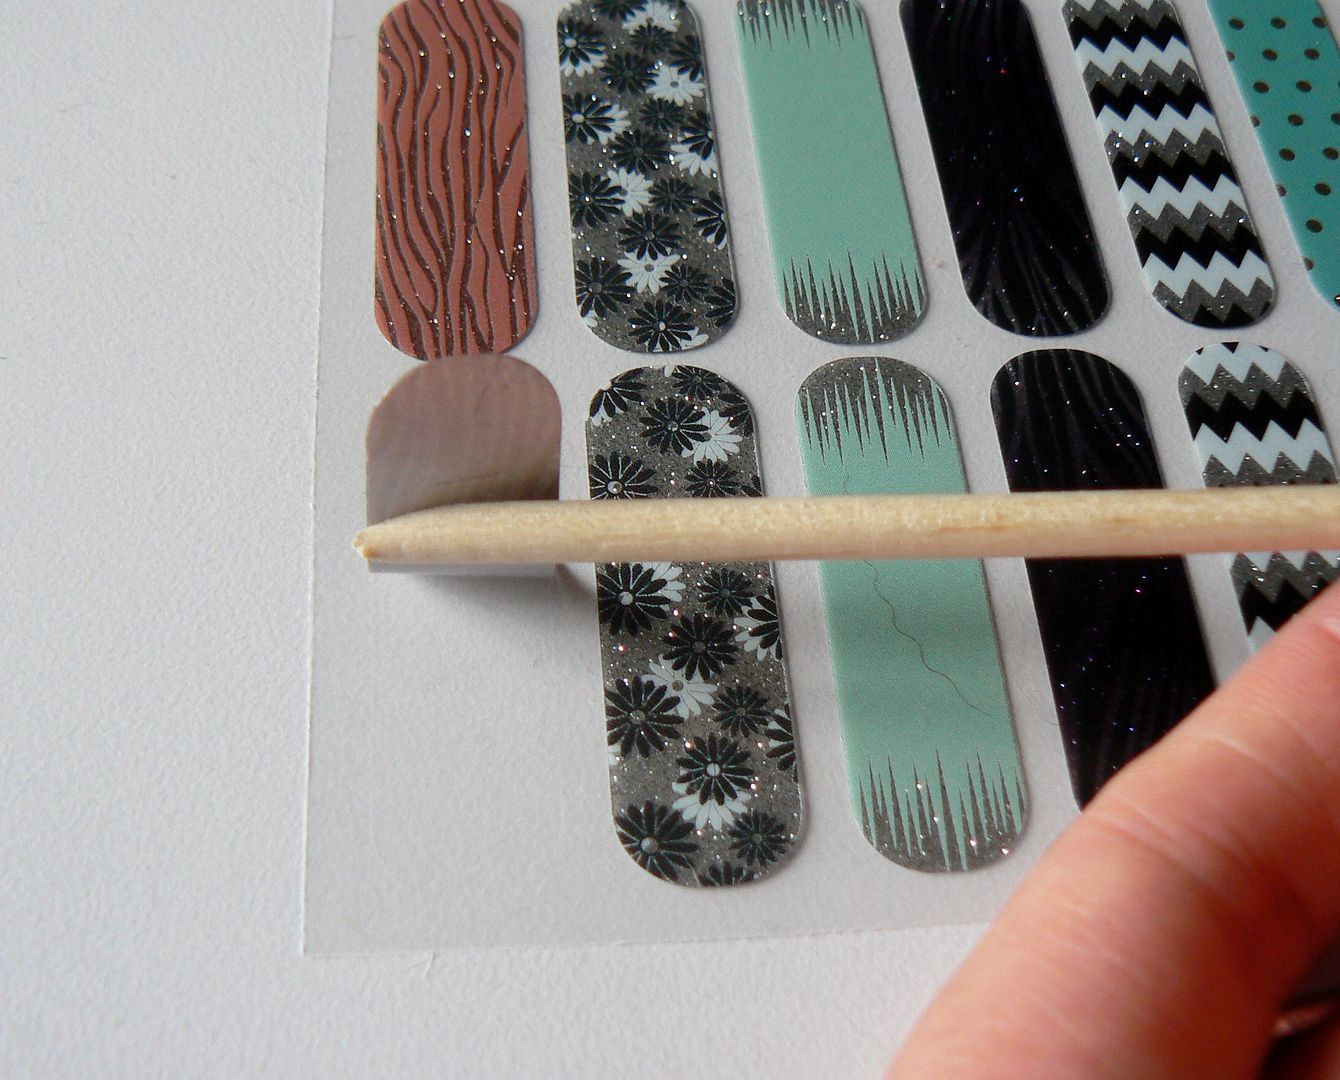
Each wrap should cover 2 nails depending on the size of your nail bed, mine are quite long therefore I can get two nails out of each, you might get more! Using an orange stick, gently lift up the wrap from the plastic, till you have the length you need, then simply cut across with the scissors.


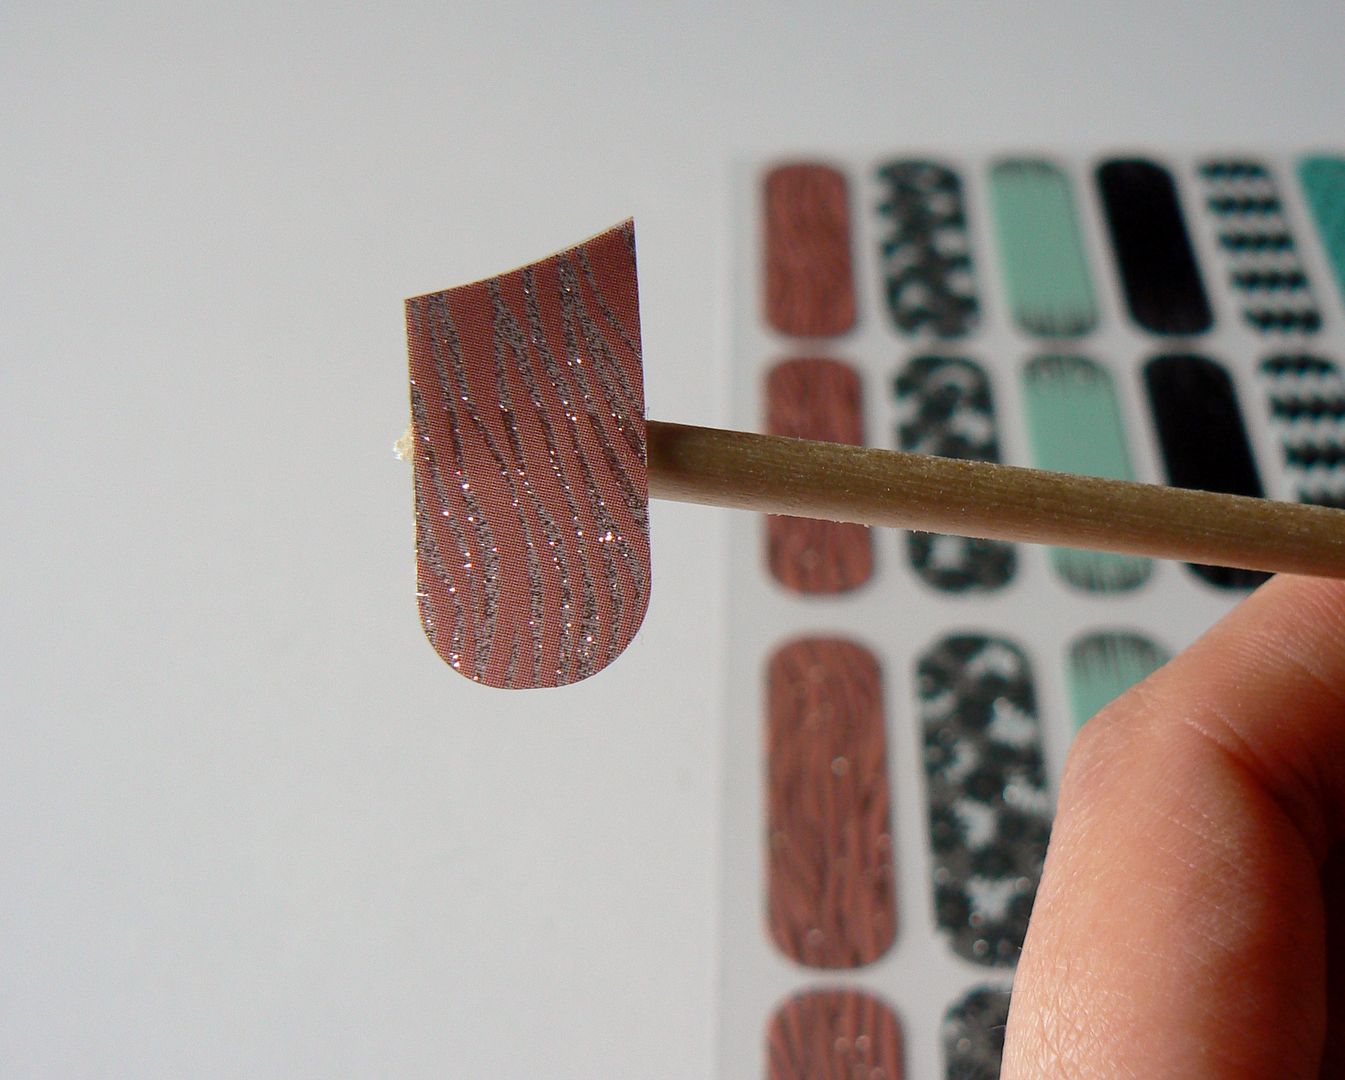
The back of the wrap is tacky so will stay attached to the stick which will now act as a holder of sorts. You then need to hold the wrap in front of your heater for 3-5 seconds to activate the adhesive or if you don't have a heater then a quick blast of your hair dryer! FYI those mini ones would be perfect for this!


Now place the wrap on to the nail starting at the cuticle & pressing down firmly with your finger, smoothing as you go.


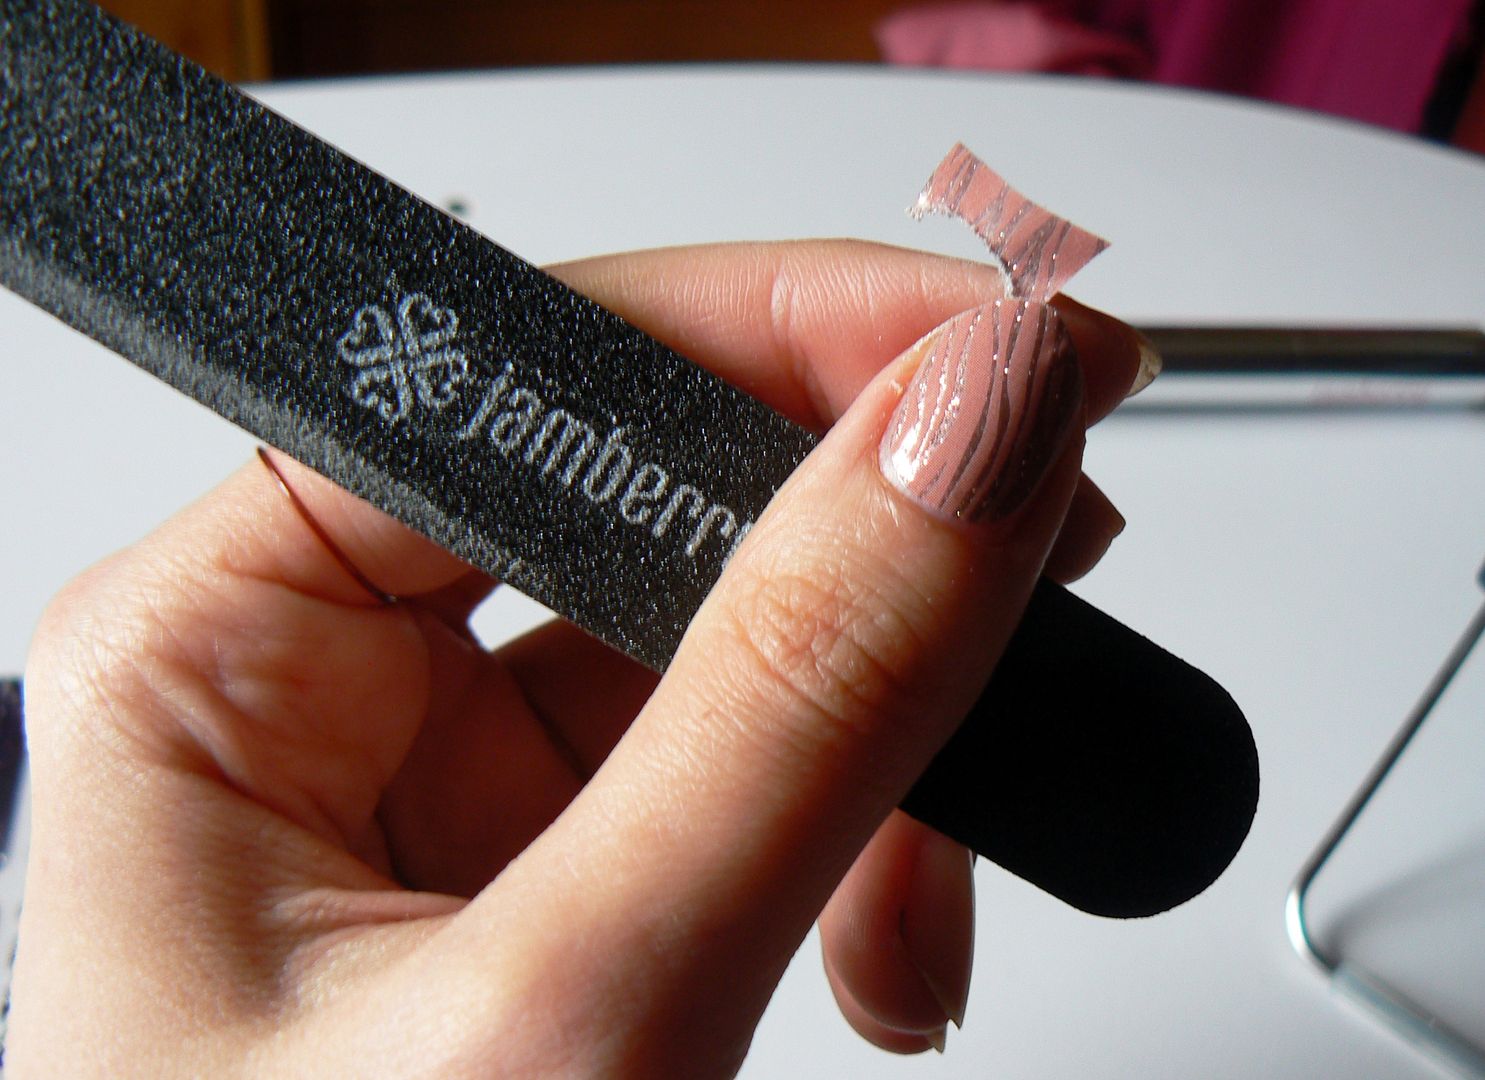
Once secure on the nail bed simply grab your file & file away the excess wrap, which I found came away very easily, without ripping.


These wraps work fab on both long & short nails, I'd sadly broken my middle nubbin but still had no problems with filing away the excess...


Don't panic if you find you have a few wrinkles on the nail, this happened to me the first time, to rectify this I simply placed my finger back in front of my heater to warm the wrap up again, then pressed down firmly to smoothen out...problemo solved!!


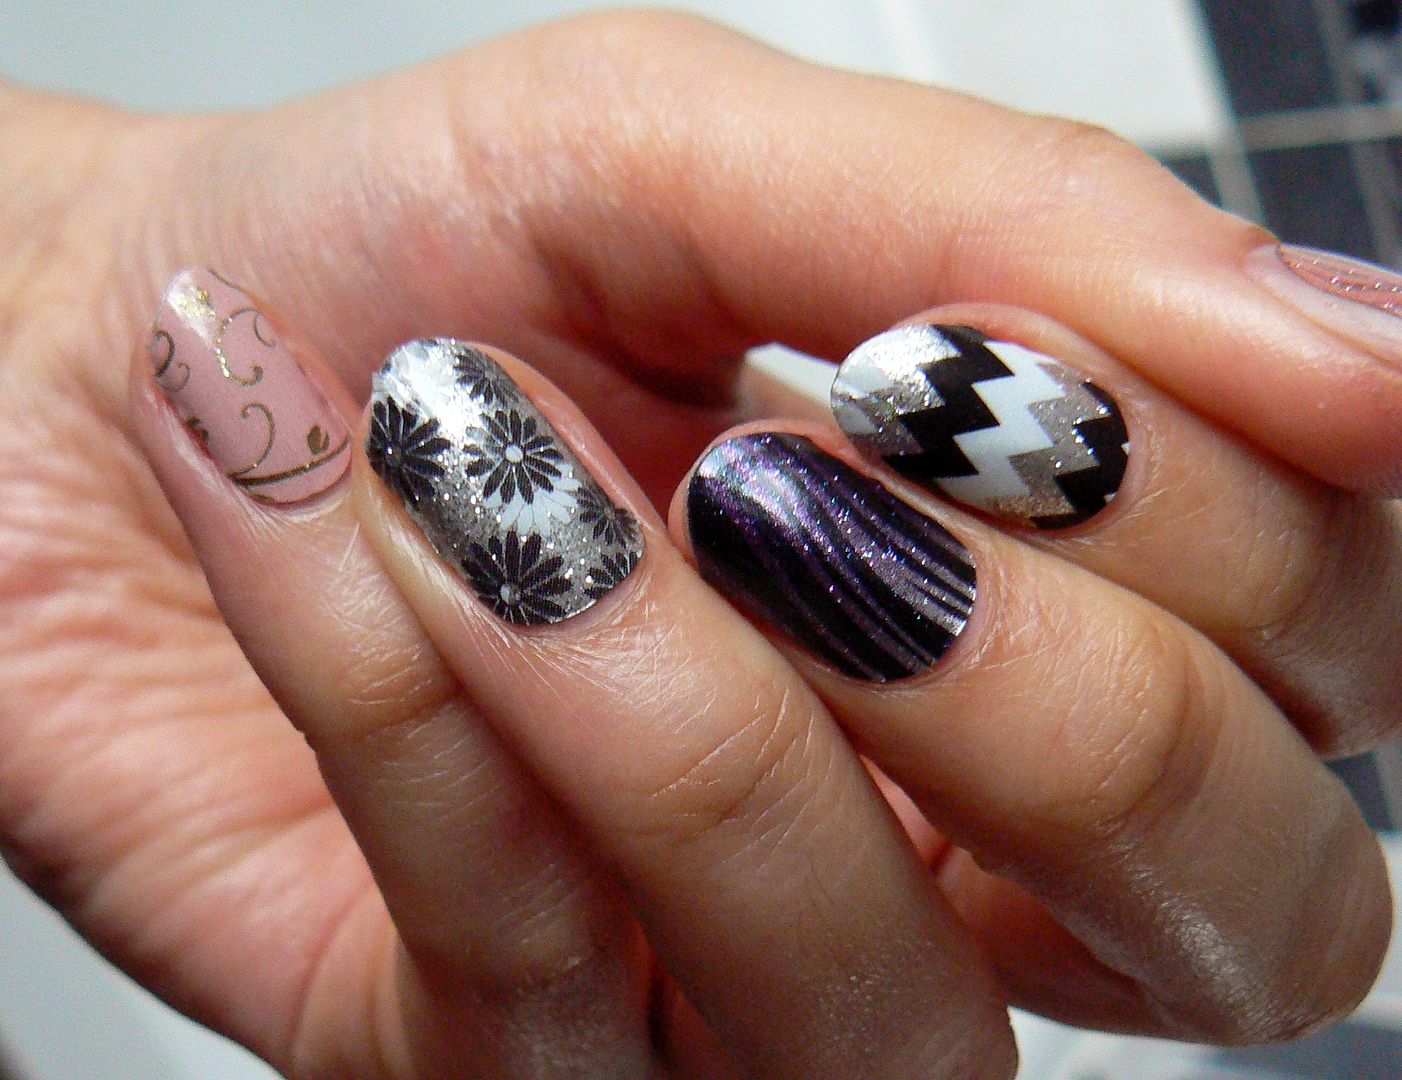
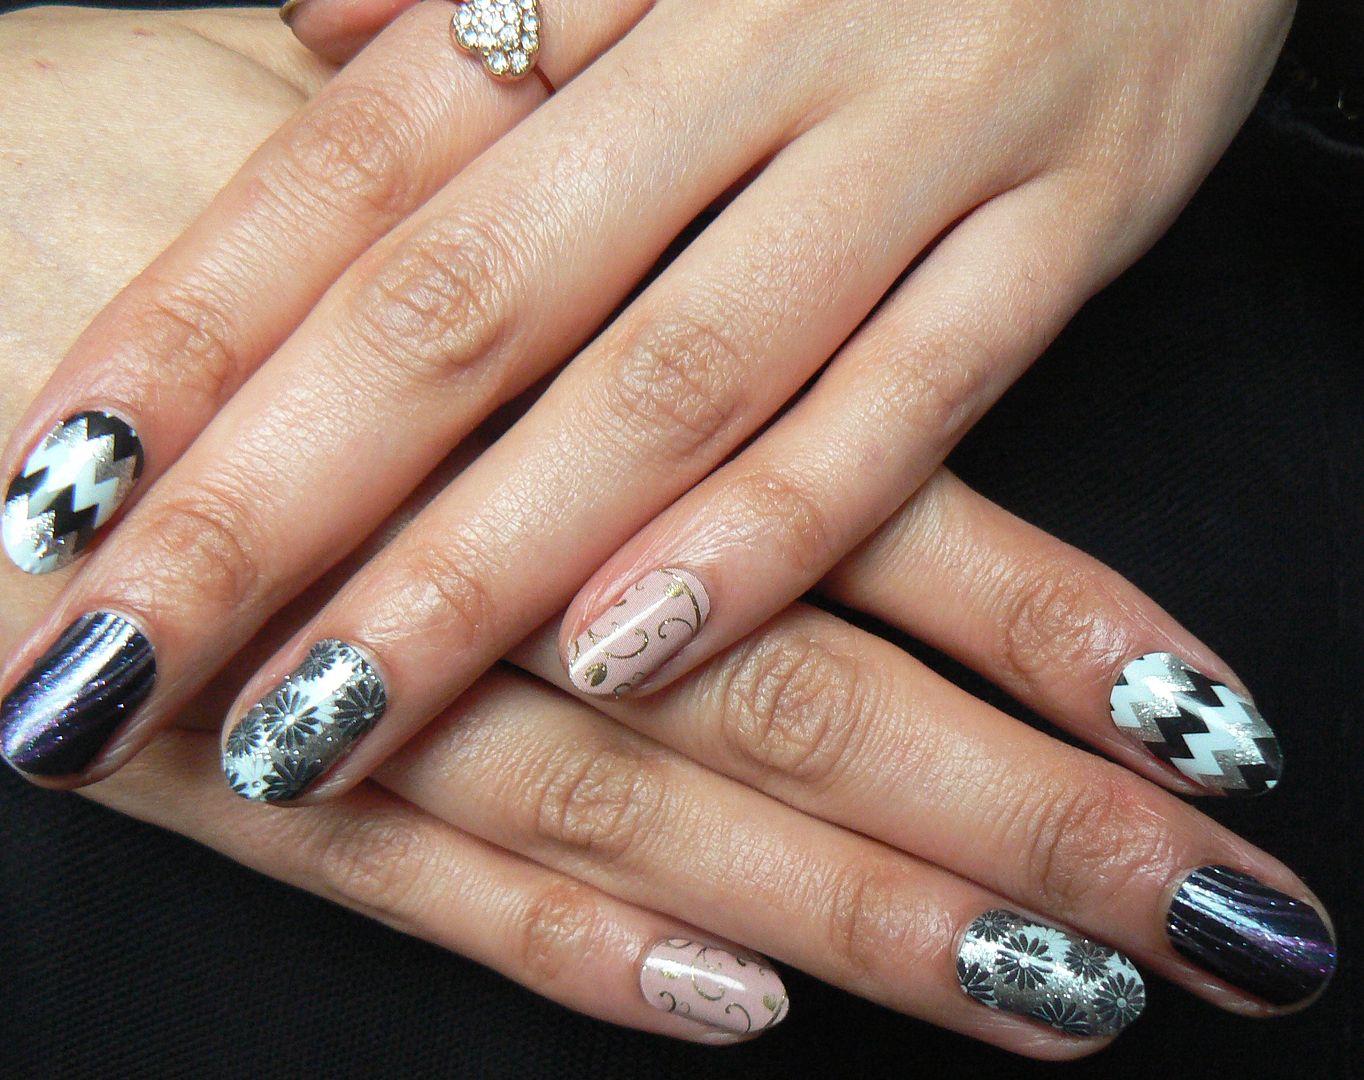
I continued on, using different wraps until all ten nails were done which was in no time at all! Once finished apply some cuticle oil around the edges, rub in & hey presto, Jamberry mani done! Here's the finished manicure.


To remove the wraps also couldn't be easier, when your ready to take them off simply lift the edge of the wrap with an orange stick, then using cotton wool soaked in remover, rub across the surface before slowly peeling off using the same cotton wool slowly. To make things a bit easier here are some videos explaining both APPLICATION and REMOVAL of the wraps...


So what do you think? Aren't the patterns PURDY?! And there's so many! As I'm a full on polish addict (noooo, REALLY Aysh?!) for me 2 weeks is a long time to wear a mani, so I'm going to enjoy incorporating the Jamberry nail wraps as funky accents in my manis so keep your eye peeled in the future!

However there's no doubt that the longevity of the wraps is truly impressive, especially for the busy worker bee & application was so straightforward once I'd given it a whirl myself!


Each sheet is £15, contains 18 nail wraps & will give up to 2 manicures, 2 pedicures, with a bunch of spares leftover to rock as accents if you wish, which in my opinion is such good value for money. Especially when, if you buy 3 sheets you will get 1 free, making each sheet just £11.25.

The Jamberry nail wraps can be purchased online via my website Jam With Aysh  where you'll also find all the information you need about the brand. If you have any questions or if you would perhaps like a sample to try then simply leave me a comment below with your email or email me directly & I will happily send some your way!

I can understand myself now why Jamberry has had such success & I'm so excited to be a part of their journey here now in the UK! I anticipate big things for these guys!

Thanks as always for reading!

Lotsa love to ya!


4.09.2016

Makeup Winning with W7!
Hello lovely readers!

It occurred to me the other day after finishing my makeup that the majority of products I'd just applied belonged to one brand in particular & its one that completely took me by surprise! The dark horse in question...W7! A brand that has really drawn my intrigue, especially renowned for their dupes of certain more expensive brands.


Its easy to see why I've missed paying attention to the brand what with it not being hugely available on the high street, though I AM starting to see them pop up in more places now. As it turns out W7 have some pretty amazeballs products for absolutely fab prices & I thought it was high time I shared a few of my favourite ones with you!


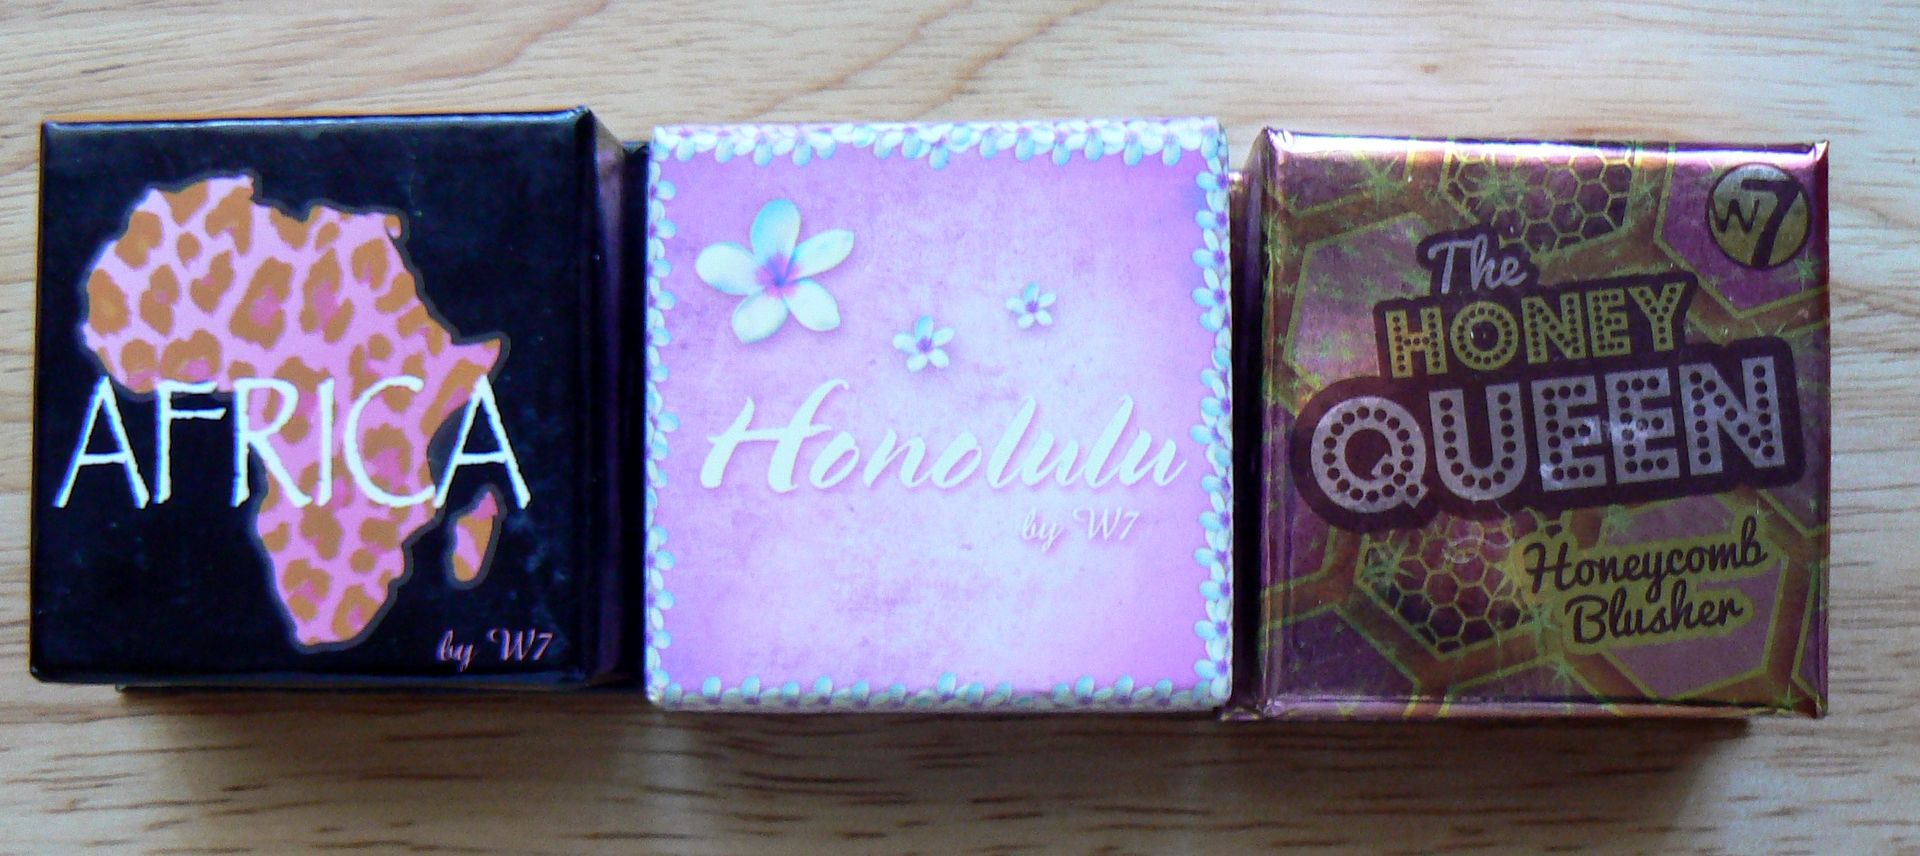
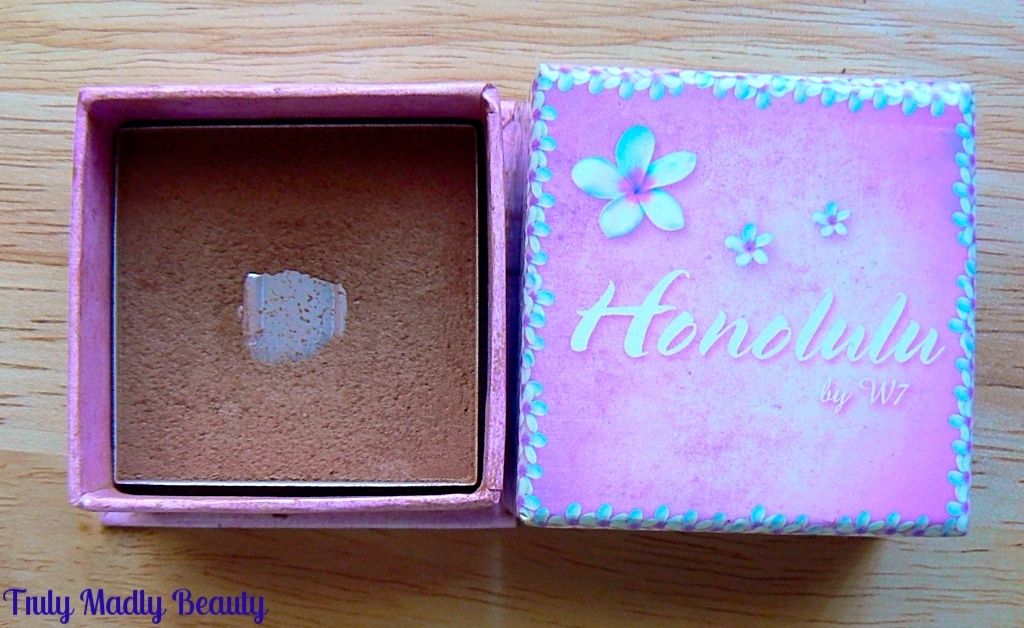
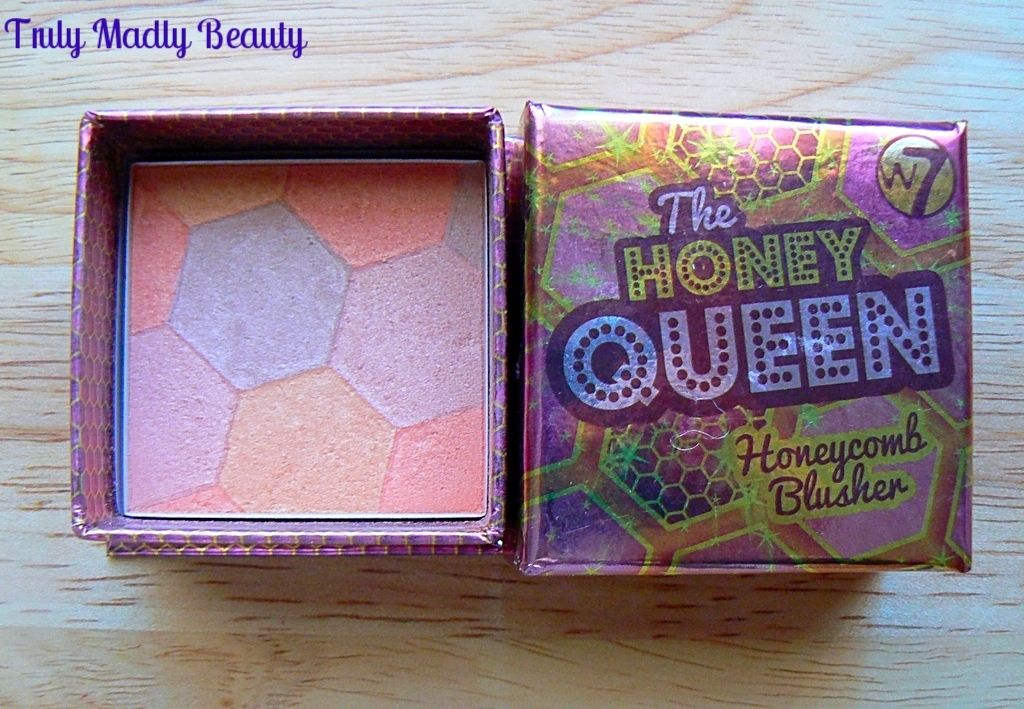
First we have these three boxed delights, Africa, Honolulu & Honeycomb that were actually my first W7 purchases many moons ago & the love is still going strong. These 3 are all stated as bronzers however I'd say only Honolulu falls under that category. 


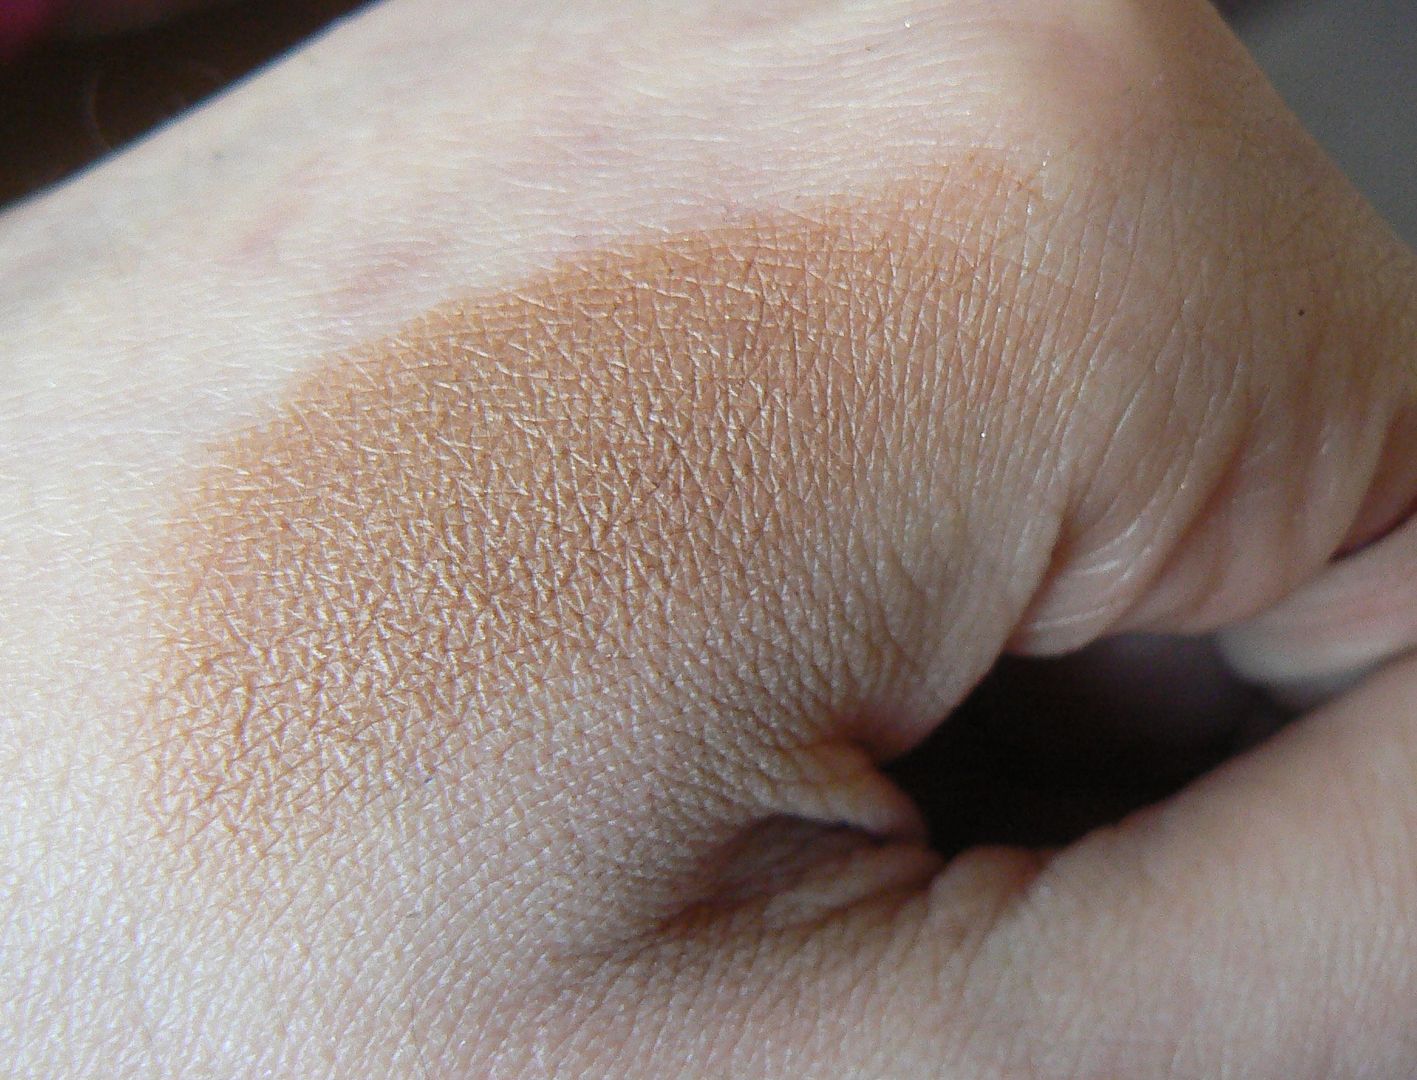
A beautifully warm toned matte bronzer that is perfect for my skin tone & blends so beautifully, as you can see I've almost hit pan with this it is THAT good! This is my go to contour shade pretty much every day.


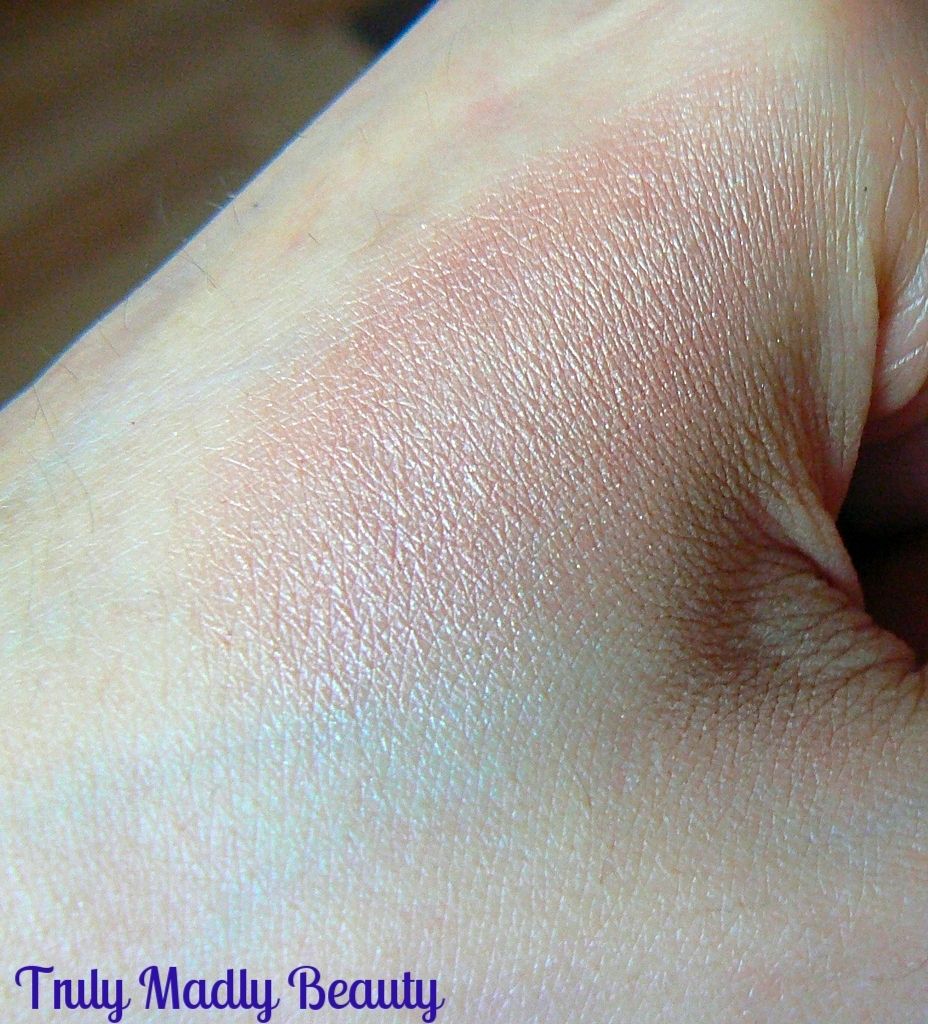
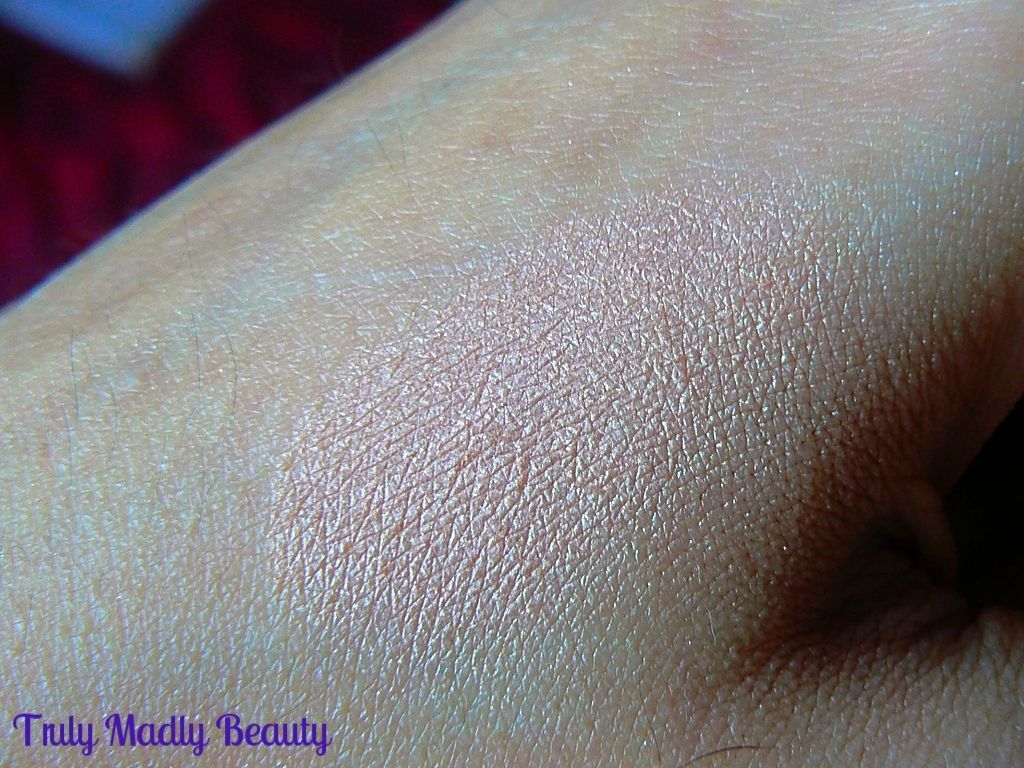
Next up we have Africa which is a pretty pearlescent illuminating powder that I love to apply as a final step on top of everything to give my makeup that pretty ethereal glow that every girl loves to achieve! Isn't the product itself so pretty, embossed with a pretty leopard print design?


Then the Honeycomb bronzer, which is definitely too light to be classed as a bronzer on me however for paler skin tones I'm sure it would be perfect! I love using this to highlight my cheekbones, cupids bow, bridge of my nose & anywhere else I want a warm sunkissed glow. Each three of these powders are fantastic quality, pigmented, buttery smooth, easily blended....& just £4.95 each. What more can you want?

Next up we have some recent buys which I found in TK Maxx, one store which is now stocking W7. After the success of the boxed blushers/bronzers I was intrigued to try more so picked up the primer, eye shadow palette, foundation & cream contour sticks.


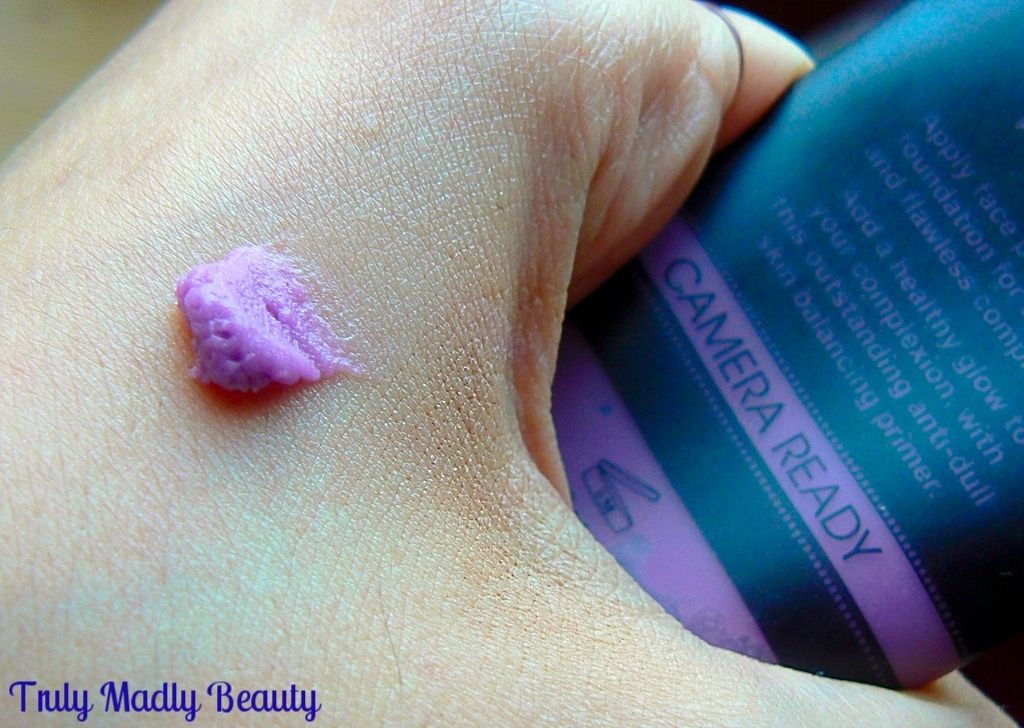
The primer (RRP £6.95) which has been compared to Smashbox & received mixed reviews has put all others on a back-shelf for me...for the moment anyways ;) I love it, the purple tone designed to brighten the complexion, this silicone based primer applies smoothly leaving my skin feeling velvety soft & creates the perfect canvas for my foundation.


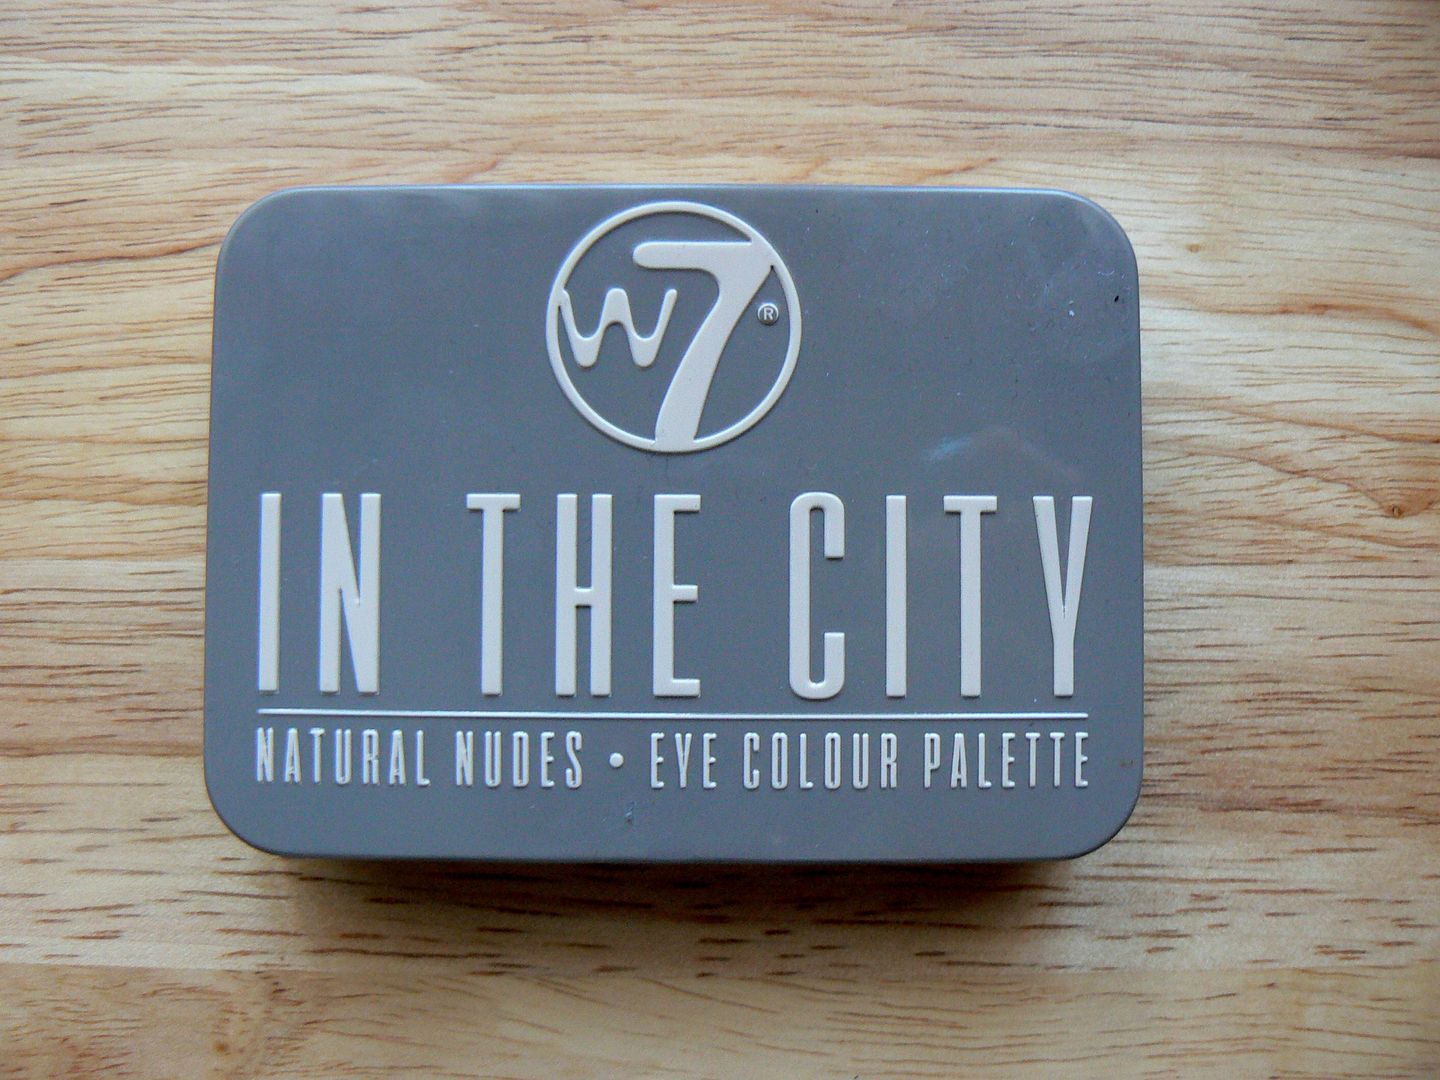
The In The City eye-shadow palette which I picked up for a steal at £4.99 is the absolute BEES KNEES, not only is it compact, so a perfect travelling companion, but each shade is MATTE so perfect for everyday wear, with the option of intensifying for evening wear with the few darker shades. The shadows are smooth & apply so well with minimal fall out...I can't fault it.


I've yet to try out the cream contour sticks, I picked these up on a whim as they were only a few squids with the idea to start practicing the whole cream contour business (in which the lovely Safiyah has been educating me) but the formula of these look lovely & creamy so we will see how it goes!


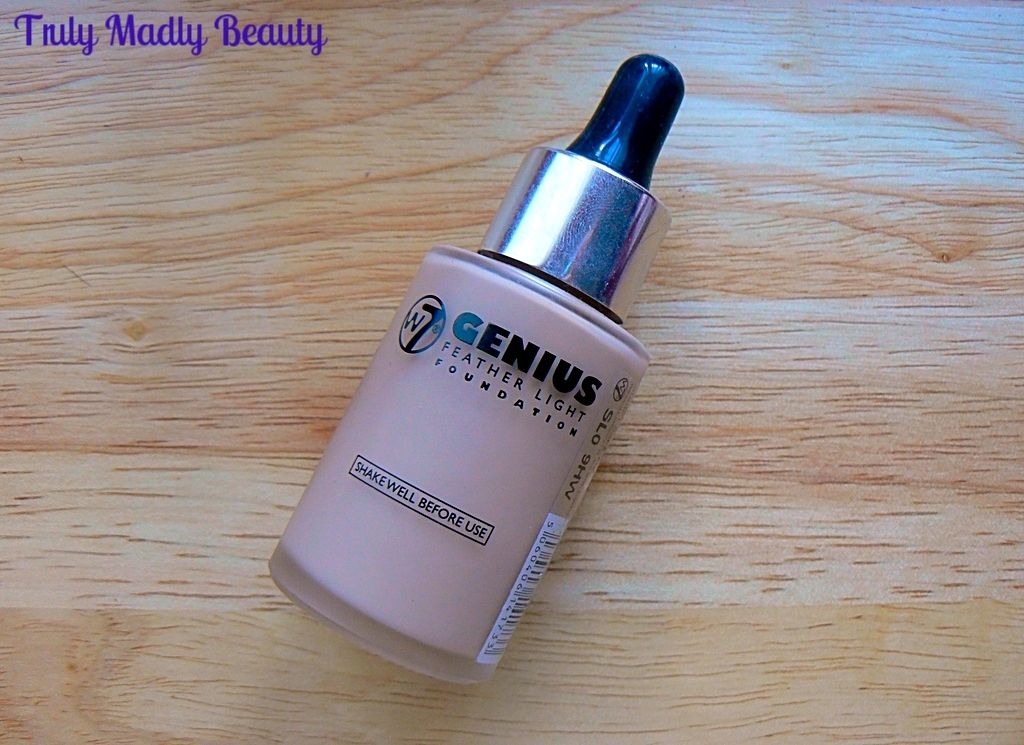
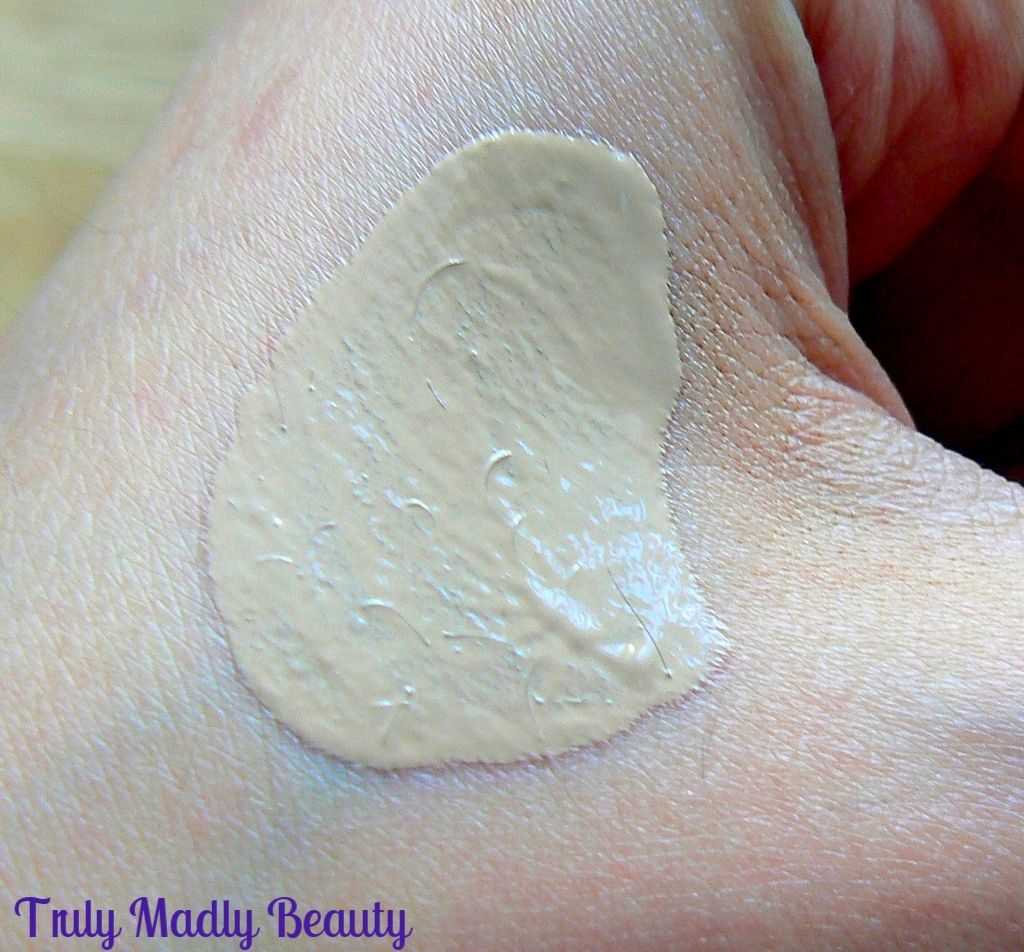
For me though the golden star has to go to my final product....the Genius Feather Light Foundation. This stuff has blown my MIND. I took a bit of a risk as Natural Beige was the only shade available in store, but as luck would have it the match was perfect! Twas clearly fate ;)


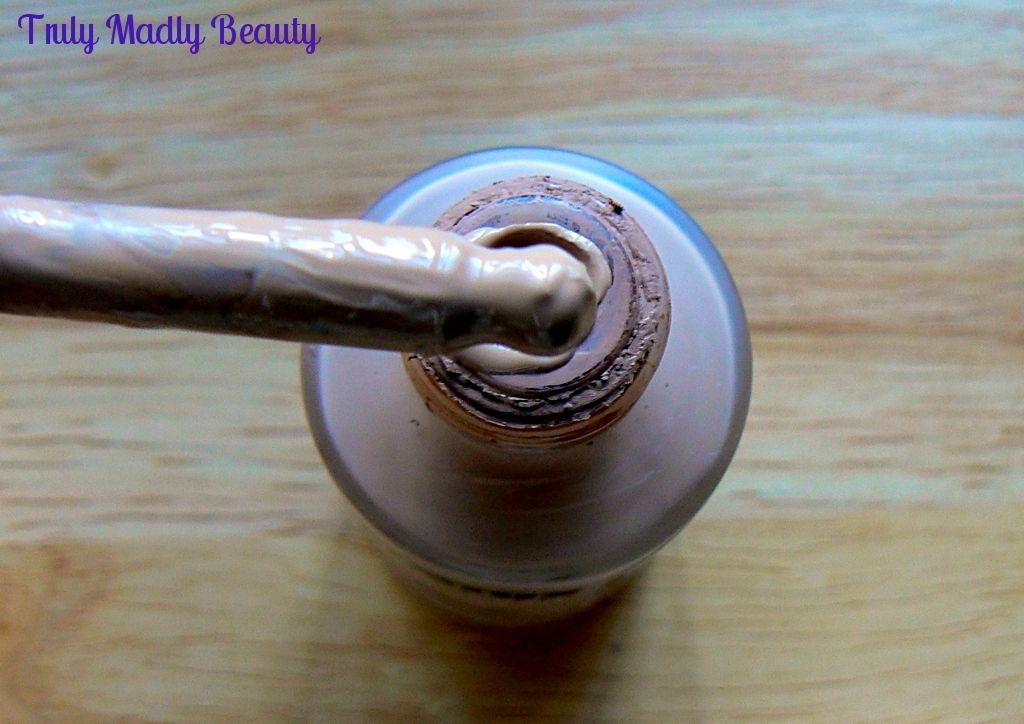
I'm not a fan of heavy coverage so the title of this one definitely caught my intrigue. The matte glass bottle & pipette dispenser mixes things up a bit, packaging wise. 


I apply the foundation using a flat foundation brush, which is what I love to use right now for foundation application. 


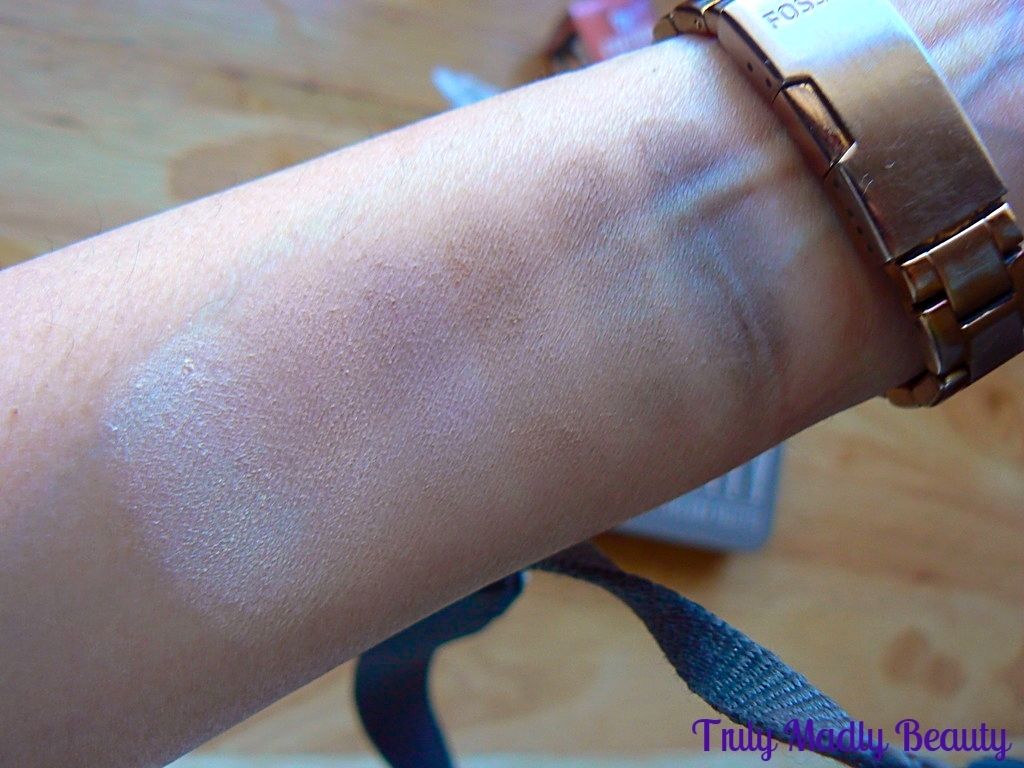
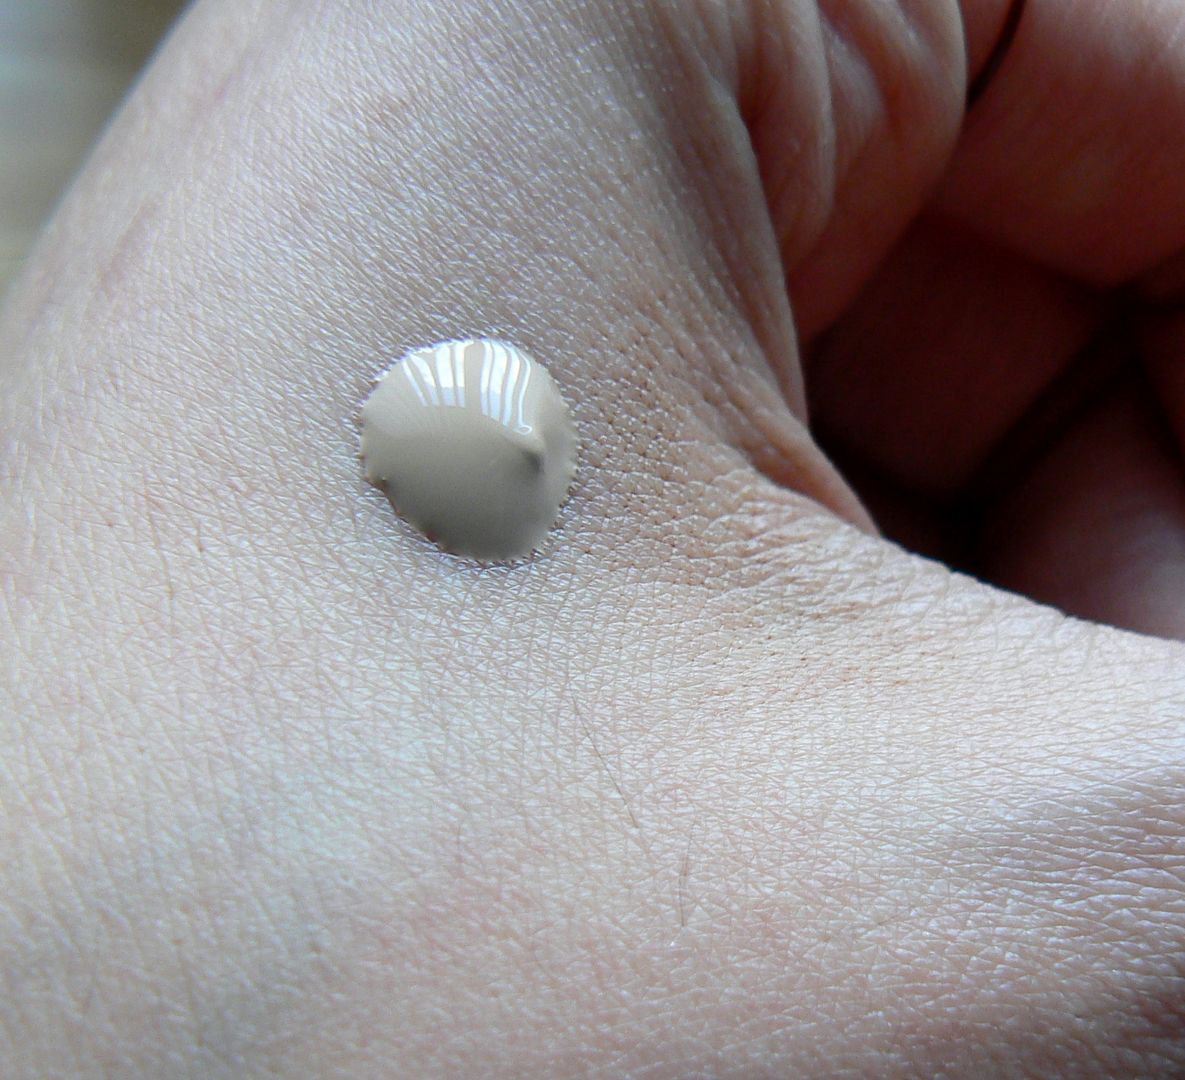
The formula is divine, the foundation literally glided on to my skin immediately within a few strokes creating a smooth, even complexion all over. 


Due to the lightweight formula the foundation felt so light on the skin & lets put it this way...when someone compliments on how well you're complexion is looking...you know its been money well spent. And seeing as I paid a grand total of...£4.99 for this...well what more can I say? I think my MAC Face & Body has some serious competition...*cue mugshot of me wearing said miracle foundation with a slightly flabberasted Miss kitty*


So W7 are definitely winning in the makeup game in my book! Now if they could just expand & get themselves out there in more stores...they'll be laughing. At the moment I've spotted W7 in TK Maxx, Beauty Base, Asda and Fragrance Direct.

Thanks as always for reading! Have you tried anything from W7?

Lotsa love to ya!