Hello
there lovely readers!
Halloween
took precedence when it came to my nail art over the past few weeks
but now that has passed *sobs* I can now embrace Autumn in all its
glory with some Autumnal nails! There's still time non? Better late
than never...I'm definitely an Autumn baby & adore this time of
year with its abundance of burgundy tones, blankets, bubble baths,
burning candles...ungh I LOVE IT!
Naturally
my favourite way of expressing myself is through my nails so I got to
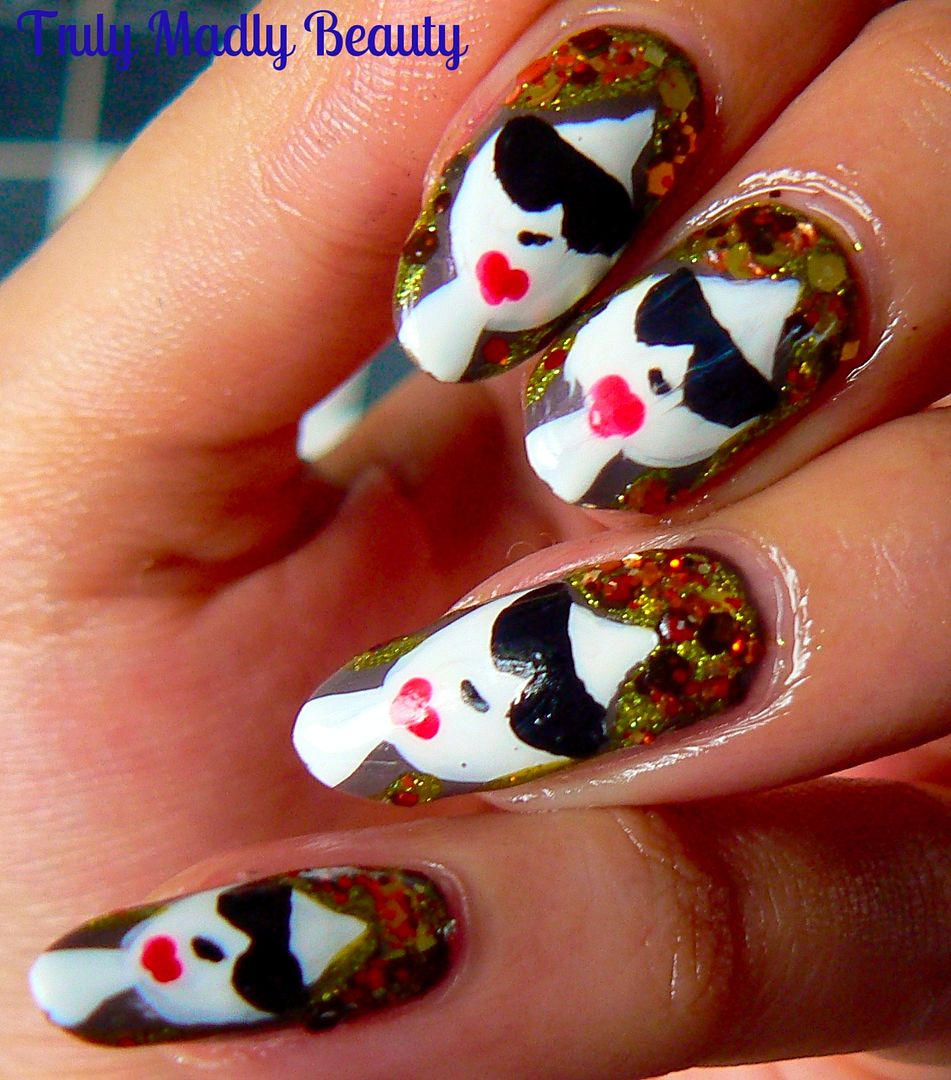
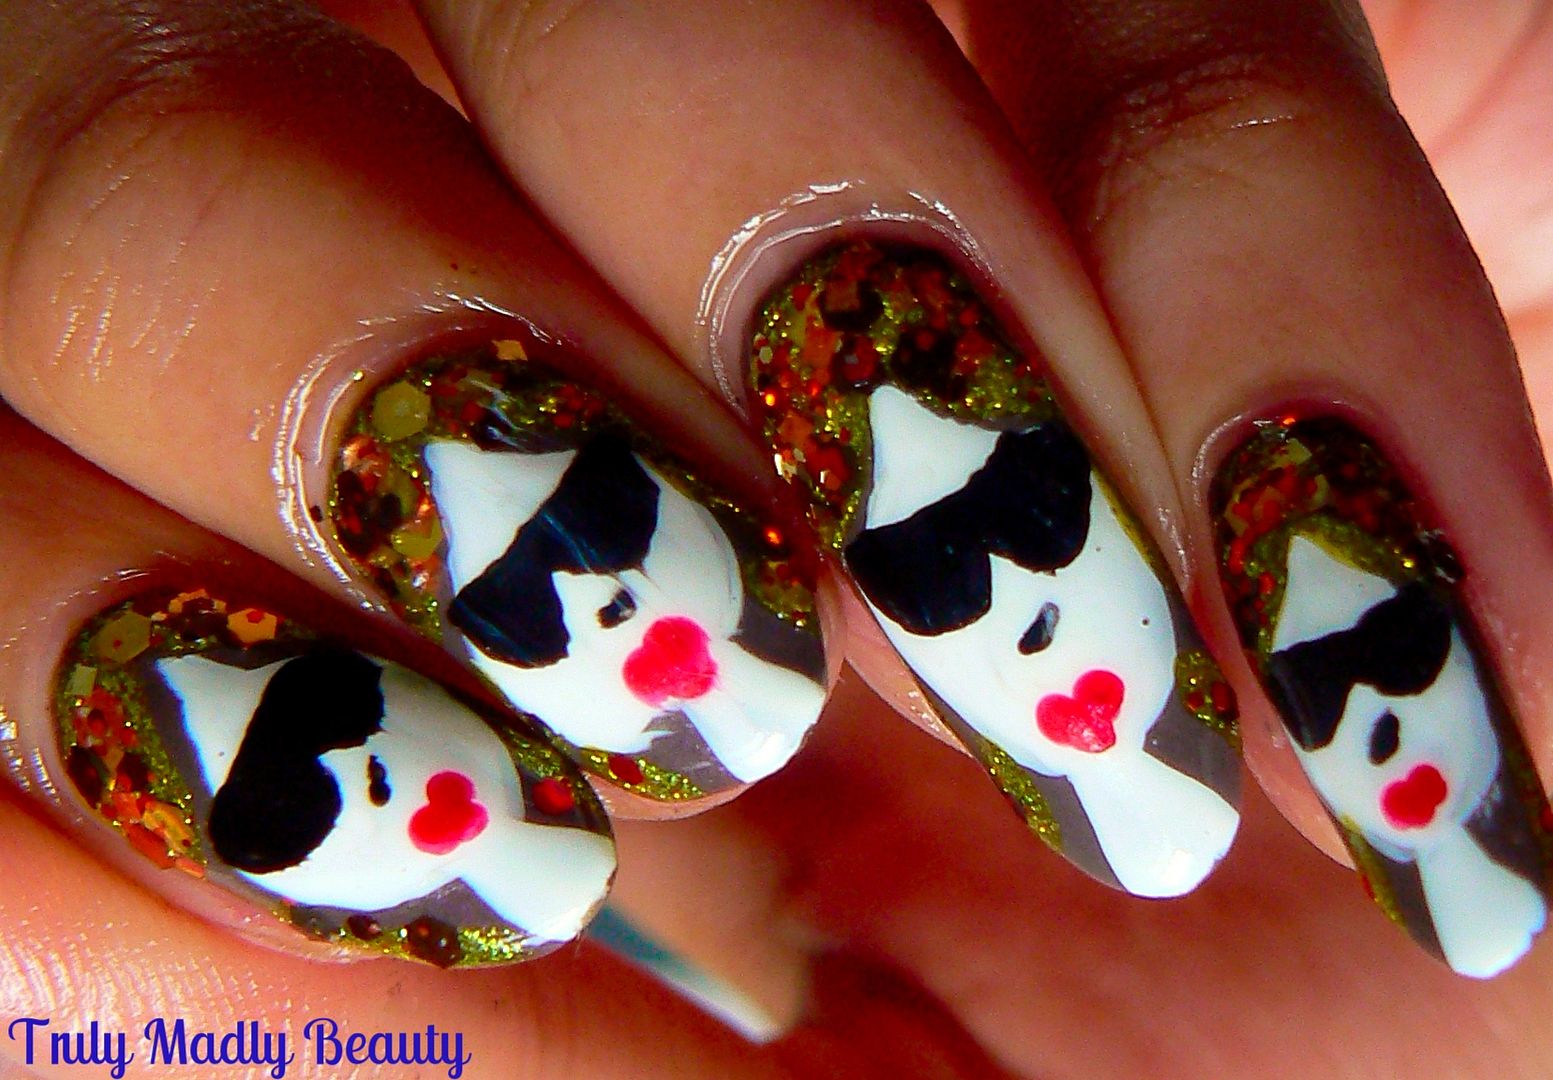
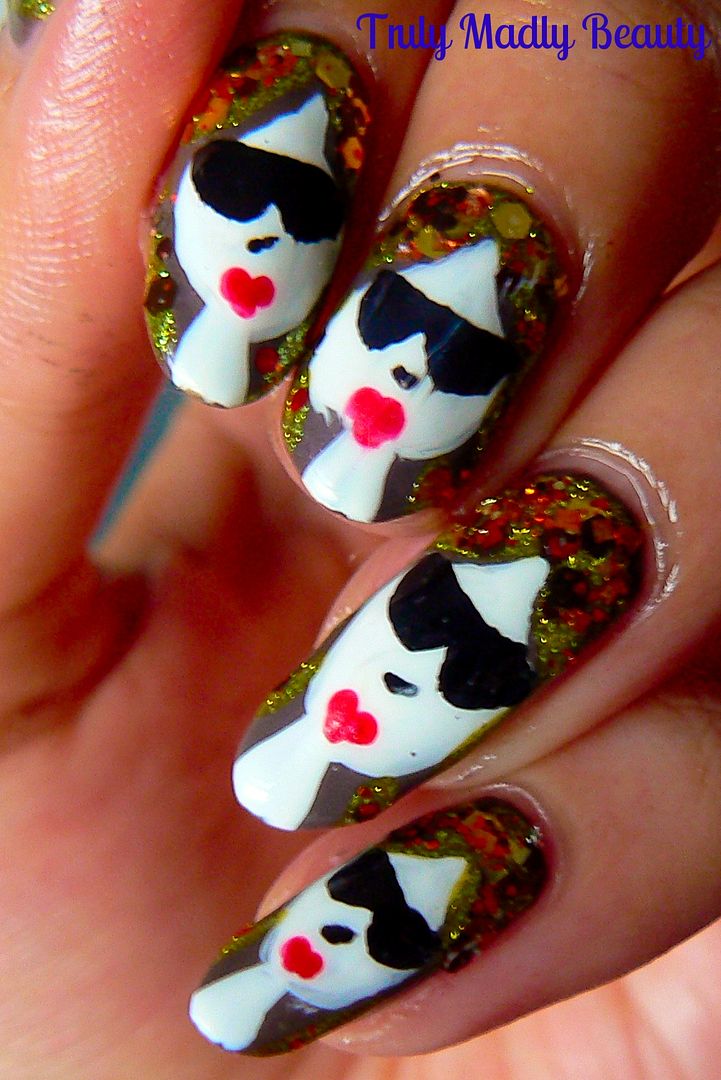
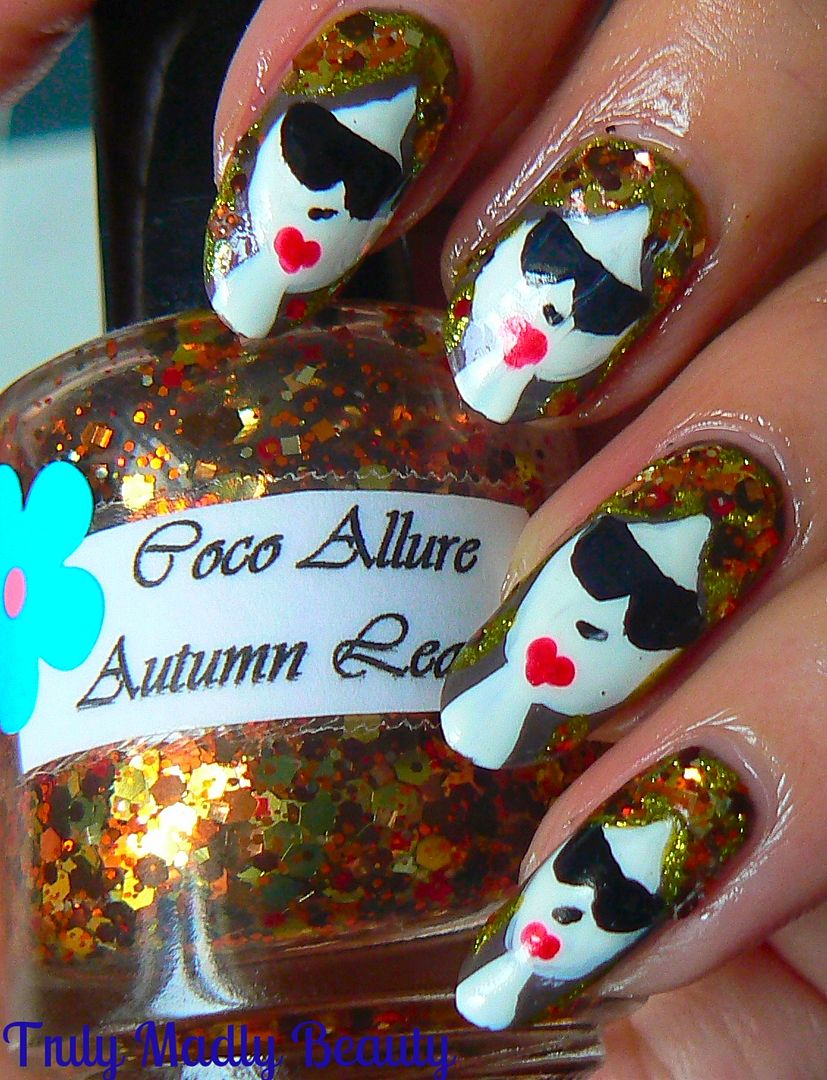
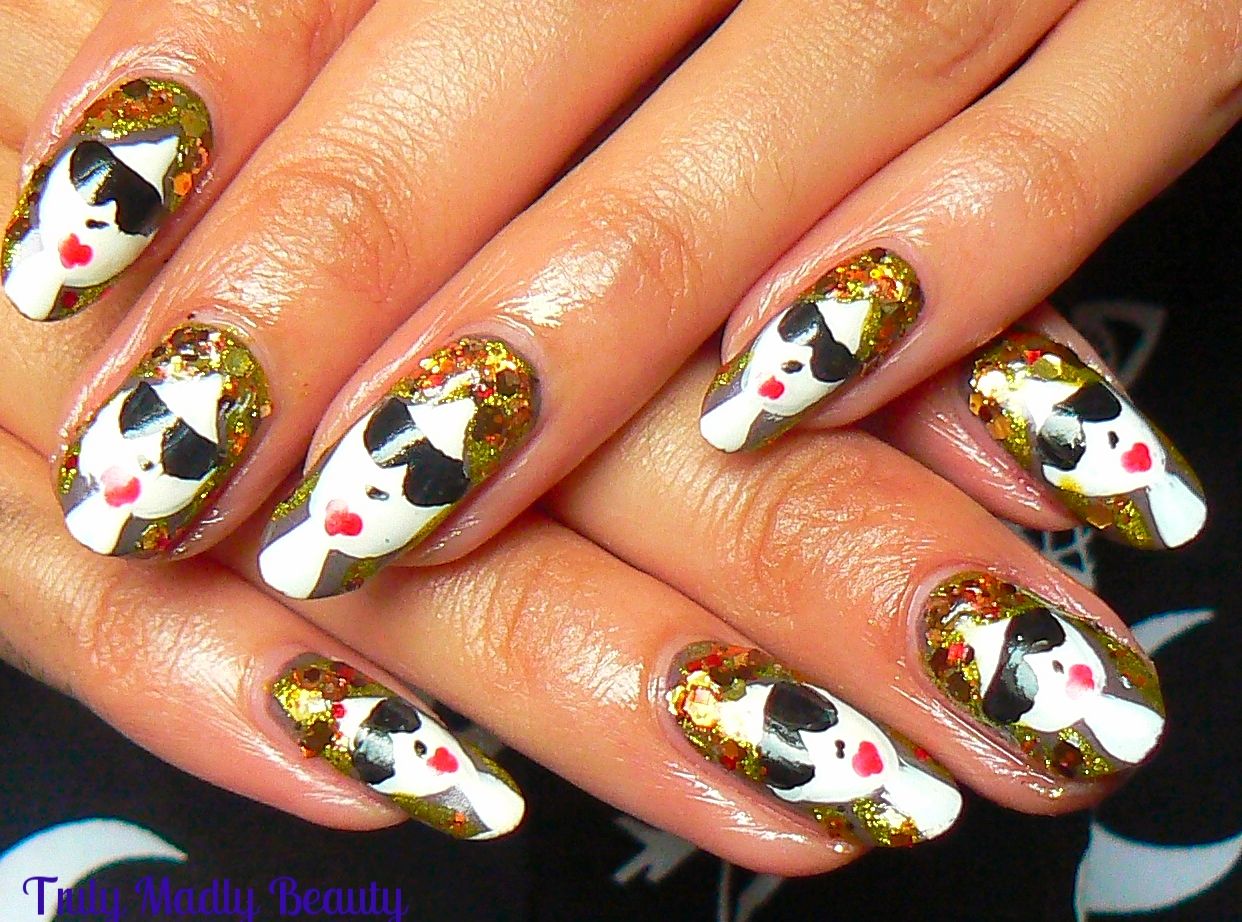
thinking & created this Autumn vibed design featuring a pouting
painted diva with vibrant flowing hair reminiscent of burnt Autumnal
leaves!
I
was inspired by a Robin Moses Tutorial on YouTube, her nail art
designs are wonderful, in her design she created the one lady accent
nail & incorporated her flowing Autumn/Fall leaved hair over the
remaining nails. I loved the look so much I decided to do an
individual painted lady on every nail!
To
re-create this design is easier than it seems & I've done a step
by step pictorial for you to show how you I did mine...
Begin
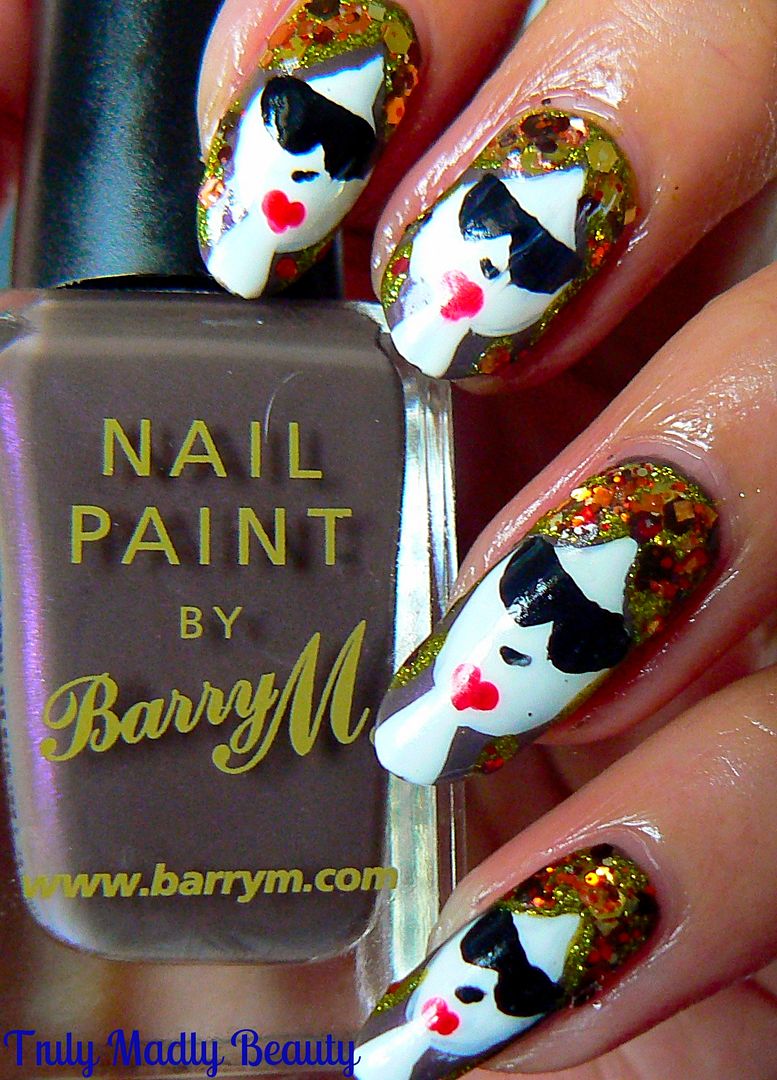
with your base colour, wanting to keep with the Autumn tones I
reached for Barry M Dusky Mauve. Remember when everyone went doolally
over this shade due to its high dupe level of Chanel's Paradoxal?
Here I've applied 2 coats of this lovely purple griege shade.
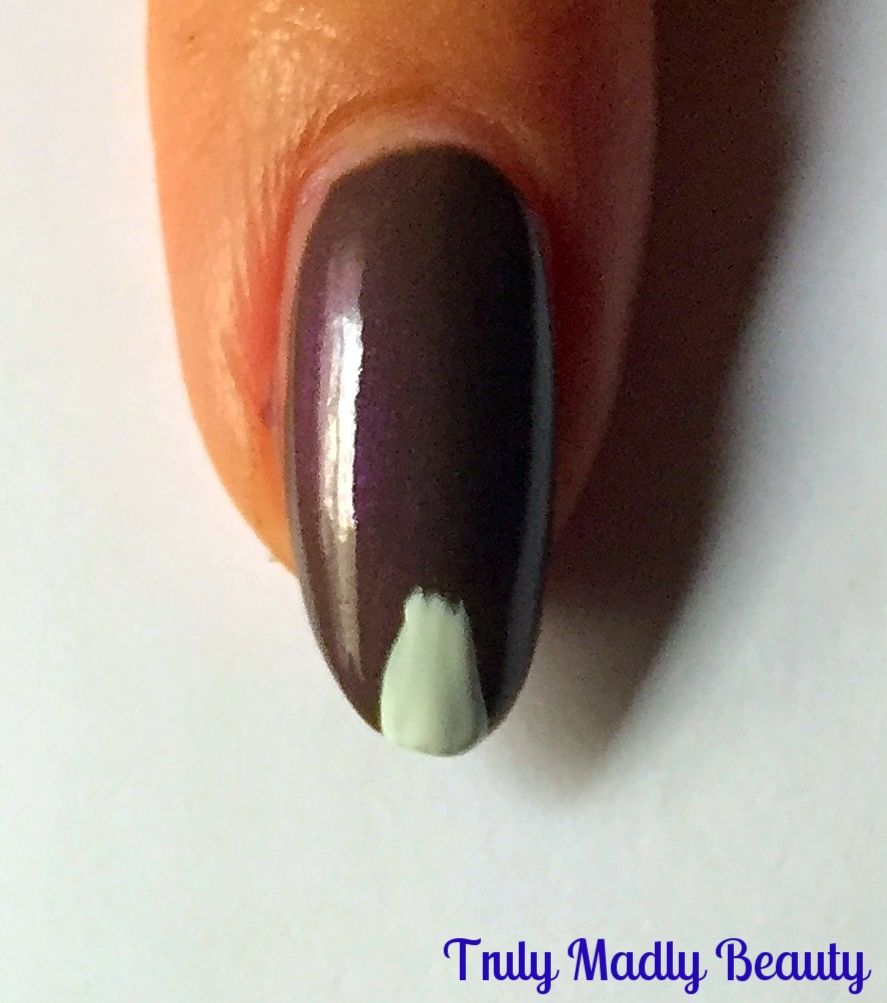
Now
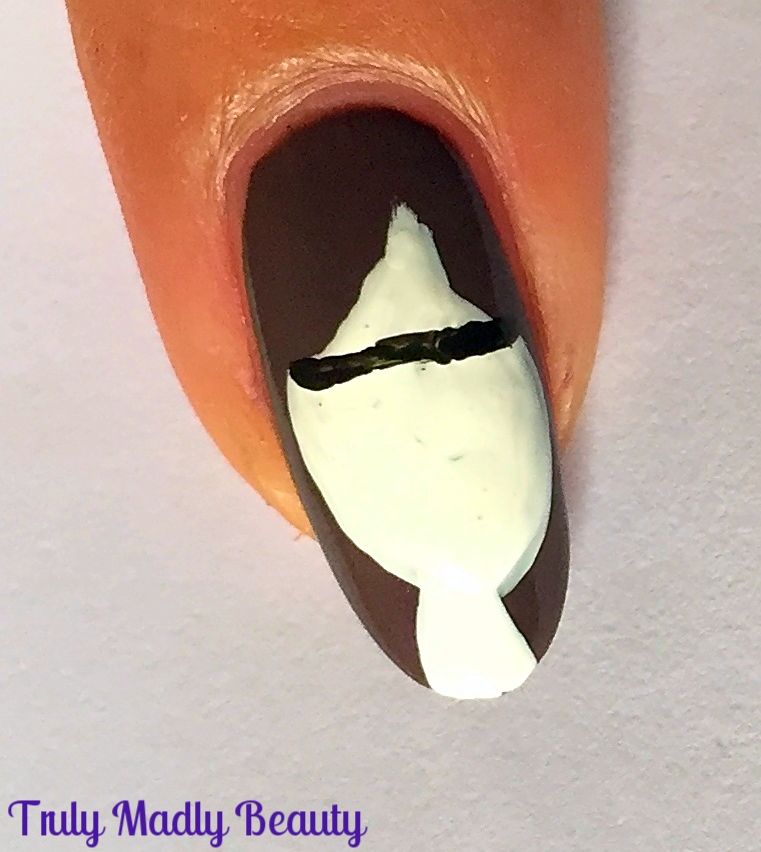
to begin creating our shaded divas, start with applying her slender
neck starting at the tip of the nail, using white polish & a nail
art brush.
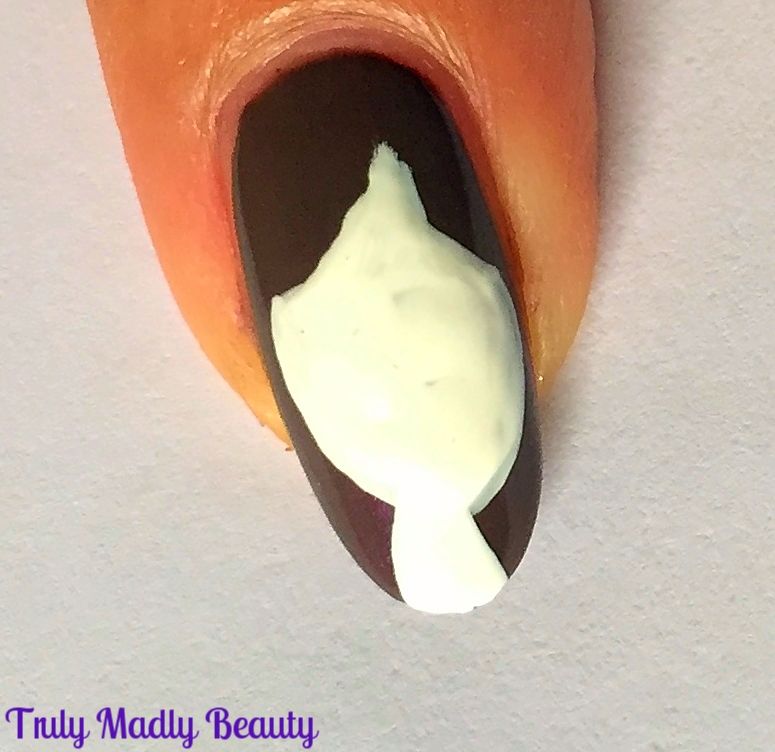
Now
to create the face, using your thin nail art brush & white
polish, start about 3/4 of the way up your nail where you want the
forehead to be & draw a curved triangle with the top point angled
slightly to the right, to give the appearance of bangs/fringe, then
continuing on from the two bottom points of your triangle,curve a
round oval like shape down to the neck before filling in.
Next
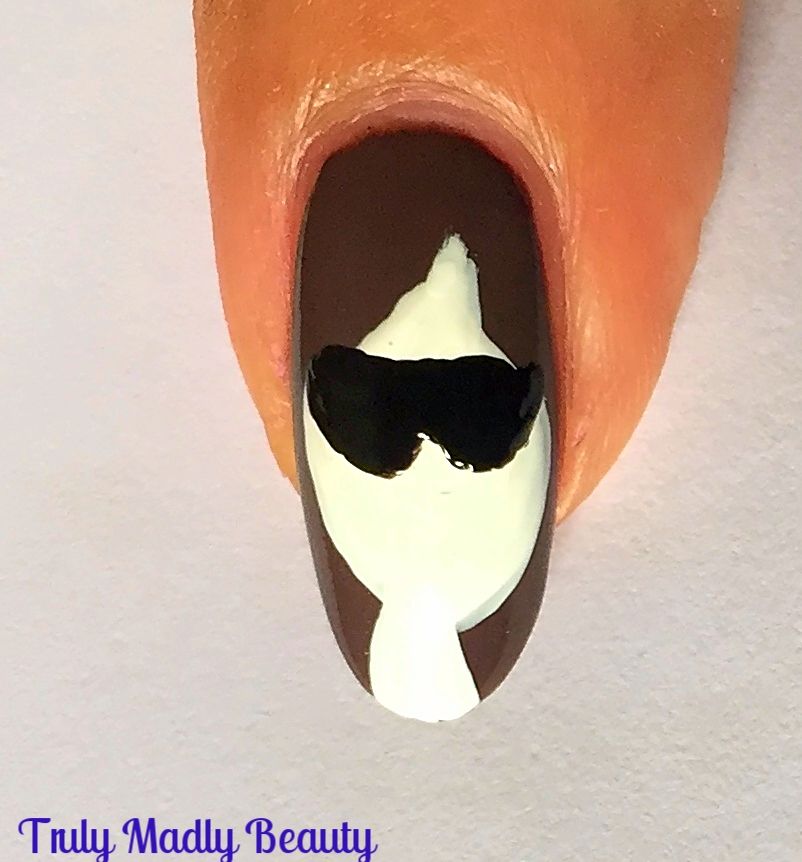
step is to add on our ladies sophisticated sunnies! Because even
though its Autumn, shades can be rocked ALL YEAR ROUND. To do these
simply start by adding a thin horizontal black line just underneath
the fringe/bangs.
Then
with the same black, underneath your line add two semi circle-esque
shapes to create lenses.
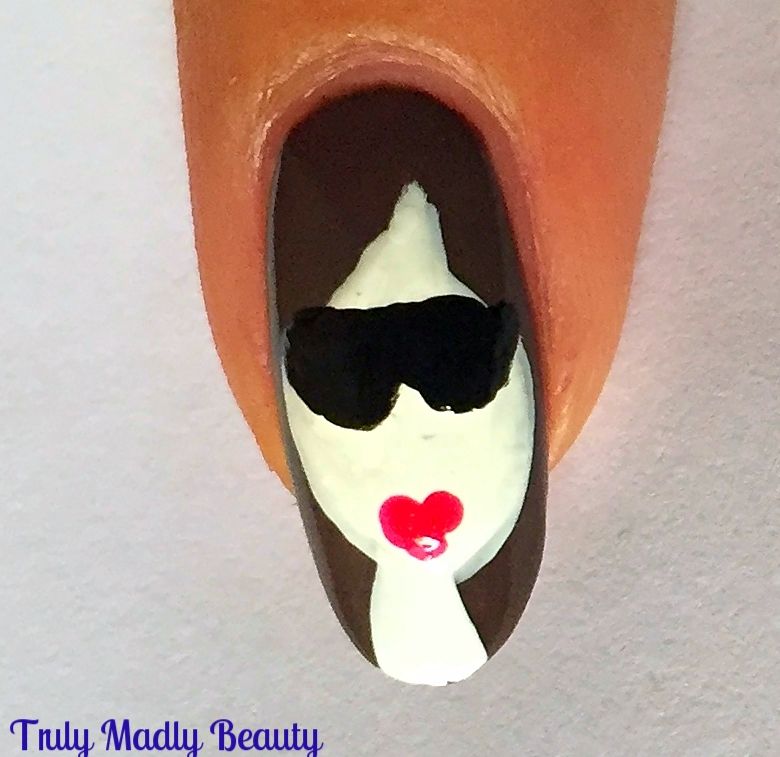
Now
for our diva's pout, grab a pink or red polish & a dotting tool
or a bobby pin & place two dots of red with one dot underneath,
almost creating a heart like shape for the lips.
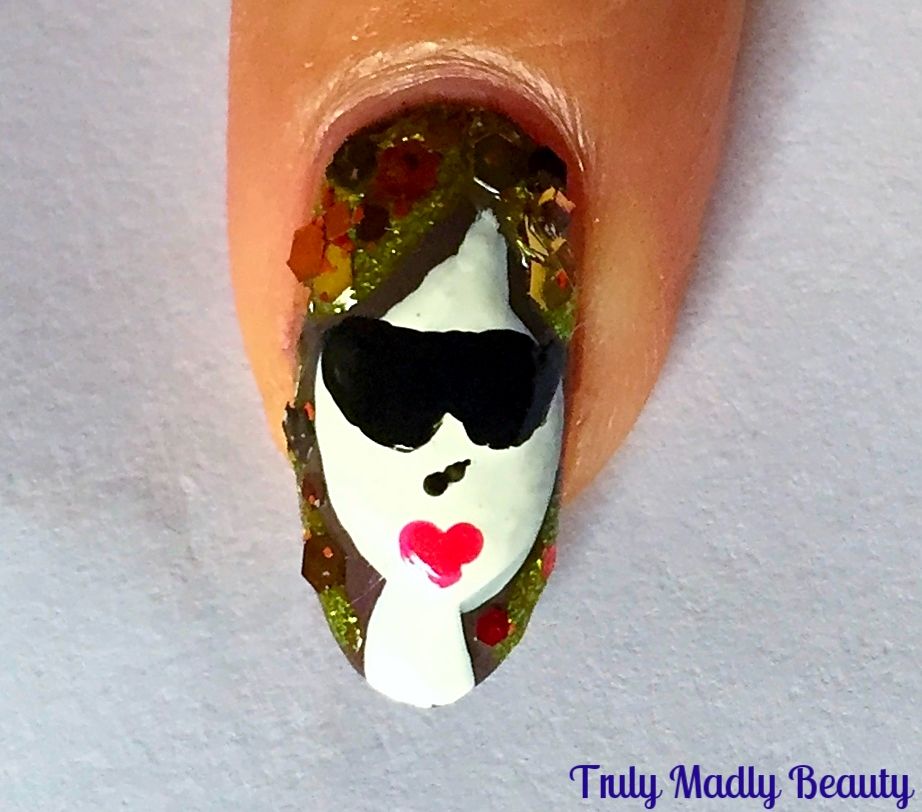
Final
detail to the face is a tiny angled line for the nose before you can
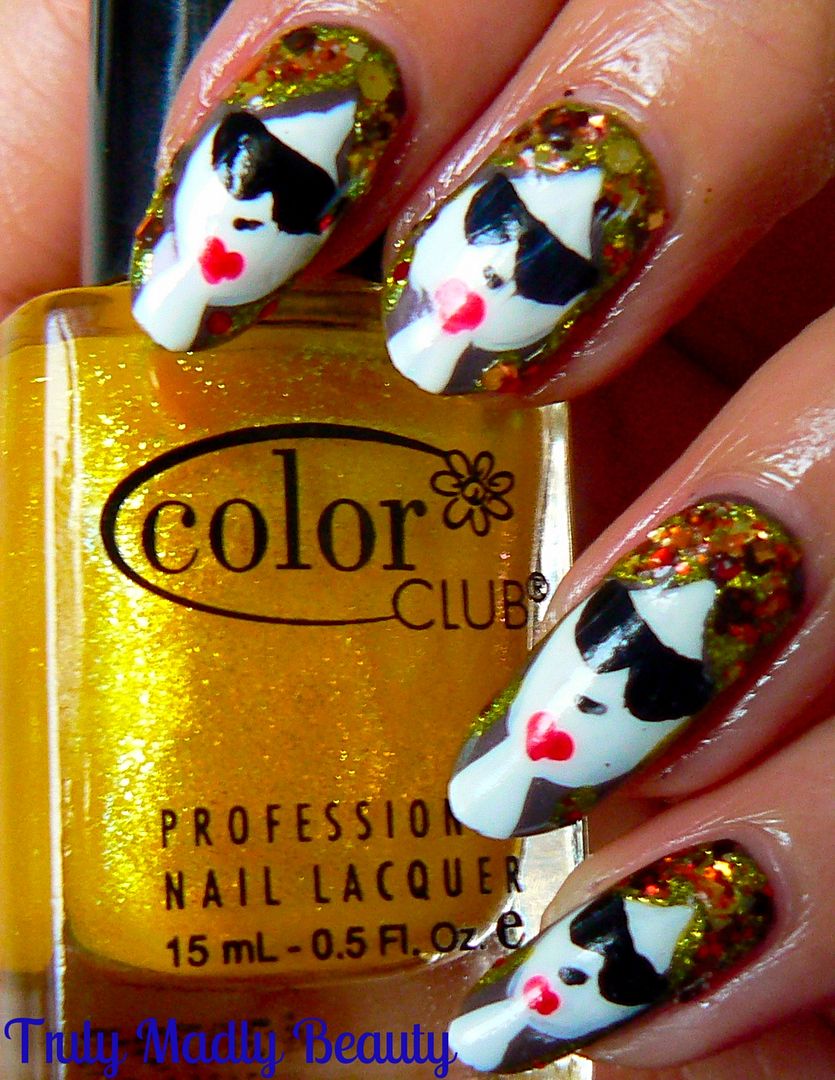
go to town with all the Autumn colours for her hair! I decided to use
a shimmer yellow polish by Color Club to add on some strands in the
brown, because its ALL about the balayage babes, before using the
aptly named Autumn Leaves glitter polish by indie brand Coco Allure
which I picked up from Etsy donkeys ago!
As
the glitter in this polish is quite large I poured out a bit of the
polish on to a piece of paper first & then used a toothpick to
pick up the pieces of glitter which come in shades of burnt orange,
reds, coppers & gold & just placed on to the hair.
Finish
it all with a nice thick coat of topcoat & your done! Thank you
Robin Moses as always for the inspo, a really fun & interesting
way to wear Autumn/Fall nails! Hope you like them too!
Thanks
as always for reading!
Lotsa love to ya!

No comments:
Post a Comment
I'd love to hear your comments & thoughts lovely people! They make me happy! :) Do check back as I will always do my best to reply back to you :) xoxo