5.31.2015

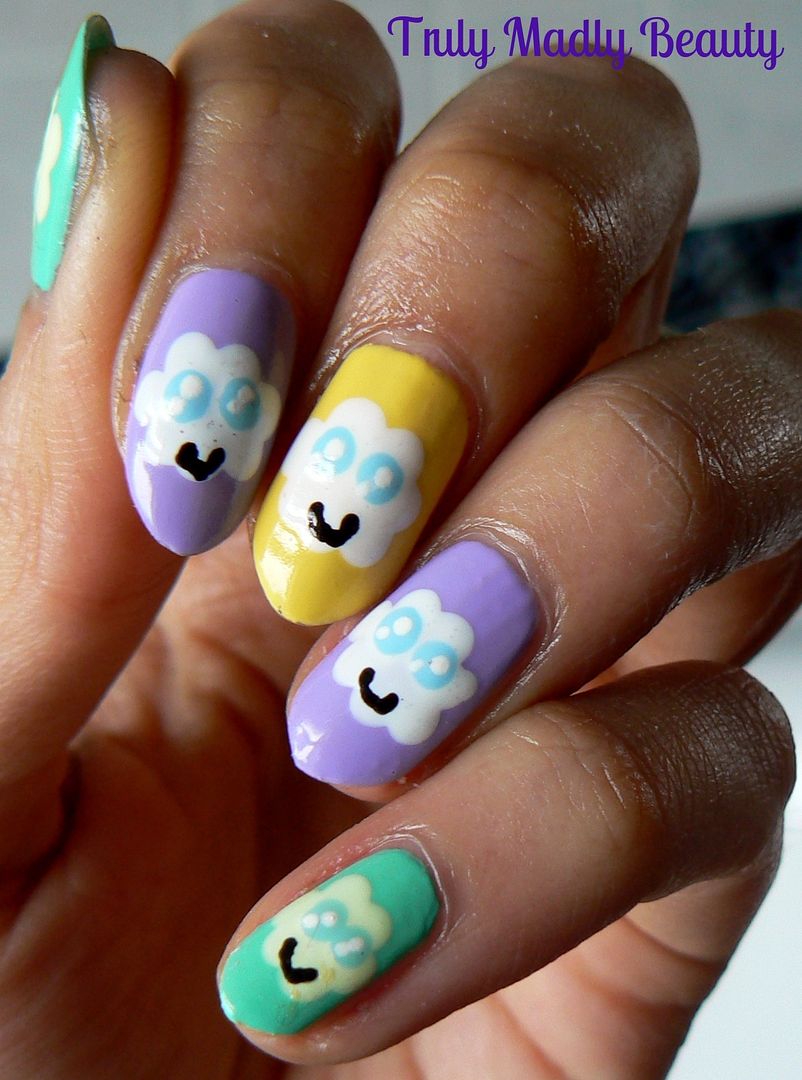
NOTD - Cute Kawaii Clouds!


Bonjour my beauts!

Can you believe we will soon be in June already? You wouldn't think so by looking out the window, I'm currently snuggled up within the confines of a fleecy jumper! Lets hope Summer, wherever she may be, decides to join us all soon.

Yesterday twas a good un, if you follow me on Twitter (@Aysh_tmb) you'll know the day was spent partaking in my favourite thing...Pampering! My lovely friend had a voucher for a spa day at The Langham Hotel followed by a delightful afternoon high tea at the Palm Court & was kind enough to take me along with her. Such an amazing experience, the whole day was simply perfect & I highly recommend you pay a visit if you can!

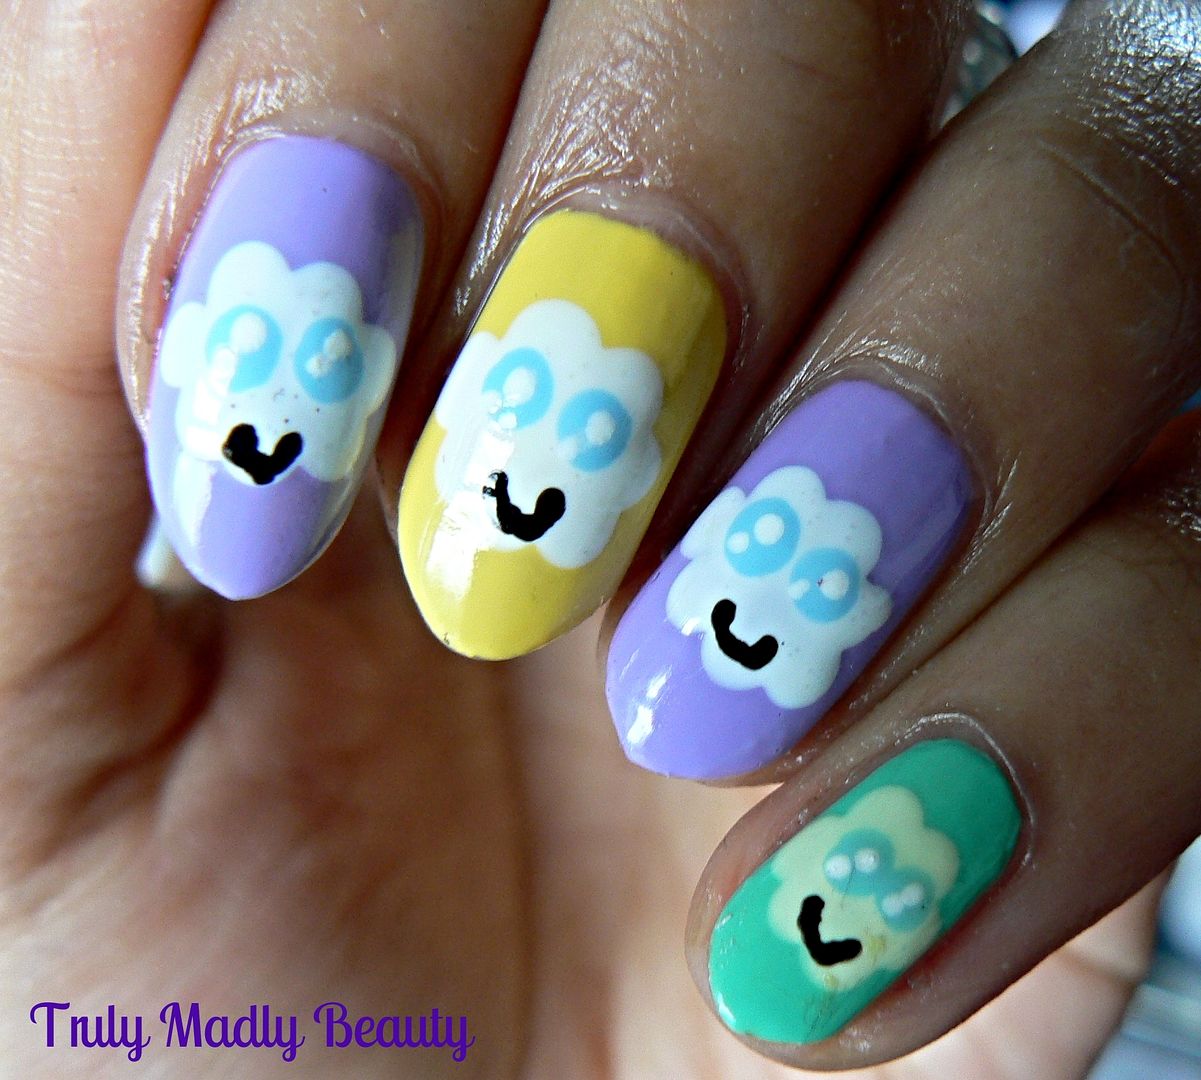
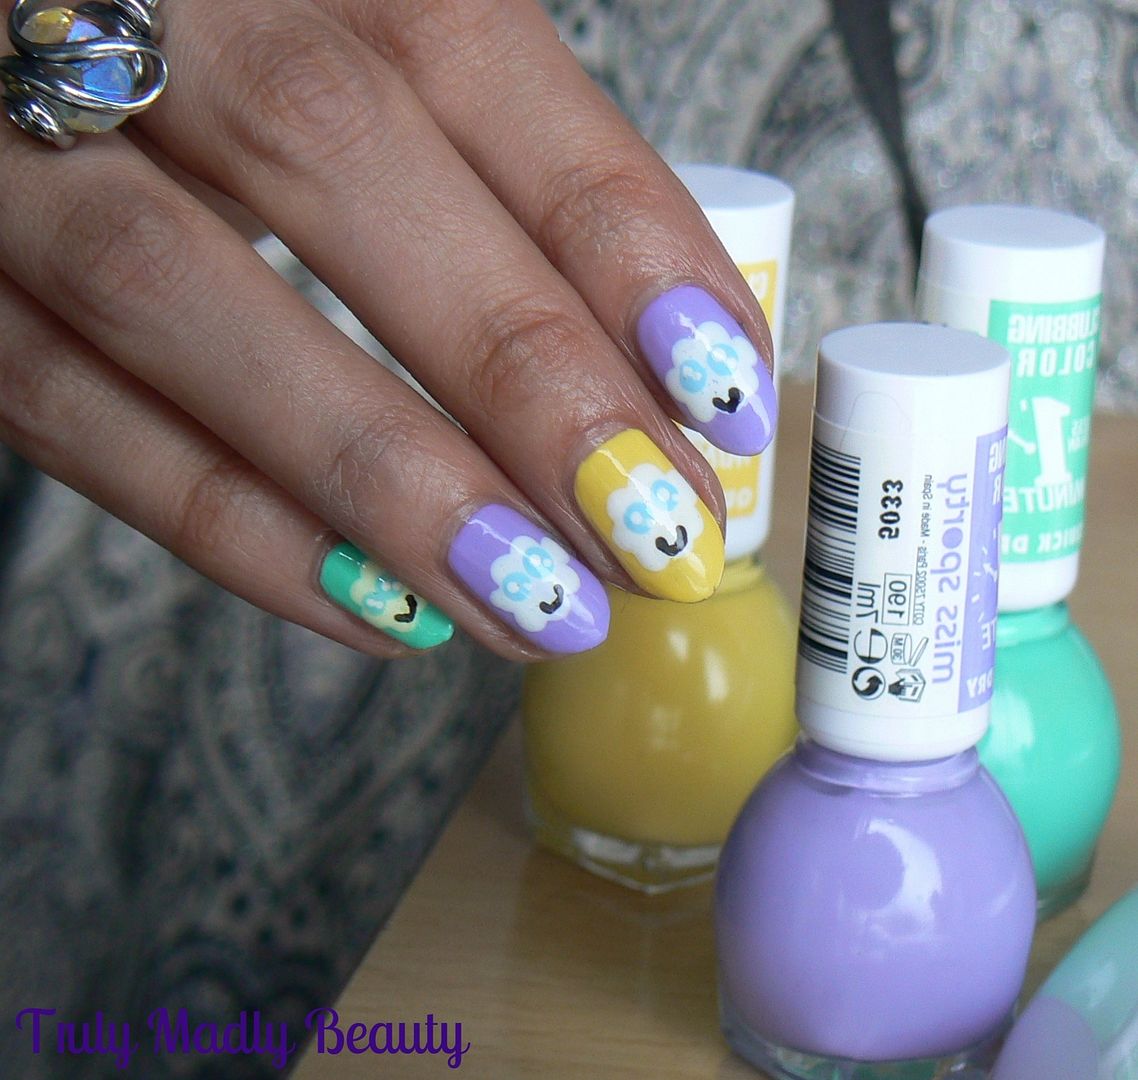
I thought I'd brighten up this slightly dreary weather with a nice cheerful manicure to lift the spirits! I felt a little cute Kawaii-ness was in order with a touch of pastel skittle thrown in so today I have some jolly little Kawaii Cloud nails for you! :)


Hehe what do you think? I remember seeing similar design on my IG feed a while back & I can't for the life of me remember where as I follow SO many accounts! But I remember thinking I definitely needed to try it out for myself & I just love the cutesy design!


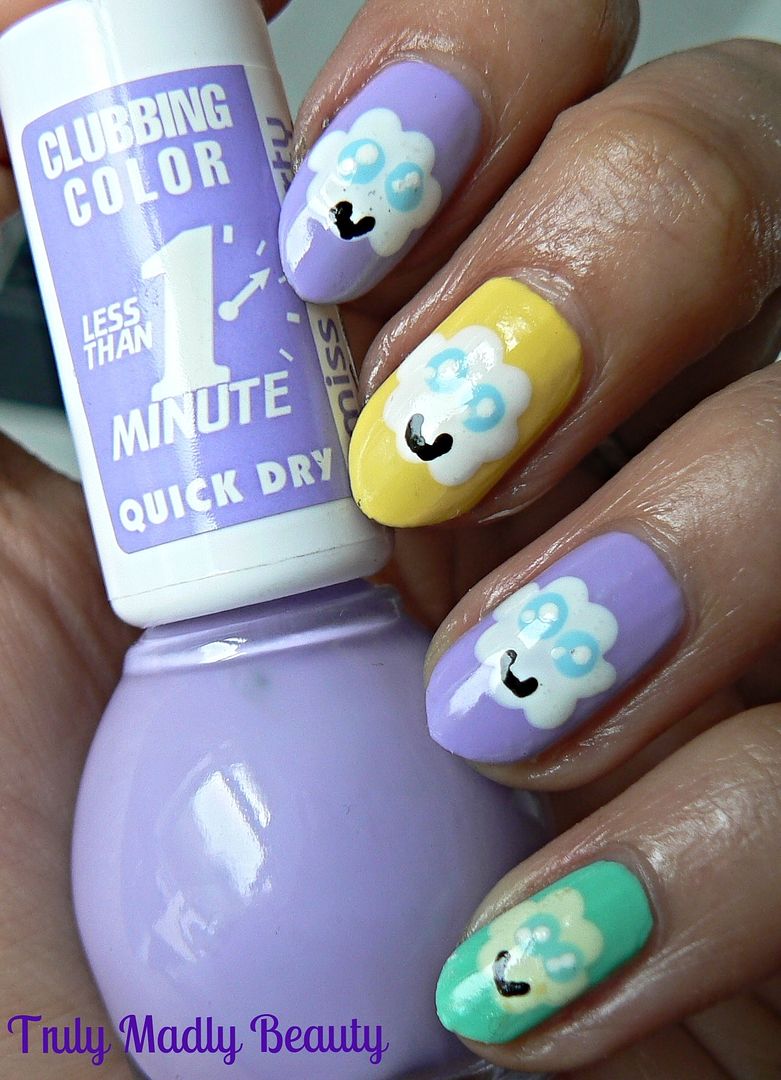
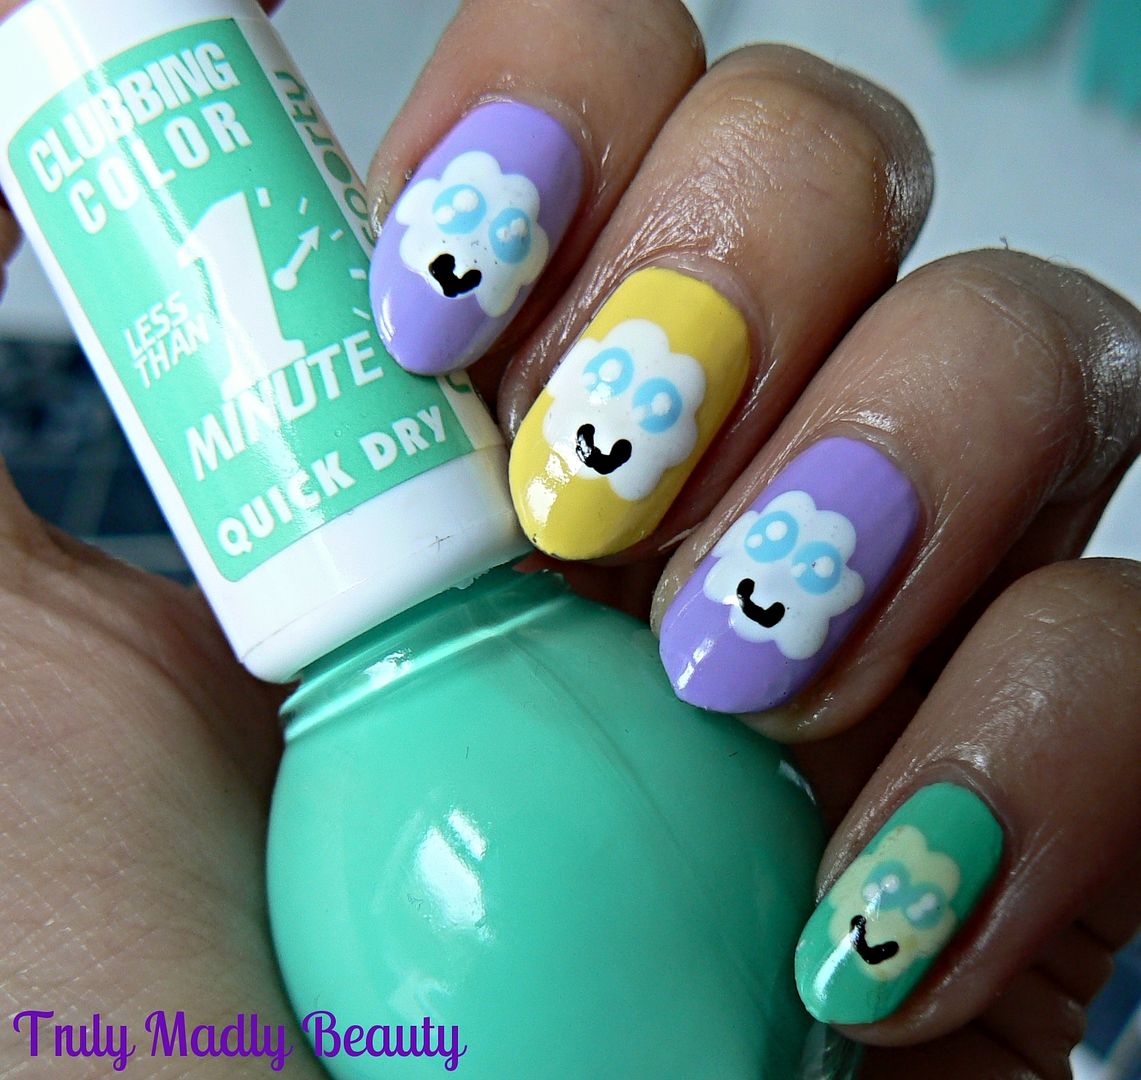
For this mani I've used three different pastel cremes from the brand Miss Sporty. I never use to pay this brand much attention I'll be honest, but I am totally in love with their nail polishes! They have a great range of fab quality, pretty shades that are absolute steals at £1.99!


I noticed that Superdrug had an offer of three polishes for a fiver so I snapped up these three pretty creme pastels from the Clubbing Colour Range. I couldn't decide on one shade so I used all three in the mani haha!


On the thumb & little finger I applied two coats of Green Whisperer (155), on the index & ring fingers two coats of Lilac (190) & on the middle finger two coats of Lemon Drop (140) All three applied perfectly, Lemon Drops formula being slightly thicker than the others.


For my cute little Kawaii clouds I grabbed my trusty dotting tool & with some white polish, dotted on a circle of 6-7 dots on the centre of each nail before filling in the middle with more white polish. I think the pigment in the Green Whisperer polish is stronger than the others as it tinted my little Kawaii cloud a pale green!


Next for the eyes I used a lightly smaller dotting tool & No7 Duck Egg Blue, a pale pastel blue crème. To create the Kawaii look in the eyes I added two smaller white dots inside the blue using the Barry M white nail art pen.


Finally I used the Barry M nail art pen in black to create the little smiles on my cheeky clouds before adding a slick of topcoat to finish.

I hope you liked the Kawaii nails my lovelies! Thanks as always for reading. Don't forget to enter my GIVEAWAY for a chance to win the Giorgio Armani Luminous Silk Foundation I recently reviewed!


Lotsa love to ya! 

5.26.2015

Review and Giveaway - Giorgio Armani Luminous Silk Foundation


Hello there lovely readers, hope you're all good & well!

Something a bit different today on a topic that all beauty addicts covet... ladies..lets talk...FOUNDATION. The beauty product that pretty much all women have in their makeup arsenal. And from that then comes the question...high street or high end? I confess I am a loyal follower of high street makeup, there is such a vast range of great quality products available that are just as good as higher end for a fraction of the price!

That being said there are occasions where I, like many, succumb to the luxury temptation of high end makeup, one such being foundation choices. For my everyday makeup good old high street has been good to me, Bourjois & Rimmel being my brands of choice for a nice light coverage. However when it comes to weddings & evenings out I do like to reach for the more luxurious brands for a more flawless finish.


One high end foundation that has been on my radar for a while having heard so much about it & which has received countless rave reviews is the Giorgio Armani Luminous Silk Foundation. Every review I have read of this much coveted foundation has been nothing but positive praise. Well lovelies, after finally having the opportunity to try it myself I can safely say...IT IS LOVE.


Lets just say I now understand why many prefer to venture towards higher end foundations! They just seem to deliver that added oomph factor that is hard to achieve with high street brands. I do confess from my experiences with MAC & Estee Lauder, whilst the makeup finish is flawless, I could feel I was wearing the foundation if that makes sense? No such problems with Giorgio Armani Luminous Silk however.


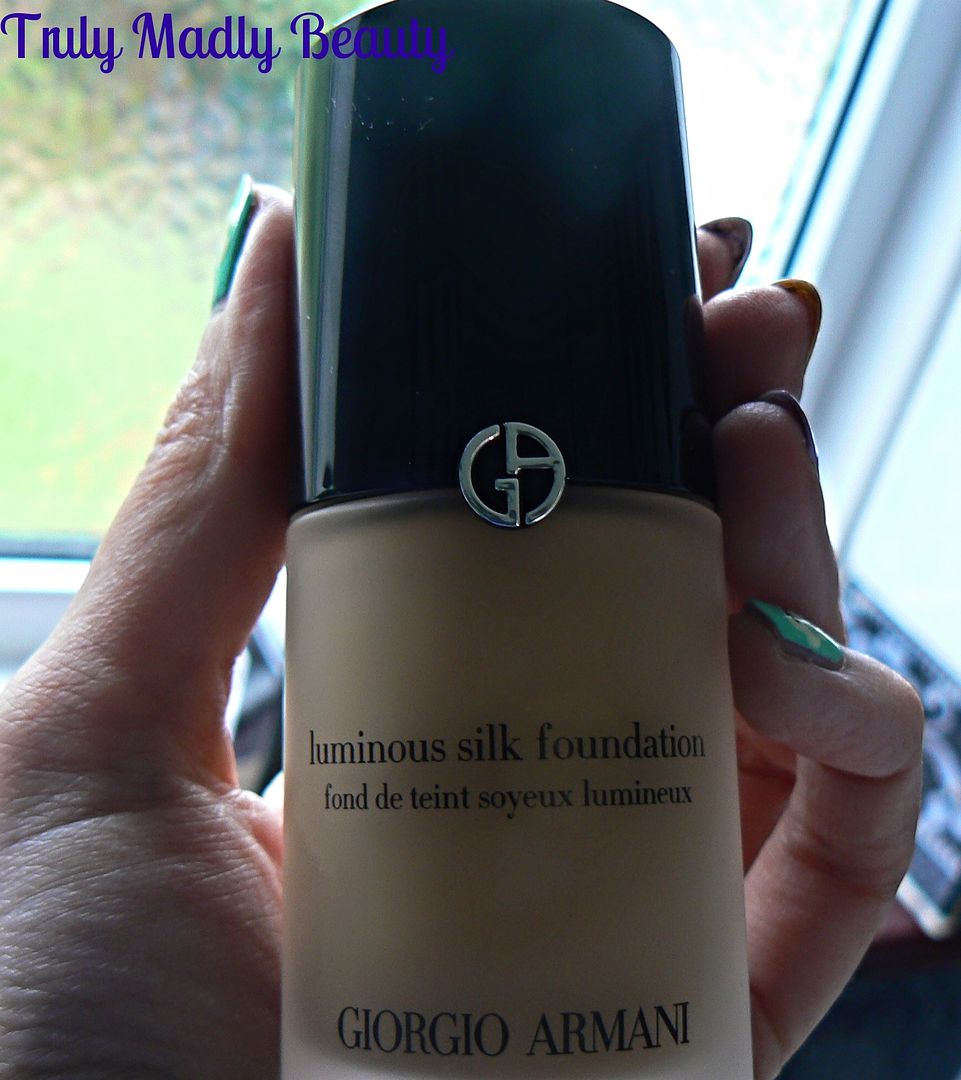
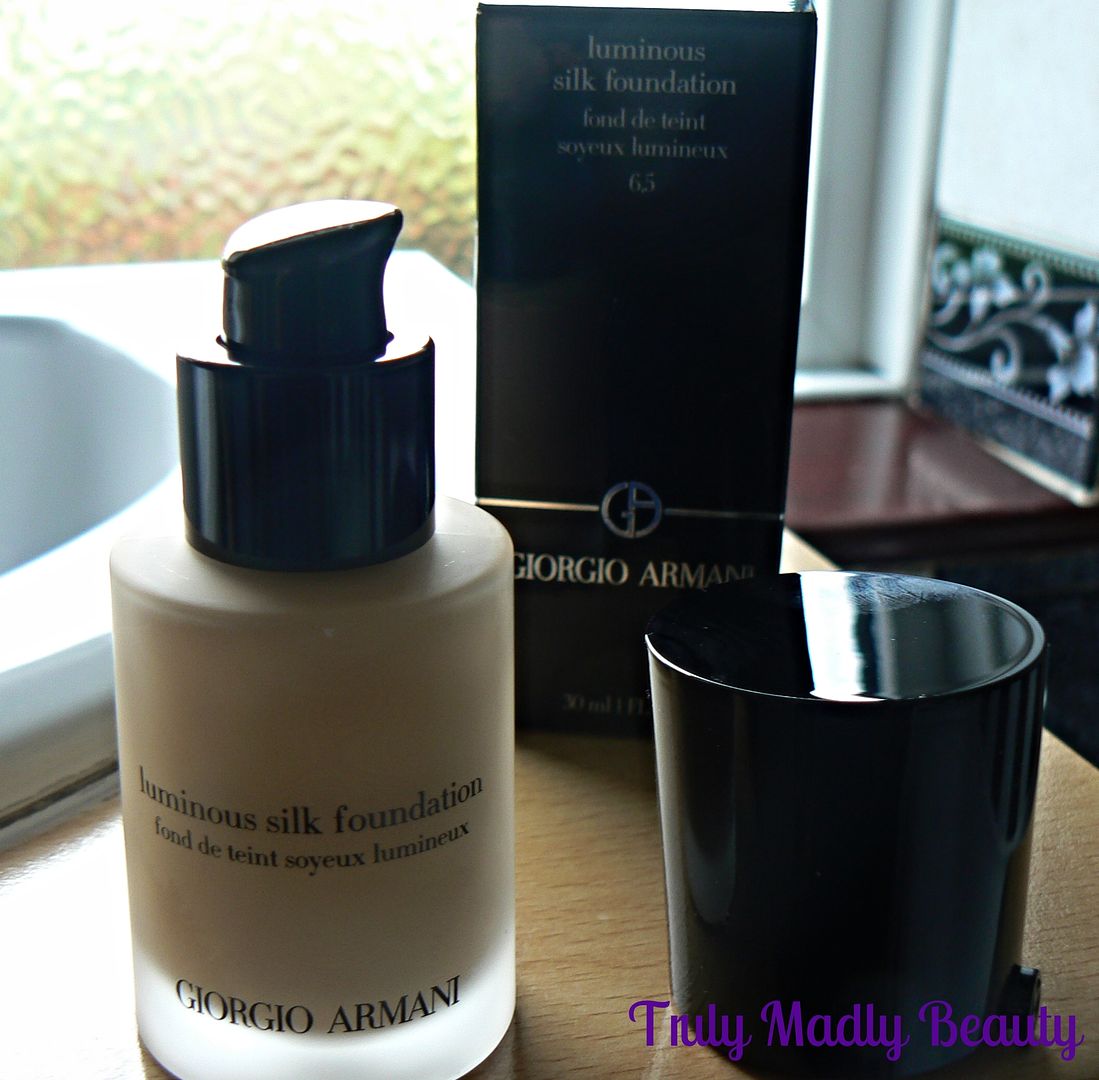
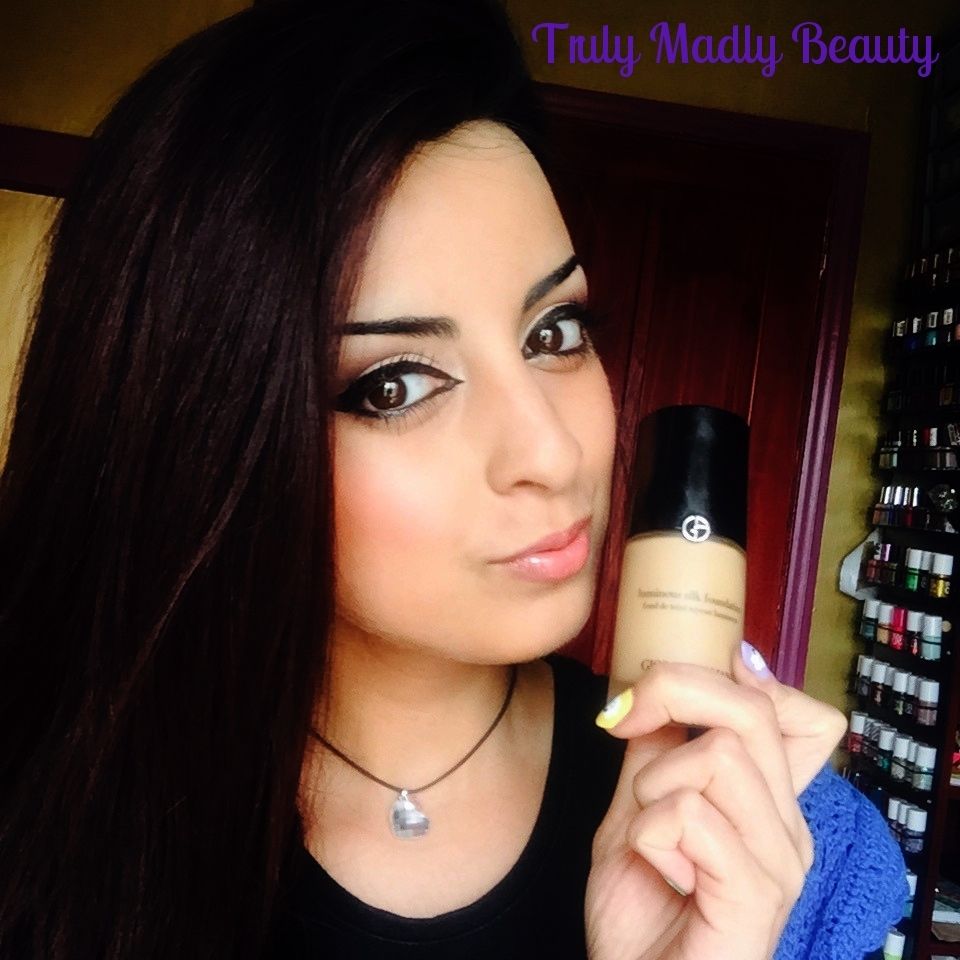
Coming in a gorgeously sleek matte glass bottle packaging, this award winning foundation has a matte yet lightweight formula that is both creamy & dewy & simply glides on to the skin smoothly, creating a silky 'my skin but better' flawless finish. Stuff of dreams! Time for some obligatory shots? Unfortunately my camera decided to die & I had to resort to using my phone (no filter!) so here we go...


I applied the foundation with a flat foundation brush & found that one pump was perfect for light to medium coverage, which can easily be built up on if needed. I was delighted to note that it also gives off the most gorgeous healthy glow. I've used shade 6.5 (Tawny) which was pretty much a perfect match for my skintone.


I suffer from dry skin & always worry, especially with matte finishes, how my skin will deal with it, but I experienced zero problems at all with the Luminous Silk, no caking, no blotching...I hardly felt like I was wearing anything at all!


It is worth mentioning that this foundation does not contain SPF, great for photos! However something to bear in mind in case you require additional SPF protection. But I think its pretty obvious that I am officially converted to Giorgio Armani Luminous Silk, now I've been introduced to its wonders there is no looking back for moi!


So yes, a fantastic high end product that actually delivers. *Applauds* The Giorgio Armani Lumious Silk retails for £36.50...I know. A wince worthy price to be sure & one I would normally run a mile from, however this foundation has proved itself worthy in my eyes, plus its suitable for all skin types & comes in a whopping 21 shades.


But I do have a bit of a treat for you my beauts! I'm happy to have teamed up with the lovely people over at House of Fraser & offer you dolls the opportunity to win a bottle of this divine stuff to try for yourselves! I have a pretty bottle of the Luminous Silk in shade 9 to giveaway to one of you my lovely readers :)

For a chance of winning & experiencing for yourself the wonders of Giorgio Armani's Luminous Silk foundation simply enter via Rafflecopter below.

Good luck and thanks for reading as always!


Lotsa love to ya!


a Rafflecopter giveaway

Disclaimer - * this review and giveaway has been in collaboration with House of Fraser. I am not affiliated with the brand nor paid for this post, this review has as always been my 100% honest opinion!)

5.24.2015

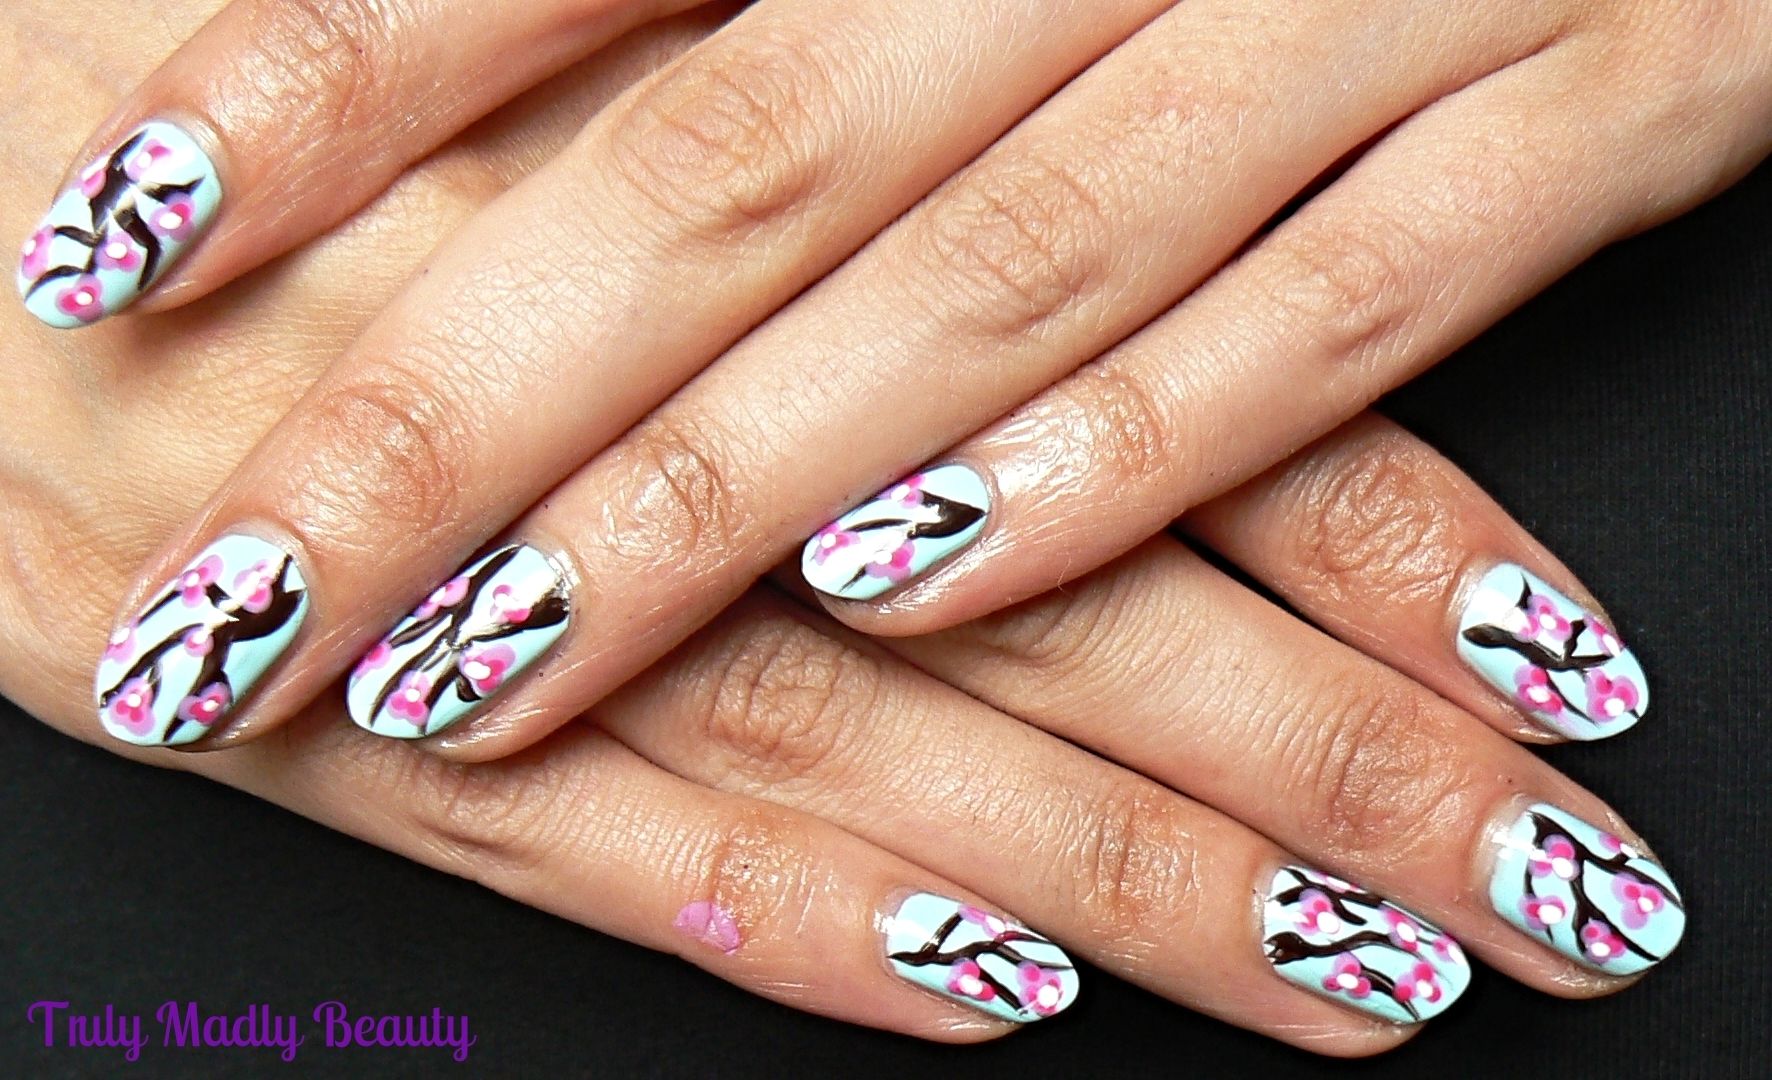
NOTD - Cherry Blossoms!

Well hellooo there strangers!

Long time no speak! Life has been a tad crazy of late, but things seem to be slowly back on an even normality track thank goodness! Hope you're all enjoying the delightful bank holiday, no Sunday evening blues huzzah!

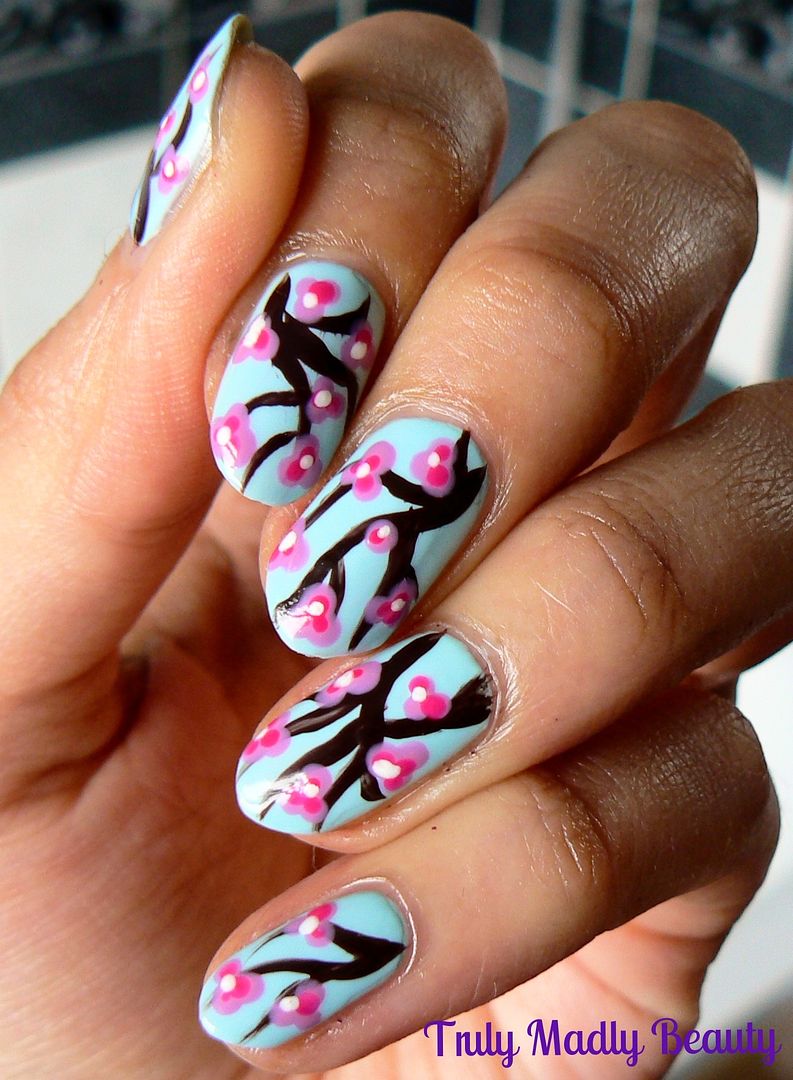
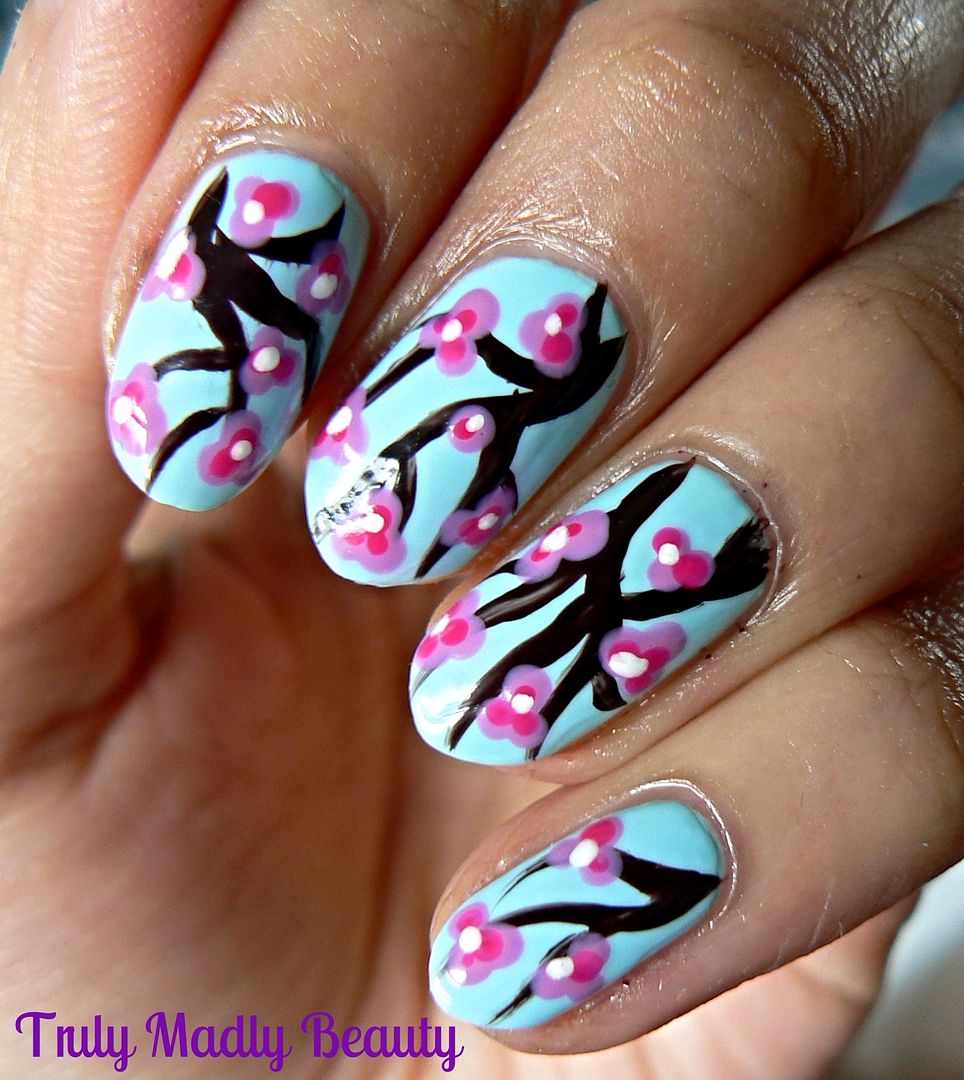
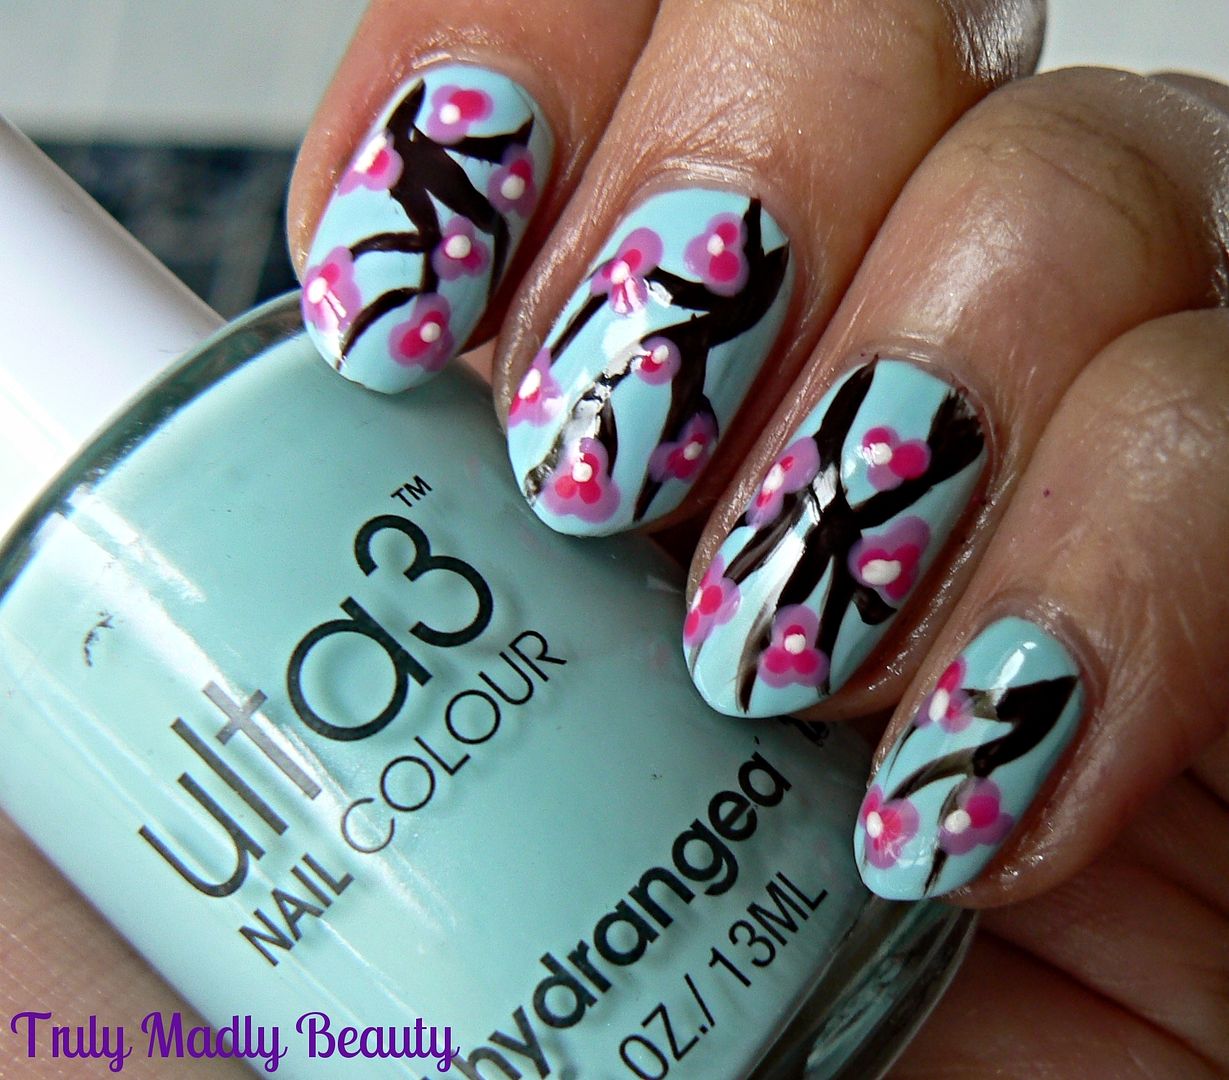
I hope you're not getting tired of the floral mani's yet lovelies as I have another to share with you today! What can I say I? I just love them! And today’s nails feature possibly my favourite bloom that comes out at this time of year...Cherry Blossoms!


I've seen so many beautiful cherry blossom designs, like I said its one of my favourites, so delicate & pretty, I can't help but smile when I see a cherry blossom tree in full bloom, so I'm glad I finally got around to giving it a go on the nails :)


To start off I decided to go for a pretty baby blue base, so that the design would stand out nicely. Here I've used two coats of Ulta3 Hydrangea, a perfect delicate pale blue creme that my darling pal Chelle sent to me.


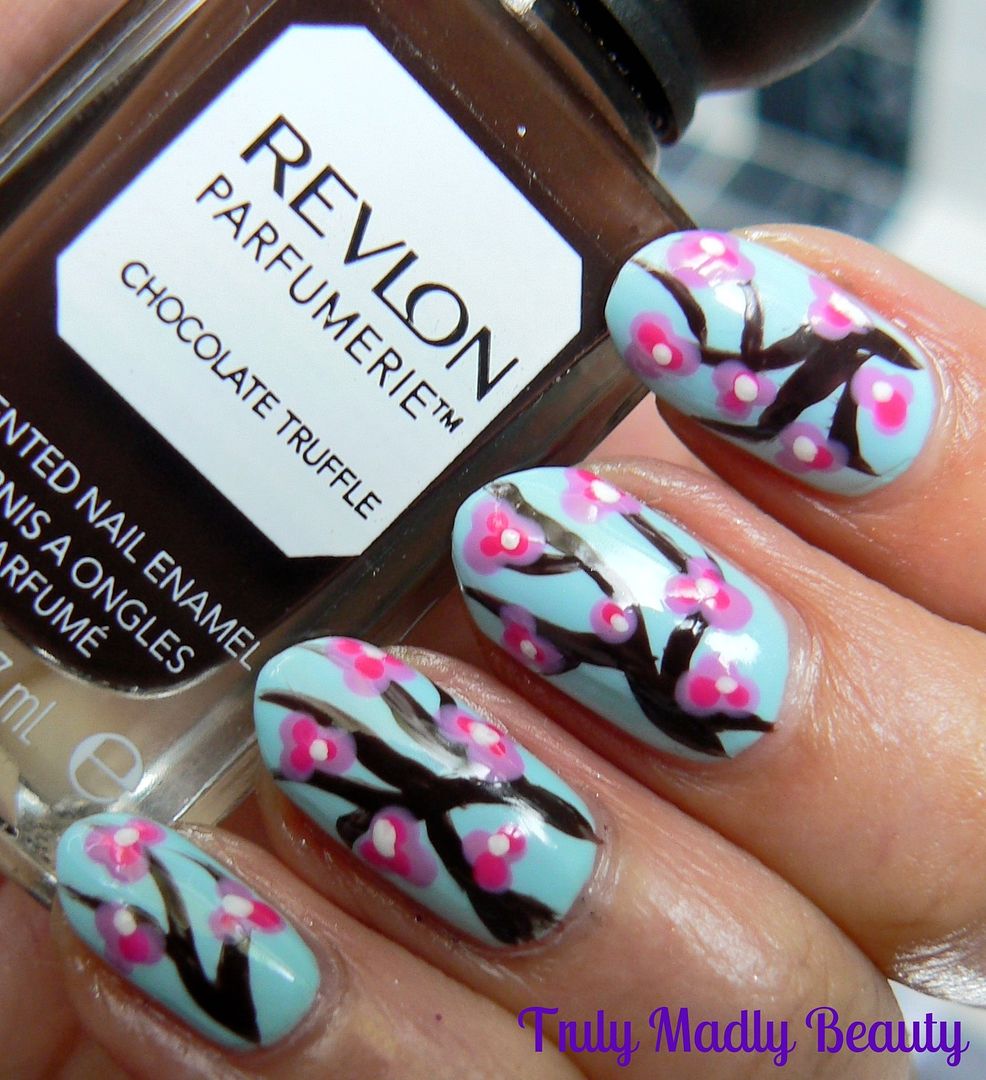
For the branches I used Revlon Parfumerie polish in Chocolate Truffle (yes it really does smell like chocolate!) & with a thin nail art brush, free handed some random branches on to the nail.


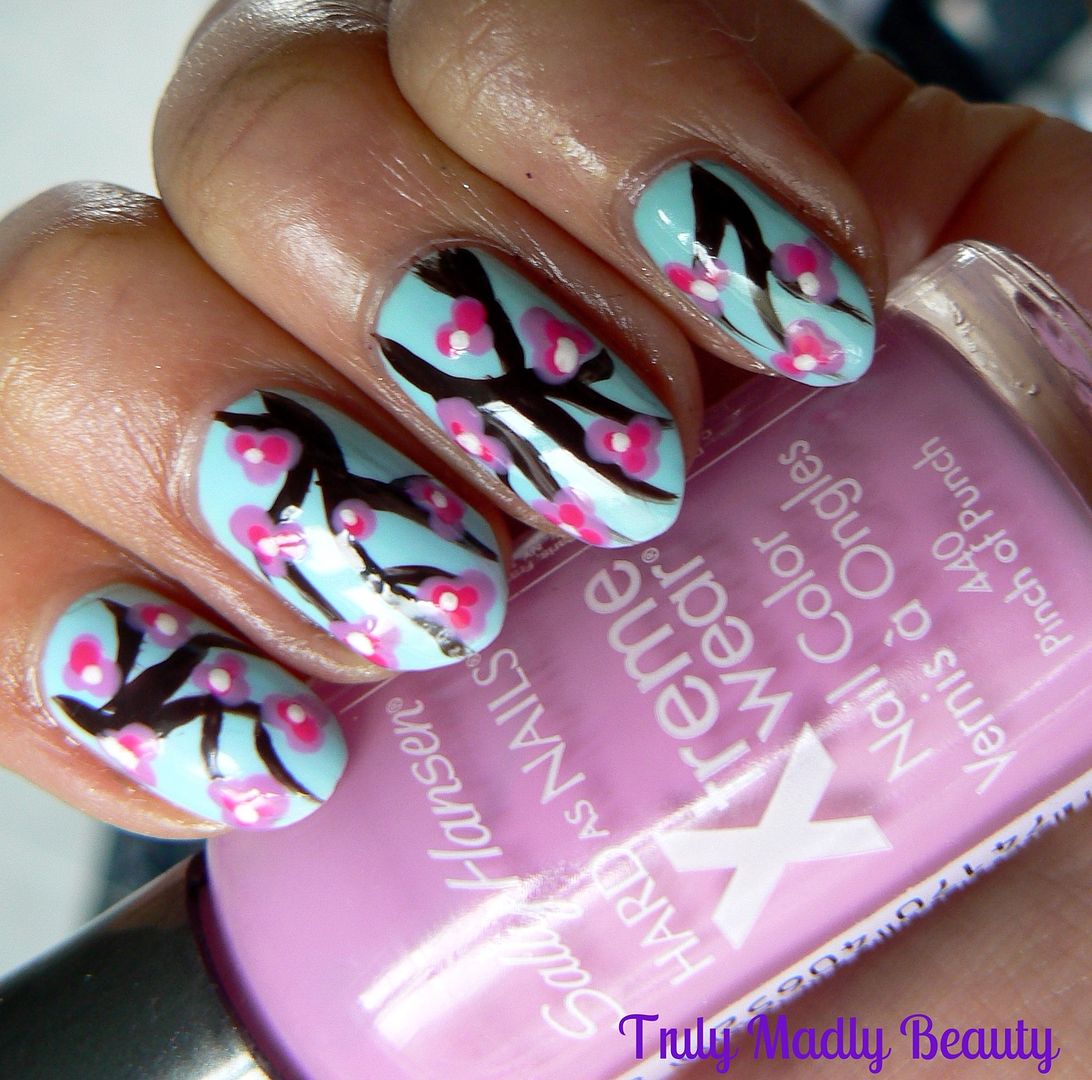
Now for the blossoms! For the first step I used a dotting tool & Sally Hansen's Pinch of Punch, a delicate pastel pink, & added blooms made up of three dots on to the branches.


To add more definition I went in with a few dots of W7 Neon Pink on top of the Sally Hansen.


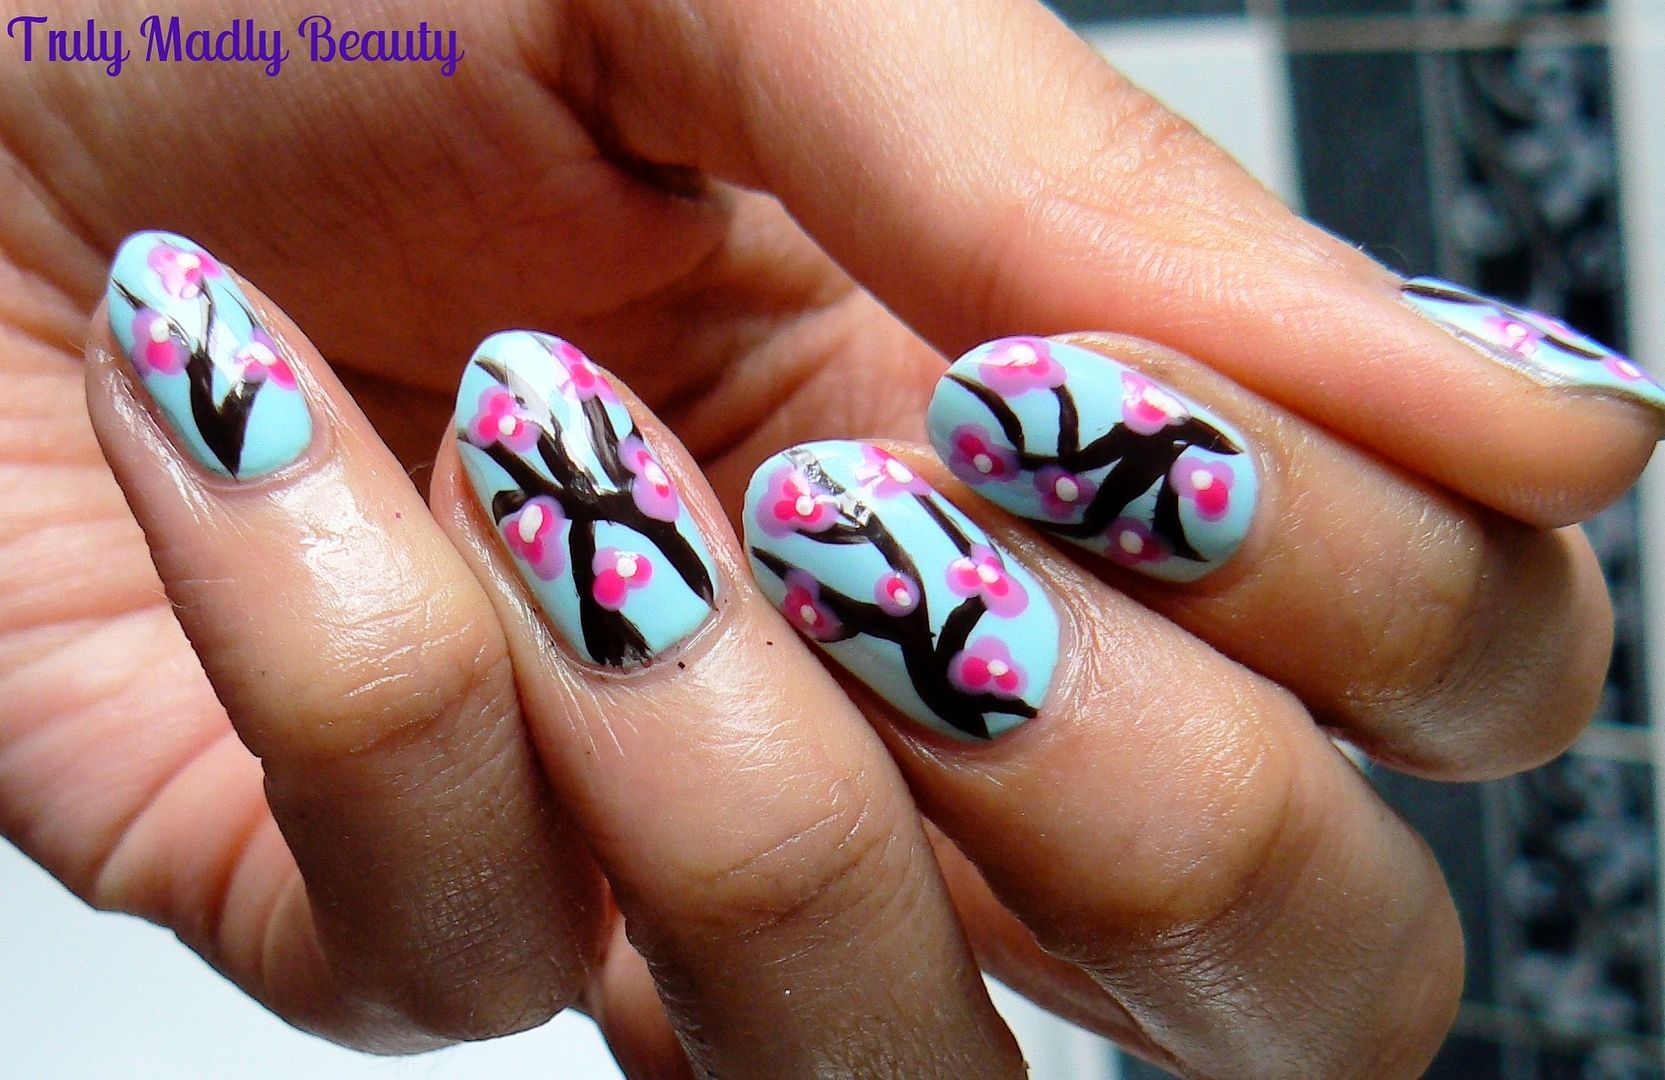
Finally I simply added a dot of white in the centre of my blooms to complete the design.


Finishing everything off with a nice thick slick of topcoat because we loves that glossy finish & finito!


Thanks so much fro reading lovelies, I hope you liked the Cherry Blossom nails!

Lotsa love to ya!


5.11.2015

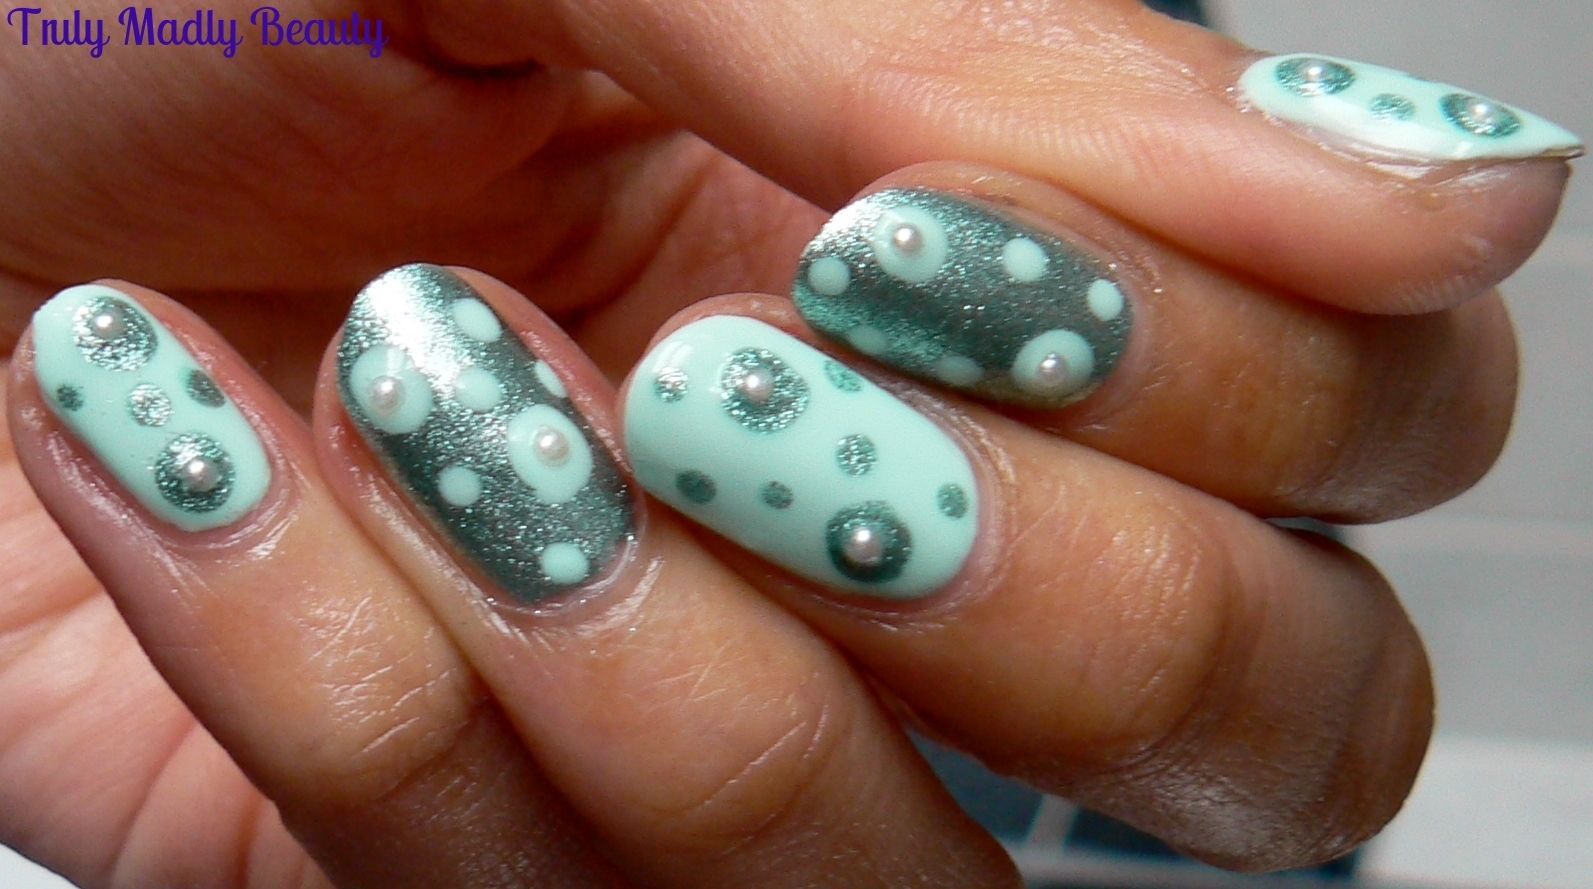
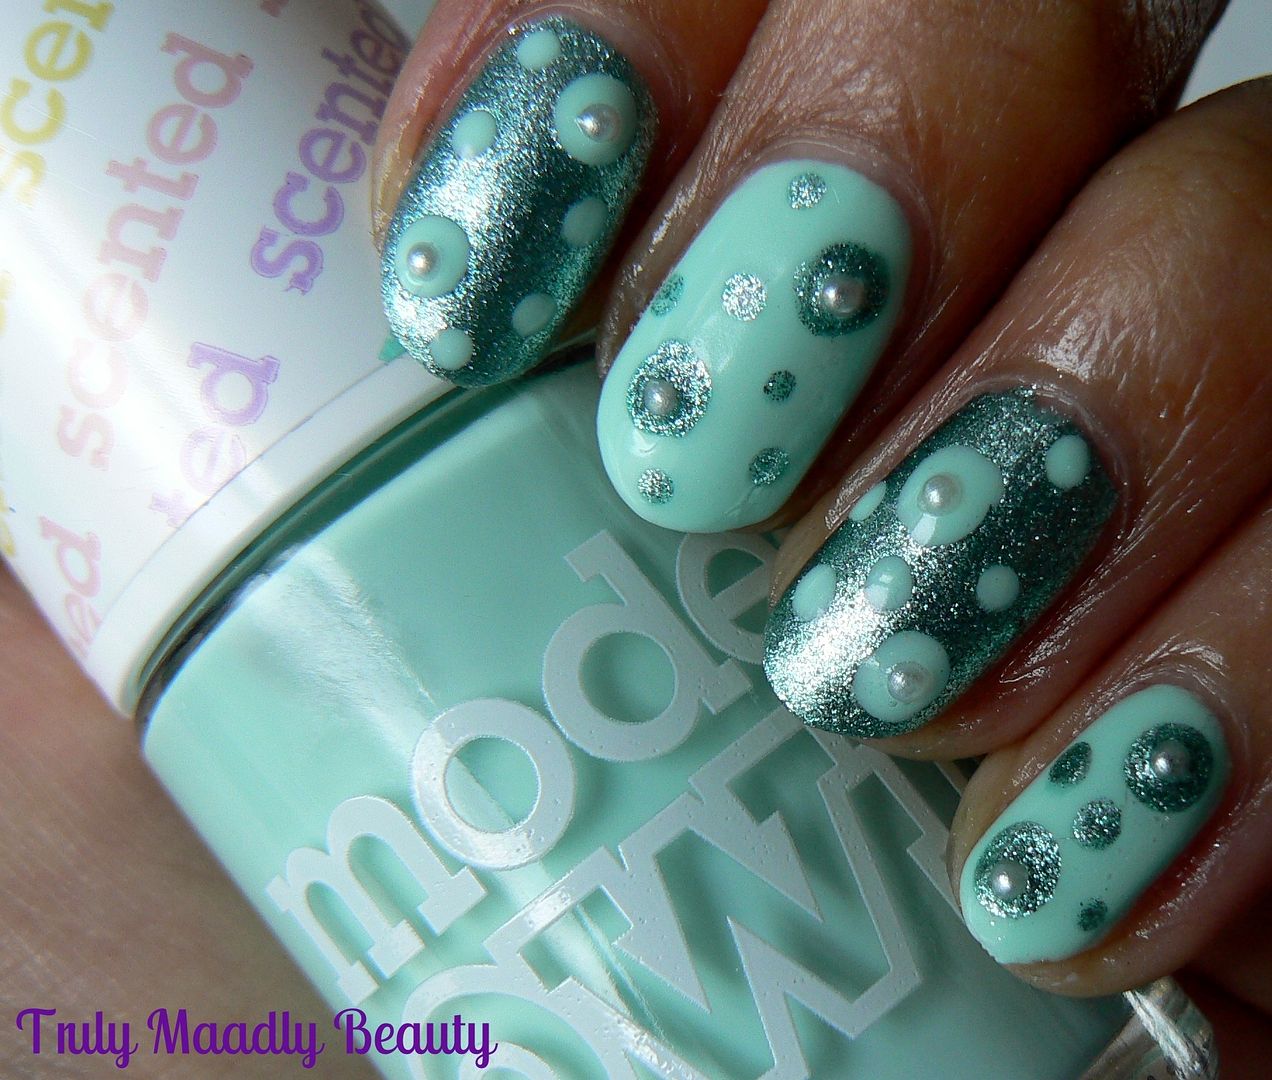
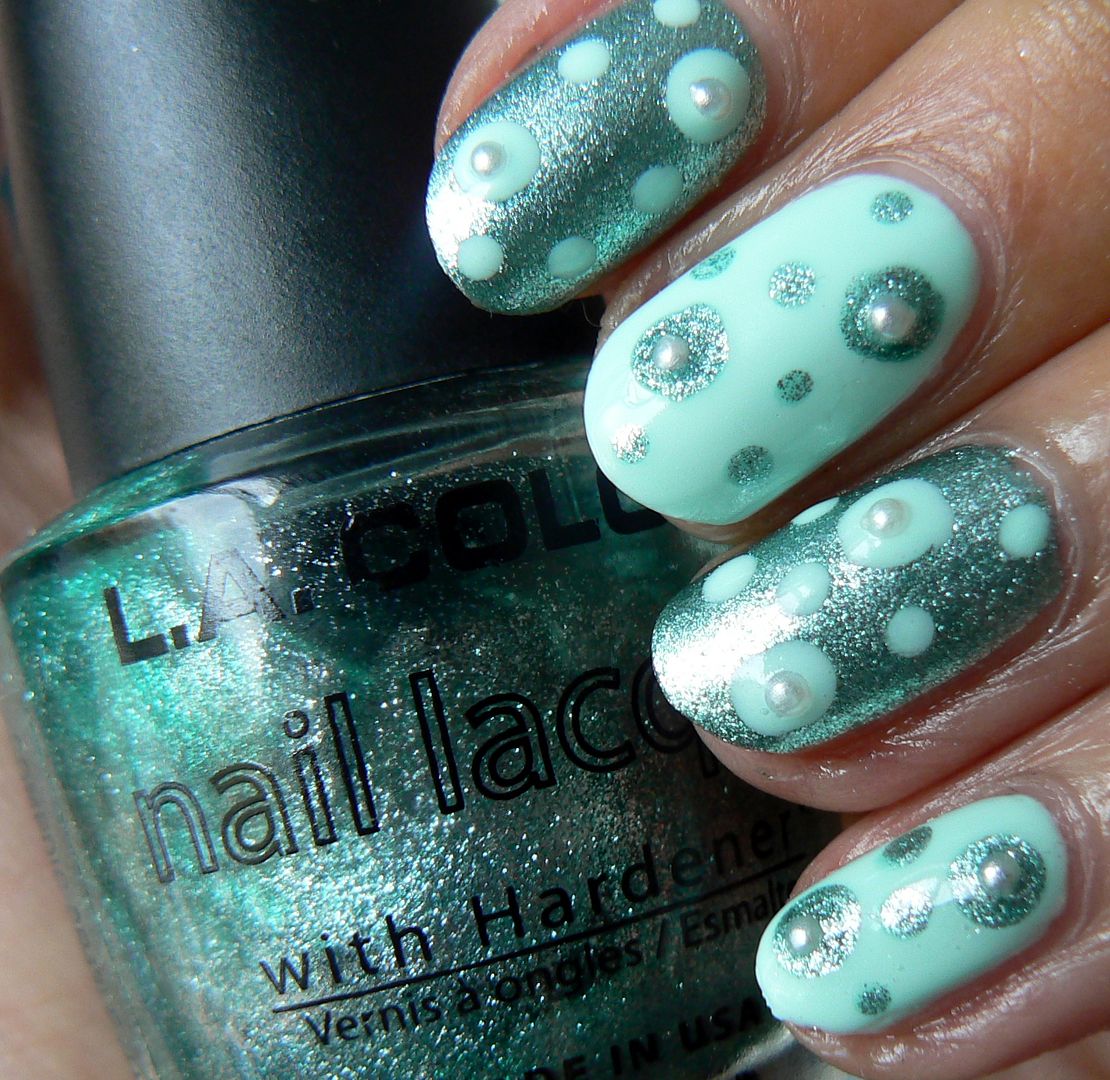
NOTD - Mint, Pearls & Polka Dots

Hello there lovely readers!

Anyone else wishing it was Friday already? ;) But I am thankful to have a wee reprieve from the office tomorrow with a trip into my fav city London for an appointment, whilst also squeezing in a visit to the FIAT garage in Marleybone & hopefully start the ball rolling in to getting a FIAT 500 into my life, something that's been on my wish list for a while! Fingers crossed! :)
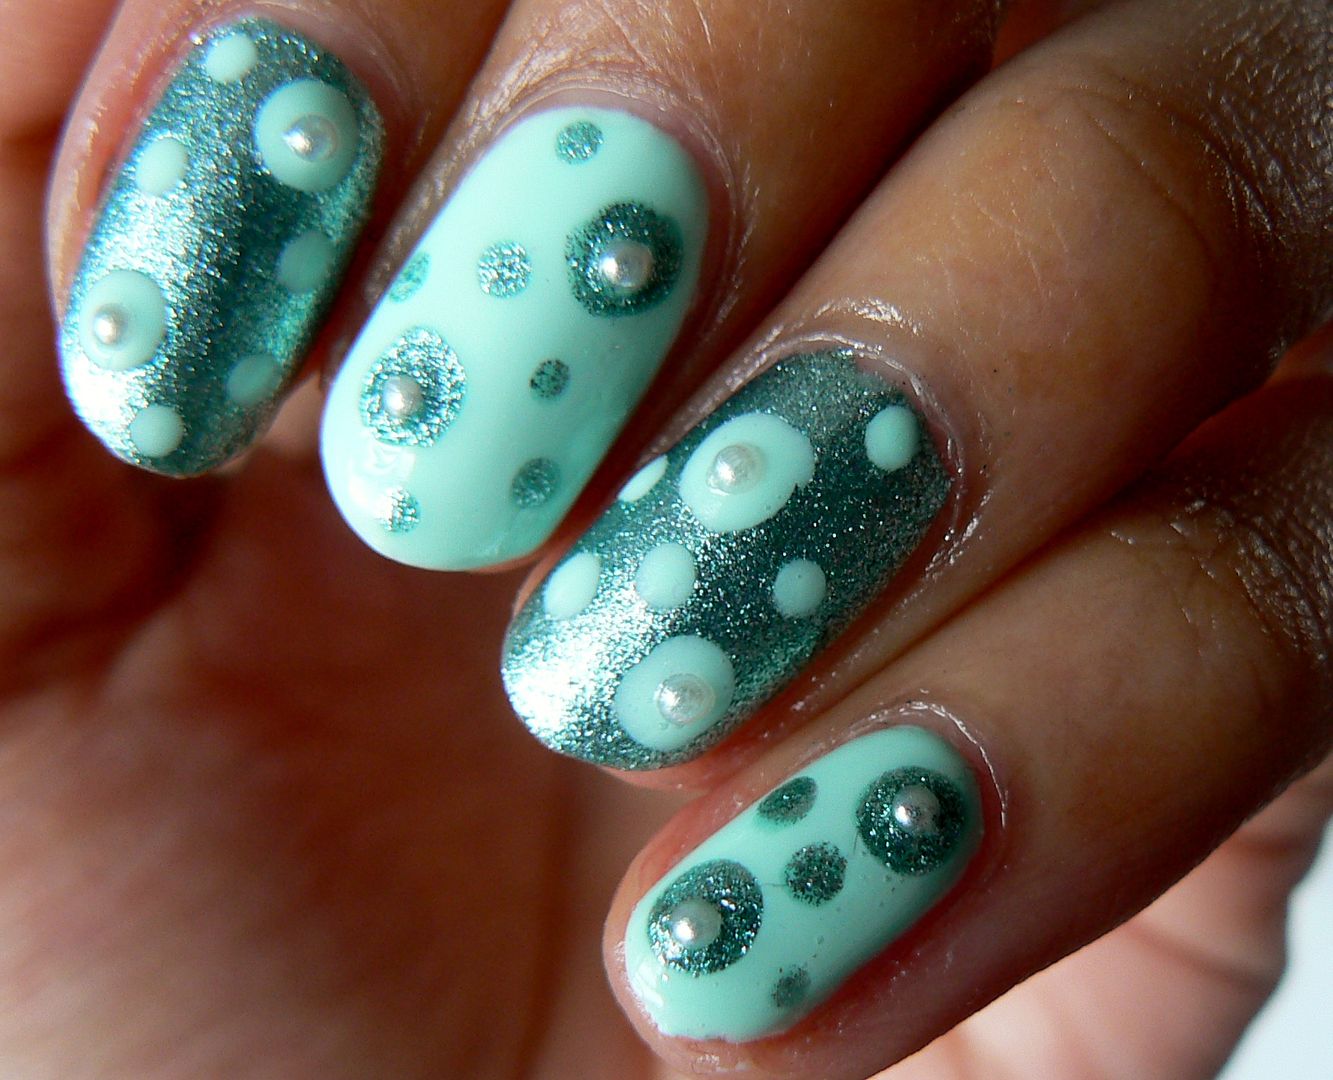
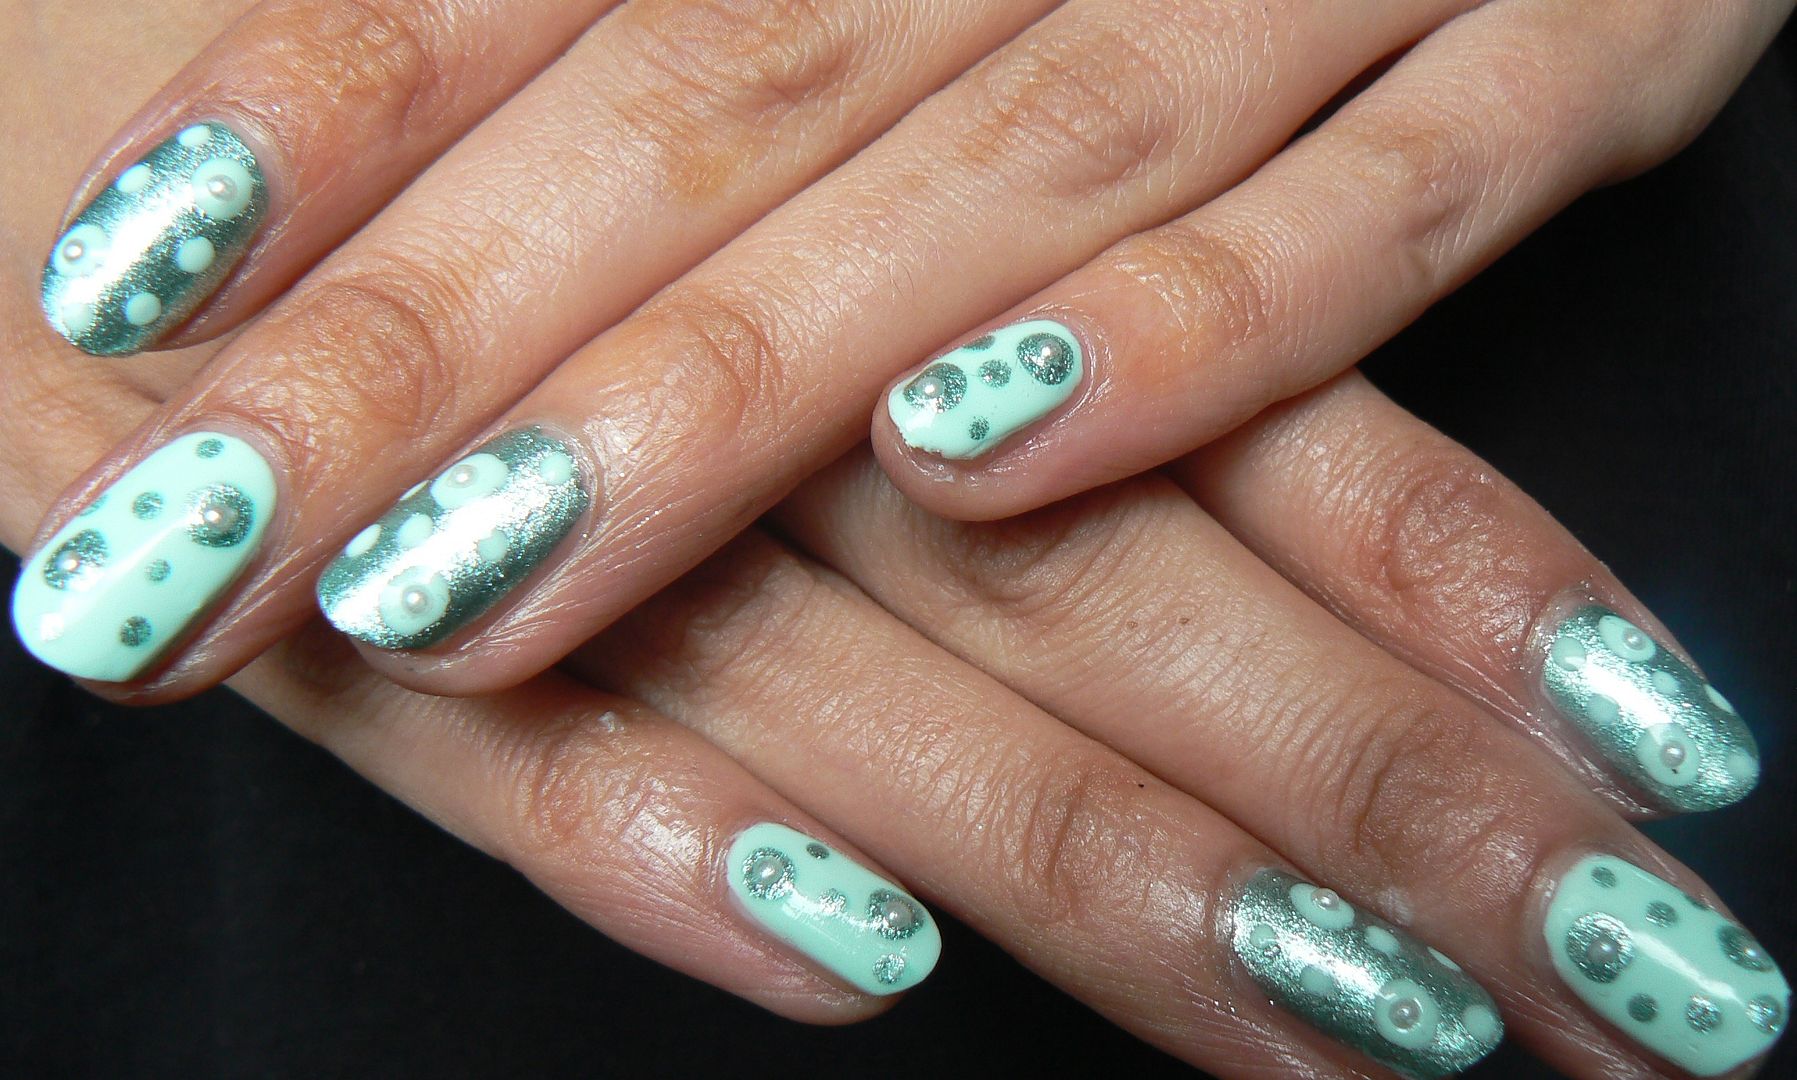
Who doesn't love a hint of minty freshness? And there's definitely plenty of that going on with this super simply nail art I have to share with you beauts today with the addition of some pretty pearls and polka dots too!


I really liked the idea of mixing a cream pastel shade with some shimmery foil too for a nice contrast & I wasn't disappointed. I love this combination together!


For my pastel polish I opted for Models Own scented polish in Apple Pie, a divinely pretty pale pastel mint Green. I applied two coats on to my thumb, middle & little fingers


My foil of choice was LA Colors in Metallic Green, a gorgeous smooth pale green foil, which I applied two coats of on to the index & ring fingers. By the way did you know LA Colors polishes retail for 99p in Beauty Base?! Yes!


I then grabbed the Models Own Apple Pie again & used a double ended dotting tool to apply both small & large polka dots on to the nails with the green foil. Then using the LA Colors Metallic Green did the same but on the pastel mint nails.


Finally grabbing my nail art wheels I picked out a few pretty pearls to apply on random dots for an added 3D touch.


Finish with a slick of topcoat & that's it! Super fun & quirky design in minutes!

Like I said, I personally loved the colour combo, however my Uncle did so kindly mention that it kinda bought mould to mind when he saw these...NICE. Maybe next time Uncle dearest keep your comments to yourself...& perhaps I'll try a different colour combo...*coughs* O_o

Thanks for reading lovelies!


Lots love to ya!

5.07.2015

NOTD - Unicorn Nails!


 Ello ello me lovelies! 

This week I've been sporting a 'dragged backwards through bush' look thanks to the glorious gale force wind we've been blessed with the past few days. I think if I actually attempt to run a brush through my hair it'll get lost forever in the forest of knots never to see the light of day again O_o Guess its updo's for the time being eh?!


If you caught my previous post on how to use Masking Fluid as a barrier for easy nail art clean up, you'll remember that I also shared how to do a quick & simple pretty sponge gradient. All the details on the process can be found on that post HERE!


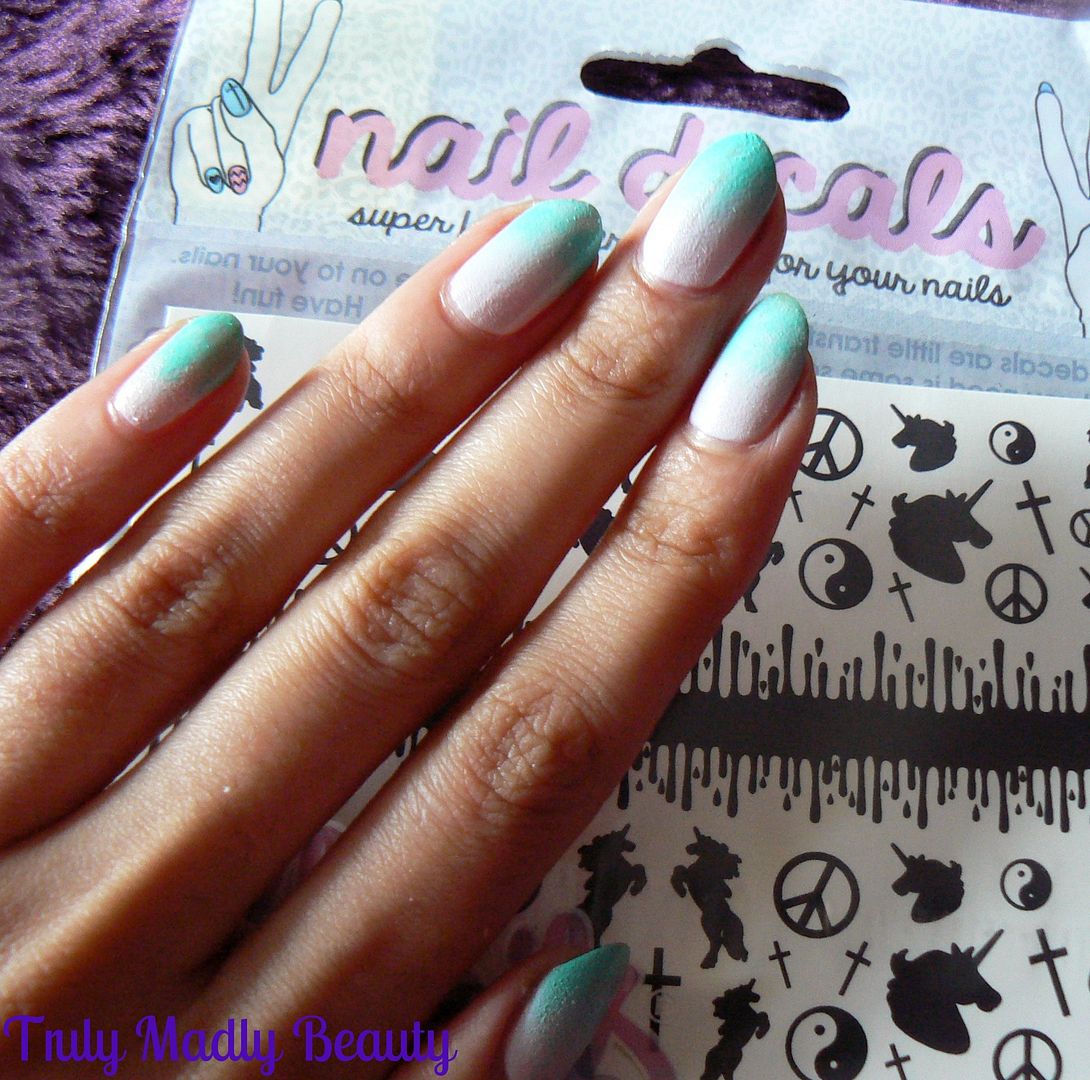
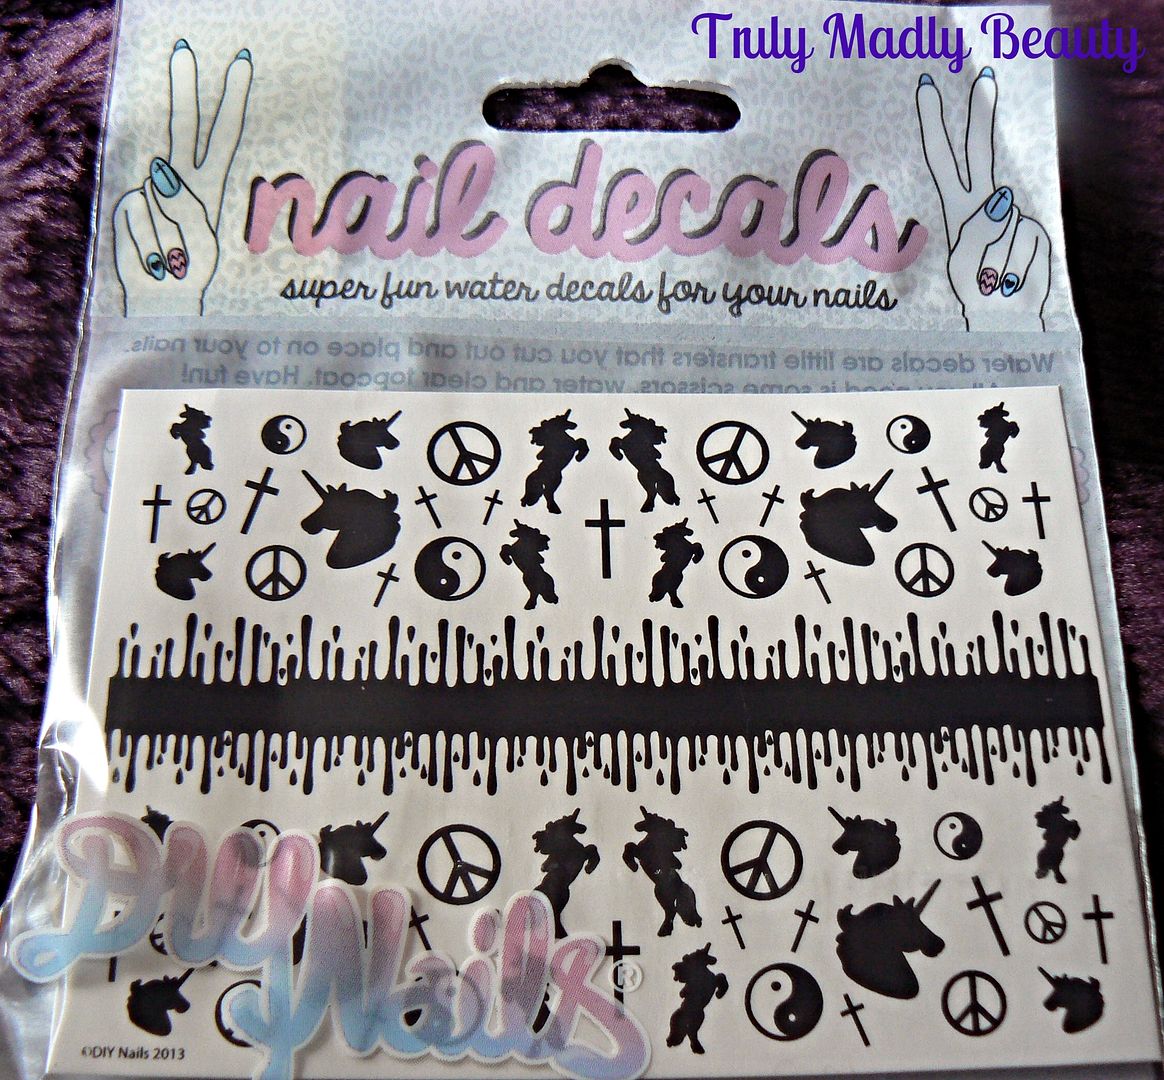
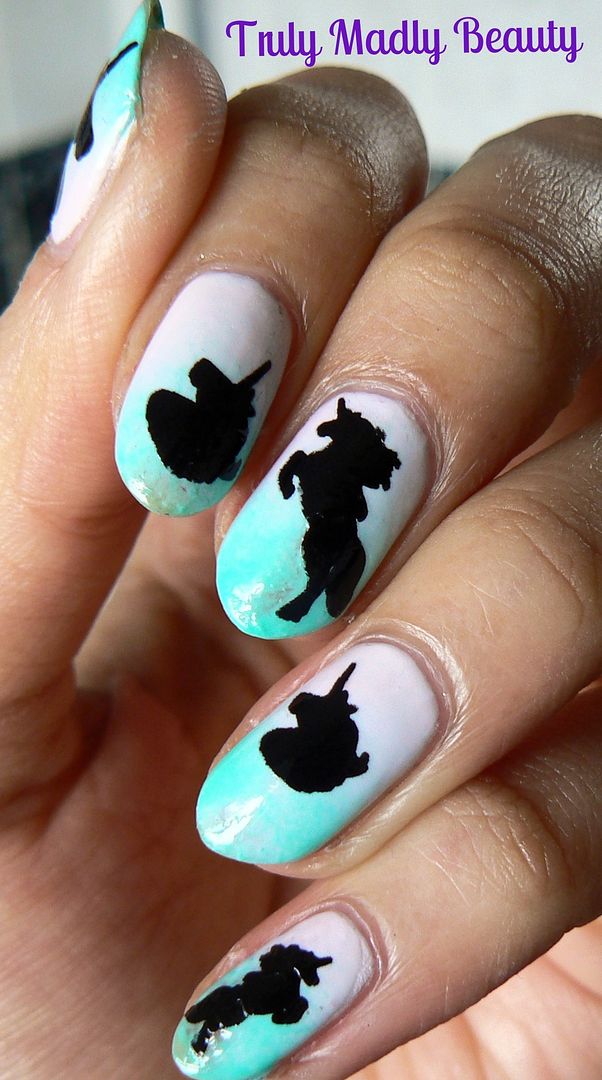
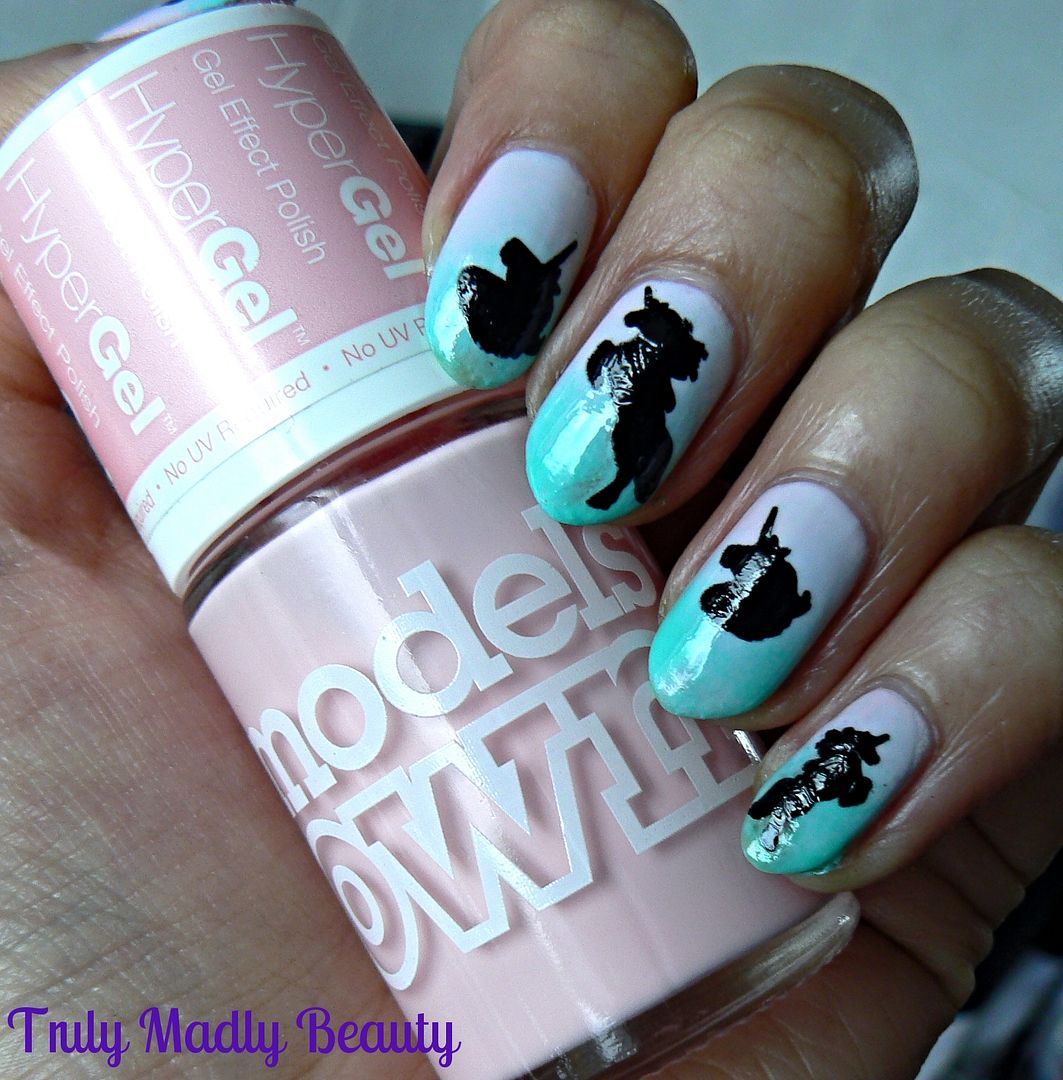
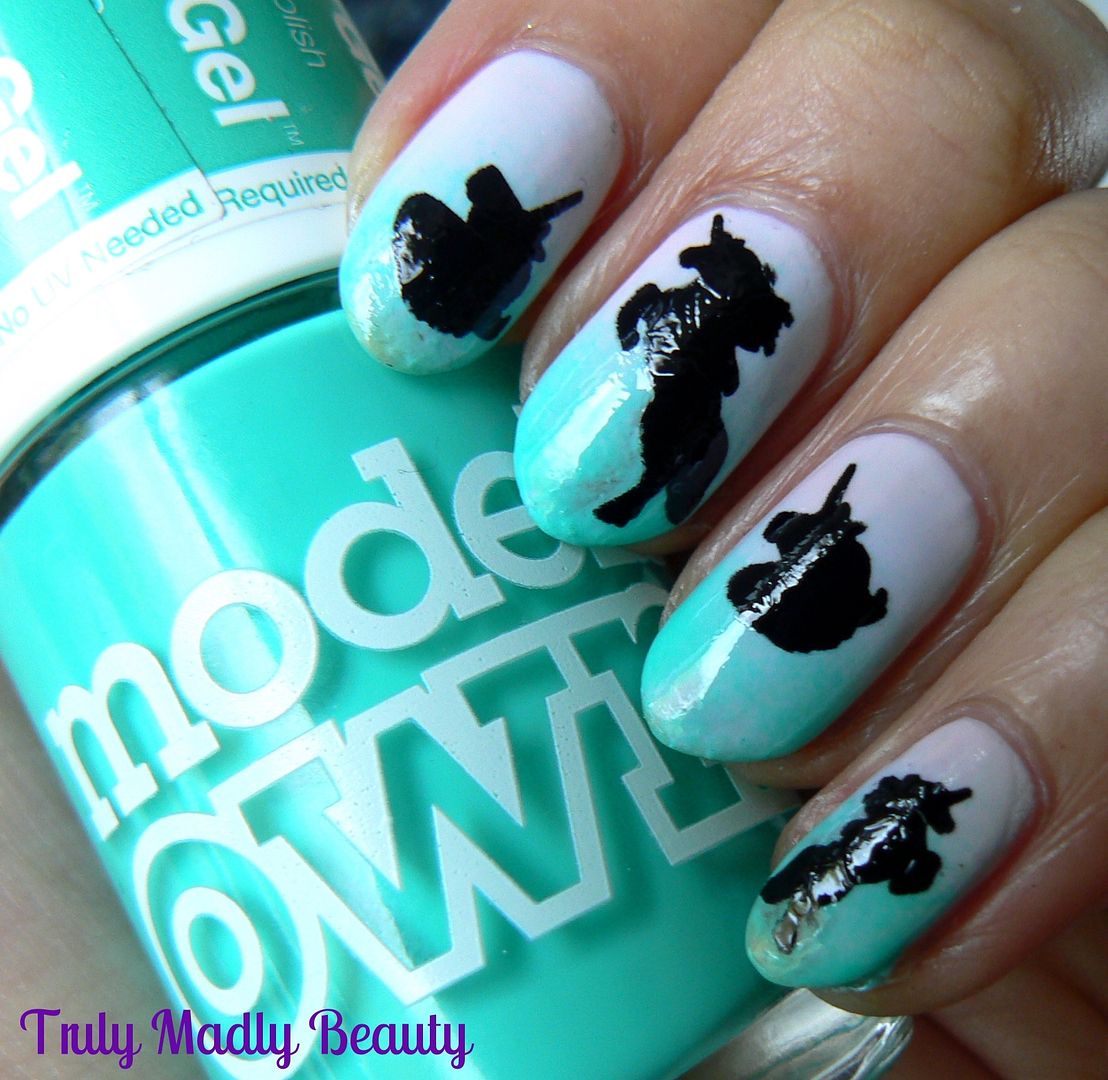
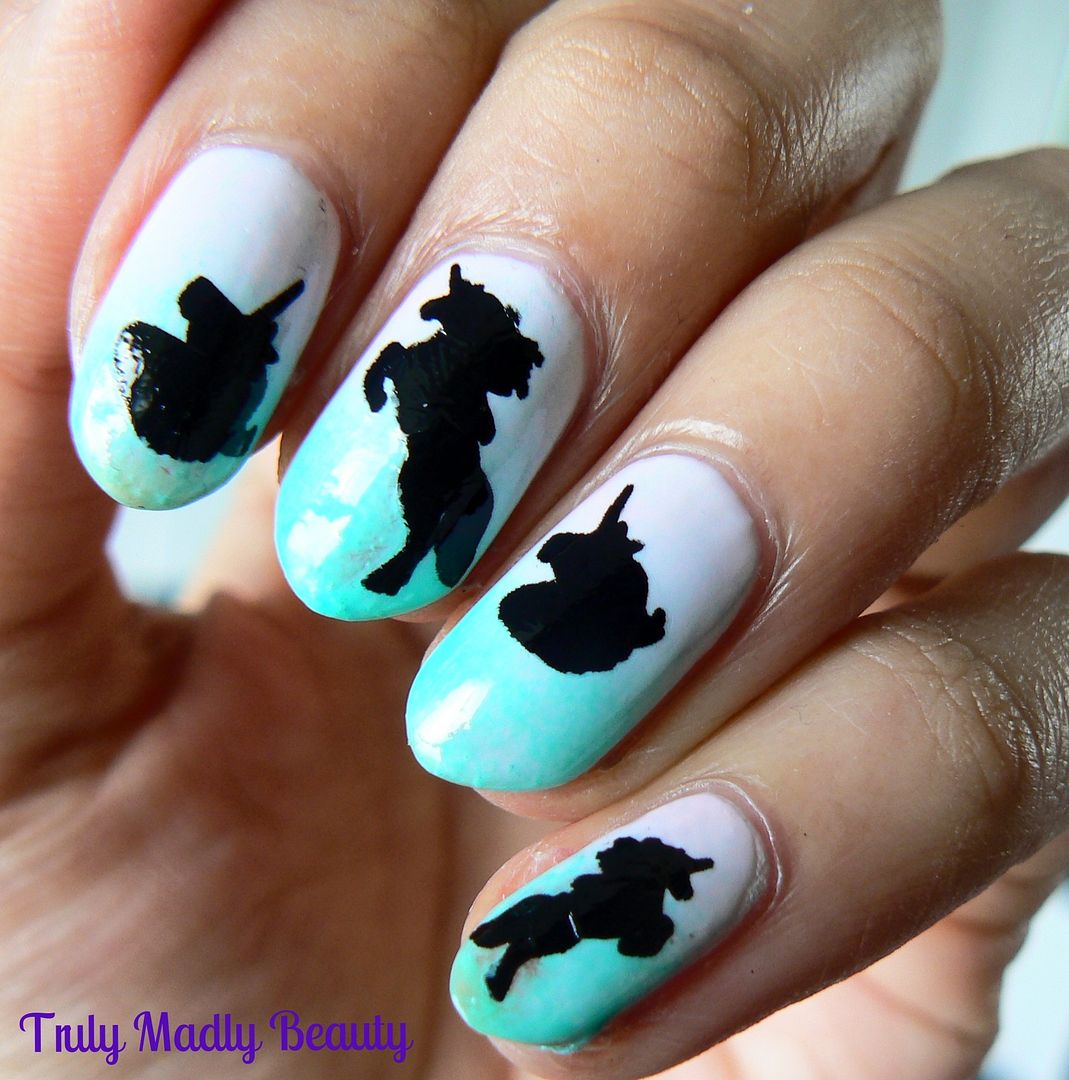
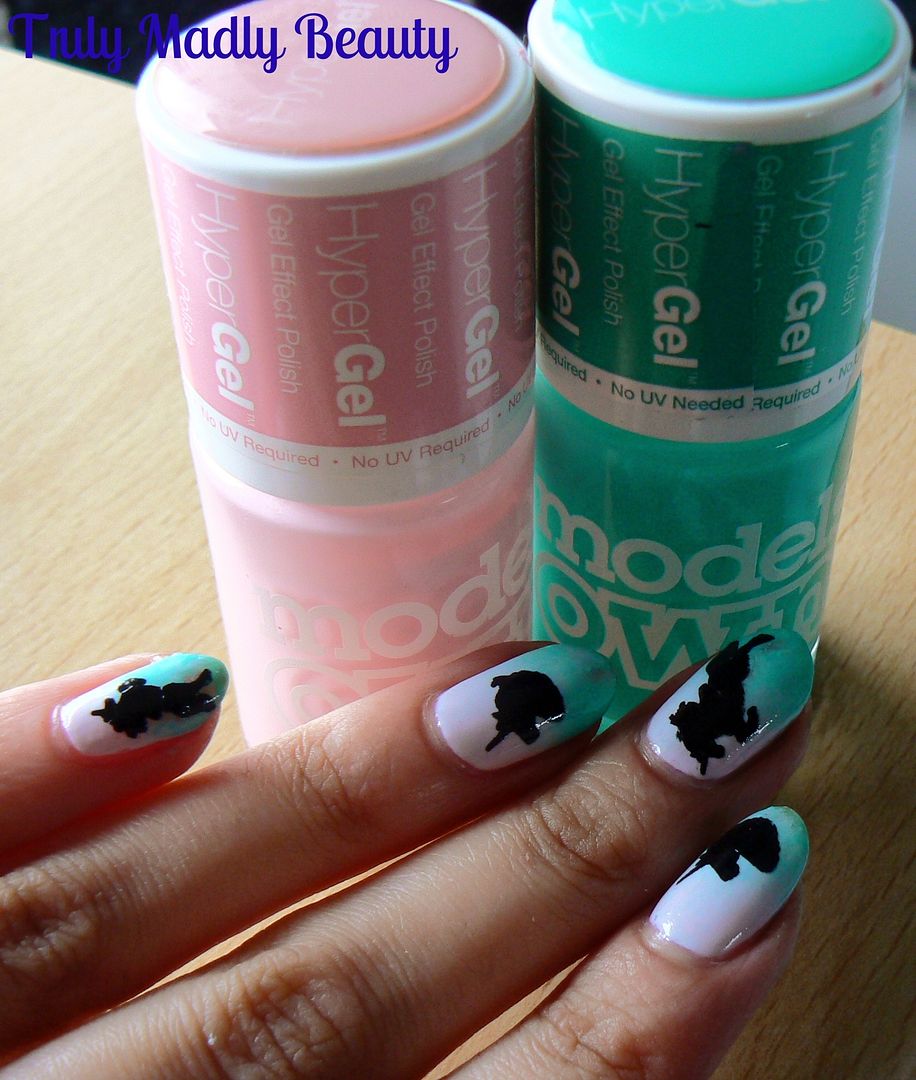
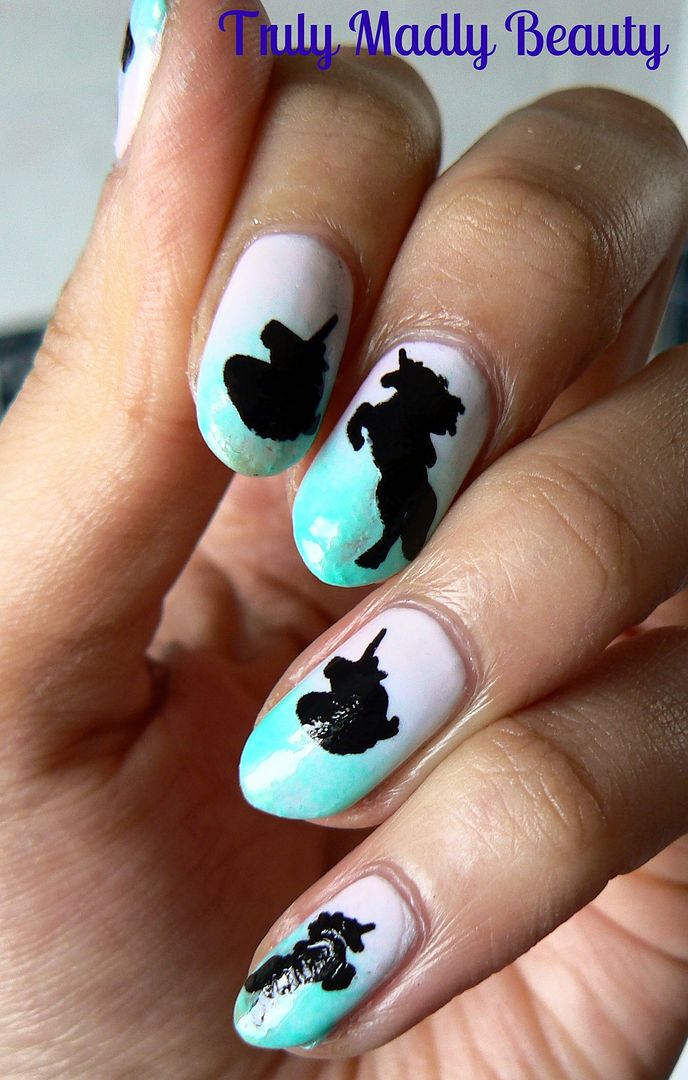
The gradient created a canvas that was begging for a bit of extra attention so twas the perfect opportunity to test out the new DIY Nail Decals I picked up recently. The colour combination of pastel pink & turquoise blue immediately brought mystical unicorns to mind so I couldn't resist applying the fab unicorn decals!


For the gradient I used Models Own Hypergels in Pink Veneer & Turquoise Gloss applied over a white base, I love this combo! I think I may have a new found addiction to gradients now that I know how easy they are!


For some reason I've always avoided using nail decals, I guess I was under the impression that they were majorly complicated to use. However I couldn't have been more wrong!


To apply the decals you simply choose which design you wish to use, so I picked out the ten different unicorn decals I wanted to apply & cut them out. Then doing one nail at a time, pick up your nail decal & plop it on the surface of a cup of water to soak for 5-10 seconds.


Once done simply lift the decal out of the water & wait for another 5-10 seconds or so & the decal should slide right off the backing paper, remove with the tip of your finger & position on to the nail (polish must be dry!)


Pat the surface dry with a bit of tissue then finish with a slick of topcoat to seal the design & make your decal last longer. Hello magical unicorn nails!


I picked up quite a few different nail decal sheets with funky designs from DIY Nails which I can't wait to try out! Thanks as always for reading my beauties!


Lotsa love to ya! 


5.04.2015

Tips & Tricks - Masking Fluid For Easy Nail Art Clean Up!


Happy Star Wars Day loves! May the Fourth be with you! I confess I'm disappointed in myself in that I've not done a Star Wars theme mani in honour of the day...bad form Aysh. Oh well there'll always later on this year when the new film is released, excitement is hard to contain!

When it comes to nail art, there are some techniques that can be a tad, messy shall we say? Such as sponging, water marbling etc. resulting in polish ending up all over the skin not just the nail, which can make the task off putting for most. Therefore any short cuts available to make said tasks much easier to do & clean up after are most welcome.

One method that's taken the nail world by storm is liquid latex, yup you heard me right. When I first investigated on social media the result was, lets just say quite amusing. I believe its something that was started by the brand Kiesque who released Liquid Palisade, a liquid barrier that is applied on the cuticles & once dry, simply peeled off after nail art is done. However the $22 price tag that came with did make one wince! Recently a few online polish retailers have jumped on this & begun selling little bottles of liquid latex barrier at a friendlier price. Though I've purchased one myself which I look forward to trying when it comes, I first wanted to investigate an option that's more easily available & I'd heard works just as well as liquid latex, the product in question...masking fluid.


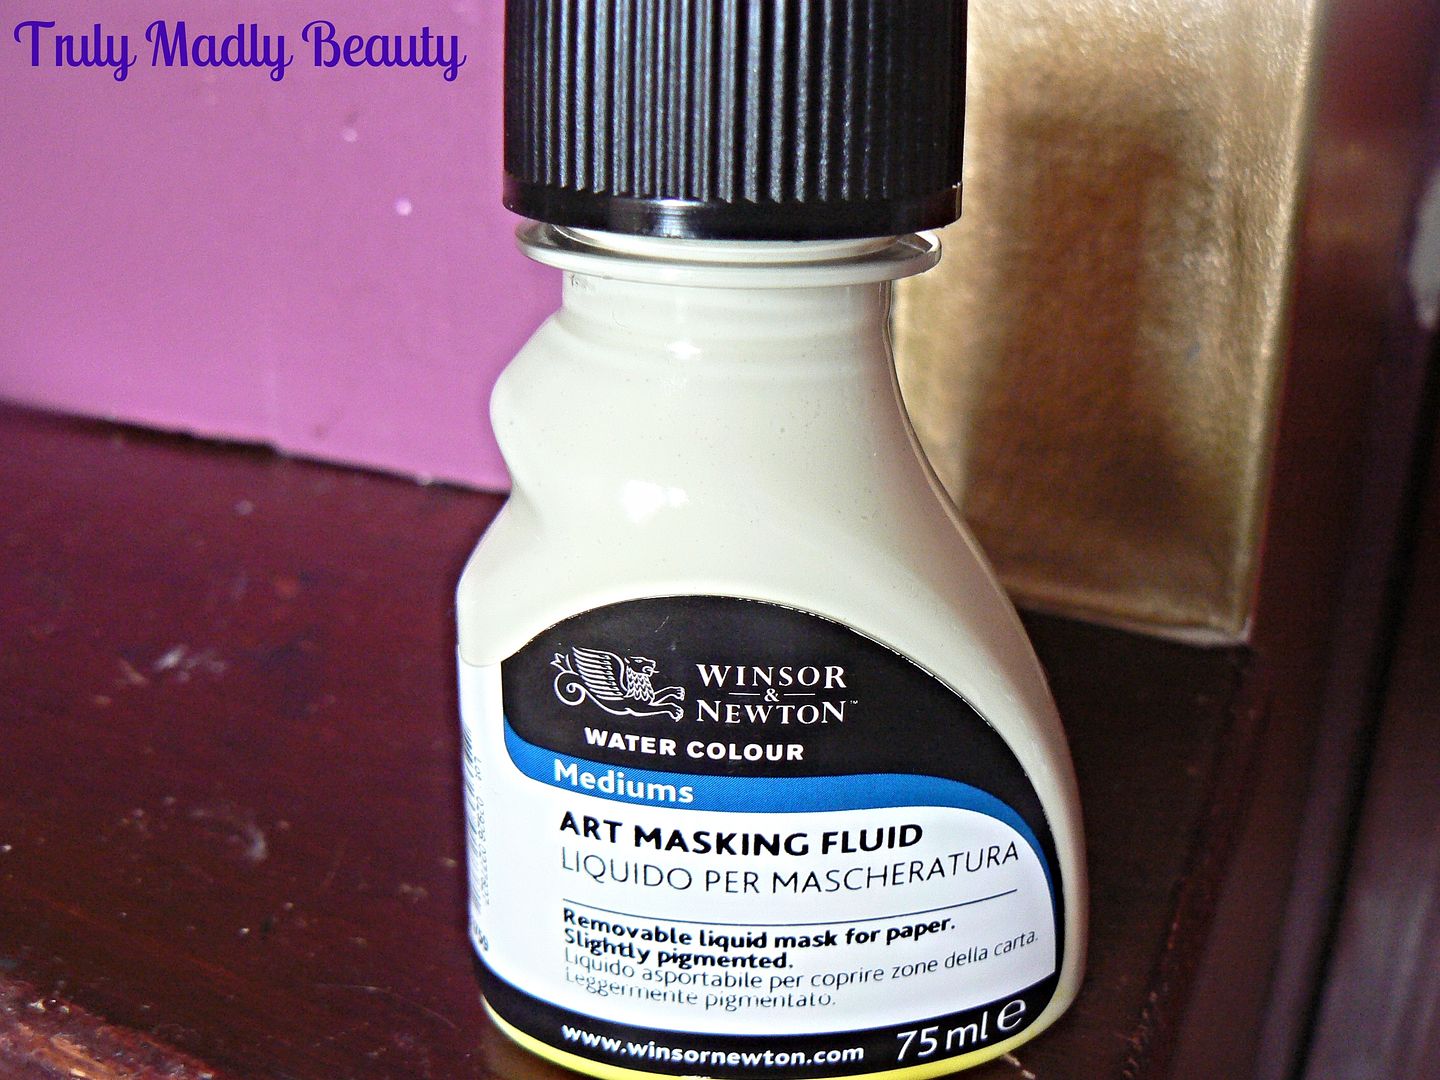
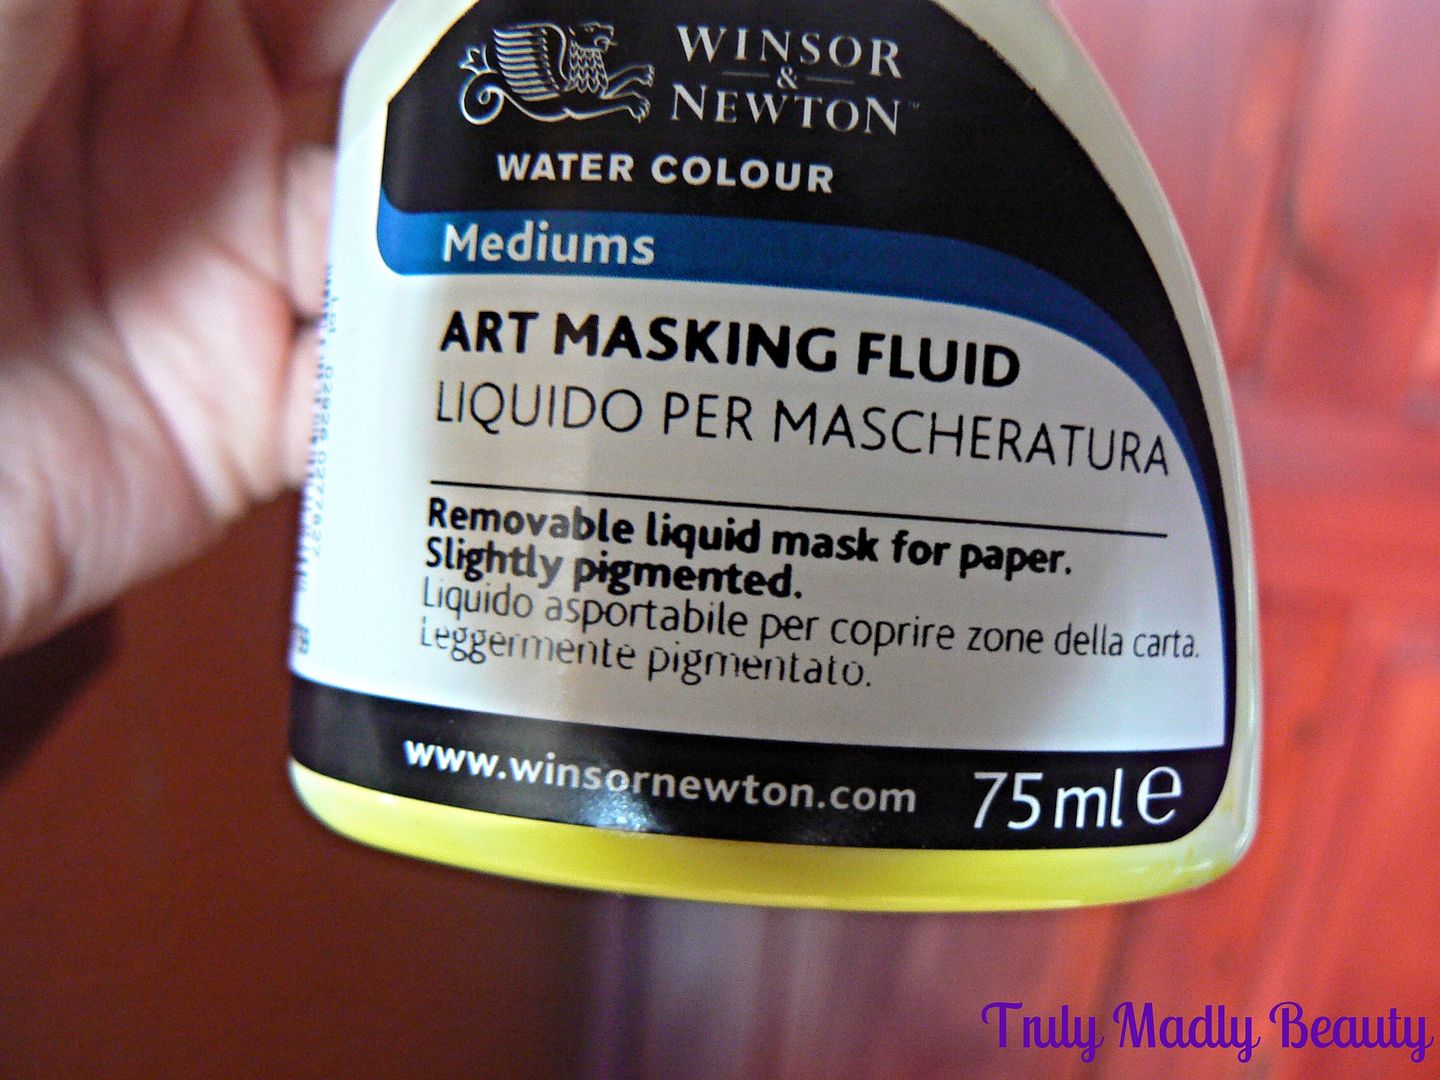
Masking fluid is a product used by artists who need to mask areas of their work needing protection when colour is applied in broad washes. Once dry the barrier is simply peeled away. I picked up this bottle of Windsor & Newton Art Masking Fluid from WH Smiths for just a fiver. So yup, definitely a much nicer price!


The fluid is composed of rubber latex & a yellowish pigment. The formulation of it is quite runny, though not so much so that its hard to work with. It also has a slight odour to it that reminded me of stationary glue. To apply the masking fluid I dug out an old art brush.

Now water marbling is a nail art form I have not ventured towards yet, however I am becoming very much addicted to gradient nails which of course require the sponging technique so that's what I have to show you today.


Before doing your gradient you need to have a white base, here I've applied two coats of No7 Snowflake, not the best of whites as it wasn't fully opaque but it was just the first one I saw & grabbed haha!


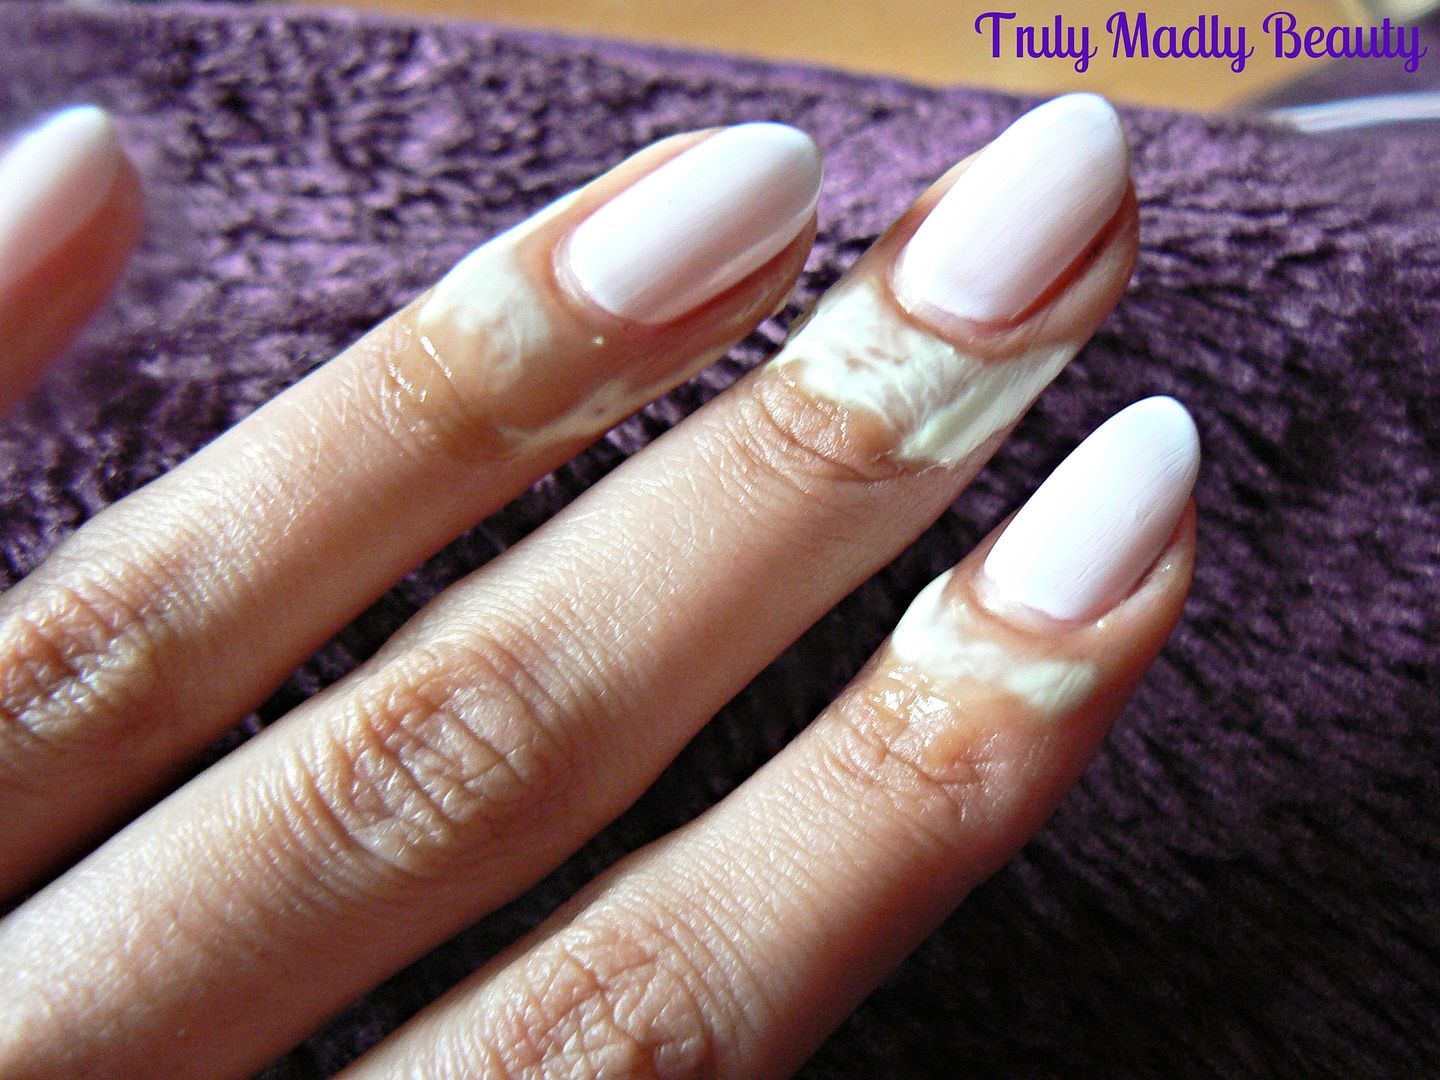
Using the old art brush, I dipped the brush into the fluid from the bottle & applied it around the skin of the cuticle area & sides as shown. Like I mentioned, the formula is a tad runny, but not problematic to work with thankfully. I made sure to apply the masking fluid quite thickly so it is noticeable where its applied.


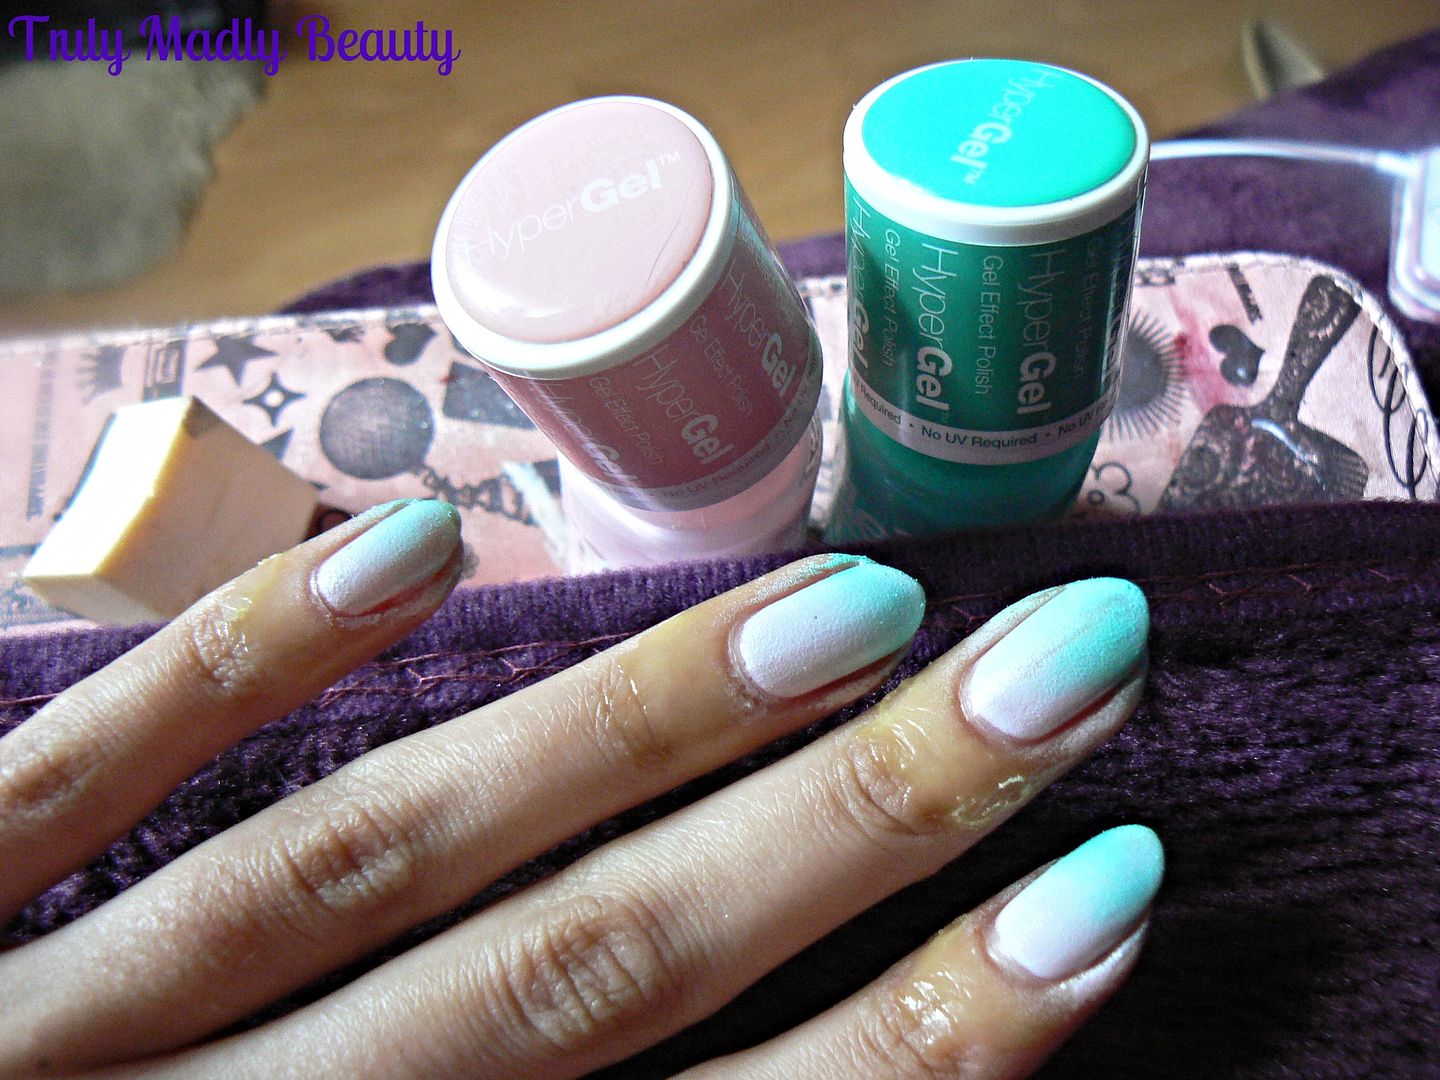
The masking fluid dries clear, much like PVA glue, so you know when you can start with your sponging. For my gradient I've used Models Own Hyper Gels in Pink Veneer & Turquoise Gloss. The formulation of these are quite thick making them great for sponging.


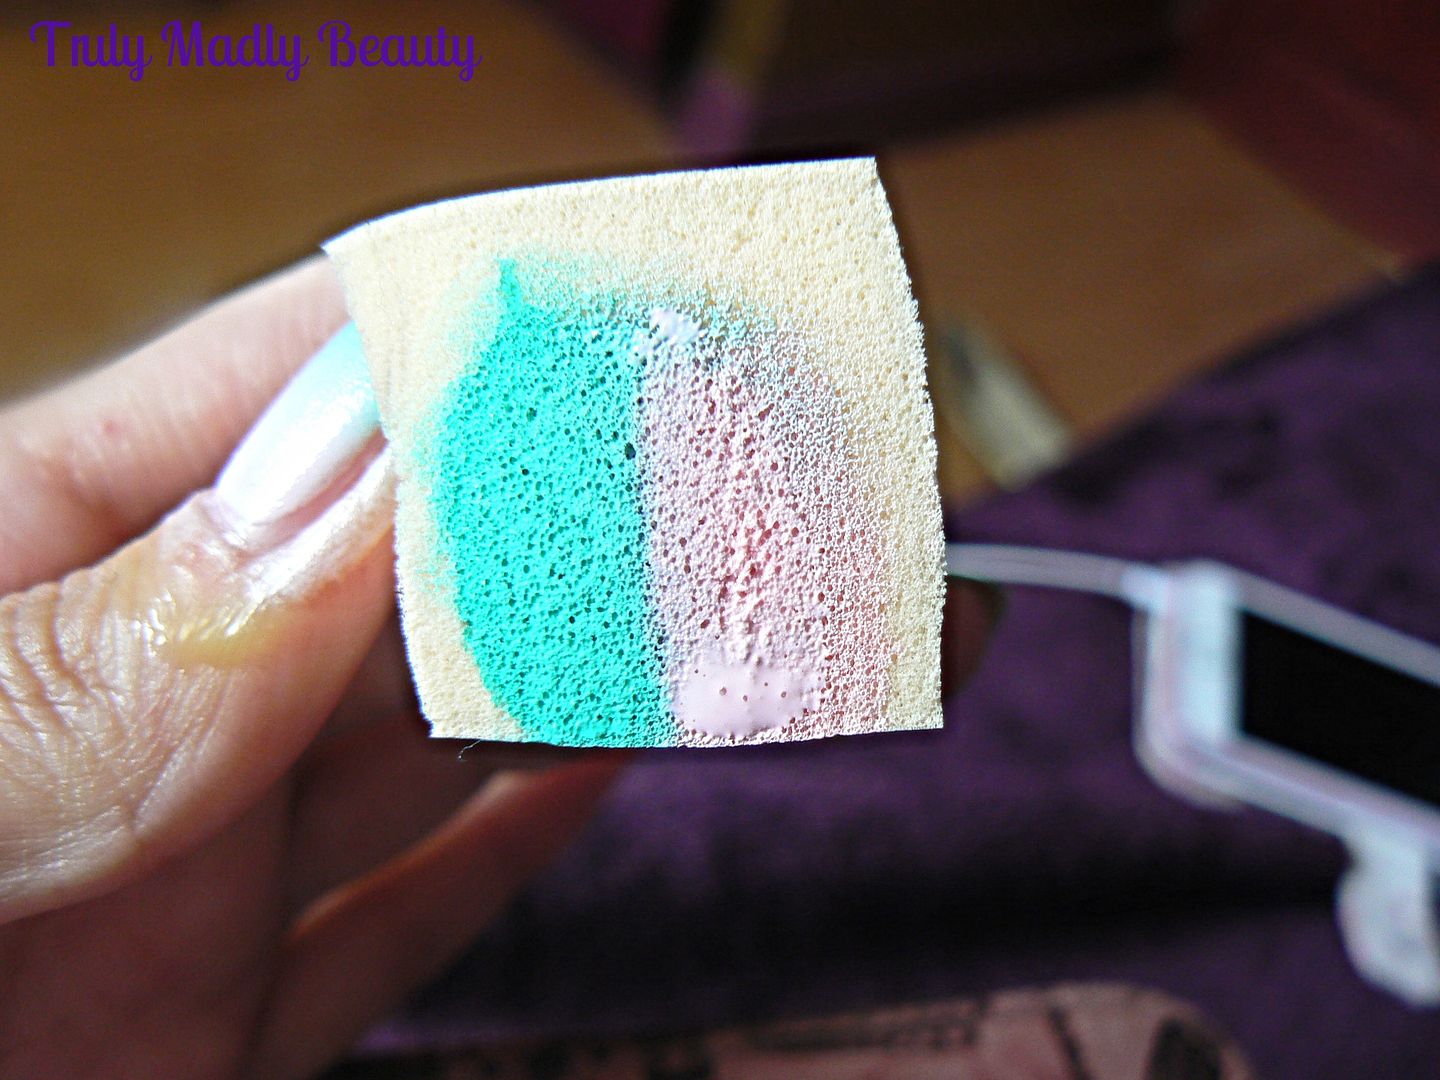
Apply the two polishes next to each other on a piece of makeup sponge then dab onto the nail, applying in an up/down & side to to side motion. Depending on the type of polishes used, this needs to be done two or three times to get a nice opaque finish. As you can see with this technique, a lot of polish ends up on the skin around the nail.


Once I'd done all ten nails & was happy with the finish, I simply grabbed a pair of tweezers & very gently, being careful not to pull the skin, lifted up the dried masking fluid, which I'm happy to say peeled off easily! Of course there were some areas I missed but this was easily cleaned up with a spot of acetone & a brush.


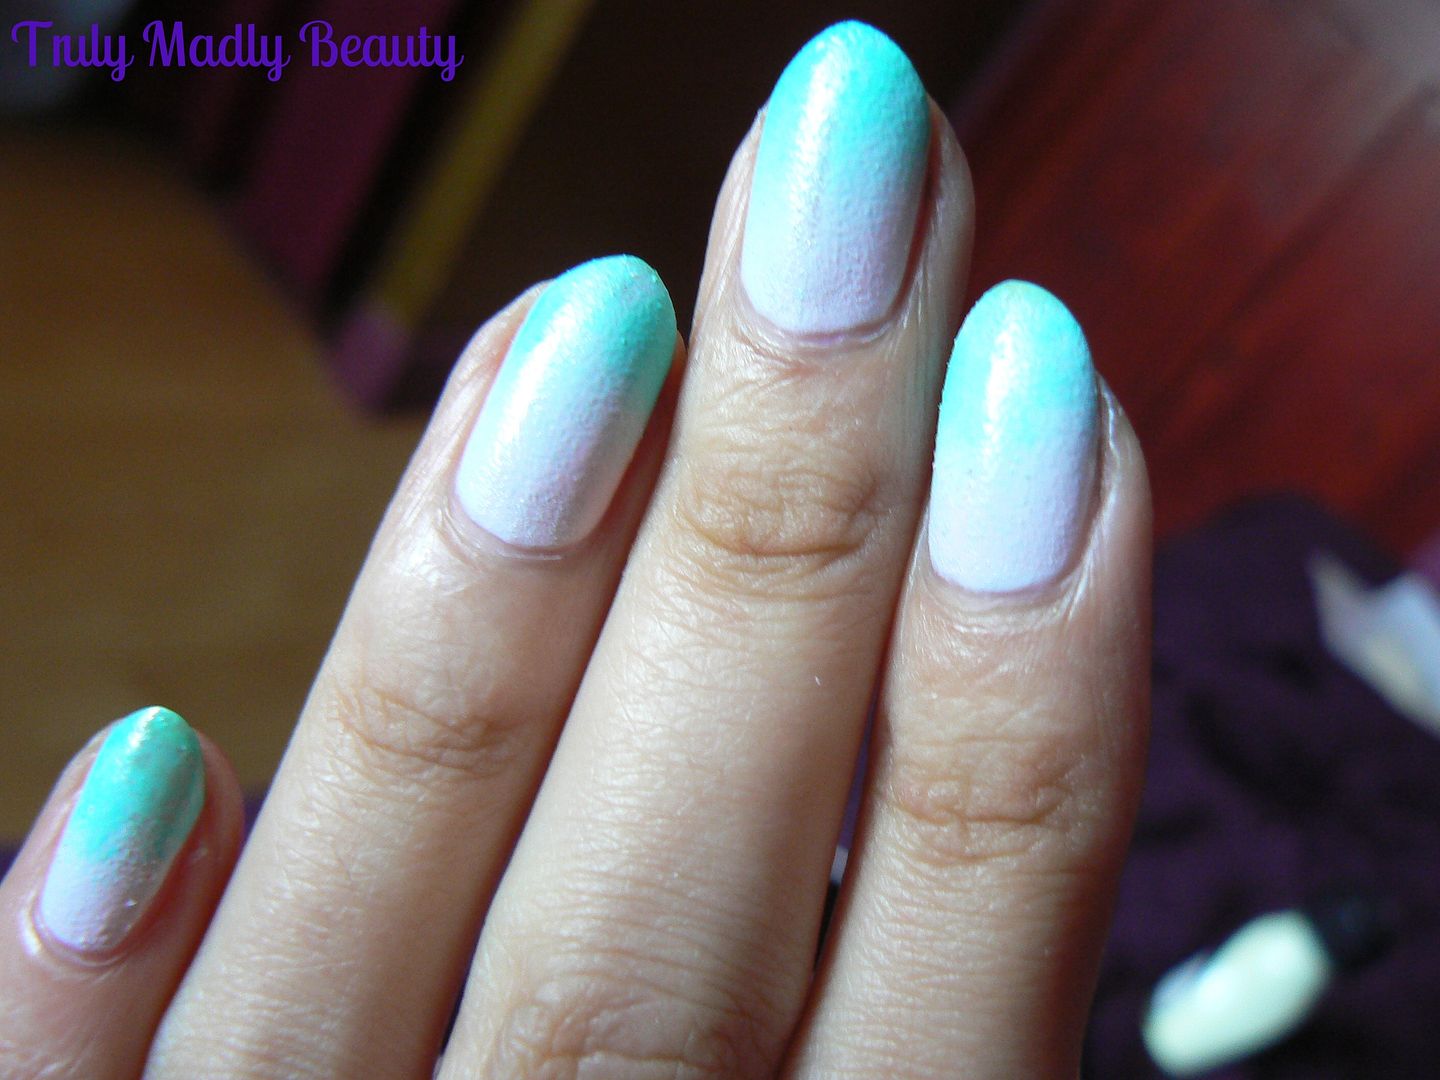
The end result, mess free sponged gradient nails! I'm really happy with how well the masking fluid worked & will definitely be using it again as a barrier when doing sponge gradients. However when I receive the bottle of liquid latex I've purchased online I'm eager to do a comparison to see how well it works compared to masking fluid. I'll be sure to report back!

Thanks as always for reading dolls!

Lotsa love to ya!